A simple bread maker baked coffee flavoured bread with crunchy walnuts chunks in the crumbs. Love the soft texture that can last for days :)
Bread weight: 487g
Raw dough weight: 505g
Breadmaker: Mayer MMBM12
Ingredients
2x20g pack Nescafé 3-in-1 coffee mix
55g hot water
120g cold fresh milk
25g raw sugar
1/4 tsp salt
20g cold unsalted butter
225g bread flour
25g superfine wholegrain flour
3/4 tsp instant dry yeast
Filling
20g walnuts
Glazing
Some whipping cream/fresh milk
Directions
1. Roast walnuts in a preheated oven toaster for 5 minutes at 150 degree Celsius, or till fragrant.
Break the walnut into smaller chunks. Set aside.
2. Mix 3-in1 coffee mix with hot water.
After the mixture is well dissolved, add in the cold fresh milk. Keep the mixture in the fridge for about 20 minutes.
3. Pour the ingredients according to the sequence listed to the bread pan. Dig a hole at the top of the flour and pour the instant dry yeast in.
4. Select the "C-02 Sweet Bread" function, "500g dough weight", crust colour, and start the program.
This step is optional. You can choose to leave the dough undisturbed till the baking finish.
5. When the countdown timer read "1:30" h, a series of beeps can be heard. Pause the program by pressing the "Stop/Start" button.
6. Transfer the dough to a floured surface. Flatten it with your palm to release the trapped air.
Flip over the dough, so the smoother side will be facing out when roll up.
Press lightly to secure the walnuts to the dough.
9. Roll up the dough from both the shorter ends towards the centre.
To me, this method of rolling up the dough would better accommodate the turning pin protruding from the base of bread pan.
Turn over.
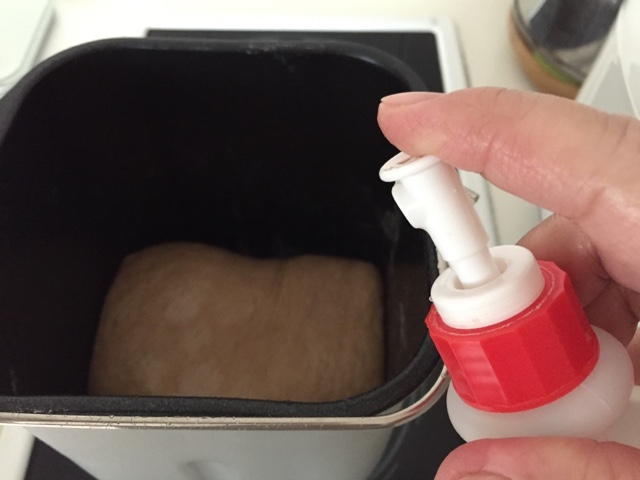
10. Return the dough to the bread pan, spray some water, and press the "stop/start" button to resume proofing program.
11. When the countdown timer reads "0:47" h, press the "stop/start" buttom to pause the program.
Brush whipping cream or fresh milk over the top.
Press the "stop/start" button to resume. The baking process will start at "0:45"h.
12. Cover the window with a sheet of aluminum foil. This is to minimize heat loss through the window.
13. The bread is ready *\(^o^)/*
14. Remove the bread from the bread pan and cool on a wire rack.
15. After the bread has cooled down completely, slice the bread and enjoy :)


How did you slice your bread so neatly?
ReplyDeleteHaha, thank you :) I only used a long bread knife and sliced the bread using the sawing motion. Maybe I have "内功”,hehe ^^
DeleteAm reading your blog and also realise that y u can cut your bread so neat and clean cut. Was still wondering if you are using electric knife. I try to cut my bread but always have a tough time to do so.
DeleteHi, you only need to invest in a long serrated bread knife and cut the bread after it has completely cooled down. Your bread will get a nice, clean cut face 😄
Delete面包机也可以做得如此迷人,很棒!
ReplyDelete谢谢你的赞美 :) 面包机出力揉面团,我出手整面团,才能做出较像样的面包,嘻嘻 ^^
DeleteHi do you know how to cancel the preset timing
ReplyDeleteHi, you can try holding the "Stop" button for 2 seconds to cancel the program. Otherwise, just unplug the power cord for more than 10 to 20 minutes. I think most breadmaker has a memory for about 10 to 20 minutes :)
DeleteThank you. My family love the bread. If I want to make plain bread without the coffee mixture, what should I substitute with?
ReplyDeleteHi LC,
DeleteHappy to know your family likes the bread you baked.
You can omit the 3-in-1 coffee, and replace the 55g hot water by cold fresh milk.
Happy baking :)
Thanks. Hope to see more bread maker recipe soon.
ReplyDeleteHaha, I'll share with you if I have ;)
DeleteIf I prefer graham flour, do I supersede the exact quantity with wholegrain flour?
ReplyDeleteHi Peas, I suppose the two flours should be quite close and can supersede each other 😊
Delete