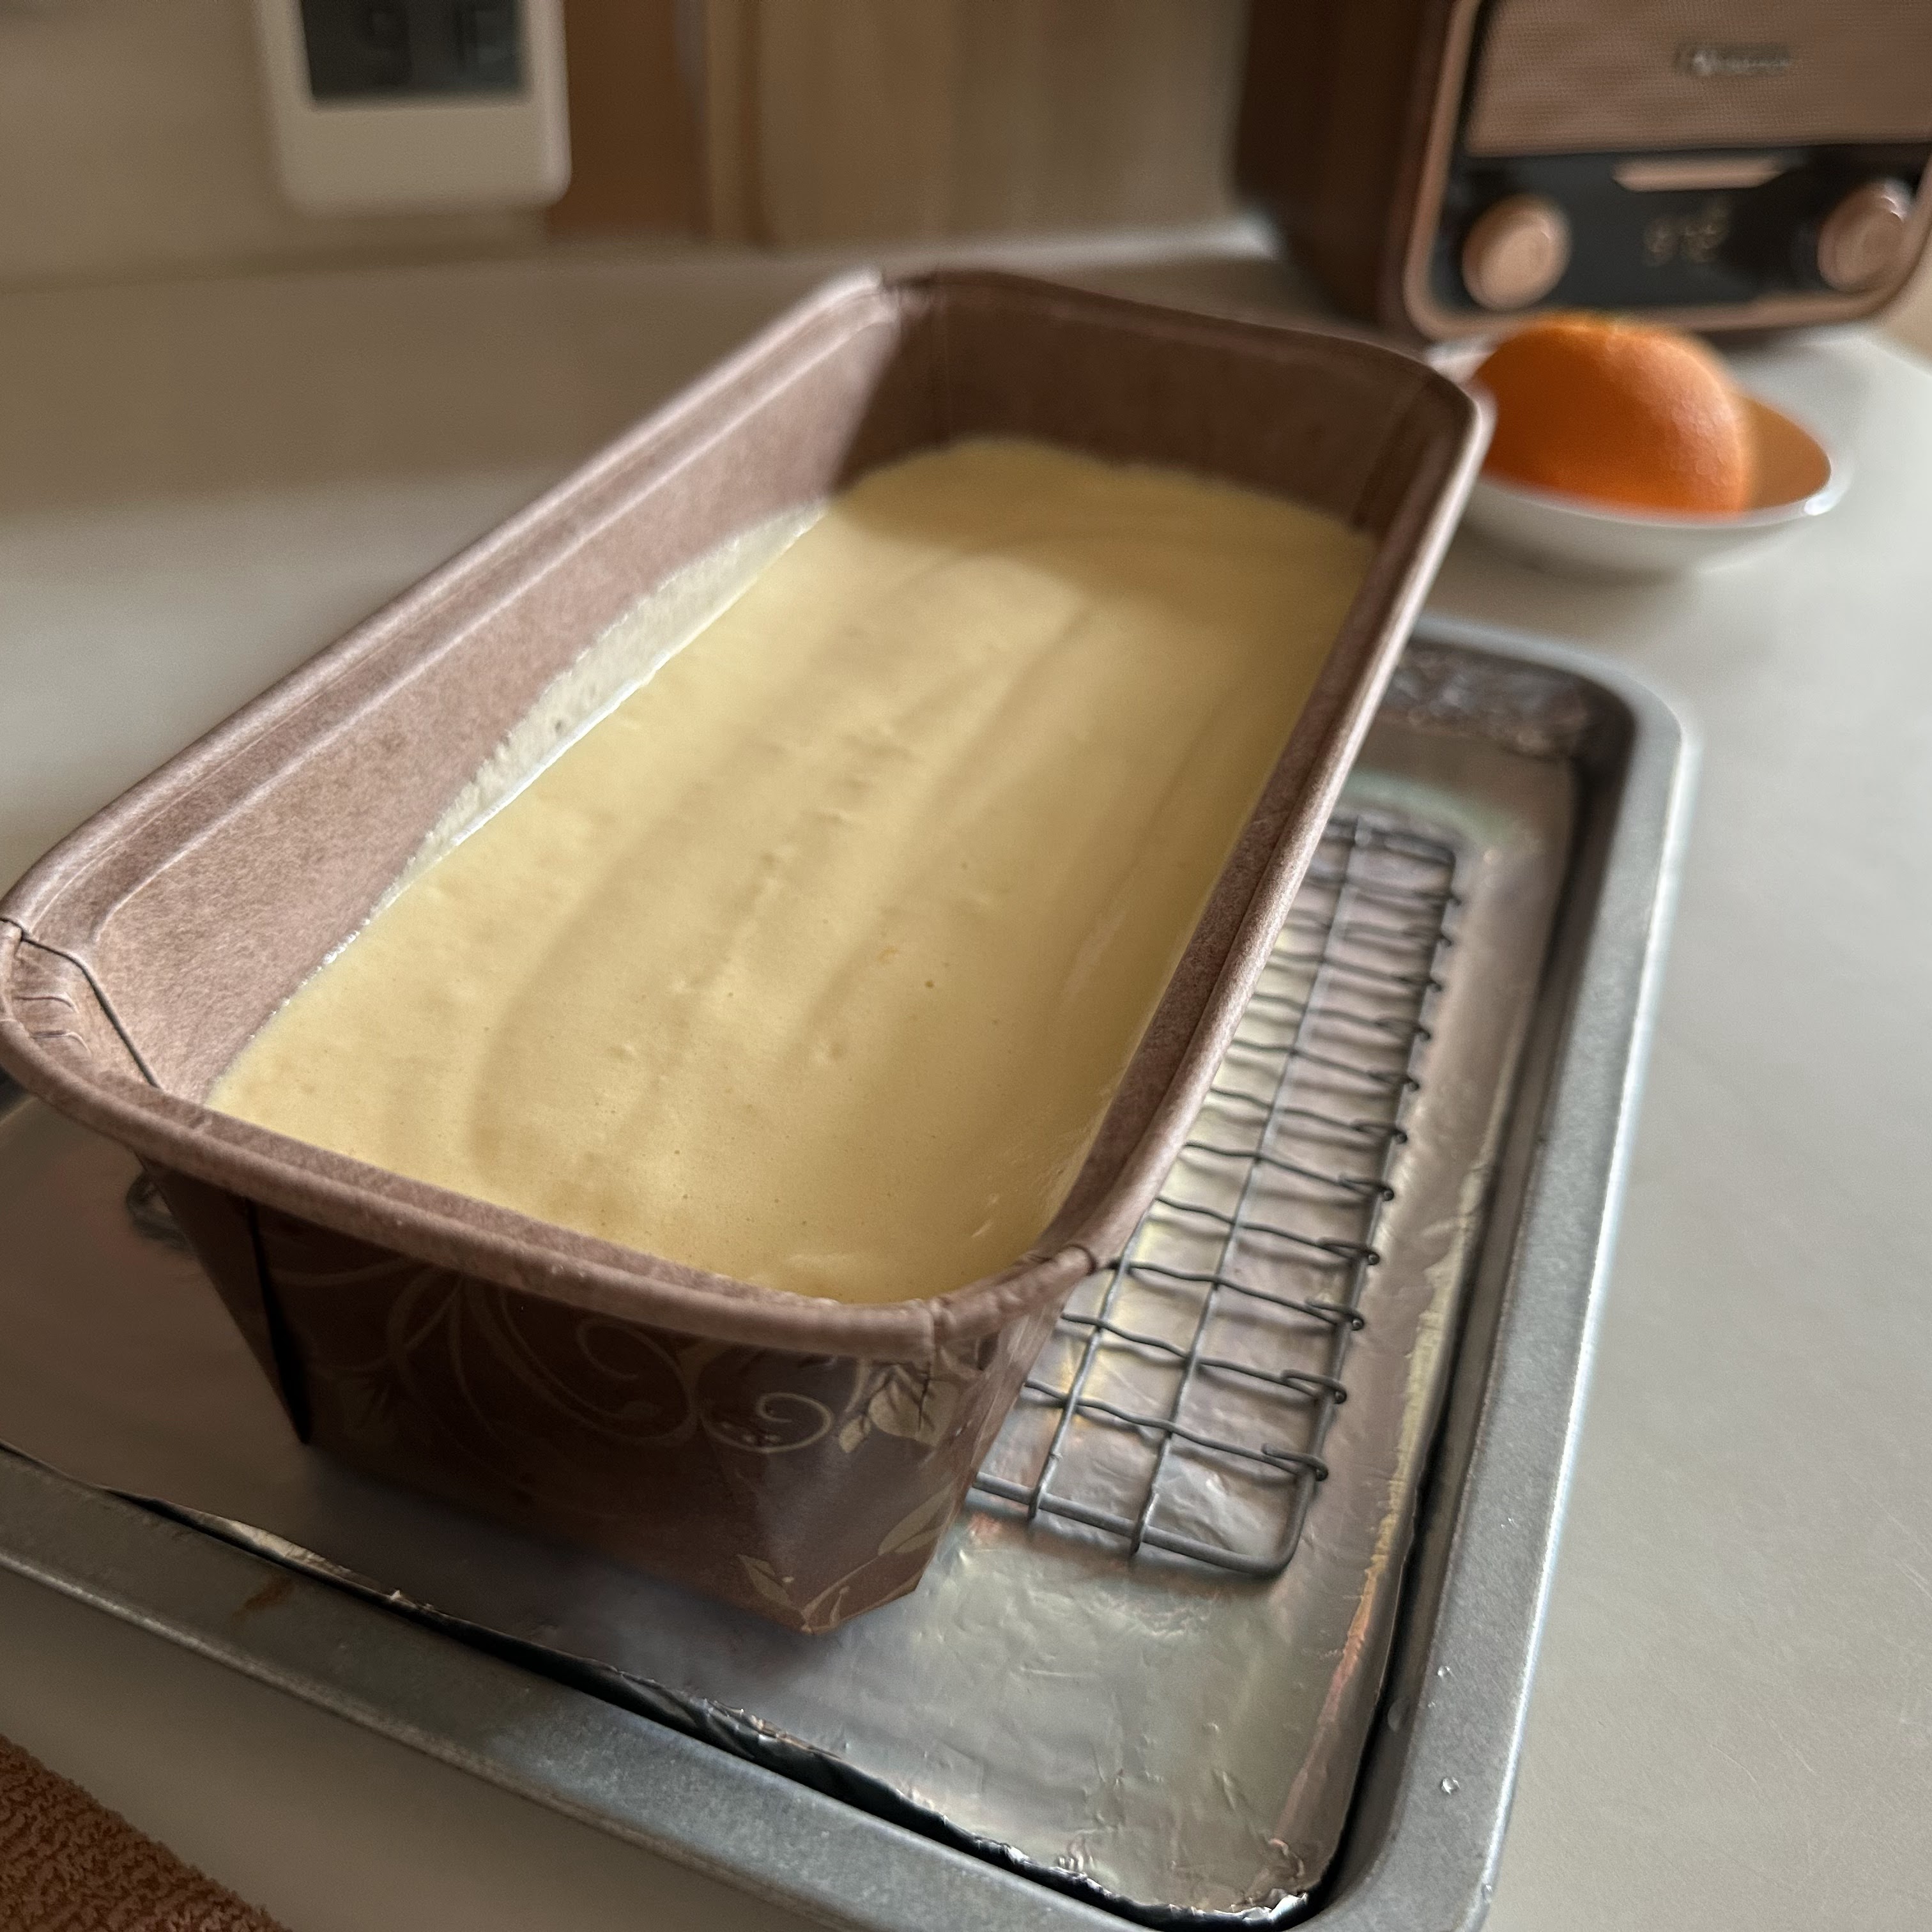
A soft and spongy cake filled with orange aroma using the freshly extracted orange juicy with pulps and orange peels.
I enjoyed the flavour so much that this has become my regular weekly baking recipe🍊😋
Link to video :
Pan size: 199x73x65mm paper cake pan
INGREDIENTS
Using fresh eggs, 55g each, cold from fridge without thawing
.
[A]
10g rice bran oil
10g unsalted butter
[B]
30g top/cake flour
3g corn flour/starch
[C]
34g freshly extracted orange juice with pulps *
5g golden syrup/honey
4g orange peel, chopped finely
[D]
2 egg yolks
[E]
2 egg whites
Pinch of low-sodium salt
15g fine sugar
15g raw sugar/fine sugar
3g corn starch
* if you strain the orange juice, reduce the quantity from 34g to 30g.
Directions
1. Heat [A] till reaching 75 to 80°C, fold in [B] using a silicone spatula.
2. Mix in [C] mixture into a thick and sticky paste.
3 Mix [D] in one go into a smooth paste. Let the orange-yolk batter set aside.
4. In a clean, dry and oil-free mixing bowl, beat egg whites of [E] till frothy before adding low-sodium salt, followed by both sugars. Beat the meringue till reaching firm peak stage.
Sprinkle corn starch over and mix using an electric mixer for a few seconds.
5. Take about 1/4 of meringue to mix with the orange-yolk paste till smooth.
Pour the mixture back to mix with the remaining meringue into a smooth batter.
6. Pour the batter into the cake pan. Run a chopstick around the batter to break up any trapped air bubbles.
7. Bake at middle rack of a preheated oven toaster at 150℃ for 30 minutes, till the cake is cooked through.
8. Dropped the cake with pan thrice, invert over a cooling rack for about 1 hour. Cut and enjoy 😊
I love #kuih selat or #seri muka with a creamy custard layer 😋😋
It took me several attempts to achieve this steamed glutinous rice cake with a creamy pandan custard top layer. Although the custard was creamy, it was not too rich as I used only a small amount of coconut cream mixed with low-fat milk.
These are what I have learned after those past attempts;
🔅Glutinuos rice - use only fresh glutinous rice. Aged glutinous rice, 2 years and above, have difficulty in absorbing water regardless of long hours of soaking.
🔅Pandan leaves - use fresh pandan leaves whenever possible. Pandan powder could not do a good substitution for that unique flavour.
🔅Coconut milk - coconut milk maybe rich, but without it the cake would not smell and taste good. A mixture of coconut cream and low-fat milk help to retain the flavour yet not too rich.
🔅Custard layer - for the custard layer to remain creamy, stop cooking when the custard mixture reaches 70 to 75℃. This is a trick I learned from one of the recipe I came across.
Video for the preparation of the recipe:
Watch in YouTube for a bigger screen 📹
This is a small recipe suitable for about 4 persons.
Yield: one 14x10x3 cm cake Pan size: rectangle glass bowl 14x10x5cm, tapered side, heat-resistant.
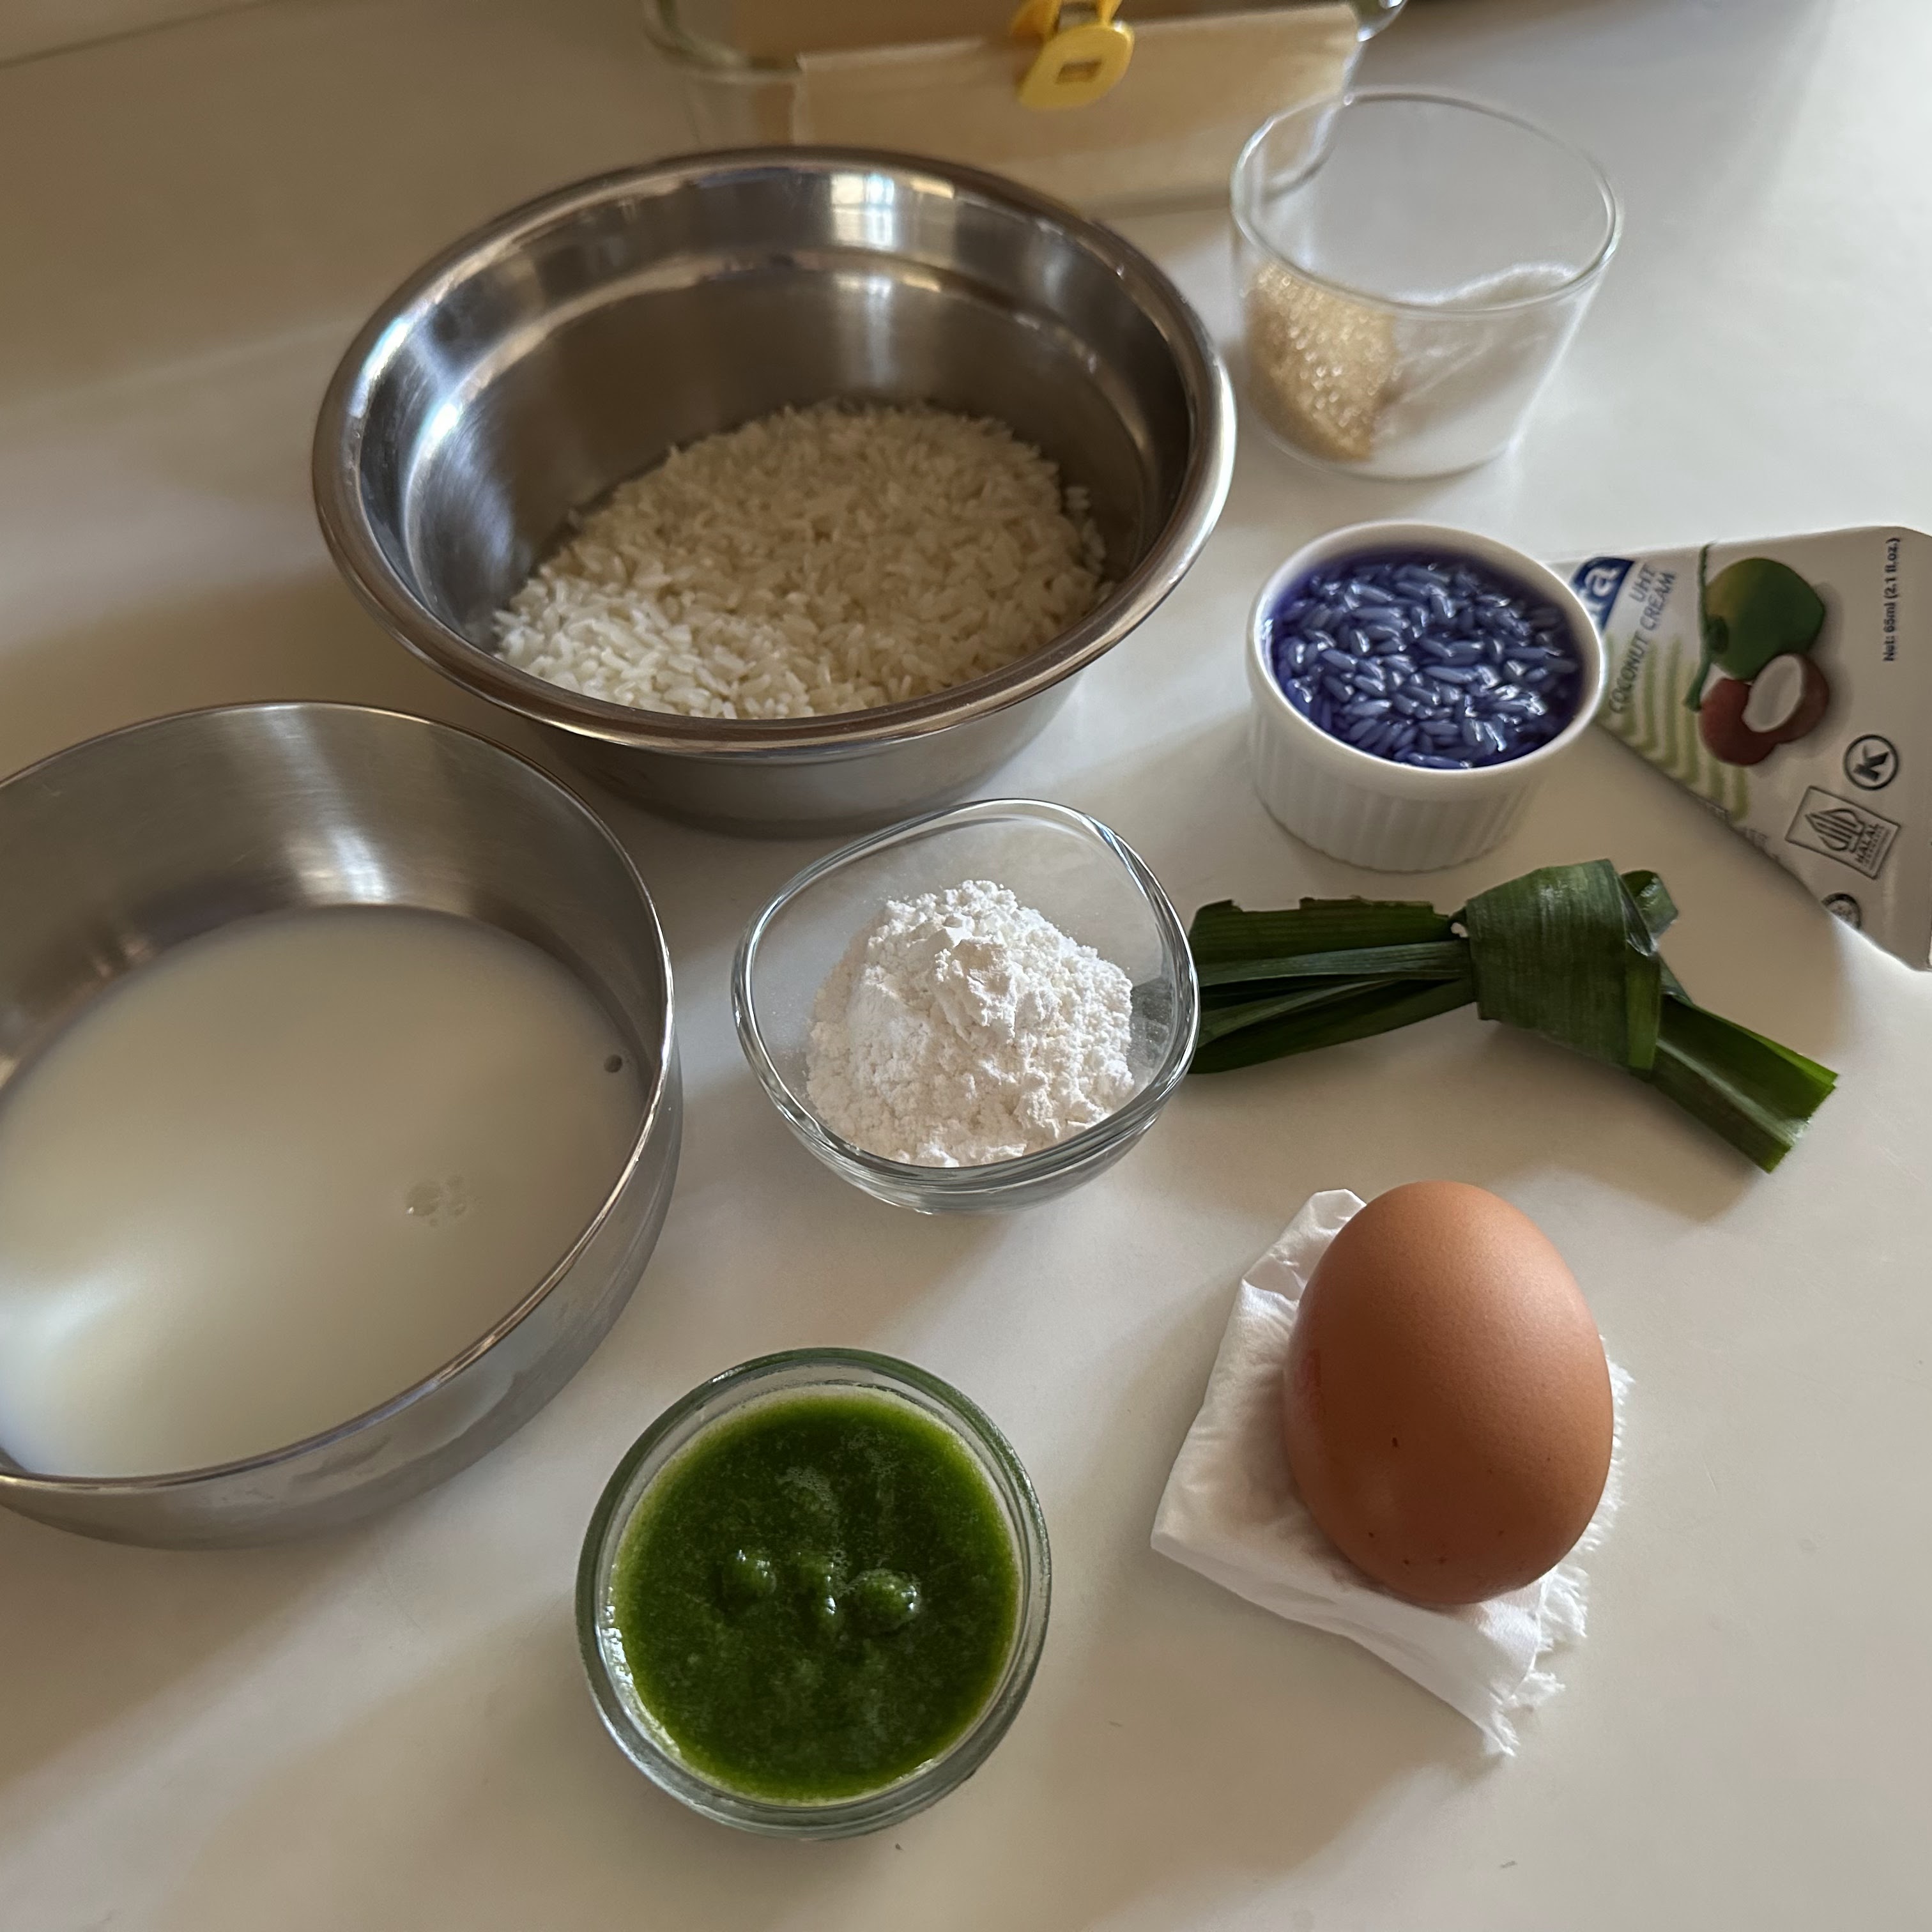
Ingredients
Glutinous Rice Layer 100g glutinous rice low-sodium salt, taste to gauge the amount. 25g low-fat milk/coconut milk
Add water to submerge the glutinous rice
Add about 1/4 tsp coconut oil 1 blade pandan leaf
About 10 dried blue pea flowers, soak in
About 30g of warm water for about 30 minutes
Pandan Custard Layer 65g coconut cream
55g low-fat milk 10g fine sugar
20g raw sugar/fine sugar
10g rice flour 1g corn starch
1/2 tsp pandan powder, optional, for enhancing the green
15g pandan paste*
5g coconut oil
1 egg, about 55g
Pinch of low-sodium salt
* Video of blending 20g pandan leaves with 50g water, and collect 15g of it without straining.
Directions
1. Rinse and soak glutinous rice in warm water for about 1.5 to 4 hours.
Picture for demonstration
2. Rinse dried blue pea flowers briefly, and soak in about 30g warm water for about 30 minutes. When the water turns blue, squeezed dry the flowers and discard them. Keep the blue pea water aside.
3. Scoop about 1 tbsp of soaked glutinous rice to a small bowl. Add blue pea flower water, a little low-sodium salt, and a little coconut oil to the glutinuous rice. Mix well and transfer to a small cup. Top up water to the small cup of glutinuous rice till reaching about 5mm above the rice. Keep aside for steaming later.
4. Drain away the water and add 25g low-fat milk, low-sodium salt, about 1/4 tsp coconut oil to the remaining soaked glutinous rice. Mix well, and top up water to the bowl of glutinuous rice till reaching about 5mm above the rice.
5. Pour about 150 to 200g of water to the inner pot of a mini rice cooker.
Place pandan leaves over the prepared glutinous rice.
Stand the cup and bowl of glutinous rice over a steamer rack in the mini rice cooker.
Start the cooking process for about 20 minutes. Stop cooking and let the glutinous rice simmer for about 5 to 10 minutes in the rice cooker to dry up the rice. The cooking time was about 20 to 25 minutes, or till the rice is cooked.
6. Let the blue and white cooked glutinous rice cool down slightly.
Lightly oil a 14x10x5cm glass pan or metal pan. Line a sheet of parchment paper before adding the two colour glutinous rice in alternate sequence. Press the cool glutinous rice into the base of the pan. Use the back of a spoon or spatula to compact the rice layer. Line a sheet of food wrap between the rice and the spoon would prevent the rice from sticking to the spoon.
Photo for demonstration only.
3. Combine all the ingredients under the Pandan Custard Layer together in a bowl.
Pour the mixture to a pot and stir over low heat, till the custard reaching 70 to 75℃ or start to thicken.
Picture for demonstration only.
Pour the thickened custard over the glutinous rice layer.
Cover the opening of the glass bowl with heat-resistant cling warp. Poke about 10 small pin-sized holes to the cling wrap.
Picture for demonstration only.
4. Pour enough water into the inner pot of a rice cooker to last for a 20-minute steaming. Stand the glass pan over a steamer rack.
Picture for demonstration only.
Select "Steam" function and set the "Cooking Time" to 20 minutes. And start the program.
After the "Steam" program has completed, switch the heating mode to "Keep Warm" let the cake simmer for about 10 minutes in the rice cooker. Turn off the heating and let the cake simmer for about 5 minutes, or till the pandan custard has solidified.
5. Transfer the steamed cake out of the rice cooker to cool down over a wire rack.
Lift out the cake to cool further after about 15 minutes.
6. Cut the steamed cake using a plastic cake knife after the steamed cake has completely cool down to room temperature.