Showing posts with label Traditional snack. Show all posts

Saturday, 19 March 2022

Eggless Peanut Pancake (Min Jiang Kueh)

After about one week of non-stop trying, I finally achieved the pancake of my desired texture, taste and size - the recipe is eggless; the pancake has crispy edge; soft yet springy crumb; and a snack size portion πŸ˜€

I have been queuing at a pancake or min jiang kueh stall almost every weekend to buy some delicious pancakes for my family. However, besides the long waiting time, the stall ran out of pancakes very fast, or did not have the fillings I wanted. Those are the reasons forcing me into replicating pancakes at home. Although the recipe I came out has not 100 percent matched the stall standard, it is quite close I would say πŸ˜‰

Everyone has their own preferences of pancakes, if you like crispy crust, soft and springy crumb pancakes, you may want to try out my recipe below πŸ‘‡πŸ˜ƒ

Video of my red bean paste pancake πŸ“Ή


Scroll to the end of this recipe to see the 4-portion recipe

Servings: 2 to 3 small portions
Frying pan size: 14x15 cm non-stick tamagoyaki pan or round frying pan

Ingredients

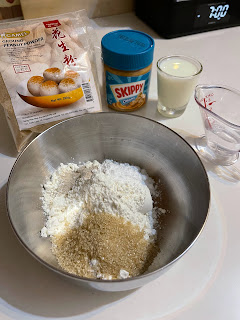
55g plain flour
5g tapioca starch/plain flour
15g raw sugar/fine sugar
1g baking powder
pinch of baking soda
1/8 ~ 1/4 tsp instant dry yeast *
pinch of vanillin powder, optional
pinch of low-sodium salt

19g hot water, above 80℃
50g low fat milk/ whole milk, room temperature
20g water, room temperature

4g rice bran oil/mild flavour vegetable oil, optional

Fillings
10g creamy peanut butter
25g sugar peanut powder

* If you prefer a shorter proofing time, add a bigger portion of instant dry yeast. Or else, keep it at 1/8 tsp.

Directions

1. Mix plain flour, tapioca starch, raw sugar, baking powder, baking soda, instant dry yeast, vanillin powder, and low-sodium salt in a small mixing bowl using a hand whisk.


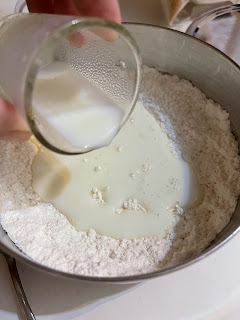
2. Add hot water to the flour mixture from Step 1.

3. Without stirring the content in Step 2, pour milk into the mixing bowl.

Using the hand whisk, give the batter about a 1-minute of quick stirrings in one direction until gluten form, or till the batter becomes smooth and glossy.

4. Add 20g of water to the batter, followed by the rice bran oil, stir till the batter is well mixed 


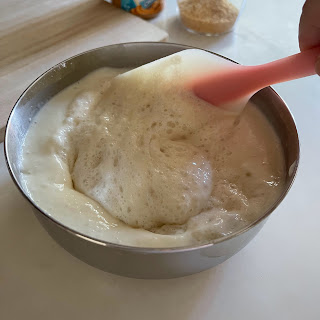
5. Cover with a lid, and let the batter proof for about 1 to 3 hours.

About 3 hours later πŸ‘‡

6. Apply a very thin coat of oil over a non-stick frying pan and heat over medium-low flame till evenly warm up. While the pan is heating up, briefly stir the batter to release the trapped bigger air bubbles. 

Let the batter rest till the pan has heated up.

7. When the pan is evenly heated up, pour in the batter. 
The pancake will take about 10 to 12 minutes to finish cooking 🍳

Give the pan two rounds of swirling to form a thin skirting around the edge of the batter.

Wait for the batter to cook till the pancake edge shrinks away from the pan,

and most of the pancake surface is cooked, or only left a small patch of batter un-cooked at the center.

Cover the pan with a wooden chopping board or lid. This helps the pancake to cook faster.

The pancake is cooked when the edge is brown and the surface is dry. Let the pancake cook for a while after removing the lid, this helps to dry the pancake, or else the base would be wet.

8. Remove the pan from the heat source,

and run a silicone spatula around the edge of the pancake to loosen it from the pan.

Transfer the pancake to a wooden board lined with parchment paper,

and fold the pancake in half. If the pancake is to lie with the whole crispy crust facing down, the crust would become soggy because of the accumulated condensation of the remnant steam. Let the pancake rest for about 2 to 3 minutes.

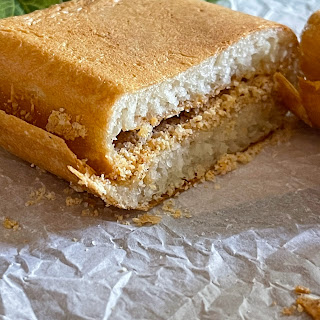
9. While the pancake is still warm, open up the folded pancake, apply a thin layer of creamy peanut butter over the soft face of the pancake

Sprinkle sugar peanut powder over the peanut butter.

Spread out the sugar peanut powder evenly over the pancake face.

Fold the pancake in half again.

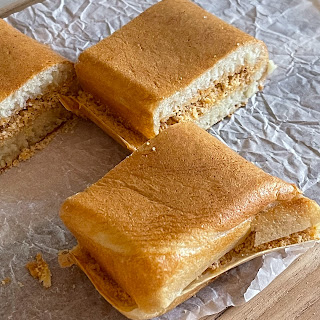
10. Cut the pancake and enjoy it warm or cold πŸ˜‹


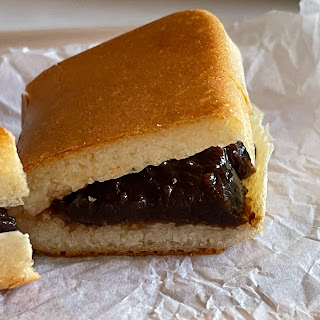
Red Bean Paste Pancake

Servings: 4 small portions
Frying pan size: 11x12 cm non-stick tamagoyaki pan or round frying pan

Ingredients

70g plain flour
10g tapioca starch/plain flour
20g raw sugar/fine sugar
1/4 tsp baking powder
pinch of baking soda
1/4 tsp instant dry yeast 
pinch of vanillin powder, optional
pinch of low-sodium salt

20g hot water, above 80℃
65g low fat milk/ whole milk, room temperature
25g water, room temperature

4g rice bran oil/mild flavour vegetable oil, optional

Fillings
100g red bean paste

- Divide the batter into two portions and cook in a smaller tamagoyaki pan 11x12 cm twice. So, you will get two smaller pancakes. Cut the pancakes into halves to get 4 portions πŸ˜‹


Friday, 25 December 2020

Pandan Glutinous Rice Ball in Coconut Milk

It was my family's tradition to prepare and eat glutinous rice ball in pandan sweet soup on Winter Solstice day. My mother used to prepare white and pink plain glutinous rice balls in sweet pandan soup with some gingko nuts. To be frank, the dessert was very appealing in vision, but plain in taste.

Now, as I am in charge of preparing the dessert, I can decide the type of glutinous rice ball soup to offer to my family. Borrowing the idea from ondeh-ondeh, I prepared the glutinous rice ball in pandan flavour, filled with melted palm sugar, and served in thick sweet coconut milk.

I noticed glutinous rice balls have a more chewy texture when serve cold. So, I waited for the glutinous rice balls to cool in icy water, before serving in warm coconut milk πŸ˜‹

Update: 28 February 2021
I learned from a TV program featuring a famous ondeh-ondeh seller using pellet form of palm sugar instead of loose form. So, I followed and found it easier and less messy to wrap the glutinous rice balls. And the glutinous rice balls also would not over inflate due to presence of less air in the filling. Never try learning and exploring😊


Serving: 3~4 persons

Pandan Glutinous Rice Ball (18 pcs)

Ingredients

90g glutinous rice flour
10g tapioca starch/glutinous rice flour *
5g caster sugar

25g boiling water
25g pandan paste Details in Step 1

30~40g warm water ( to be added during kneading)

Filling

20~40g^ palm sugar/gula melaka granules

* tapioca starch gives a better chewy texture to the rice ball, but it is okay to replace by an equal amount of glutinous rice flour.
 
^ by compacting the palm sugar, you can increase the filling quantity.


Sweet Coconut Milk

100g water
1 blade pandan leaf
15g condensed milk
10g caster sugar
65ml coconut milk
1/8 tsp low-sodium salt

3g glutinous rice flour mix with
25g water as thickener

Directions

1. Cut 20g of pandan leaves into thin strips before blending with 50g of water into a smooth paste.


Collect 25g of the pandan paste for use.

2. Mix glutinous rice flour, tapioca starch and caster sugar in a mixing bowl.


Dig a well in the center of the flour mixture, and pour about 25g of boiling water into it. Cover with a lid, and let it rest for about 5 minutes without stirring the mixture.


3. After the 5-minute wait, stir the mixture,


and pour the 25g of pandan mixture in. Stir to mix.


Gradually add the 30~40g of warm water into the mixture.


Once the mixture becomes crumbly, stop adding water, and knead those crumbs together into a dough.


Knead the dough and continue to add water slowly depending on the dough condition. Try not to keep the dough too wet, as the rice ball will become soggy after cooking.


The dough should become smooth and no crumb will fall off the dough during kneading. To test, take a small piece of dough and roll it into a ball. The ball should be smooth without any crack line.


Cover the dough with a lid, and let it rest for about 30 minutes.


4. While waiting, prepare the sweet coconut milk. 
Boil 100g of water with pandan leaf till fragrant.

Dissolve condensed milk into the hot pandan water.

Add 10g of sugar to the hot mixture.

When the mixture beginning to boil, pour in the coconut milk and stir.

Add in pinch of salt to taste.

When the mixture starting to boil again, stir in the glutinous rice water to thicken the mixture.


Transfer the sweet coconut milk to a glass beaker and keep warm in a rice cooker till needed.


5. Divide the dough into about 18 portions, each weighing about 10g.


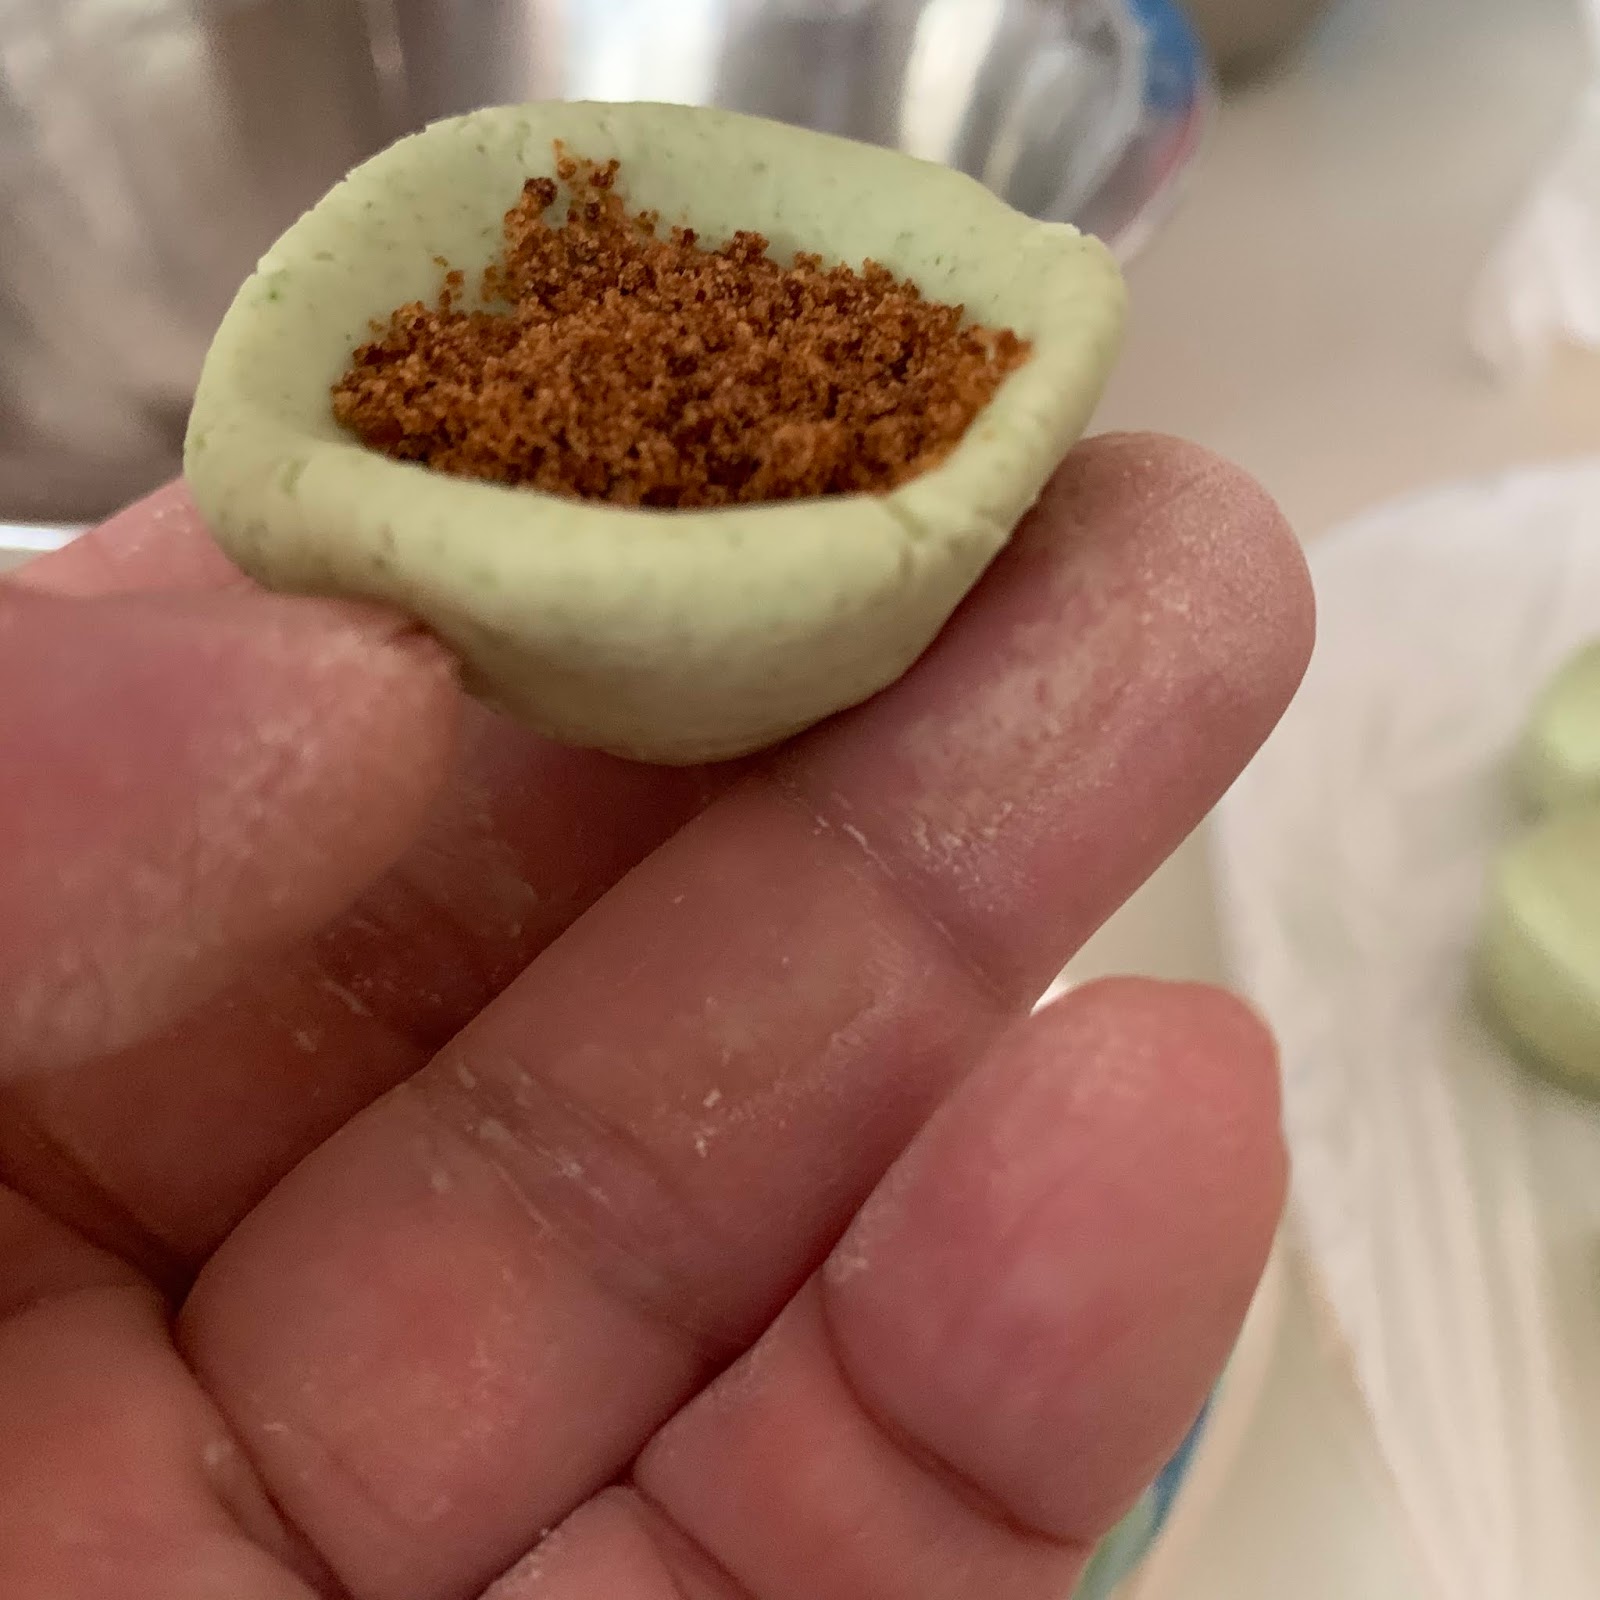
Shape the dough into a shallow bowl.


Hold about 1g palm sugar granules in the dough,


wrap up the dough,


compress the dough ball using your palm to ensure no point of weakness can be found on the dough surface. This is to avoid the melted palm sugar from leaking out during cooking.


Roll the dough into a smooth ball.

Place the shaped rice balls on a plate without touching each other.

Alternative: by spraying some mist over the palm sugar (slightly moistened), and compact them into a 2g pellet before wrapping up in the glutinous rice dough.


6. Start to boil some water in the pot before shaping the dough. So, when you finish shaping all the rice balls, the water should be boiling.


Drop the rice balls into the boiling water gently. Stir the water occasionally to avoid the rice balls from sticking to the base of the pot.


Cover the lid and let the content simmer. Do not let the water boil vigorously as the rice balls may rupture.


When the rice balls are cooked, they will float to the surface. Let them simmer for another 5 minutes, to ensure the palm sugar melts thoroughly.


Transfer the cooked rice balls to a bowl of ice water to cool down.


7. Dry the glutinous rice balls before pouring the warm sweet coconut milk over before serving. Enjoy πŸ˜‹