Every Friday, I would bake a bread using Herman Starter. I plan a 7-day cultivation cycle for my Herman Starter. I start a fresh cultivation on Friday, harvest it 6 days later, or on Thursday. Prepare the dough on Thursday afternoon, and let the dough undergo cold fermentation till the next day. Bake the dough on Friday and start another round of cultivation.
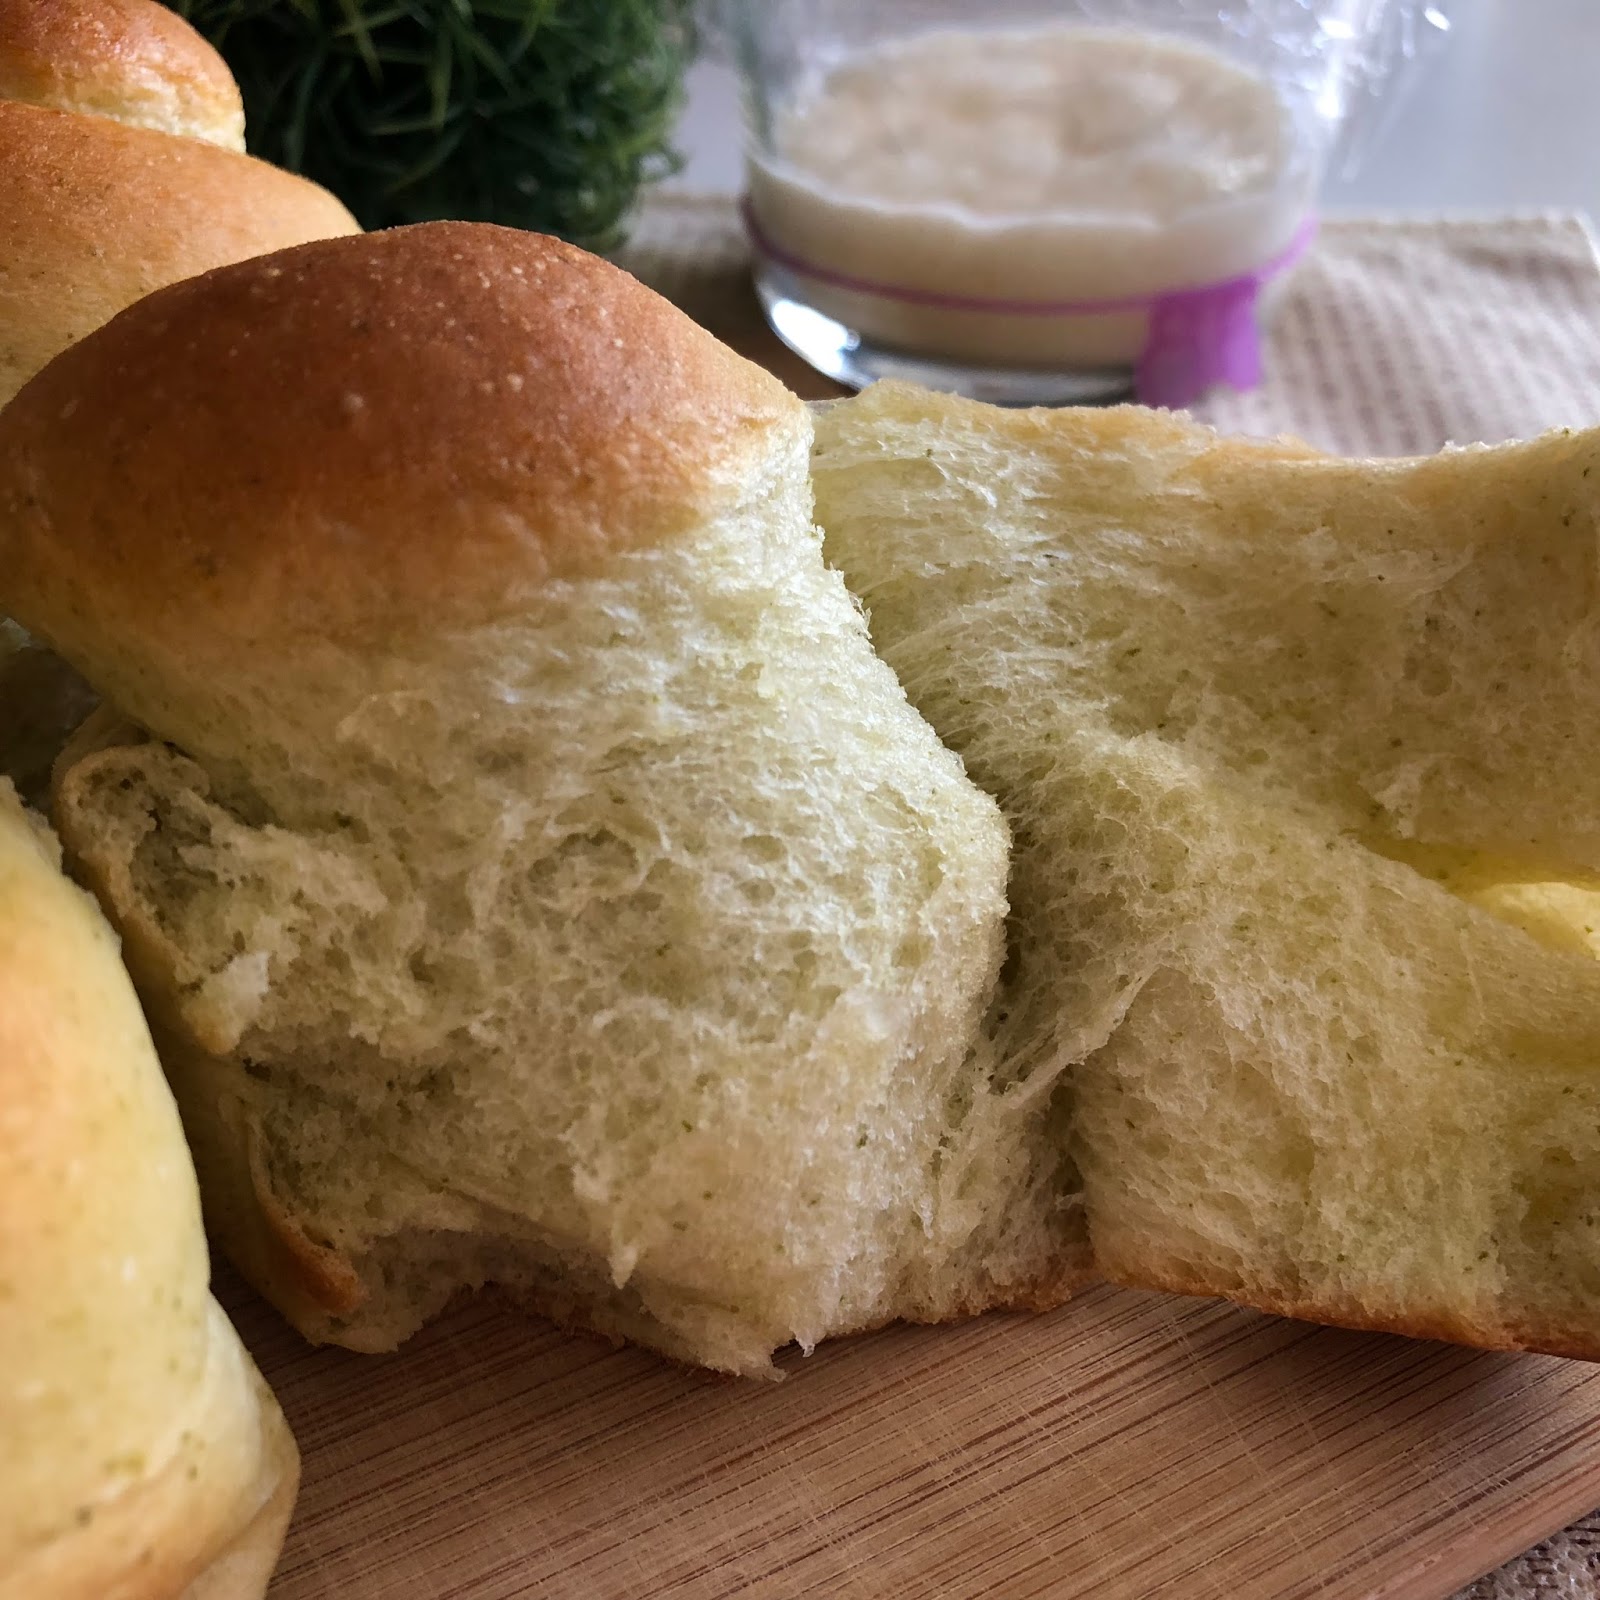
My first intention was to bake a loaf of pandan milk bread. However, misplanning had left me with no choice but to bake the dough in a square pan. Rolling 9 small doughs into spiral shape was very time consuming, but it gave the buns a good springy texture 😋
Baked 9 buns in a 20cm square pan
Bread maker: Mayer MMBM12
Raw dough weight: 535g
Baking temperature: In a preheated oven at 180°C for 5 minutes, reduced to 170°C for 20 to 25 minutes
Sweet Butter Sauce
5g salted butter
2g golden syrup
Some salted butter for glazing after baking

Take an empty plastic bag, lightly coated with oil, and transfer the dough into it.

3. Take out the dough and thaw in room temperature for about 2 hours.

Two hours later.

Turn out the dough onto a floured work top, flatten and divide into 9 portions. Shape into balls and let them rest for 15 minutes.

4. While waiting, line a 20cm square pan with parchment paper.

Melt 5g of salted butter with 2g of golden syrup in a rice cooker. Set aside.

5. Take a dough and roll out into a rectangular shape.

Fold in the two longer edges towards the centre. Roll flat with a rolling pin.

Brush a thin coat of sweet butter sauce over the dough, but avoiding the two shorter ends.

Roll up the dough starting from the shorter end.

Seal the end by pinching.

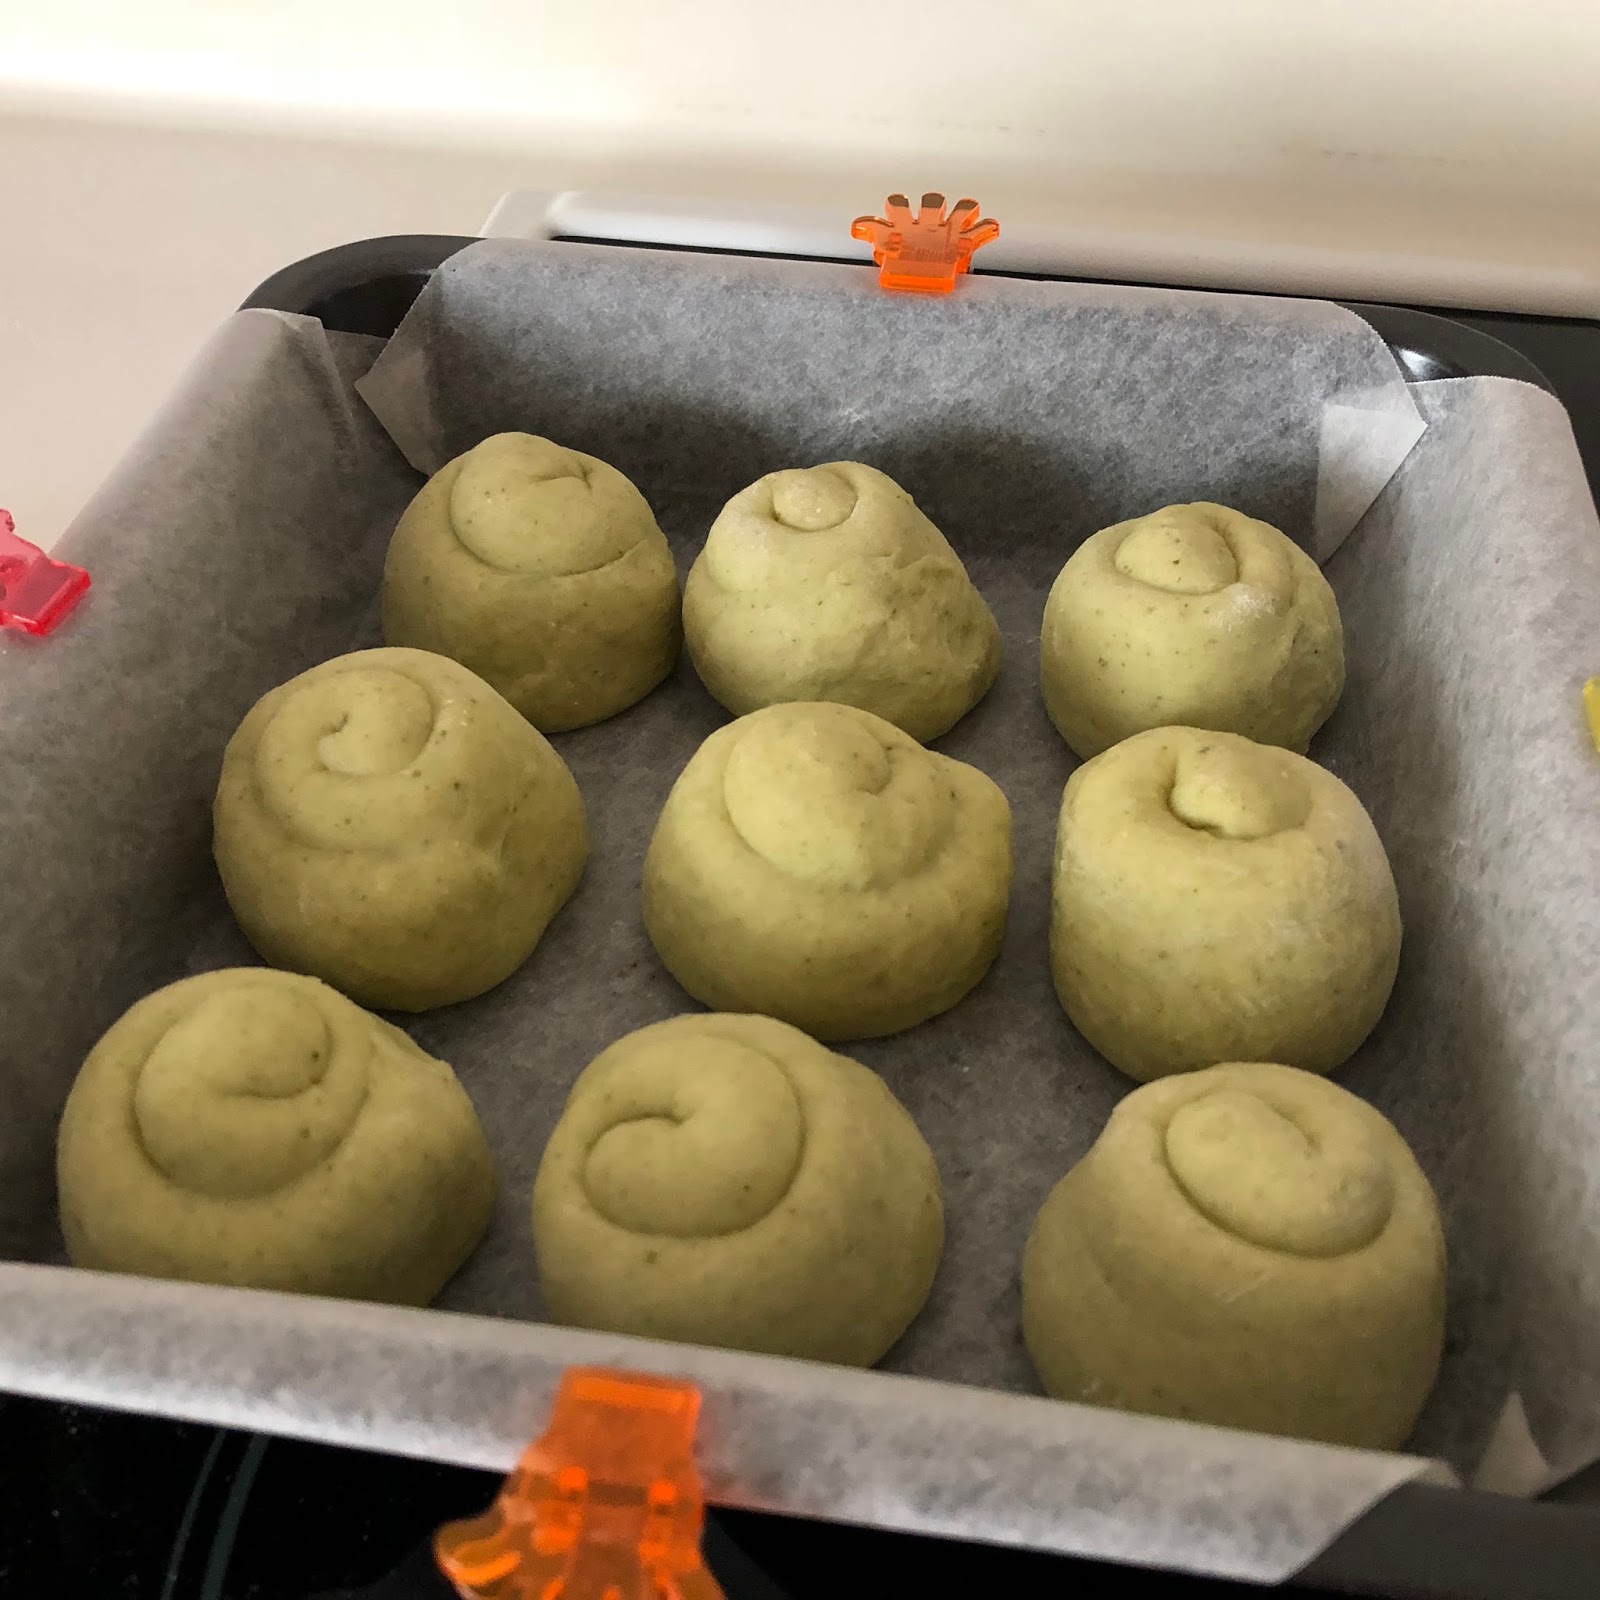
Stand the rolled dough on its , spirals end, lightly press down from the top to make it shorter so it would not topple easily.


Rest the dough, evenly spread out, in the prepared square pan.

Cover with a kitchen towel, and let the dough proof in room temperature, about 29°C, for about 90 minutes or till double in size.

6. Preheat the oven to 180°C for about 10 minutes.
Baked 9 buns in a 20cm square pan
Bread maker: Mayer MMBM12
Raw dough weight: 535g
Baking temperature: In a preheated oven at 180°C for 5 minutes, reduced to 170°C for 20 to 25 minutes
Ingredients
10~12g pandan leaves105g water
15g beaten egg
35g fine sugar
3g fine salt
20g coconut/vegetable oil
200g Prima bread flour
50g Japanese/Prima bread flour
5g milk powder
100g Herman Starter (7th day)
1g instant dry yeast
Sweet Butter Sauce
5g salted butter
2g golden syrup
Some salted butter for glazing after baking
Directions
1. Stir a 7th day Herman Starter, and use it after about 5 hours.Blend 10~12g of fresh pandan leaves with 105g of water in a food processor into a smooth mixture. Collect 110g of the pandan leaf puree for use later.

2. Pour all the dough ingredients into the bread pan following the sequence listed. Select C-11 Ferment Dough function, and start the program.

When the countdown timer reads 0:45, stop the program manually.

Let the dough sit in room temperature for about 60 minutes.
Double seal the dough with another plastic bag, cover with a lid, and place in a fridge to undergo overnight cold fermentation. My dough took about 15 hours to undergo cold fermentation.


Brush the balance sweet butter sauce over the top of the dough.


7. Baked at 180°C, at lower rack of the oven, for about 5 minutes.

Reduce the oven temperature to 170°C and bake for about 15 to 18 minutes, or till the top becomes golden.

End of baking.

8. Rest the hot buns over a wire rack.
 ,
,
Apply salted butter over the hot buns immediately.


Remove the pan and let the buns cool down further. Enjoy 😋💖


 ,
,