
After going through several online sharings, I finally adopted a method used by the Thai or Vietnamese. However, I replaced the commonly used mustard greens by Japanese or Shanghai greens as the latter is easier to be found in the supermarkets near me.

My first attempt was a failure as the brine was too hot. After my second attempt, I finally got the right flavour. However, the aroma was not very strong as the fermentation period was too short.
I've a third batch of preserved vegetable undergoing fermentation. I'm going to let it runs for a longer fermentation. I'll update the result in a later date 😀

Update: 27 Aug 2018
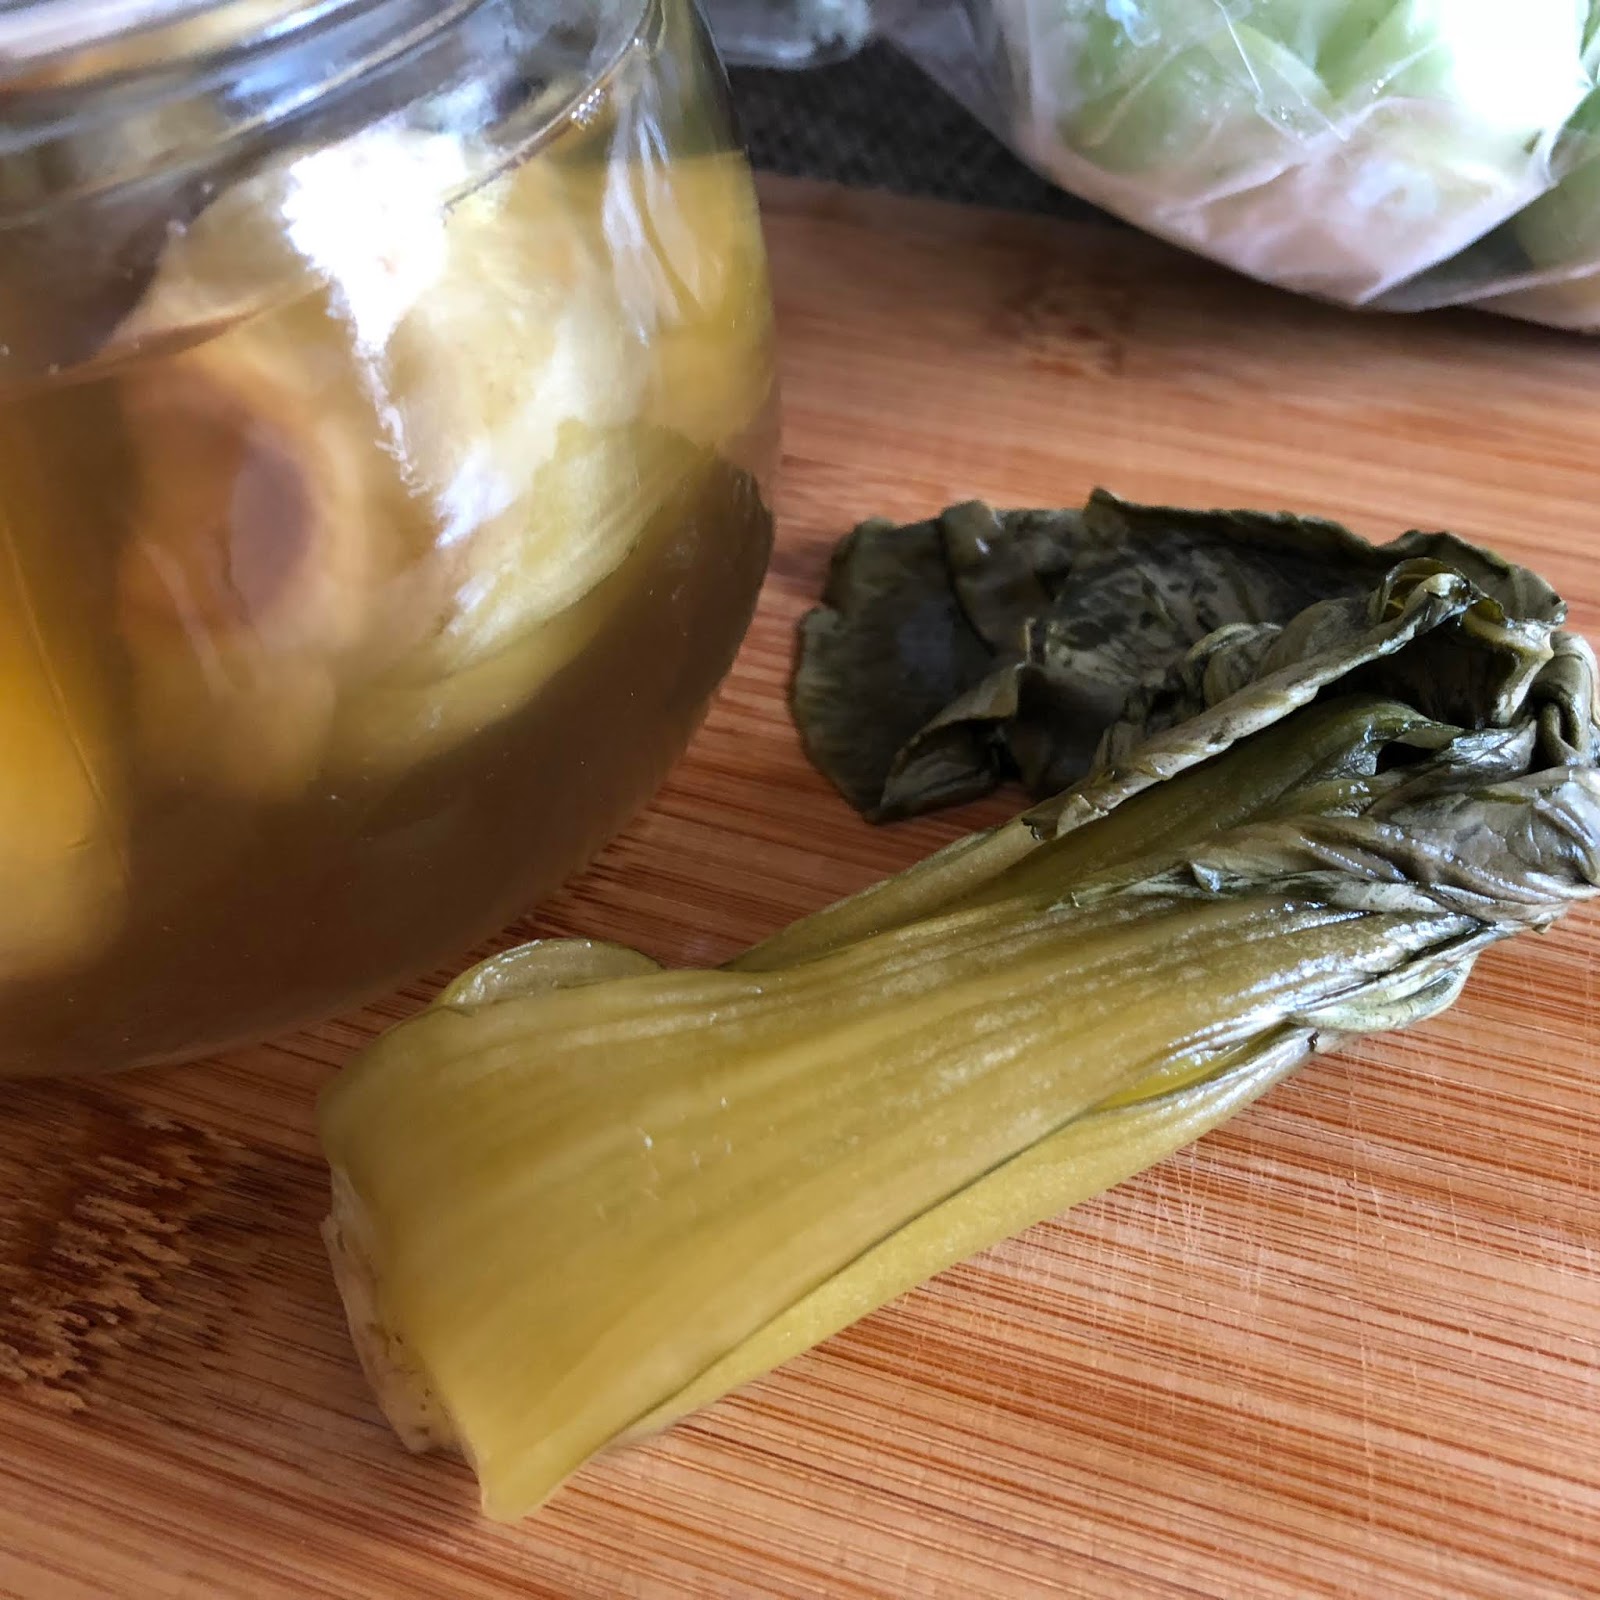
After about 2 weeks of fermentation, the preserved vegetables had a more intense flavour and sour taste as compare to those with less than 1 week fermentation. The saltiness was just nice. I used them to prepare a pot of preserved vegetable tomato pork rib soup without having to soak them in water. This in turns also helped to keep the nice flavour of the vegetables intact 😄

Update: 11 Sep 2018
By adding some of the liquid collected from previous batch to the new batch would help to accelerate the fermentation process. I could smell a stronger scent in the second day. Details can be found at the end.

Update: 28 Sep 2018
To prepare a bigger quantity, I used a 950ml bottle to hold one packet of Shanghai green.
650ml water
25g low sodium fine salt
35g raw sugar
8g white rice
250g Shanghai Green

Update: 16 Nov 2018
Ingredients
100~125g thick stem green vegetableA cotton thread for drying the vegetable
400g water
15g low sodium fine salt*
20g raw sugar
5g jasmine rice grains
A 500ml glass container with lid
a small glass container, or bamboo skewers for pushing down the vegetables.

* low sodium fine salt can be found at Fairprice Finest supermarkets. It is not as salty as common salt.

Directions
1. Rinse the vegetable with vegetable and fruit wash. Invert the vegetables and hang using a cotton thread to dry overnight or more than 12 hours. I let the vegetables dry for about 18 hours.

If the vegetable stem is too thick, cut into halves lengthwise.

2. Rinse the glass container with hot water.

Invert to cool down. Set aside.


Stop heating when the rice grains swell.

Remove from heat and let the brine cool down to about room temperature (or not exceeding 40℃).


5. Stuff the vegetables into the cool glass container.

Pour the brine into the container. Need not pour the rice grains in.

Pour the brine in till all the vegetables are fully submerged.

Place a small glass object over to prevent the vegetable from floating to the surface. Sterilsed the glass object before use.


Alternatively, you can also use bamboo skewers to keep the vegetables under the brine.

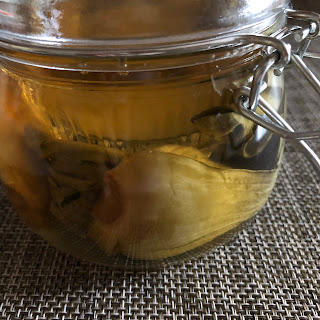
There will be some gas accumulate in the bottle after a few days, I would open the lid to release it, and also to make sure the vegetable was doing well - no bad smell 😊


Day 3

Day 4


I used the preserved vegetable to prepare a fish soup dish. It was delicious 😋


I used them to prepare a pot flavourful soup with pork ribs and tomatoes.


The soup was prepared in an IH rice cooker using the "Soup" function. Cooked for 1 hour and simmered for another hour.


Pour the "fermented juice" to the new batch of vegetables.

Top up with the newly prepared brine.

This will accelerate the fermentation process for the new batch 😊


Observations
Day 1

Day 2

Day 3

Day 4

Day 5
The vegetable was more yellowish, and I could smell a distinct aroma of the preserved vegetables.
If the vegetables have a slimy coating and smell bad, please discard the content for safety concern. There maybe a contamination in the bottle.

Some bubbles appeared at the surface of the brine.


I used the preserved vegetable to prepare a fish soup dish. It was delicious 😋


Update: 27 August 2018
After about 2 weeks of fermentation.

I used them to prepare a pot flavourful soup with pork ribs and tomatoes.


The soup was prepared in an IH rice cooker using the "Soup" function. Cooked for 1 hour and simmered for another hour.


Update: 10 Sep 2018
Continue from the top.
Collect about 50 to 60g of "fermented juice" from the previous batch.

Pour the "fermented juice" to the new batch of vegetables.

Top up with the newly prepared brine.

This will accelerate the fermentation process for the new batch 😊

No comments:
Post a Comment
I love seeing your comment and sharing it with other readers. Your comment would be published after moderation. Thank you :)