Sunday, 11 March 2018

Steamed Pandan Cake Kaya Sandwich 咖椰夹心蒸香兰蛋糕

A simple steamed cake with low-sugar kaya sandwiched in between layers. Suitable as a light night snack to enjoy before sleep 😴🛌 Although it is not a healthy habits to eat before sleep, I can't sleep with an empty stomach too 😌

Yield: 1 x 13cm round cake
Pan size: 14 x 5 cm round cake pan
I bought this small cake pan from Daiso

Ingredients

All ingredients in room temperature
Using 55g Omega 3&6 eggs

53g water
5g pandan leaf

10g condensed milk
10g coconut oil

2 egg whites
Pinch of salt
50g fine sugar
2 egg yolks

70g top/cake flour


Filling
40g kaya jam, less-sugar version
5g hot water


Directions

1.  Line a 14cm round cake mould with parchment paper. Set aside.

2. Cut 5g of pandan leaf into thin strips and blend with 53g of water in an electric blender. Strain the pandan mixture and collect 50g of pandan juice from it.
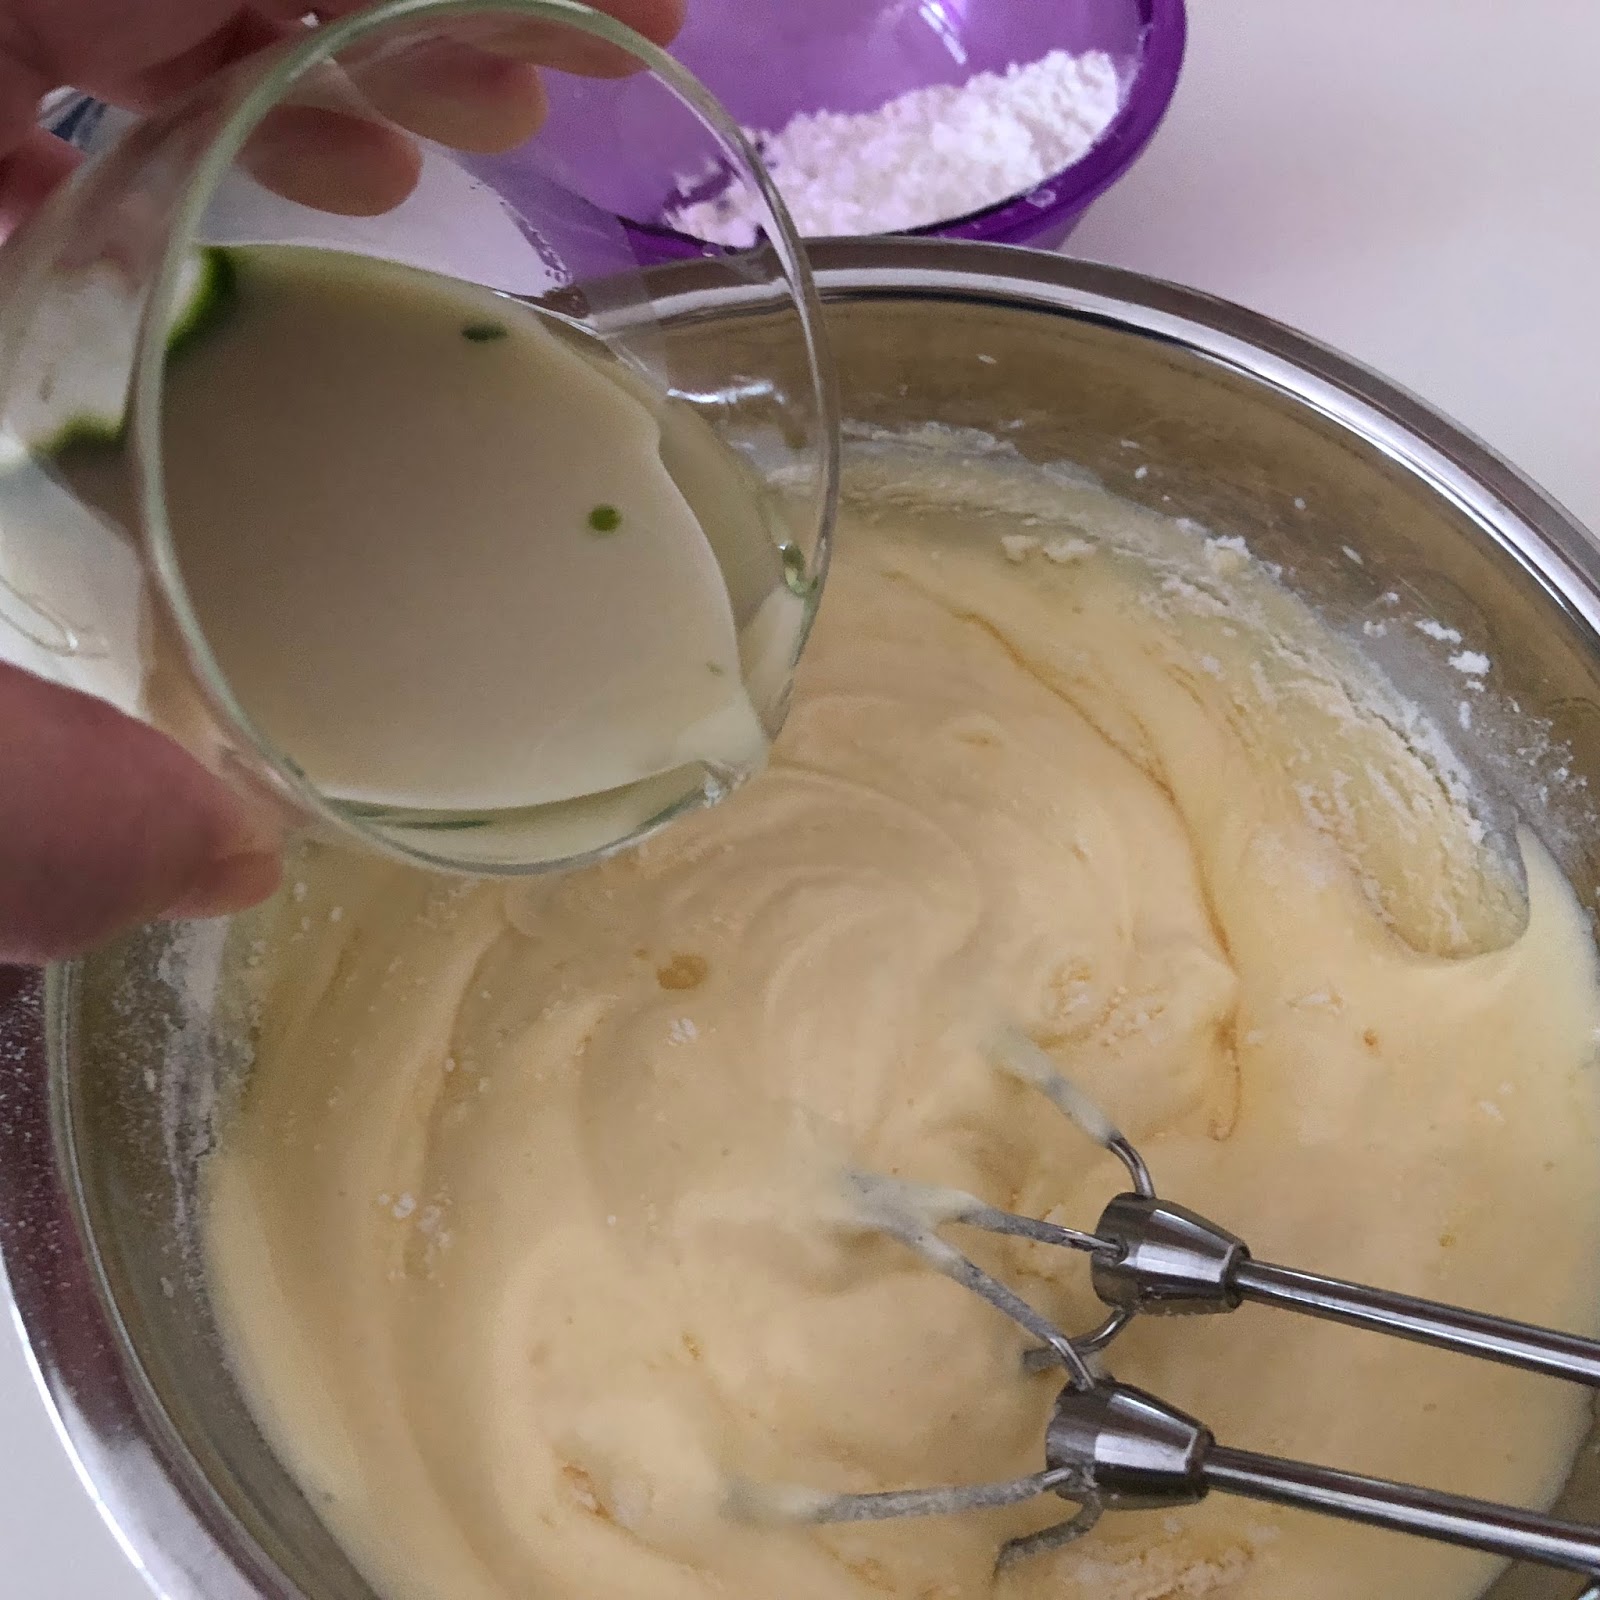
Mix the pandan juice with condensed milk and coconut oil in a small glass. Set aside.

3. In a dry, clean and grease-free bowl, whisk egg whites till frothy using an electric hand mixer. Add a pinch of salt, and continue to whisk for 1/2 minute.

Slowly whisk in the sugar in three additions.

Whisk till firm peak stage.

Whisk in the egg yolks, one at a time. 

Continue to whisk till reaching ribbon stage (the dripped beaten egg stays on the surface for more than 10 seconds).

4. Mix in the sieved top flour and pandan-milk mixture (from Step 2), in alternating sequence. Start with flour and end with flour.
Flour ⏩ pandan-milk ⏩ flour ⏩ pandan-milk ⏩ flour


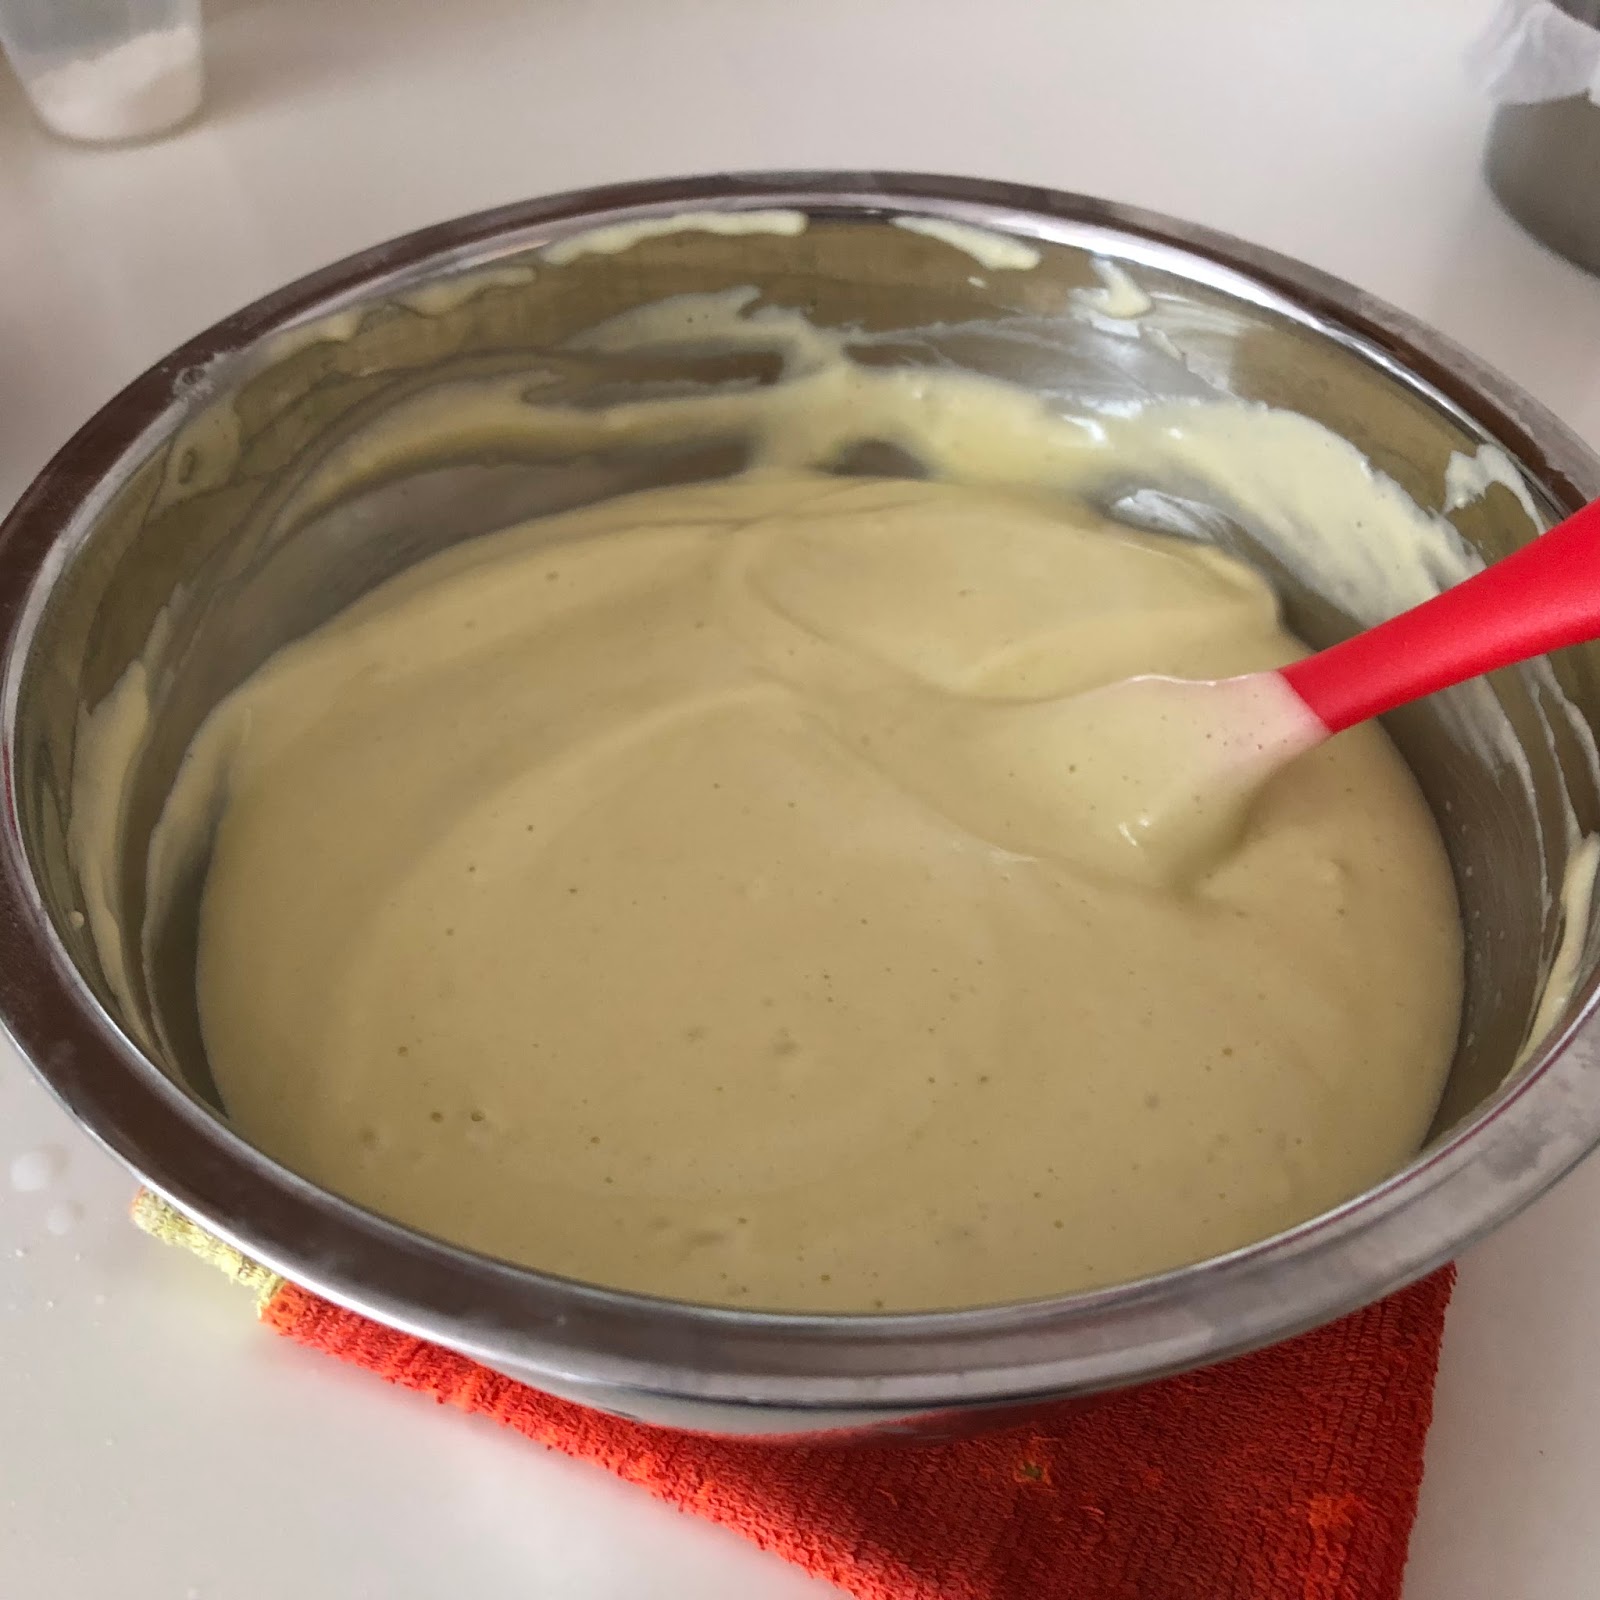
Use a spatula to give the batter a thorough mix. Ensure no liquid settle at the bottom of the mixing bowl.

5. Pour the batter into the lined cake pan.

Bang lightly to remove any trapped air bubbles.

6. Pour about 100g of water into an 18cm pot and bring to a light boil at medium-low heat. Place a shallow steamer's stand in it.

Lower the cake pan into the pot, cover with a glass lid, and let it steam at medium-low heat for about 5 minutes. The glass-lid has a steam-vent to prevent pressure building up.

5 minutes later, lower the heating to low, and continue to steam for 15 minutes.

15 minutes later

Remove the lid carefully to avoid the condensed water from dripping onto the surface of the cake.

Check the cake with a cake tester to ensure it is thoroughly cooked.

7. Lift the cake pan out of the pot, and drop it thrice to a kitchen towel from a height of about 10 cm. This is to prevent the cake from excessive shrinking after cooling down.
Let the cake cool down in the pan for about 5 minutes before removing the pan.

Let the cake cool down completely over a wire rack.

8. Mix 40g of less-sugar kaya jam with about 1 tsp of hot water. This is to make the kaya easier to apply over the cake. If your kaya has a low consistency, you can omit the hot water.

9. Pull down the parchment paper and trim away excess paper.

Divide the cake into three layers.

Apply kaya jam over the cake face and stack back the cake layers.


10. Let the cake rest for 5 to 20 minutes before cutting it. 

Enjoy it at room temperature or cold. Keep the unfinished cake in the fridge 😋


Wednesday, 7 March 2018

古早味小鸡蛋糕 Old Fashioned Sponge Cupcake


In early days, when life were simpler, snacks were made from ordinary ingredients taking on their original flavours. No artificial flavouring, colouring nor additives 🍯


The cake recipe I found called it 古早味蛋糕, literally means old fashioned sponge cake. The flavour of this cake came mainly from the eggs. The original recipe baked the cake in a wide base flat pan.  When the cake was hot, it wobbled like Japanese cotton cheesecake.  Although I made a little modification and baked in small cupcakes without water bath, the velvety cake texture was still moist and soft 😉

蛋味浓郁的小鸡蛋糕。利用烫面法让蛋糕软绵湿润 😁

Recipe modified from 古早味蛋糕


Ingredients

25g rice bran/ mild flavour vegetable oil
35g top/cake flour
20g fresh milk
2 egg yolks
5g golden syrup/honey
2 egg whites
A little fine salt
25g fine sugar

Directions

1.  Heat up rice bran/mild flavour vegetable oil at low heat till you see convection current starts to form at the base. The temperature should be around 65 to 70°C.


2. Pour in the top flour and mix using a silicone spatula into smooth paste.

Remove from the stove.


3. Mix in the milk followed by the egg yolks.


Followed by golden syrup or honey.


Cover with a lid and set aside.


4. Add egg whites into a dry and grease-free stainless steel mixing bowl. Sprinkle a little salt over the egg whites.

Beat egg white till frothy, gradually add in the sugar in 3 batches. Beat till the egg whites reaches firm peak stage.


5. Take 1/3 of the meringue to mix with the yolk batter from (3).


Pour the yolk batter to mix with the meringue till smooth.


6. Pour the batter into the paper cupcake moulds reaching about 4/5 the mould's height.


7. Bake at the lower rack of a preheated oven set at 130°C for about 12 to 15 minutes, or till the top starts to level.


15 minutes later,  increase the oven temperature to 150°C and bake for about 15 to 20 minutes*, or till the top turns golden and the side shrinks from metal mould.

15 minutes​ later.


* For a more intense browned crust, bake at 150°C for 10 minutes, then increase the temperature to 170°C with only the upper heating element turns on for about 5 minutes.


8. Immediately after leaving the oven, bang the mould against the table top for about 2 to 3 times. This helps a to reduce shrinkage after the cakes have cooled down.


Let the cupcakes cool down completely over a wire rack.


In my previous bake, I didn't bang the mould, and the top of the cakes sunk after cooling down 😭

Enjoy it warm or cold 😉
The cake is best consumed on the same day while it is fresh. Any unconsumed cake should be kept in the fridge and finish as soon as possible 💖


Update: baked on 8 Mar 2018 


Forgot to bang the cake tray after baking, and ended with one over-shrunk cake :(