A popular bread recipe by a renowned Taiwanese baker 王传仁 which attracted many home bakers to try it out recently. And it included me 😍 In the next morning after I came to know about the recipe, I baked them in the oven and tried them out 😆 Very nice buttery aroma for a plain simple bun🥖
The uniqueness of the bun was the layer of icing sugar topping. However, the icing sugar disappeared fast due to the high humidity here. You'll have to finish them within the day or else it will turn into a wet topping. Therefore, I used whipping cream to brush the other half of the buns which I kept for the next day consumption.

Yield: 8 x 14cm long buns
Raw dough weight: 455g
Baking temperature: 160℃ for 25 minutes at lower rack of oven
Ingredients
Ingredient A225g bread flour
25g top/cake flour
25g fine sugar
4g fine salt
7g milk powder
1 egg yolk, 20g
Ingredient B
140~145g water
Ingredient C
3g instant dry yeast
Ingredient D
20g unsalted butter, cold
Glazing ingredients
4g salted butter, melted
1/2 tsp icing sugar
1 tsp whipping cream
Directions
1. Mix Ingredient A in a mixing bowl before adding Ingredient B.
Mix till all the ingredients come together into a ball. Sprinkle Ingredient C over the dough

And use low speed of a stand mixer to mix the dough for about 5 minutes.


Add in the cold Ingredient D and allow the butter to thaw for about 5 minutes. Mix at low speed for about 3 minutes, then increase to medium speed (about 4 to 5) till the dough reaches window pane stage.
I found the dough was very sticky and it took me almost 50 minutes to get it to reach window pane 😓 Maybe I didn't follow the instruction to use high speed to knead the dough. I'm new to using a stand mixer to knead the dough - still have a long way to go 😅


2. Shape the dough into a ball and let it rest for about 10 minutes.

After the 10-minute rest, flatten the dough a little,

and divide it into 8 portions.

Shape the dough into balls

cover and let them rest for about 10 minutes.

While waiting for the dough, melt about 4g of salted butter for brushing the dough later.

3. Roll out the dough into a flat dough of about 5mm thick.

Flip over and roll up from the longer edge, into a long dough.

pinch to seal at the end.


Arrange the dough in a baking tray lined with non-stick baking sheet.

Brush the dough with melted butter.


Let the dough proof in a closed oven for about 45 minutes.

4. Remove the dough from the oven, and start to preheat the oven to 160℃ for about 10 minutes.
Brush 4 buns with whipping cream, optional.

Dust some icing sugar over the top of the remaining buns.

Ready for baking.
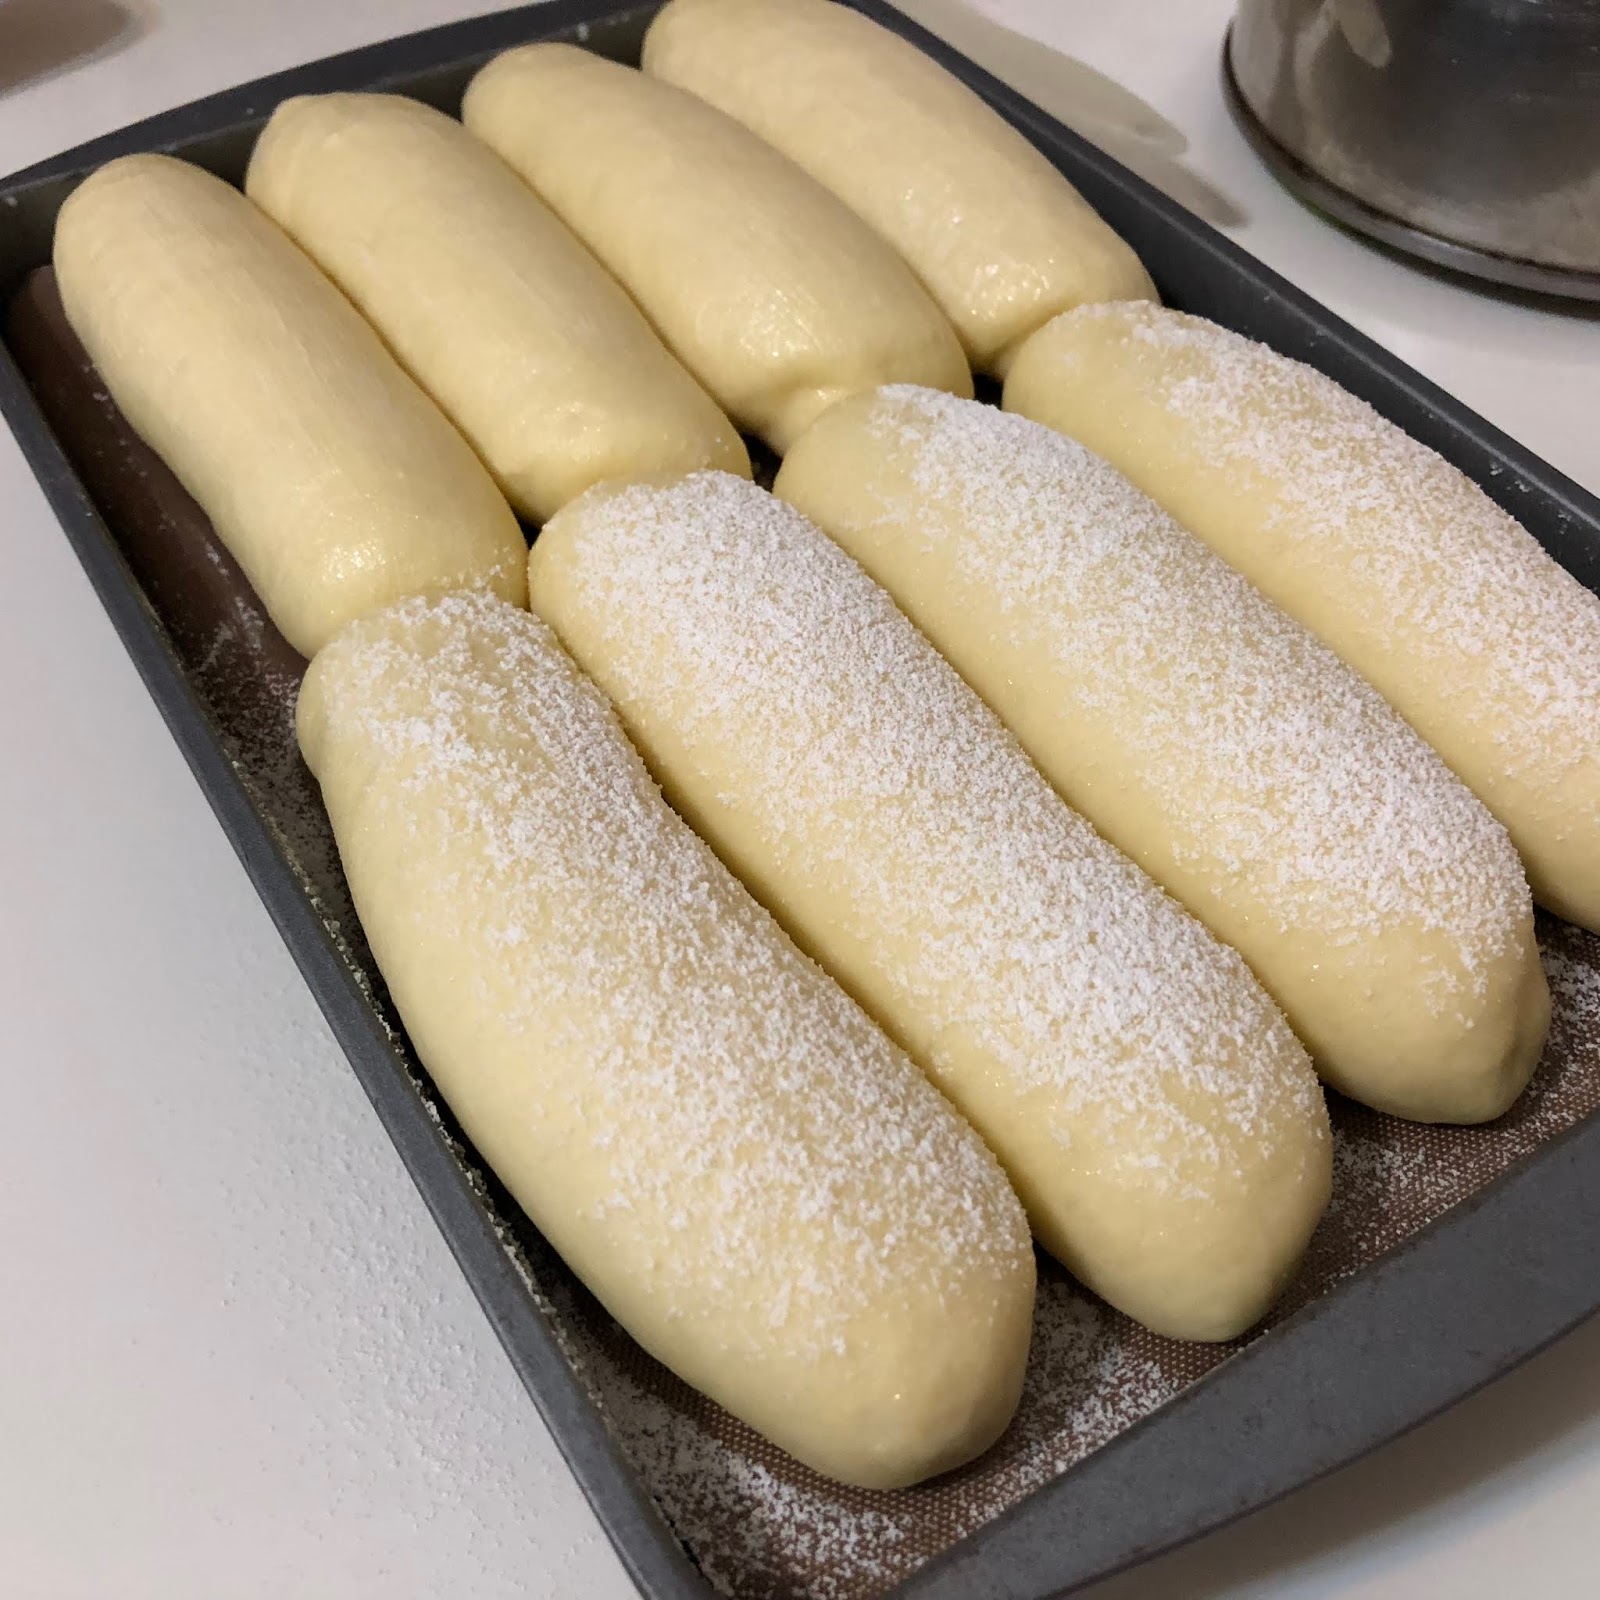
Bake at lower rack of a preheated oven at 160℃ for about 25 minutes, or till the top becomes golden.


5. Transfer the hot buns to a wire rack to cool down.


Enjoy it fast before the icing sugar disappear 😋


Recipe adapted from http://xingfuzhiwei.blogspot.com/2018/10/wen-sha-pai-baojust-once-fermentation.html