


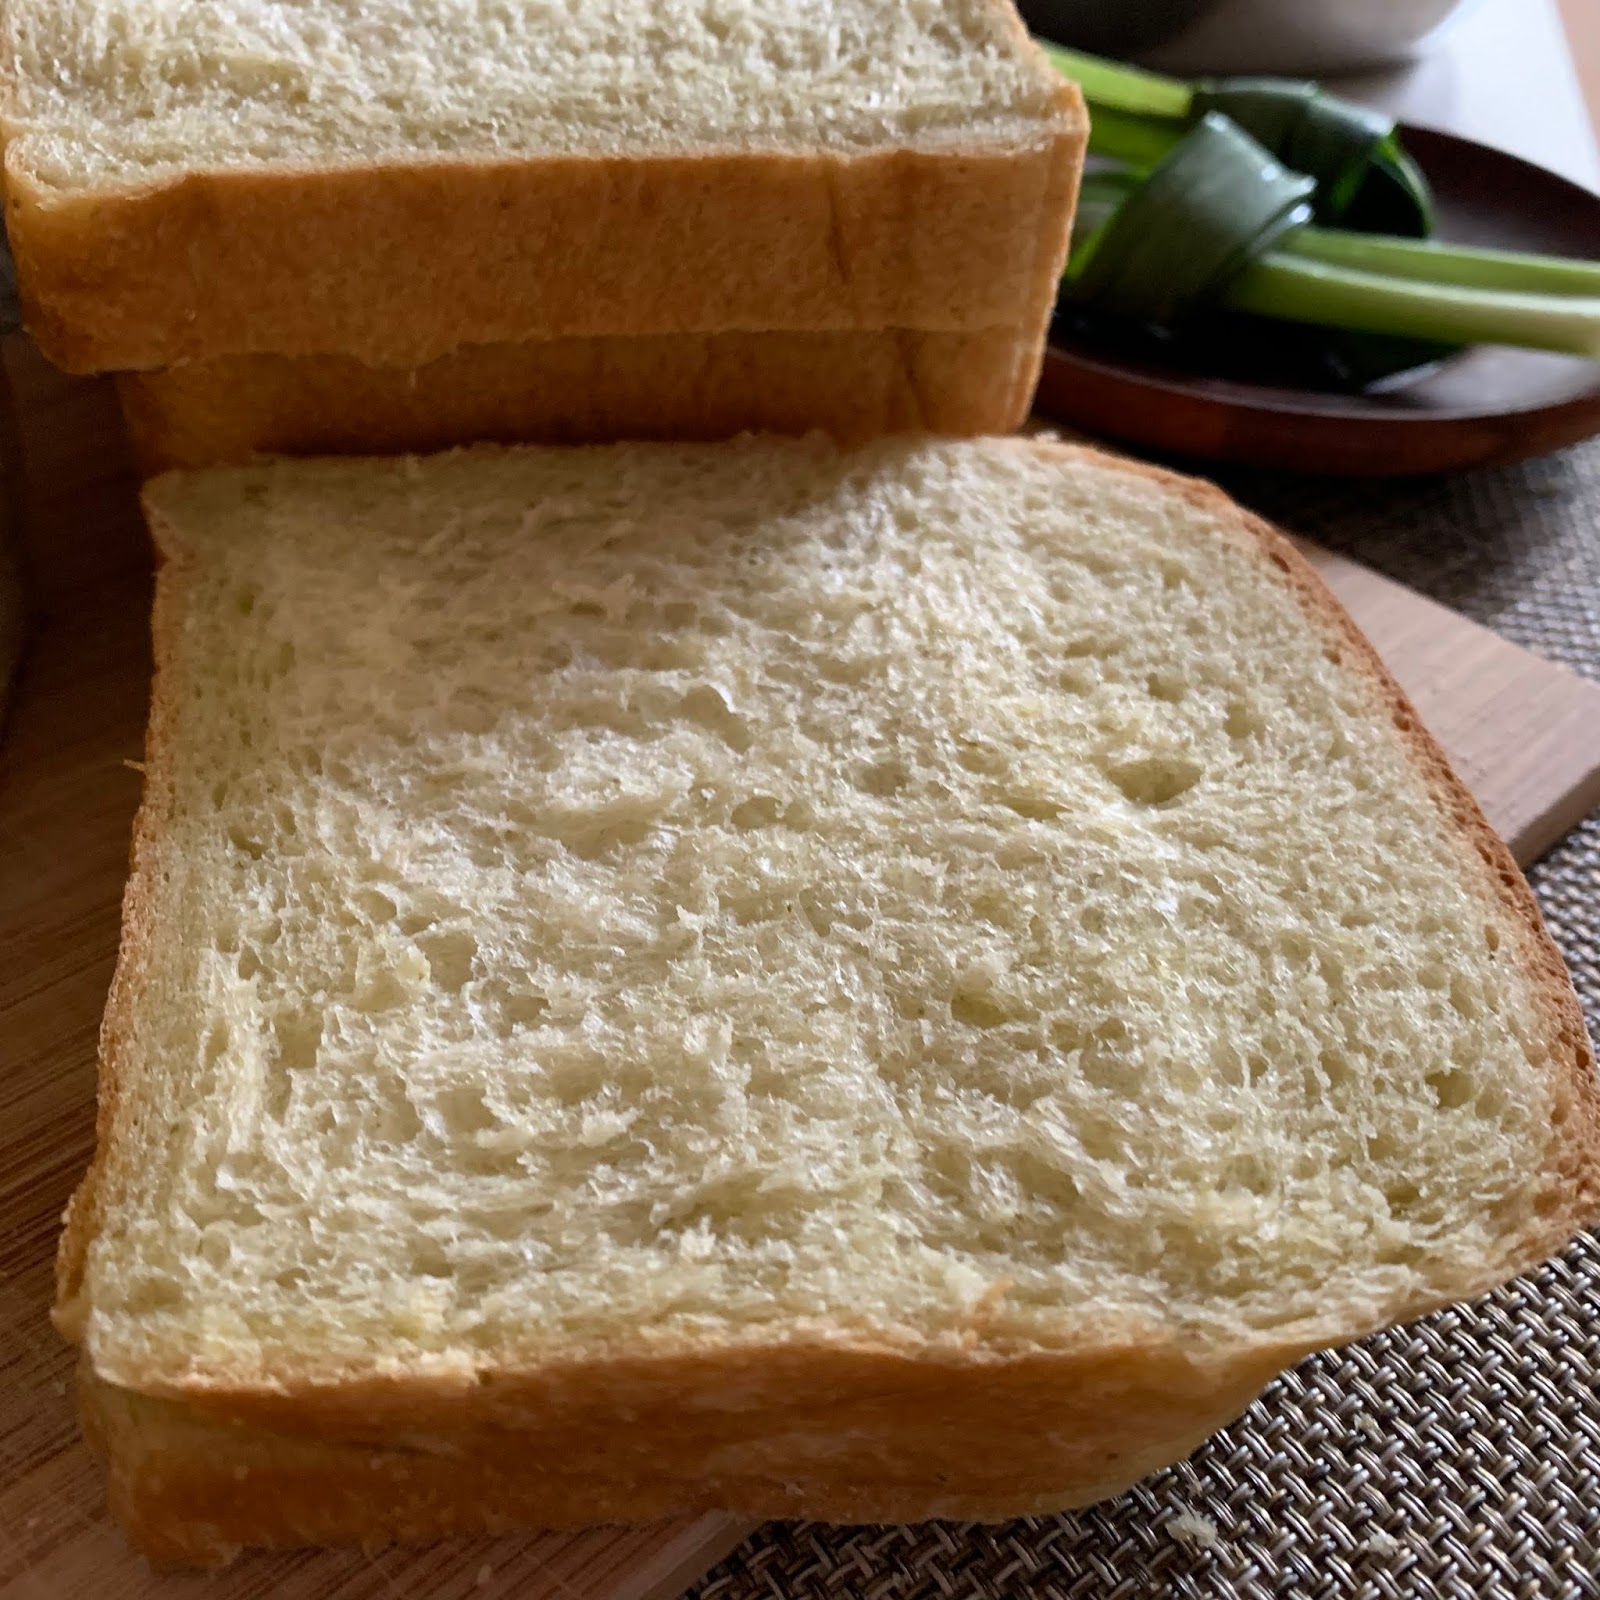
A simple pandan bread with only pandan paste, water, and rice bran oil - without the addition of milk nor butter. A bread that allows one to enjoy the true sweet aroma of the fresh pandan 😍
Updated: 2 April 2019

I took about 36g of the dough and shaped it into a braid as a new bread decoration 😊


Yield: one loaf
Pan size: 21x13x10cm Jamie Oliver 1.5L bread pan
Baking temperature: 180℃ for 15 minutes, 170℃ for 20 minutes
Ingredients
80g cold water (keep 30g of the water to be added gradually during kneading)50g pandan paste *
30g beaten egg
45g raw cane sugar
3g fine salt
30g rice bran oil
40g sourdough/natural yeast, 100% hydration #
280g bread flour
2g instant dry yeast
* collected from blending 15g fresh pandan leaves with 50g water
# 40g sourdough can be replaced by 25g water + 25g bread flour + 1g instant dry yeast
Directions
1. Cut pandan leaves into narrow strips.
Blend with 50g of water into smooth paste. Collect 50g of the pandan paste from it.


2. Add in the liquid ingredients then followed by the dry ingredients, into the mixing bowl of a stand mixer.


Knead till achieving the window pane stage.

3. Transfer the dough to a plastic bag coated with a little oil. Let the dough sit in room temperature for about 30 minutes before transferring to the fridge to undergo overnight cold fermentation (about 16 hours).


4. Invert the dough and allow it to thaw for about 1 hour before shaping.

5. Divide the dough into 3 portions and shape into balls. Allow the dough to rest for about 15 minutes.

6. Roll out the dough,

flip over, and fold in the two wing towards the centre. Roll the dough flat again.

Roll up the dough.


Place the dough into the bread pan coated with a thin layer of butter. Spray a thin mist of water over the dough,

cover with a tea cloth, and let it proof for about 90 minutes, or till the dough has risen to about 4/5 the height of the pan.


7. This step is optional. You can cut come parchment paper stencils and place on the dough.

Sprinkle some bread flour over,

remove the paper stencils,

and sprinkle another thin coat of flour over.


8. Bake at lower rack of a preheated oven at 180℃ for 15 minutes, reduce to 170℃ and bake for about 20 minutes.


9. Remove from the oven and un-mould quickly.

Allow the bread to cool down before cutting. Enjoy 😋


A good recipe adapted from 爱厨房的幸福之味 班兰土司 with great appreciation 😊


