Black sesame seed is well known for its anti-aging properties. It helps to delay the greying of hair, memory loss, as well as hearing loss. Reapping the goodness and the nutty flavour of these wonderful seeds, the black sesame seeds were roasted, crushed and added to bread dough.
I like to eat this soft bread with salted spreadable butter. Simple yet delicious 😋
Yield: 20x10x12cm
Bread weight: 548g
Appliances: whirlpool breadmaker BM1000
One 2010x10cm Pullman tin
Ingredients
205g cold whole milk
20g beaten egg
30g fine sugar
1/2 tsp salt
20g cold unsalted butter
280g bread flour
20g rice/top flour
1/2 tsp salt
20g cold unsalted butter
280g bread flour
20g rice/top flour
30g black sesame seeds
3/4 tsp instant dry yeast
3/4 tsp instant dry yeast
whole milk for glazing
Direction
1. Roast black sesame seeds in a oven toaster for 10 minutes at 150 degree Celsius.
2. Let the sesame seeds cool down for about 3 minutes. Place in a clean plastic bag, and use a rolling pin to crush the seeds partially. Set aside.
3. Pour cold milk, beaten egg, sugar, salt and cold butter to the bread pan.
4. Pour in bread flour and rice/top flour. Dig a hole and add in the instant dry yeast.
5. Transfer the bread pan to the breadmaker and start the "kneading" function.
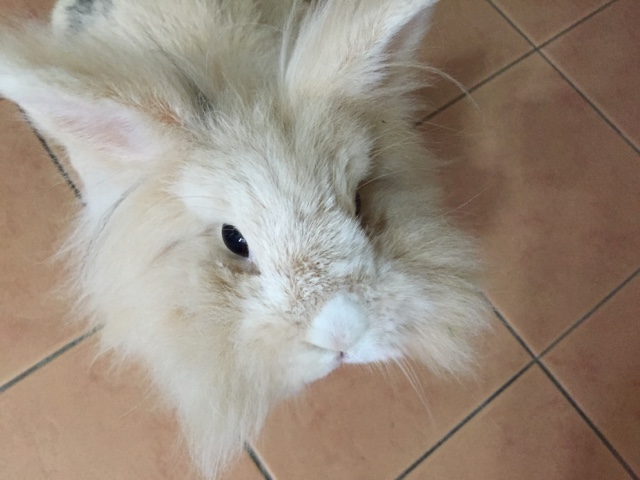
Meet my kitchen companion - Furby the Rabbit 🐰
6. After 10 minutes into the "kneading" function, pour in the ground black sesame seeds from (2).
7. When the program ends at 1:30 hr, let the dough stay in the machine for another 15 minutes. As ingredients were cold in the beginning, the proofing process needs to be extended slightly.
8. The dough is ready.
9. Remove the dough from the breadmaker, sprinkle some flour over, and transfer it to the work top.
10. Flatten the dough to release the trapped air. Divide the dough into 2 equal portions, about 294g each.
11. Roll up the dough, fold to let the two ends meet, shape the dough into 2 balls by pulling down the sides, and seal at the bottom.
Cover and let them rest for about 15 min.
12. Flatten the dough and roll out into a flat oval dough.
13. Roll up the dough from the shorter side, cover with a lid, and let it rest for 10 minutes.
14. After the rest, roll out the dough into a flat dough again. The shorter length of the dough should correspond to the shorter width of the Pullman tin.
15. Flip the dough over so the smoother side will be facing out after rolling up. Roll up the dough from the shorter end.
Place the dough into a greased non-stick Pullman tin. The open end of the dough should be facing down.
16. Spray some water over the dough and place the doughs in a closed oven.
Let the dough proof in a warm oven for about 60 to 70 minutes, or till the dough reaches about the rim of the Pullman tin.
To facilitates the second proofing, you may switch on the oven to its minimal temperature for about 1 minute.
17. After the second proofing and the dough has reached the rim of the Pullman tin, remove the dough from the oven. Preheat the oven to 170 degree Celsius. And brush a coat of fresh milk over the dough.
18. Bake the dough at the lower rack of the oven at 170 degree Celsius for about 45 to 55 minutes. If your Pullman tin has a thinner wall, you can bake for about 45 minutes at the same temperature.
19. Remove the bread from the Pullman tin immediately after leaving the oven. Let the loaf cool down on a wire rack before slicing it.


Hi can i use BM for d whole process to baking ?
ReplyDeleteHi Sing Yee Fong, yes, you can use a BM to knead and to bake, if your BM can accommodate 300g flour weight bread. Mine can only bake up to 250g flour weight :)
DeleteMy BM should b able to accommodate 300 g flour wt. Should I use basic or sweet mode?
DeleteHi Sing Yee Fong, maybe you can try the basic mode :)
ReplyDeleteTks Goh NgaiLeng for sharing
DeleteGlad to share with you :)
DeleteHi Ms Goh. As I do not have a BM can I use my KA to do the initial kneading? If yes, how long should I knead it and is it at the lowest speed? As you have bread flour in the ingredients, is it possible to over knead the dough?
ReplyDeleteSorry Doreen, I'm not familiar with KA kneading. I've found this useful step by step video which uses KA to knead bread dough. Hope you'll find it useful :)
Deletehttp://caroleasylife.blogspot.com/2011/10/ka.html?m=1
Thank you for your quick response. Will check out the link. Have a good day!
ReplyDeleteNo problem, Doreen. Happy surfing and have a nice day too :)
DeleteHi .. what is top flour? Rice flour? Why use a rice flour instead of japanese flour? Thank you🙏
ReplyDeleteHi Julie, top flour is a low gluten flour similar to cake flour. Using rice flour was just my experiment in testing a new flour to my bread dough 😉
Delete