Soft and springy sweet corn buns topped with crispy butter cookie crumbs. Very delicious yet quite time consuming to prepare 😅 The buns were shaped into braided form to hold the butter cookie crumbs on top better.

Yield: 9 long buns
Dough Ingredients
205g bread flour 高筋面粉
15g top/cake flour 低筋面粉
35g raw sugar 黄砂糖
2g salt 盐
7g milk powder 奶粉
1/2 tsp pumpkin powder 南瓜粉*, optional 可省略
1/2 tsp pumpkin powder 南瓜粉*, optional 可省略
2g instant dry yeast 即发酵母粉
60g cold water 冷水
50g steamed corn kernels 蒸玉米粒
20g water roux 汤种(details at Direction below)
20g beaten egg 蛋液
20g rice bran oi;米糠油
20~30g cold water 冷水 to be added depending on dough condition
20~30g cold water 冷水 to be added depending on dough condition
Butter Crumb Toppings
20g salted butter, cold
20g raw sugar
15g fine sugar
pinch of salt
35g top flour
5g semolina flour/top flour
5g milk powder, optional
1/8 tsp vanilla extract 香草精, optional 可省略
* The pumpkin powder only serve as natural food dye.
20g raw sugar
15g fine sugar
pinch of salt
35g top flour
5g semolina flour/top flour
5g milk powder, optional
1/8 tsp vanilla extract 香草精, optional 可省略
* The pumpkin powder only serve as natural food dye.
Directions:
1. Mix 3g bread flour with 2g glutinous rice flour in a heat resistant cup.
Pour 25g warm water into the flour mixture, and blend well.

Stir the content over low heat till the content reaches about 65℃, or till thickens into a glossy translucent water roux.


Cover with cling wrap, and cool down before use. Set aside.
 |
| The water roux gave the bread the moist and springy texture |
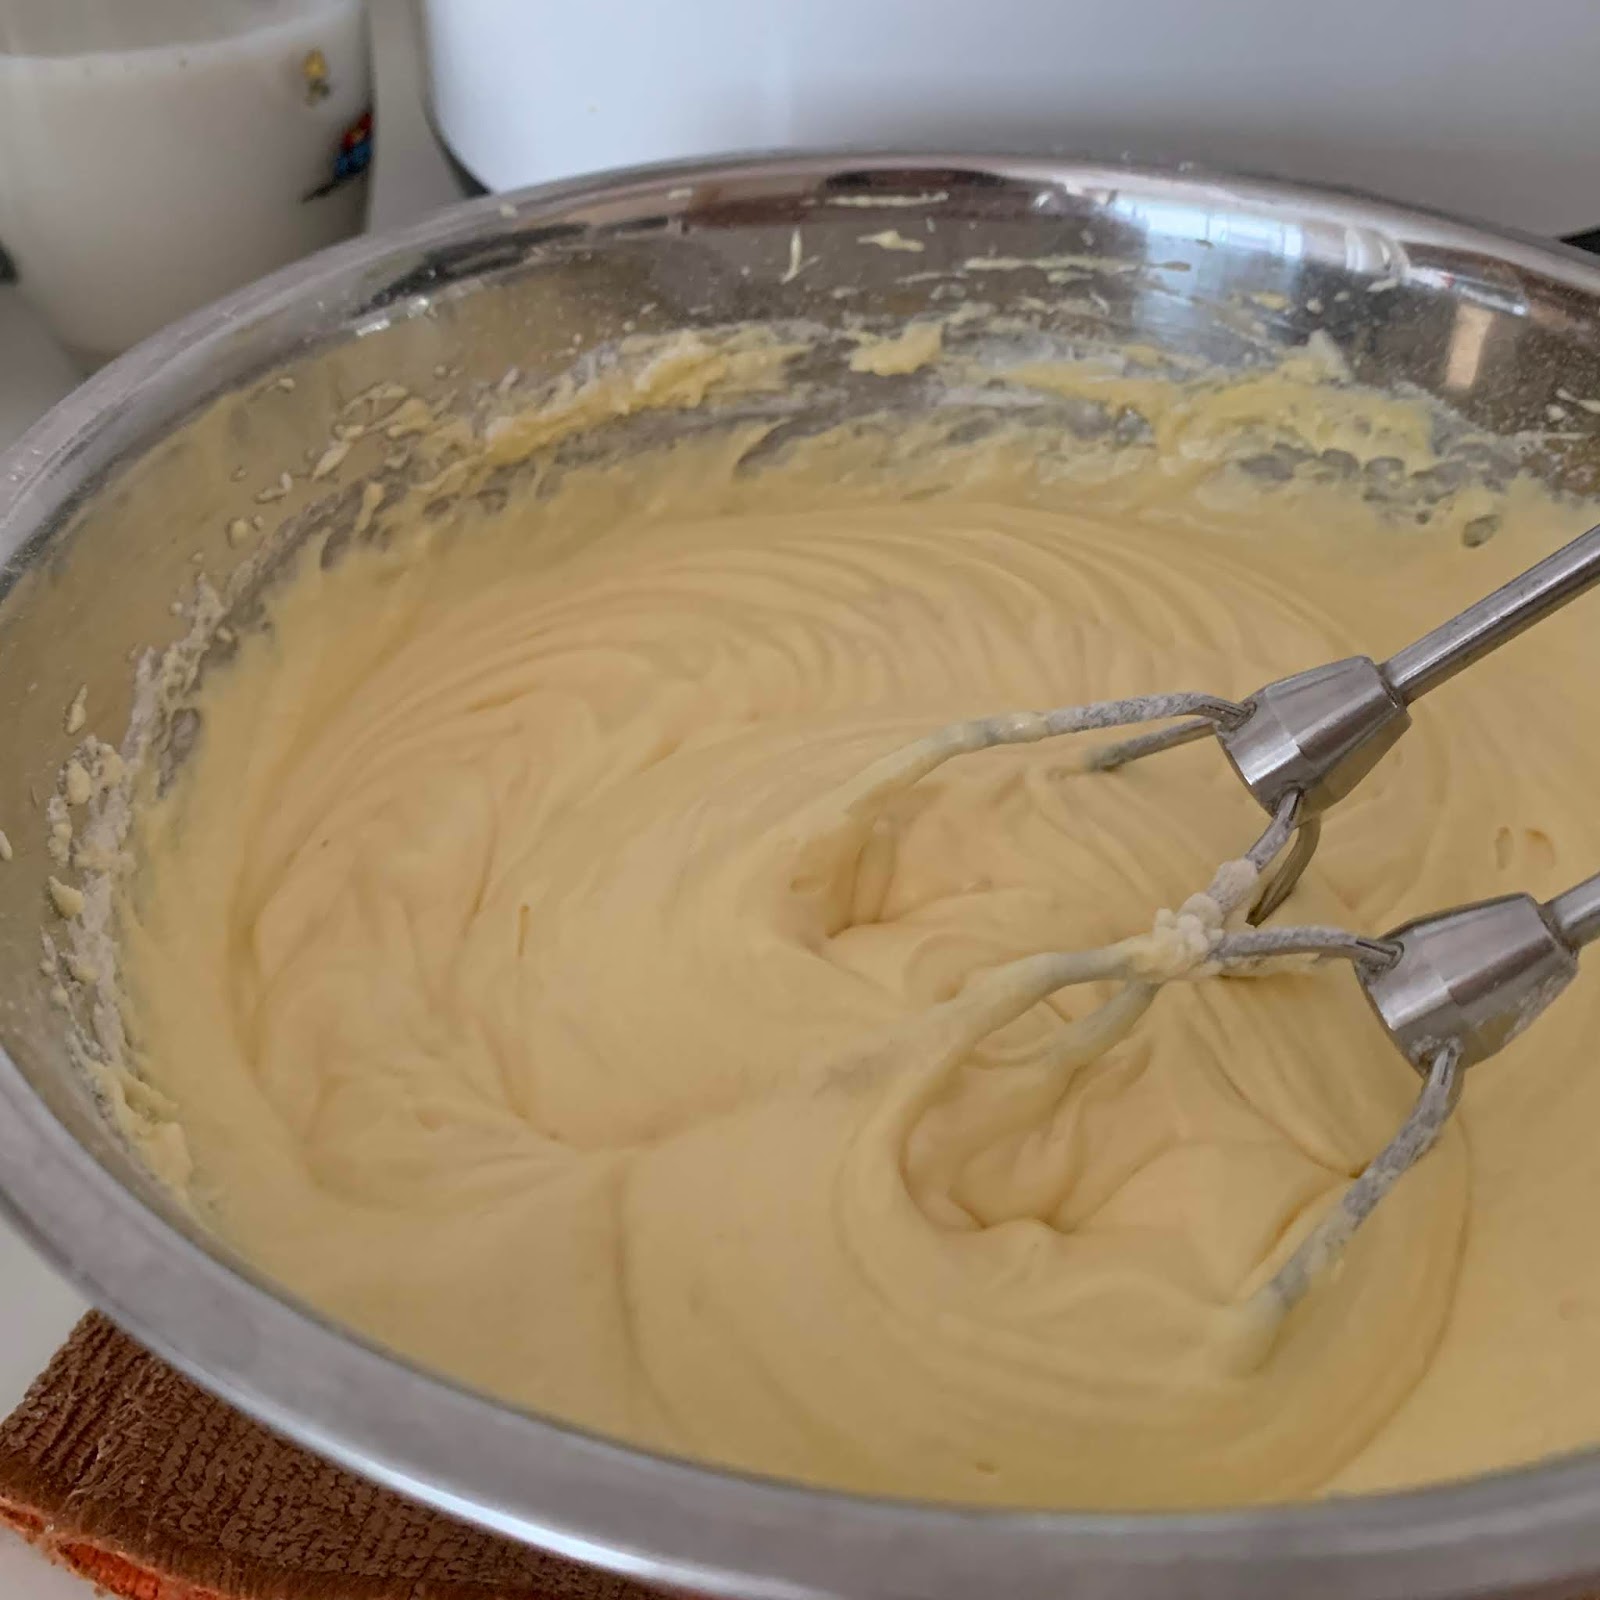
2. Blend 50g steamed corn kernels and 60g of cold water into a smooth paste.


3. Add all the dough ingredients, except the 20~30g cold water. into the mixing bowl of a stand mixer.

 |
| water roux |
 |
| corn paste |
 |
| rice bran oil |
 |
| 20~30g of water to be added depending on dough condition |

4. Shape the dough into a ball and transfer to a big mixing bowl coated with a little oil. Cover with a lid and let it proof in room temperature for about 80 minutes or till double in size.

At end of first proofing.

5. Invert the dough out onto a floured work top, flatten the dough with your palm, and divide into 9 portions.

Shape into 9 dough balls, cover with a lid, and let them rest for about 15 minutes.

6. Take a dough ball, flatten and roll out into an oval of about 0.5cm thickness.

Flip over, and roll up into a long dough.

Pinch the edge to seal.


Cover with a dry cloth and rest for about 10 minutes.
If you do not wish to do the braided bun, you can skip to Step 8.

7. Take a dough, flatten a little, and cut using a dough cutter into three strands, leaving one end uncut or attached.


Plait the three strands into a braid.

Press tight the 3 strand-ends and tuck under the braided dough.


8. Spray some water over the dough and place the tray in a closed oven. Let the dough proof for about 50 minutes, or till double in size.

 |
| End of 50-minute proofing |
Add all the topping ingredients into a bowl, and combine using a fork.

The butter crumbs are ready when all the ingredients come together in small or fine lumps. Set aside.

10. Remove the tray of braided dough from the oven. Start to preheat the oven to 200℃ for about 10 minutes.

Apply egg wash over the dough.

Sprinkle the butter crumbs over.
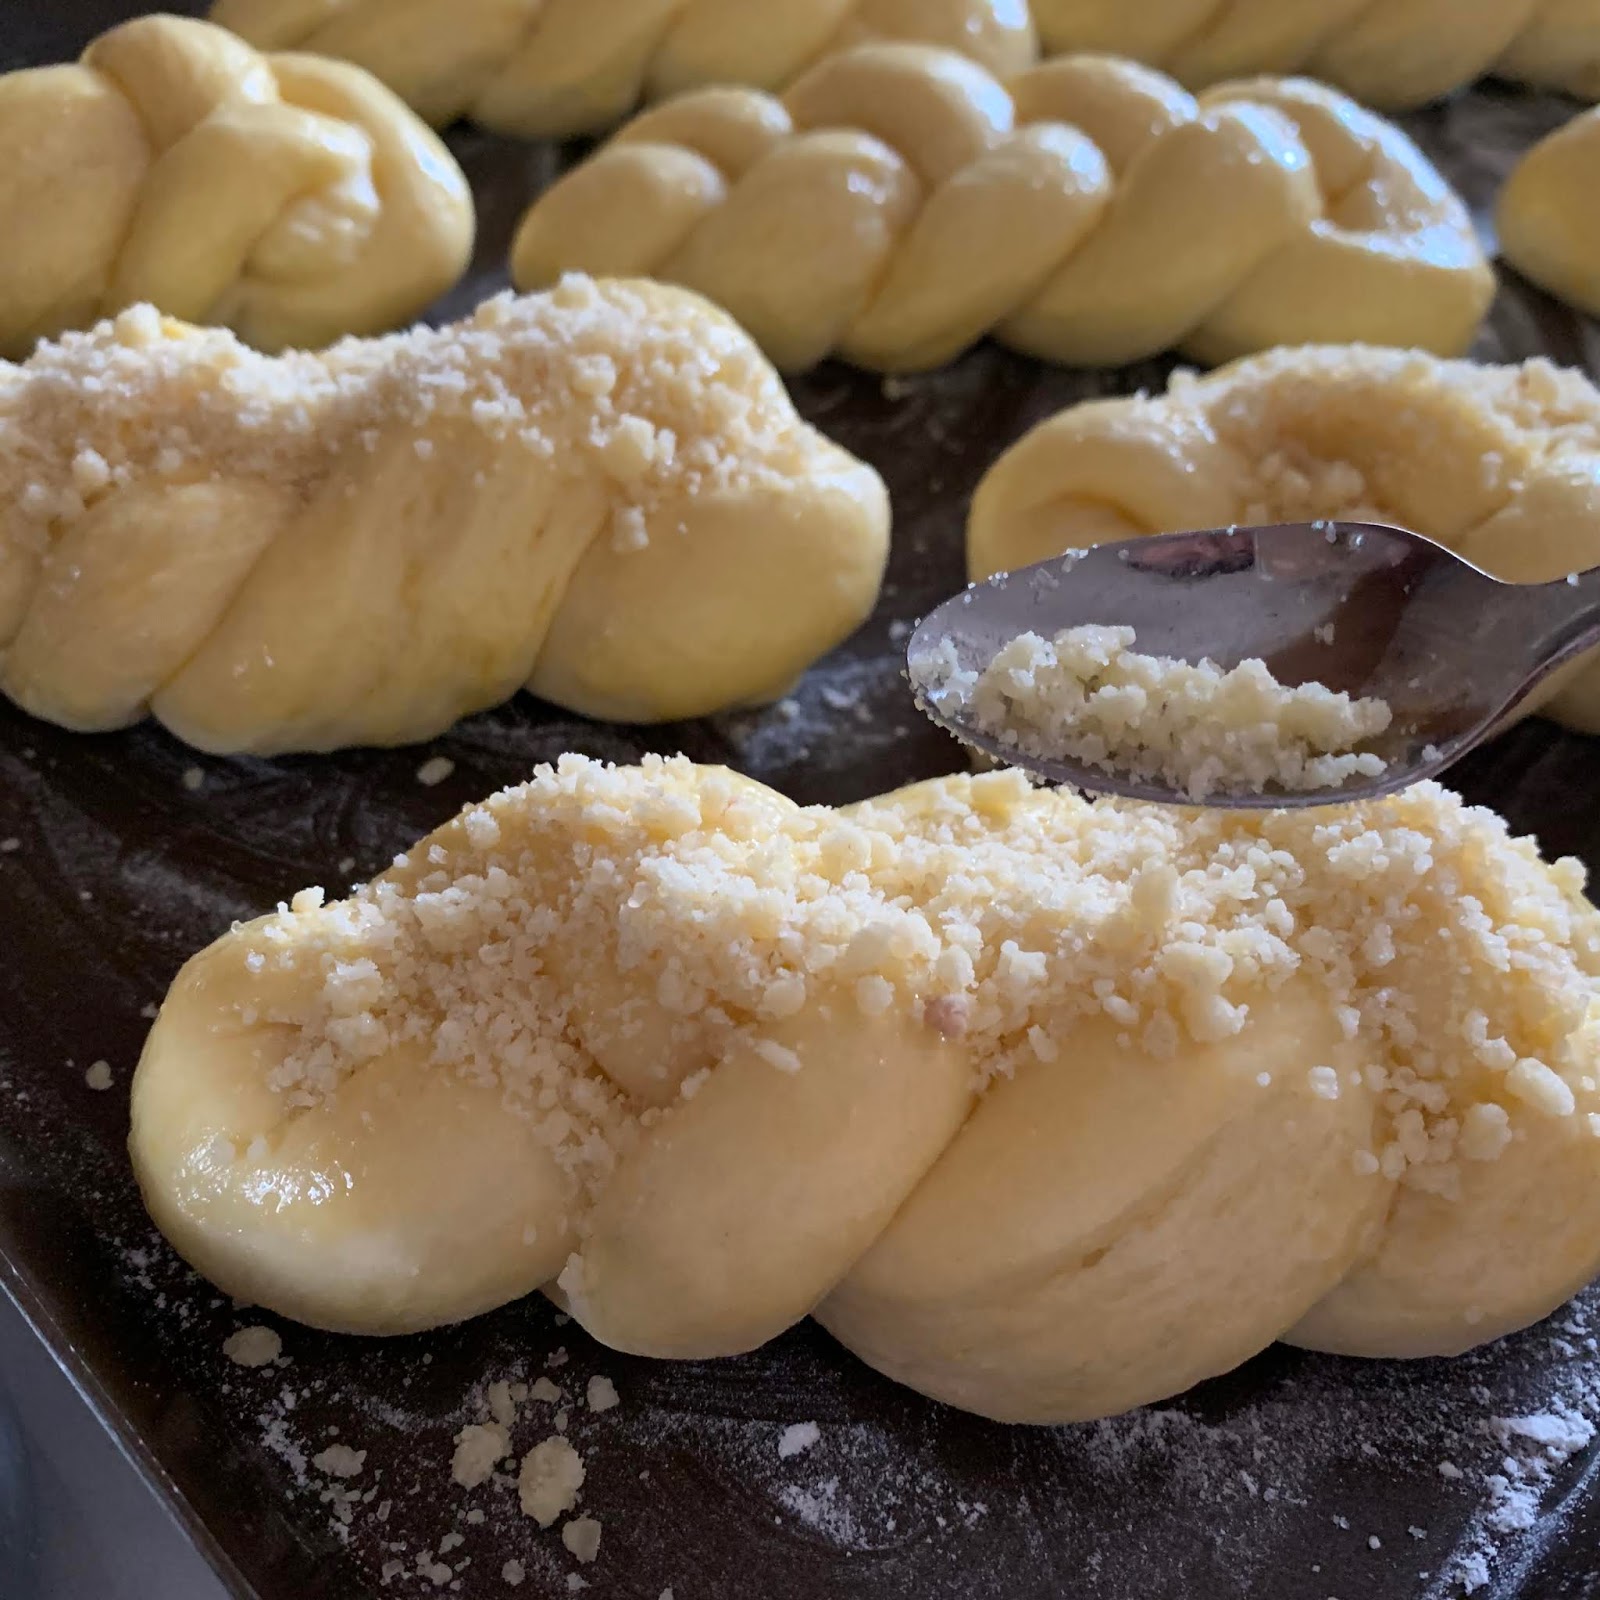

11. Bake in a preheated oven at 200℃ for 5 minutes, reduce to 180℃ and bake for about 15 minutes, or till the surface is golden. Bake in the middle rack of an oven.

 |
| end of baking |


Serve warm 😋😍


Don't discard the little golden butter crumbs on the baking tray, they are crispy and delicious 😋 Trust me 😎