


Char Siu Bun is one of the more tedious stuffed buns to prepare. Yes, to me, it is 😅 However, you would definitely enjoyed the great flavour and texture of this homemade buns. I added a little pumpkin powder to give the bread a little nice yellow to complement the glossy brown or red char siu filling 😍😋😋
Update: 24 May 2019
I replaced the coriander leaf by cut spring onion and pork floss. Very fragrant during baking 😋

Yield: 8 buns
Baking temperature: 200℃ for 5 minutes, 180℃ for 12 to 15 minutes.
Char Siu Meat Filling
I tried to reduce the sodium content of the filling, so you may want to adjust up the sauce ingredient quantities, if you prefer a stronger flavourIngredients
190g cooked pork, cut into bit size*
6g garlic, thinly sliced
80g onion, chopped finely
20g Hoisin sauce
10g oyster sauce
2g light soya sauce
10g dark brown sugar
10g Hua Diao Jiu, rice wine
1 tsp fried onion crisp
1/4 tsp red rice yeast powder for adding colour, optional
20g caramel syrup/golden syrup*
1/2 tsp sesame oil
1 tsp roasted sesame seeds
7g coriander leave, chopped
* preparation of the cooked pork and caramel syrup can be found at the end of this recipe
Directions
1. Cut cooked pork into bit size. Smaller cubes would give a better texture. Keep aside.


2. Cut the garlic, onion and coriander leaves accordingly.

3. Mix Hoisin sauce, oyster sauce, light soya sauce, dark brown sugar, Hua Diao Jiu, fried onion crisps, red rice yeast powder, and caramel syrup together in a bowl. Set aside.

4. Add about 1 tbsp of olive oil and garlic slice into a pot, and stir-fry till fragrant before adding the onion. Continue to stir-fry till the onion becomes soft and translucent.

Pour in the sauce mixture from Step 3.

And add in the caramel syrup/golden syrup.

Wait for the sauce to bubble,

before adding in the cooked pork cubes. Stir to mix well.

Stir in the sesame oil,

roasted sesame seeds,

and coriander leaves.

Mix well.

5. Transfer the char siu filling to a clean container.
Let the content cool down, before cover with a lid and store in the fridge. Thaw the filling about 1 hour before use.
Usually, I would prepare the filling one day before baking the bun.

Milk Bun
Ingredients
200g bread flour10g superfine wholegrain flour/top flour
1/2 tsp pumpkin powder, optional
7g milk powder
2g instant dry yeast
35g raw cane sugar
2g low-sodium fine salt
20g water roux details in Step 1
20g beaten egg
90g cold water
20g rice bran oil/mild flavour vegetable oil
5g water, to be added during kneading depending on dough condition

Topping
beaten egg as egg wash
8 coriander leaves for deco
some sesame seeds for deco
Directions
1. Mix 3g bread flour with 2g glutinous rice flour in a heat-resistant cup.You can substitute the glutinous rice flour by bread flour.

Pour 25g warm water into the flour mixture, and blend well.

Stir the content over low heat till the content reaches about 65℃, or till thickens into a glossy translucent water roux.


Cover with cling wrap, and cool down before use. Set aside.
 |
| The water roux gave the bread the moist and springy texture |

 |
| Adding the water roux. |

Knead at Speed 1 to mix all the ingredients together. Increase the Speed to 5 and knead for about 3 minutes. Cover and let the dough rest for about 30 minutes.
After the rest, knead the dough at Speed 5 for about 12 to 15 minutes, or till window pane stage.
Slap the dough for about 20 times into a smooth dough.

2. Transfer the dough to a big mixing bowl greased with a little oil. Cover with a lid and let it proof for about 80 minutes or till dough double in size.
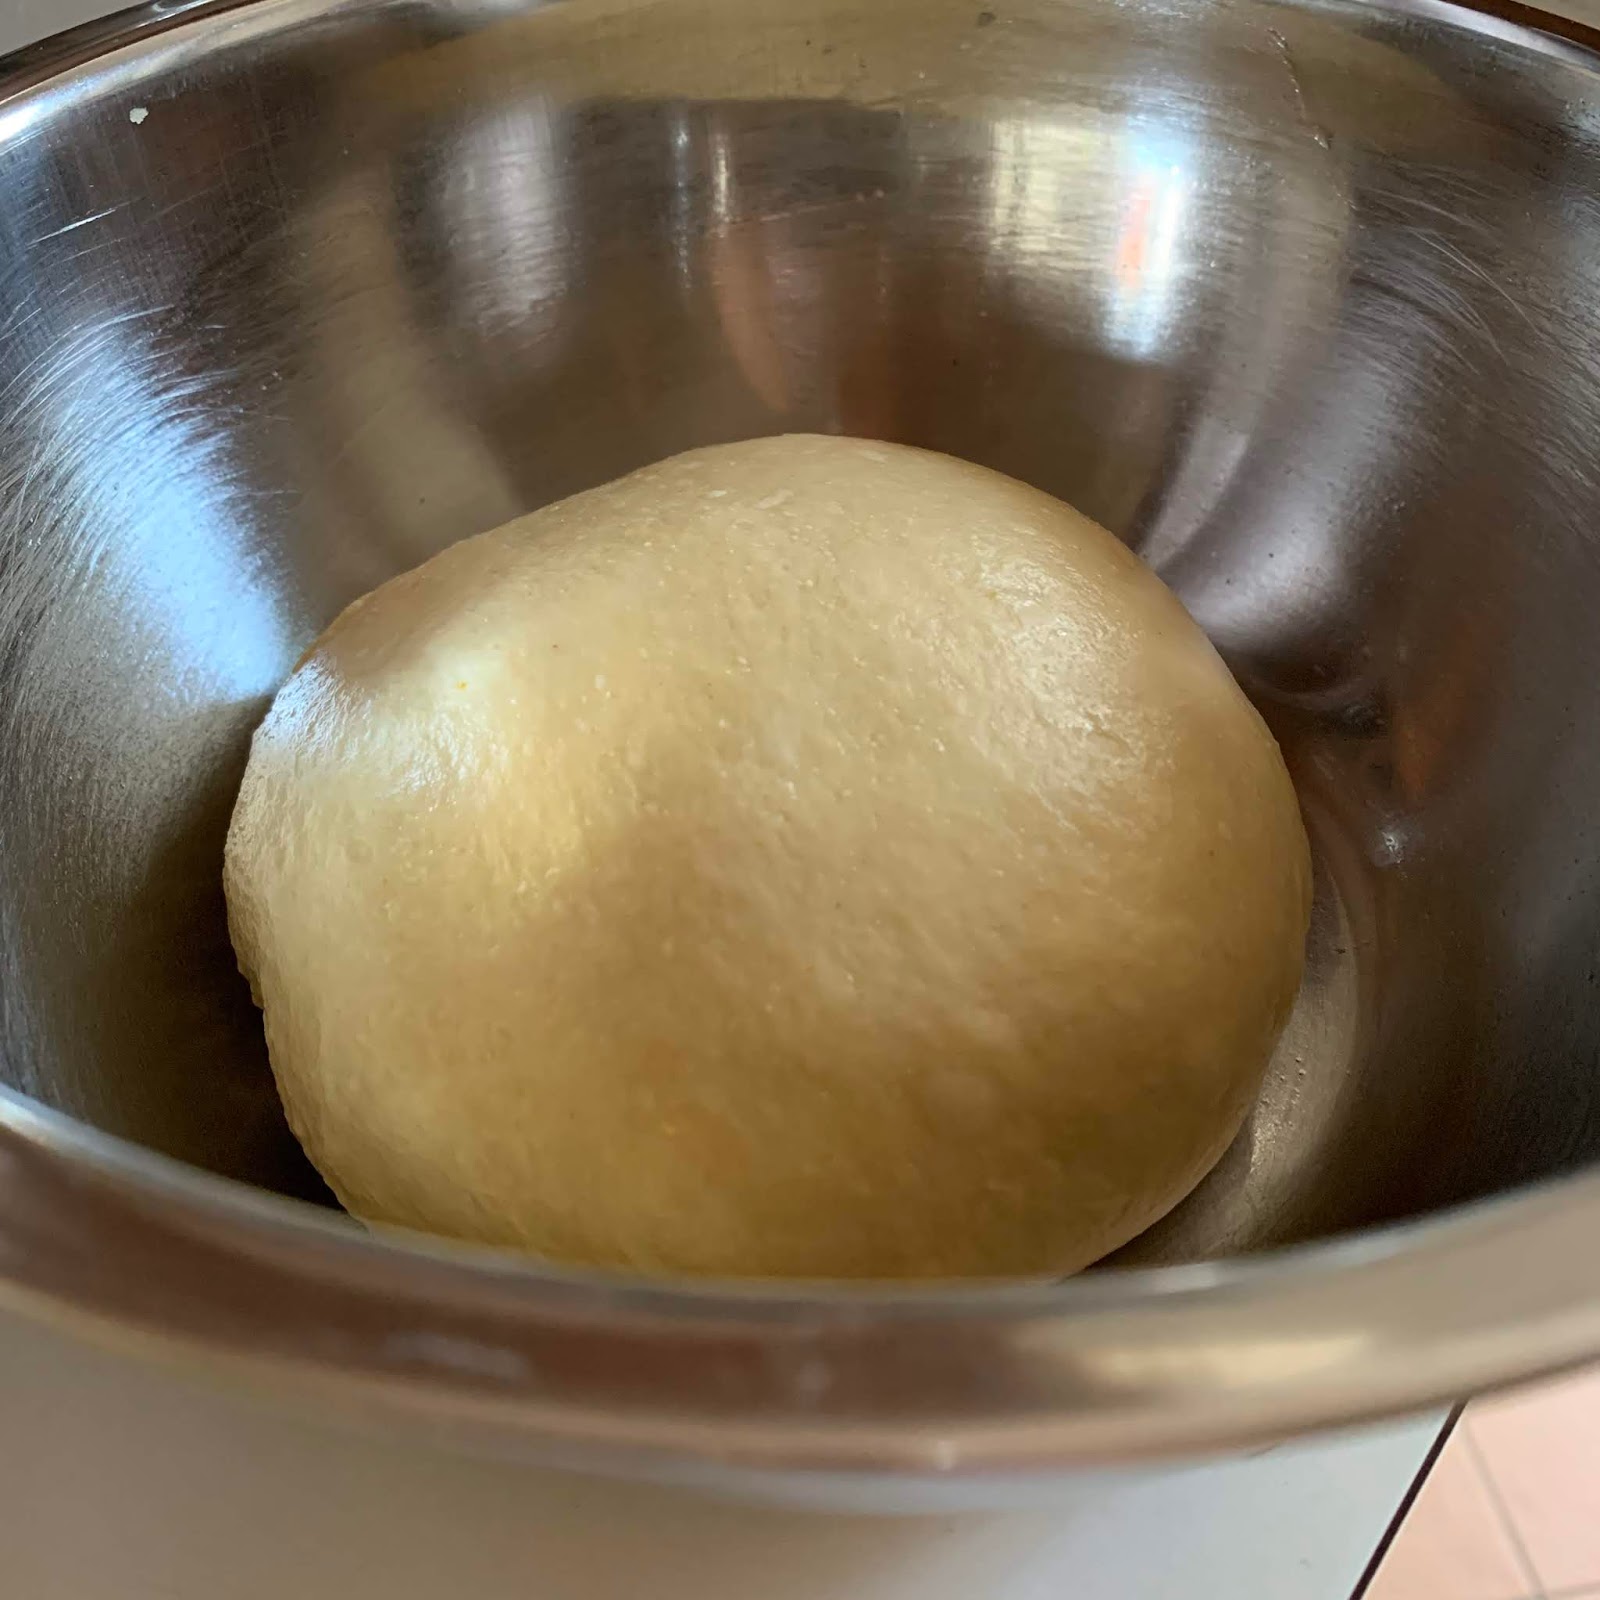
End of first proofing.

3. Invert out the dough onto a well floured work top. Deflate the dough and divide it into 8 portions.

Shape the individual dough into balls, cover with a lid, and let them rest for about 15 minutes.

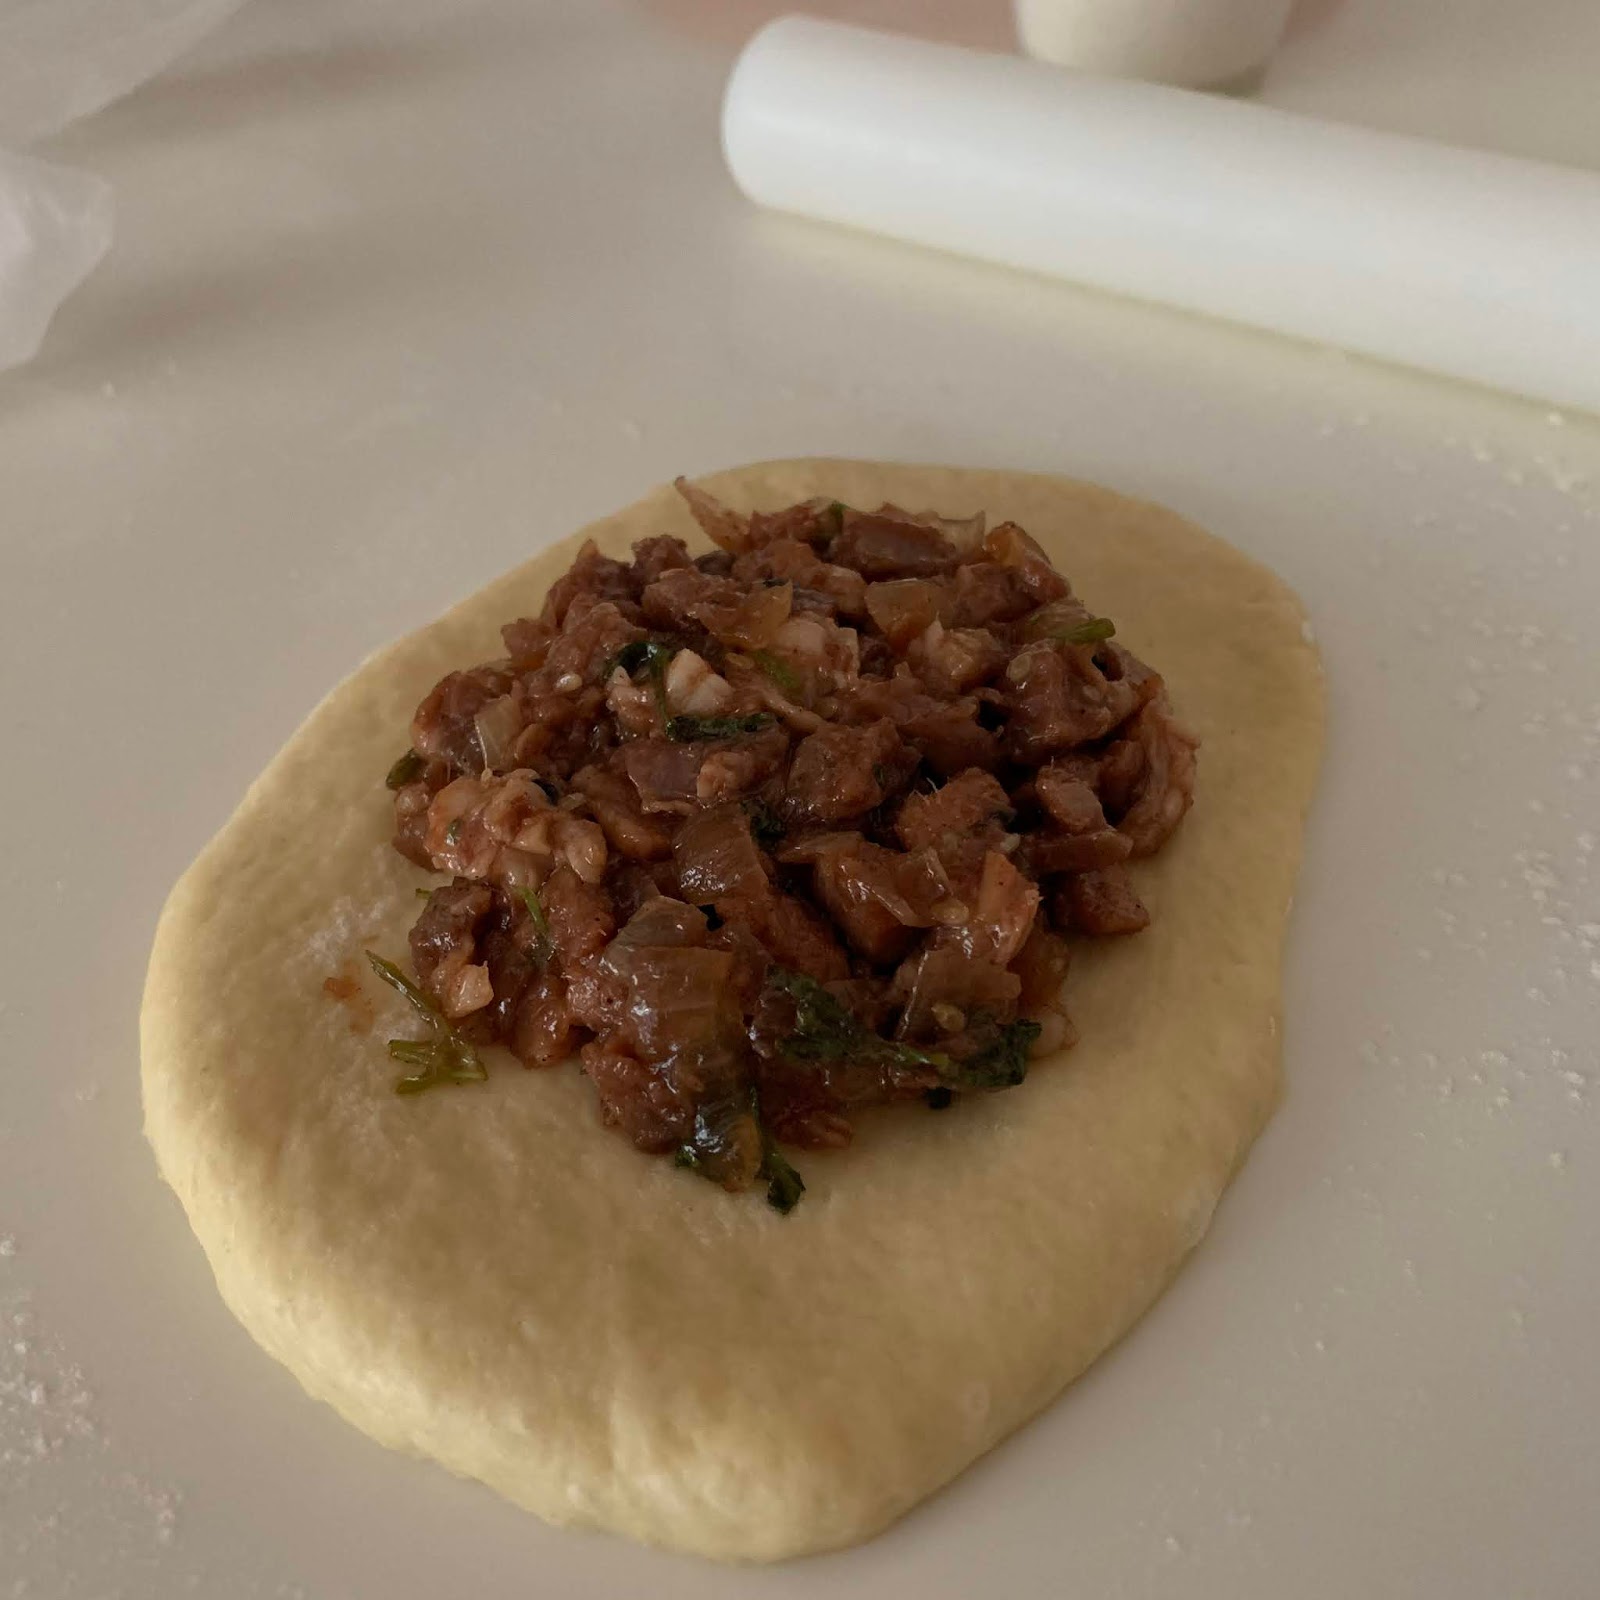
4. Take a dough and roll out into a flat dough of about 0.5cm thick. Add the char siu filling to the centre of the flat dough.

Wrap up the dough and pinch along the edge to seal.

Turn over the dough, so the seam will be facing down.

Arrange the shaped dough over a non-stick baking tray dusted with a little bread flour.

Keep the shaped dough in a cold oven to undergo second proofing for about 45 minutes, or till the dough double in size.

End of second proofing.

5. Transfer the shaped dough out of oven, and start to preheat the oven to 200℃ for about 10 minutes.

6. Brush a coat of egg wash over the surface.

Place a coriander leaf on each of the bun, brush another coat of egg wash over the leaves. Sprinkle some roasted sesame seeds over the buns.


7. Bake at 200℃ for 5 minutes, reduce the temperature to 180℃ and bake for about 12~15 minutes, or till the buns turn golden.

8. Transfer the buns to cool down over a wire rack.

9. Enjoy it warm 😋
Keep the un-consumed buns in the fridge and heat up in an oven before serving.
Keep the un-consumed buns in the fridge and heat up in an oven before serving.


I used the remaining char siu filling and beaten egg to prepare a yummy meal served with warm rice and cool cucumber slices 😋

Cooking the pork
Ingrediens280~300g pork collar
Marinades
8g dark brown sugar
2g low-sodium salt
2g light soya sauce, low-salt
dash of pepper powder
a tiny amount of five-spice powder
To be added just before cooking
1 tbsp rice bran oil
Directions
1. Rinse and pat dry the pork. Cut into 4 big chunks, before marinating

2. Apply marinades to the pork chunks,

and coat well. Let the meat marinate for about 15~20 minutes.

Just before cooking, coat the meat with about 1 tbsp of rice bran oil.

3. Line the inner pot of a high wattage 1500W IH rice cooker with parchment paper. Place the marinated meat chunks into the pot.
You can also use other cooking modes to prepare the cooked pork. It can be done using a thick cast iron pot or thick Happycall Double pan. Picture can be found at the end of this section.

Select "Soup" function, and start the program.

After about 7 minutes,

turn the meat over, to cook the other face.

Cover the lid, and let the program continues for about 5 minutes. Turn off the program and let the meat sit in the rice cooker for about 45 minutes.
This method of cooking the meat will give the meat a slightly charred flavour, and no water needed in the process. It uses the steam generated by the meat juice to slowly cook the meat to tender. The rice cooker's thick insulation helps to keep the heat in for a longer duration.

End of the cooking process.

Collect the meat and discard the liquid.

The meat was juicy and tender 😍

Prepare using a cast iron pot
Cook at medium-high temperature for about 7 to 8 minutes, reduce temperature to low for about 1 minute, open the lid, and turn the meat over. Cover and cook at medium-high temperature for about 3 minutes, Remove from the stove, without opening the cover, let the meat sits in the pot for about 1 hour.


Prepare using a Happycall Double Pans
Same procedure as the cast iron pot.

Making the caramel syrup
This step only helps to give a little caramelised taste to the meat filling. You can avoid it if you are not familiar with making caramel.Ingredients
15g raw sugar
3g hot water
about 30~40g of hot water to be added at the end stage
Direction
1. Add hot water to raw sugar in a heat-resistant metal cup. Just swirl the cup to wet the sugar without stirring them with a spoon.

2. Partially over the opening of the cup, and heat over low temperature
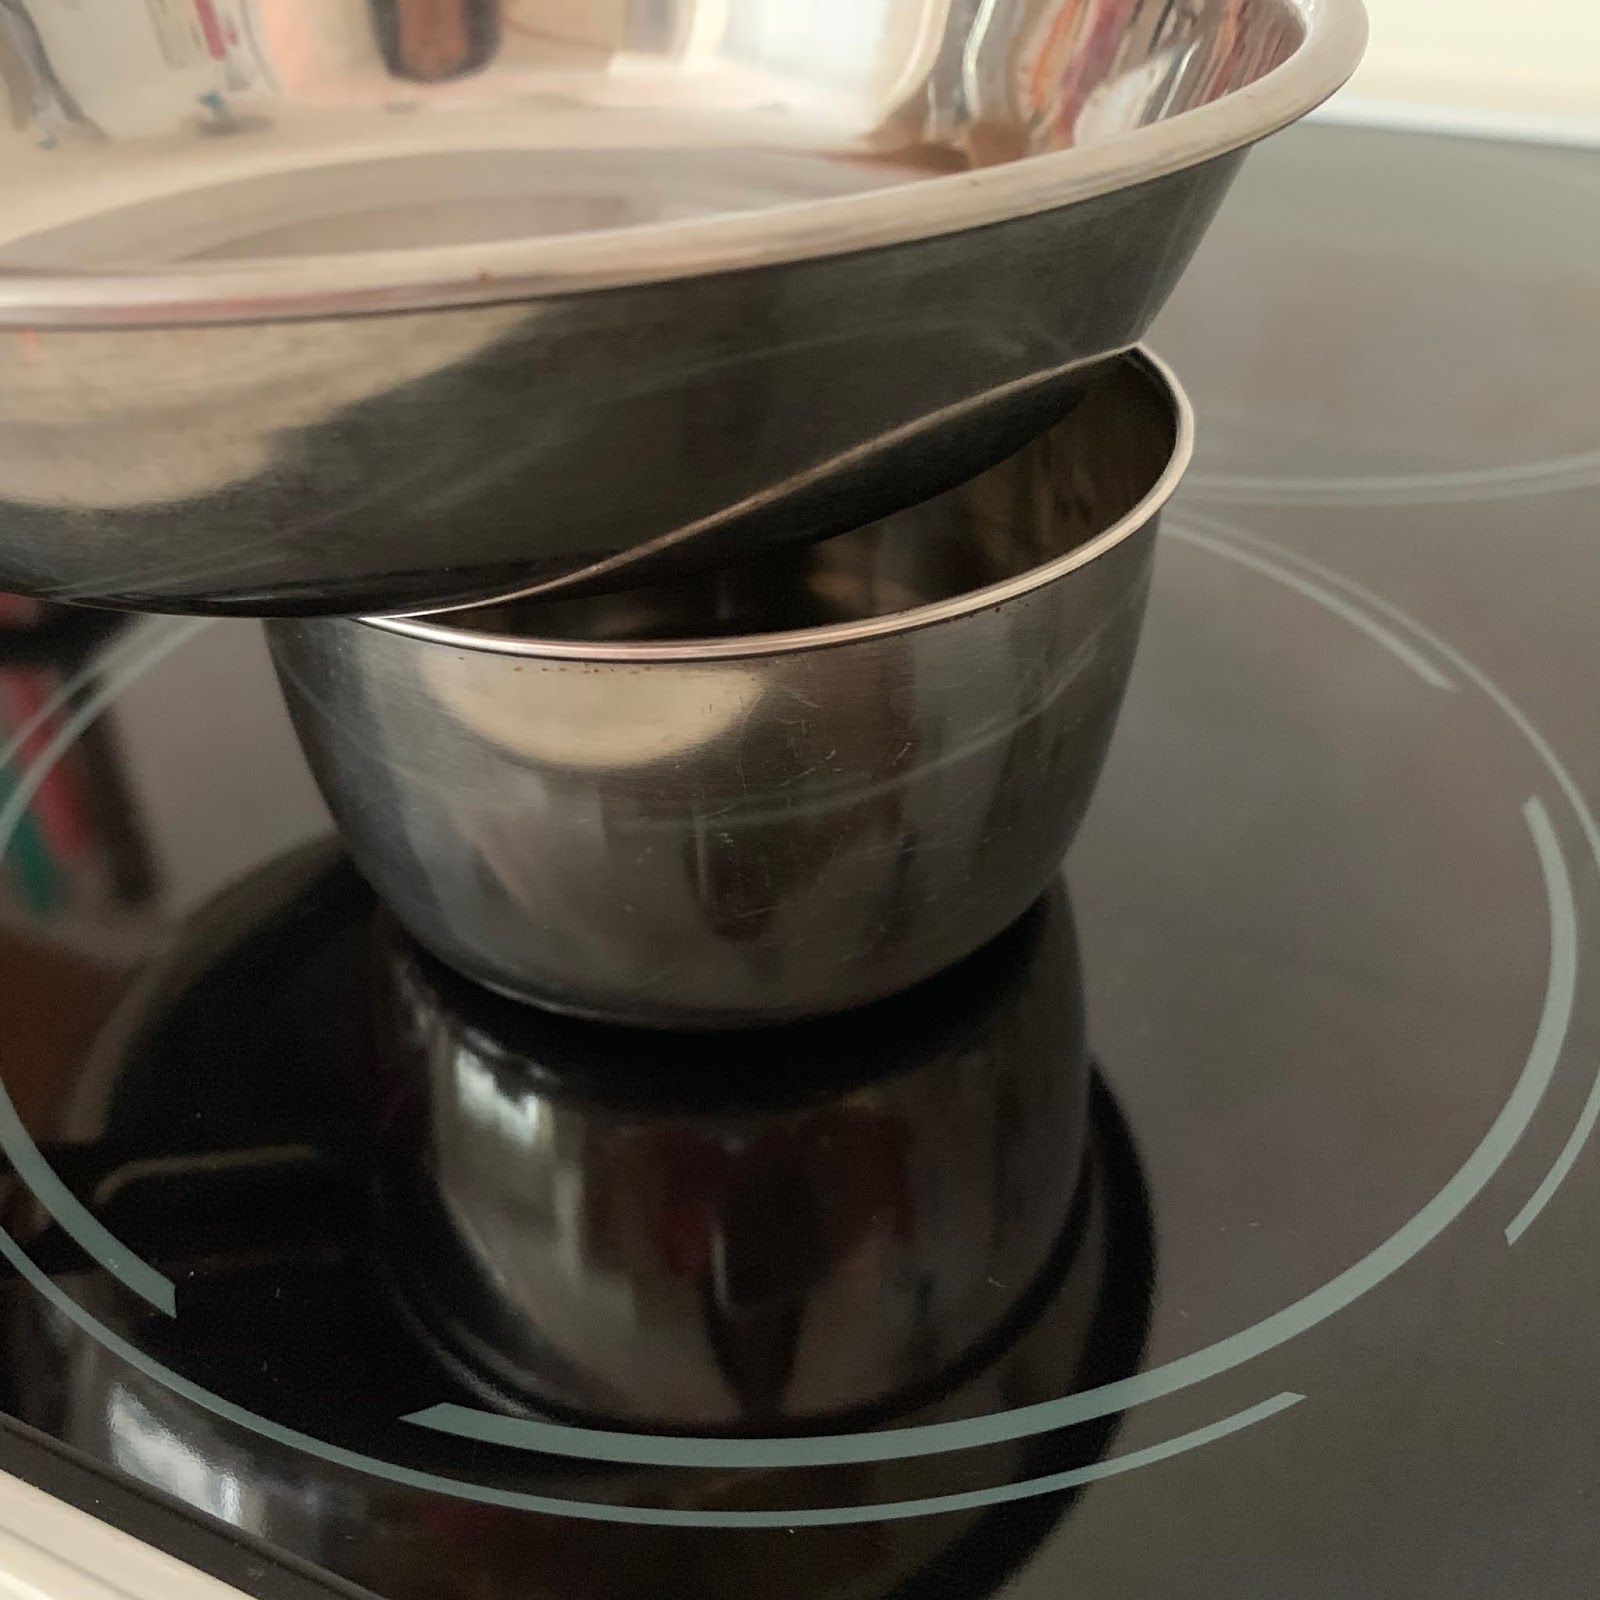
until the content start to bubble. Swirl the cup to ensure even heating.

3. When the syrup starts to brown, keep a close eye at the content to avoid over-burning the caramel.

The caramel is ready when you can smell the nice fragrance of the caramel.

4. Slowly add about 40g of hot water to the hot caramel, by the wall of the cup. Be careful as the water may splatter when touching the hot caramel!

5. Boil down the caramel liquid into a thicker syrup.

6. Transfer the finished product to a cup to cool down.

Finally, end of a long recipe Hope I didn't leave out something 😅
Thanks for the recipe. May I know what's the purpose of letting the dough rest for 15 min after the first proofing?
ReplyDeleteHi Ling, after the main dough has been cut into smaller portions, the gluten was being cut too. By resting the dough for 15 minutes, it helps the gluten to re-connect again :)
Delete