Adding chocolate patches to the plain pumpkin bread not only improve its visual effect, but also the flavour :)
Yield: one 14Lx11Wx13H cm loaf
Dough weight: 488 g
50g cooked pumpkin paste 熟南瓜泥
100g whole milk 全脂牛奶
20g condensed milk 炼乳
30g soften unsalted butter 无盐奶油
30g raw sugar 黄砂糖
25g beaten egg 蛋液
1/4 tsp salt 盐
225g bread flour 高筋面粉
25g top/cake flour 低筋面粉
3/4 tsp instant dry yeast 即发干酵母粉
10g cocoa powder 可可粉
Some flour for sprinkling the dough
Directions
2. Pour pumpkin paste, fresh milk, condensed milk and unsalted butter in a heat resistant bowl.
Keep warm in a rice cooker for about 10 minutes.
This step is optional. I prefer to work with warm ingredients :)
3. Pour the warm ingredients from (2) into the bread pan.
4. Add in the raw sugar and salt.
5. Pour in the beaten egg.
6. Add in the bread and top flour.
7. Dig a hole and pour in the instant dry yeast.
8. Place the bread pan into the bread maker. Select "dough" function and start the process.
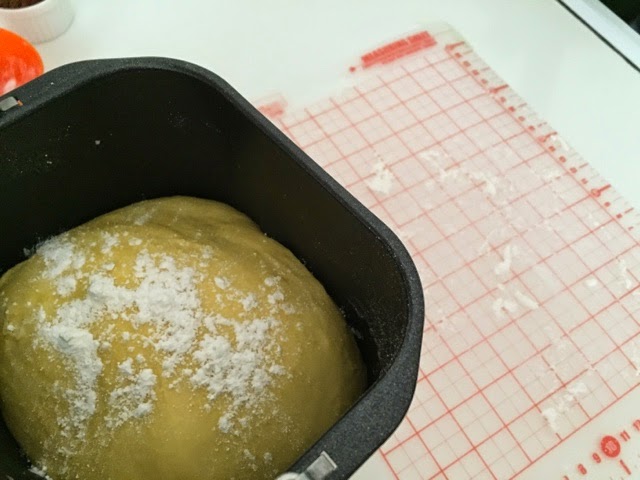
9. The dough is ready.
10. Sprinkle some bread flour over both the work top and dough before inverting it out.
11. Flatten the dough to remove the trapped air.
The dough maybe quite sticky, so wear a pair of disposable gloves to handle it.
12. Cut out about 1/4 of the dough and knead in the cocoa powder. Roll up the remaining dough into a ball shape and cover with a lid.
13. Divide the cocoa dough into 4 equal portions. Roll into ball shape and rest for about 15 minutes.
14. While waiting for the dough to rest, you can grease the bread pan with butter.
15. After the rest, roll the cocoa dough into 4 long ropes. The length of the ropes should be about the length of the bread maker.
16. Roll out the other dough into a long rectangular shape with the width responding the length of the bread pan.
17. Place a cocoa rope at the starting end of the dough and roil it up. Follow by the rest of the cocoa strips. While rolling up, try to press the dough to avoid having any trapped air parcel within the roll.
18. Coat the roll with some flour. And lower it into the bread pan. Press the dough lightly to ensure good contact with the pan.
19. Spray some water and cover the bread pan with food wrap. Let the dough proof in the bread maker for about 50 to 60 minutes.
20. Sieve some flour over the top and start the baking process. I selected the "light" browning colour.
Cover the window with aluminum foil to avoid developing a white patch at the top of the dough.
21. When the bread is ready, remove from the bread maker and cool on a wire rack.
22. Slice the bread with a bread knife when cool :)


Very beautiful loaf of bread! Very soft too. Thanks for sharing.
ReplyDeleteThank you Veronica for your good comment :)
DeleteThis comment has been removed by the author.
ReplyDeleteLove this wonderful combination. And its pretty easy to make too. Thanks for sharing.
ReplyDeleteHi, thank you and hope you'll like it :)
DeleteHi NgaiLeng,
ReplyDeletei recently bought a bread machine & was so thrilled when I found your blog & appaud all the detailed efforts you put in. You r an angel.
I love all your recipes but i am very frustrated because there is no search for me to find the recioes that i"ve seen & try to locate them again. Can u pls help .
Once again thank you for sharing
Hi blueflower, I'm glad you find my blog useful :)
DeleteIf you download the Pinterest app, you can follow my board. It's more organized. I have a board for BM bread and a board for oven bread. If you have Facebook account, after you have downloaded the app, it'll prompt you a list of your FB friends using this app. I think you should be able to find my name there, if I'm your FB friend :)