Saturday 27 June 2020

Mini Rice Cooker Pineapple Rice


An easy to prepare pineapple rice cooked in a mini rice cooker using the convenient ingredients sponsored by Kitchen Joy.

Serving: 3 persons

Ingredients

Ingredients can be adjusted according to your taste

1.5 cups rice

2 tsp sliced garlic
2 tsp sliced onion
2 tbsp lotus root, diced, optional
1 cup honey pineapple chunks
2 tbsp sliced carrot
2 tbsp edamame beans

1~2 tsp dark brown sugar
1~2 tsp light soy sauce
2 tsp coriander powder
1/4 tsp turmeric powder
1/8 tsp pepper powder
1~2 tbsp pineapple juice
water to cook rice
Salt to taste

1 egg, cooked into omelette
3 peri peri charcoal grilled chicken inner fillets
some coriander leaves for garnishing


Directions

1. Rinse and soak rice for about 30 to 60 minutes.

2. Cut honey pineapple into chunks, partially squeeze out the pineapple juice. Keep the juice for later use.

3. Add about 2 to 3 tsp of olive oil and sliced garlic into the inner pot of a mini rice cooker. Start the cooking process. Stir the garlic at interval to brown evenly.

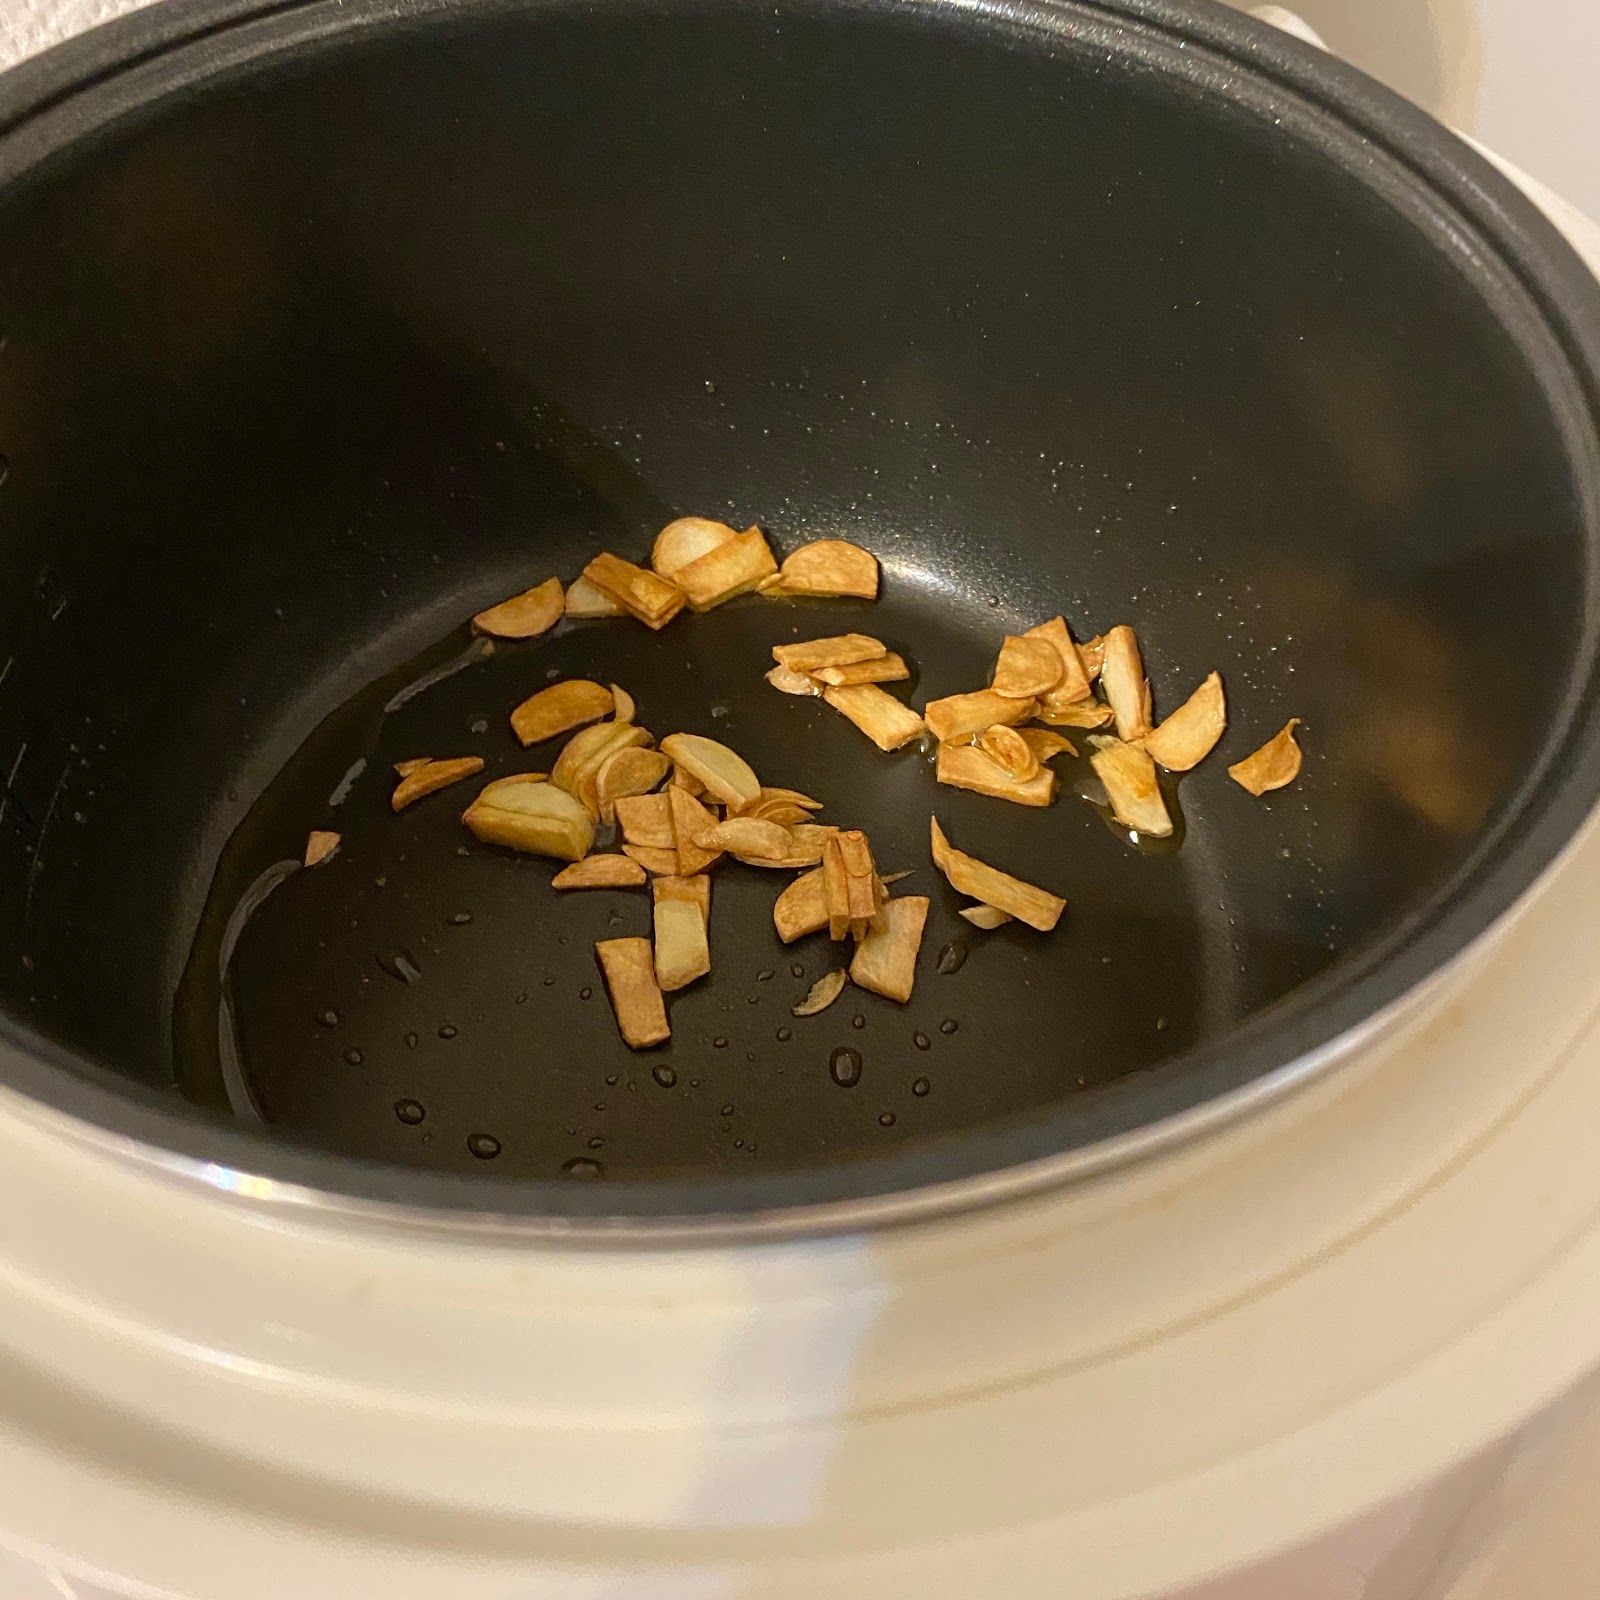
Transfer the golden garlic flakes to a saucer. Add in the sliced onion and cook till fragrant.

4. Add in the lotus root chunks and pineapple chunks, stir fry till the pineapple chunks slightly drier.

5. Add in dark brown sugar,

light soy sauce,

and mixture of coriander powder, turmeric powder and pepper powder,

and pineapple juice collected earlier. Stir fry till the sauce starts to boil.

6. Add in the soaked rice, and top up the water to cook the rice to your desired softness.

Add some salt and stir to mix well.

Top with sliced carrot. Cover the lid and let the ingredients cook till the rice cooking mode switches to "Keep Warm".

7. Add the edamame beans and peri peri charcoal grilled chicken inner fillets to the top of the hot rice. Cover the lid of the rice cooker, and let the ingredients simmer for about 30 minutes.This is to allow the rice to absorb the moisture before serving.


8. Remove the chicken fillets, loosen the rice, and add in the golden garlic flakes, and omelette bits. Stir to mix.

9. Serve the hot  rice topped with tender and flavourful chicken fillet and coriander leaves. Yummy meal 😋😍


Friday 26 June 2020

Soft Butter Crust Milk Bread


I have many milk bread recipes in my blog. In order to differentiate this milk bread recipe from the rest, I added "butter crust" to the title to highlight the soft butter crust of this milk bread. When you carry the bread, you can feel it was heavier than normal milk bread. With a raw dough weight of 652g and a final 610g bread weight after baking, only 40g of liquid was lose during baking.

Evaporated milk and 40g of butter were added to enhanced the milk and buttery aroma of the bread.  Owing to the shortage of bread flour during the Covid-19 period, I used plain flour to substitute about 1/3 of the flour weight. All these contributed to this butter-rich milk bread, having its softness that could last till the 4th day 😋

Yield: twin loaves in one pan
Pan size: 23x13x6 cm
Raw dough weight: 652g
Bread weight: 610g
Baking temperature: Progressive heating starting from cold oven to 120℃, increase 20℃ at interval of 10 minutes, till reaching 180℃, at lower rack of oven.

Ingredients

200g bread flour
100g plain flour
40g raw sugar
3g instant dry yeast
1/8 tsp vanillin powder, optional

50g natural yeast, 100% hydration *
20g beaten egg
130g fresh milk. cold
20g evaporated milk, cold
15g condensed milk, cold
30~40g water, cold, to be added gradually as needed

3g fine salt
40g unsalted butter, softened

Some milk wash before baking
Some salted butter wash after baking

* 50g natural yeast can be replaced by 25g each of bread flour and water with 1/8 tsp instant dry yeast

Directions

Knead the dough using your preferred method or my method. 

1. Mix bread flour, plain flour, raw sugar, instant dry yeast and vanillin powder in a big mixing bowl.


2. Mix natural yeast, beaten egg, cold milk, evaporated milk, condensed milk to the above dry ingredients. Add the 30~40g of cold water gradually depending on the dough moisture level. Cover and let the dough undergo autolysis for about 15 to 20 minutes.


3. Use a good hand mixer (450W and above preferred) fitted with dough hooks to knead the dough for about 2 to 3 minutes before adding the salt.

4. Knead in the softened butter till the dough becomes less sticky.


Wear a glove to perform about 500 sets of "slap and fold" till reaching window pane. As the dough was in bigger volume, so more "slaps and folds" were needed.
Click the video below to view the "slap and fold" process.


5. Shape the dough into a ball. Spray some water over, cover with a lid, and let it undergo first proofing for about 75 minutes, or till double in size.
Start of first proofing.

End of first proofing.
 6. Turn out the dough onto a floured work top. Deflate the dough, and divide it into two equal portions.

Roll up and shape into two balls. Cover and let them rest for about 15 minutes.

7. Roll out the dough to about 1cm thick.

Fold in the two wings towards the middle.

Roll flat slightly, and roll up, pinch to seal the end.


Place the shaped dough into a loaf pan lightly coated with butter. Spray some water, cover with a tea cloth, and let it undergo second proofing for about 40 to 45 minutes, or till the dough lightly touches the wall of the pan.


8. Brush a coat of milk wash over the crust.


Bake at lower rack of a cold oven. Start from cold oven to 120℃ for 10 minutes, 140℃ for 10 minutes, 160℃ for 10 minutes, and 180℃ for 10 minutes, or till the crust turns golden.

9. Remove the hot bread from the oven and un-mould onto wire rack immediately.


Brush salted butter wash over the hot bread crust.


10. Cut the bread after it has cooled down completely. Enjoy 😋