Showing posts with label Rice cooker cake. Show all posts

Saturday, 27 January 2018

IH Rice Cooker - Brown Sugar Banana Cake


I named this rice cooker cake as an UFO cake because of its shape 👾
A very nice and light banana cake baked using an induction heated rice cooker. Not very sweet, not very oily, just moist, soft and carries the familiar aroma of banana 🍌😋


Ingredients

60g caster sugar daddy
25g dark brown sugar

3 eggs, separated

100g top flour
1/2 tsp baking powder
1/8 tsp baking soda

30g coconut oil
65g mashed banana


Directions

1. Coat the inner pot of the rice cooker with a good amount of salted butter. The caramelized butter and sugar will gave the cake a very nice aroma. So, don't save on the butter used 😁

2. Beat egg whites in a clean, dry and oil-free mixing bowl till frothy. Gradually add in the caster sugar and dark brown sugar.

Beat the meringue till almost firm peak.

Beat in the egg yolks, one at a time, till ribbon stage.


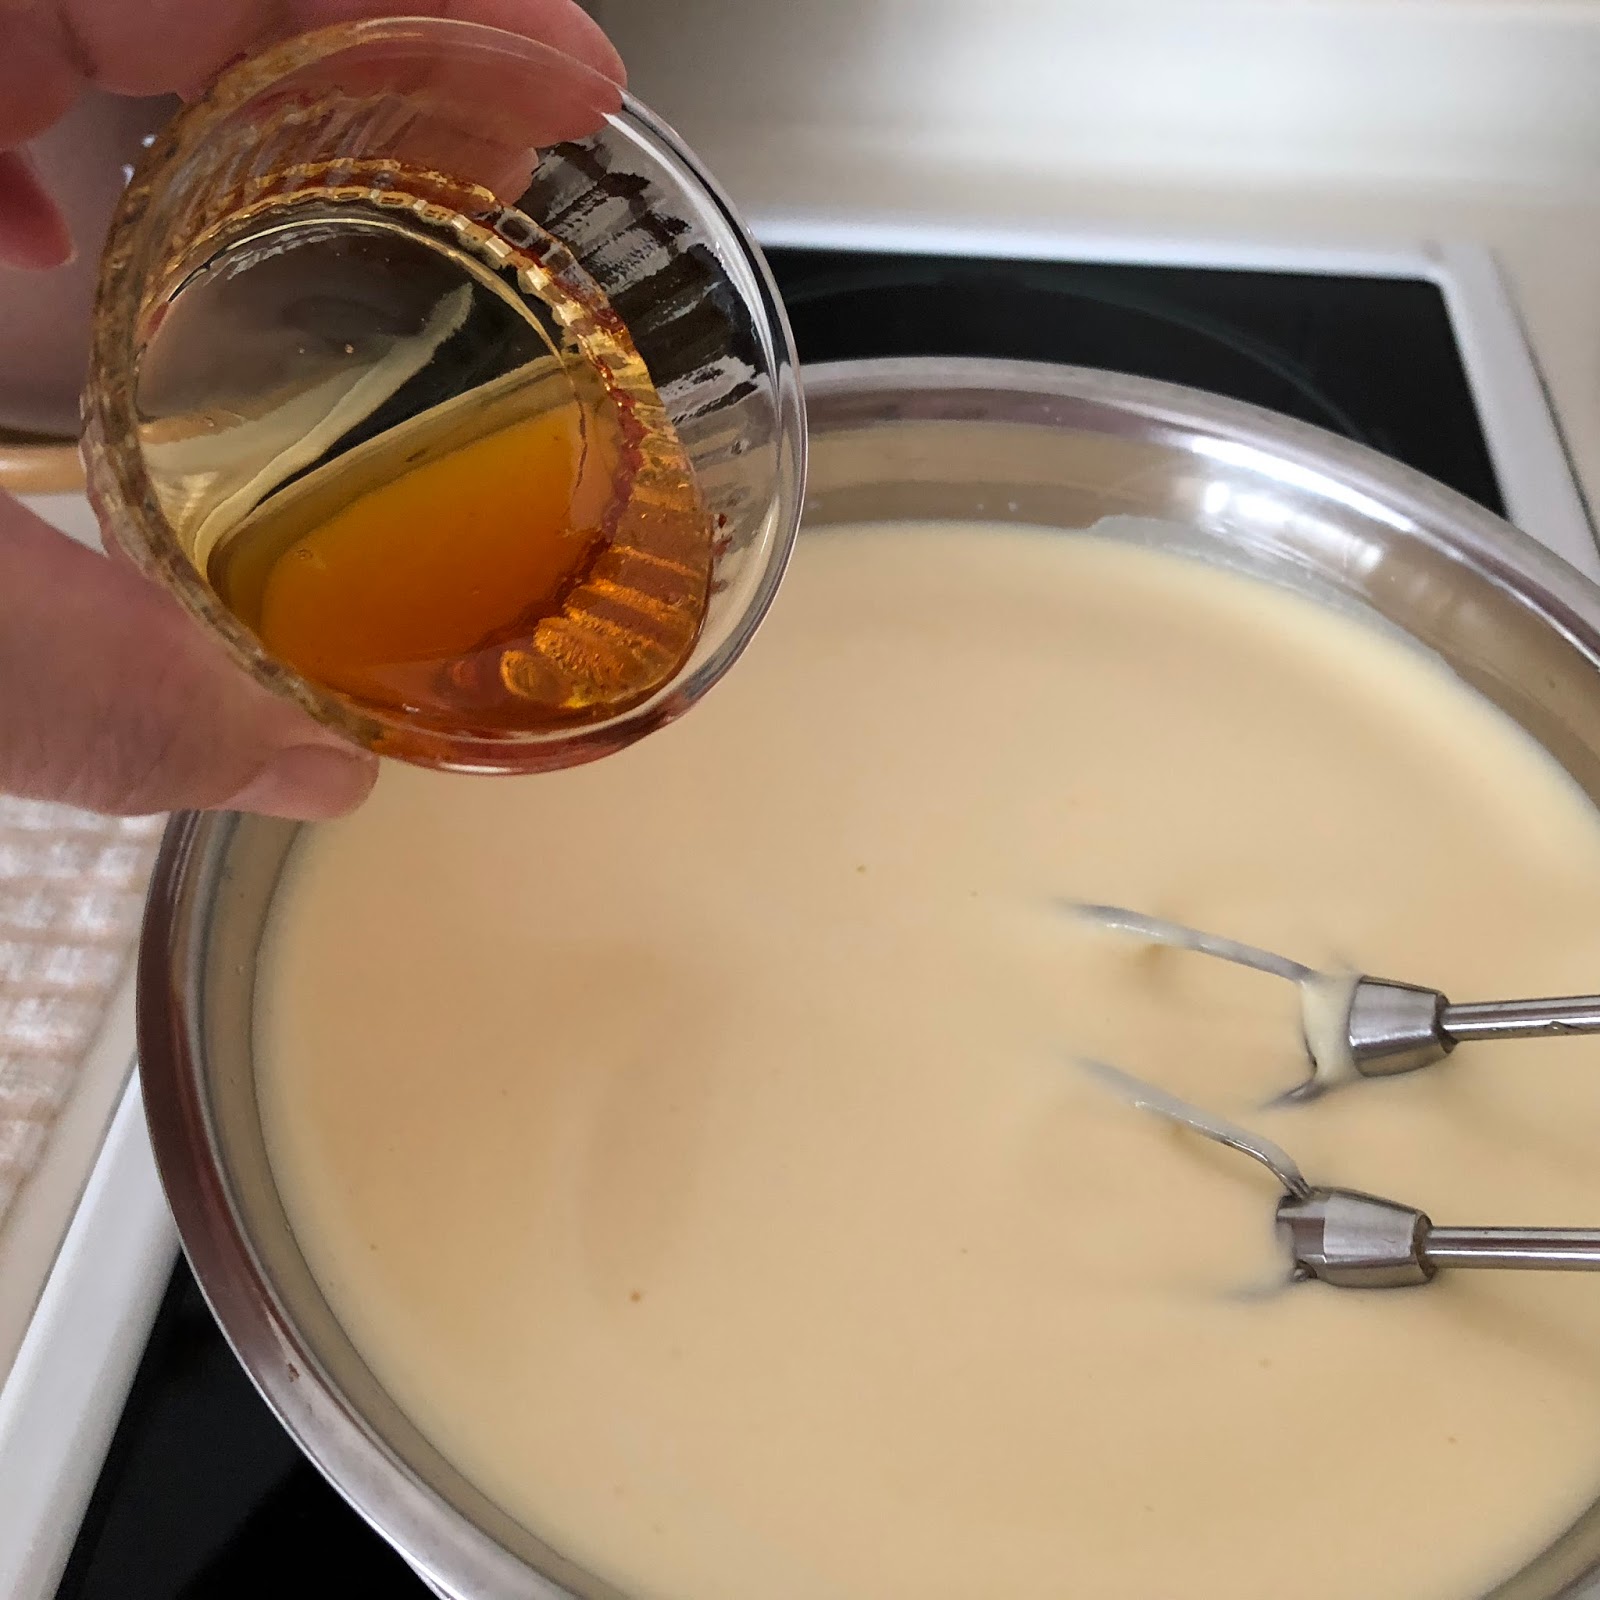
3.  Mix in the coconut oil gradually. Followed by mashed banana.

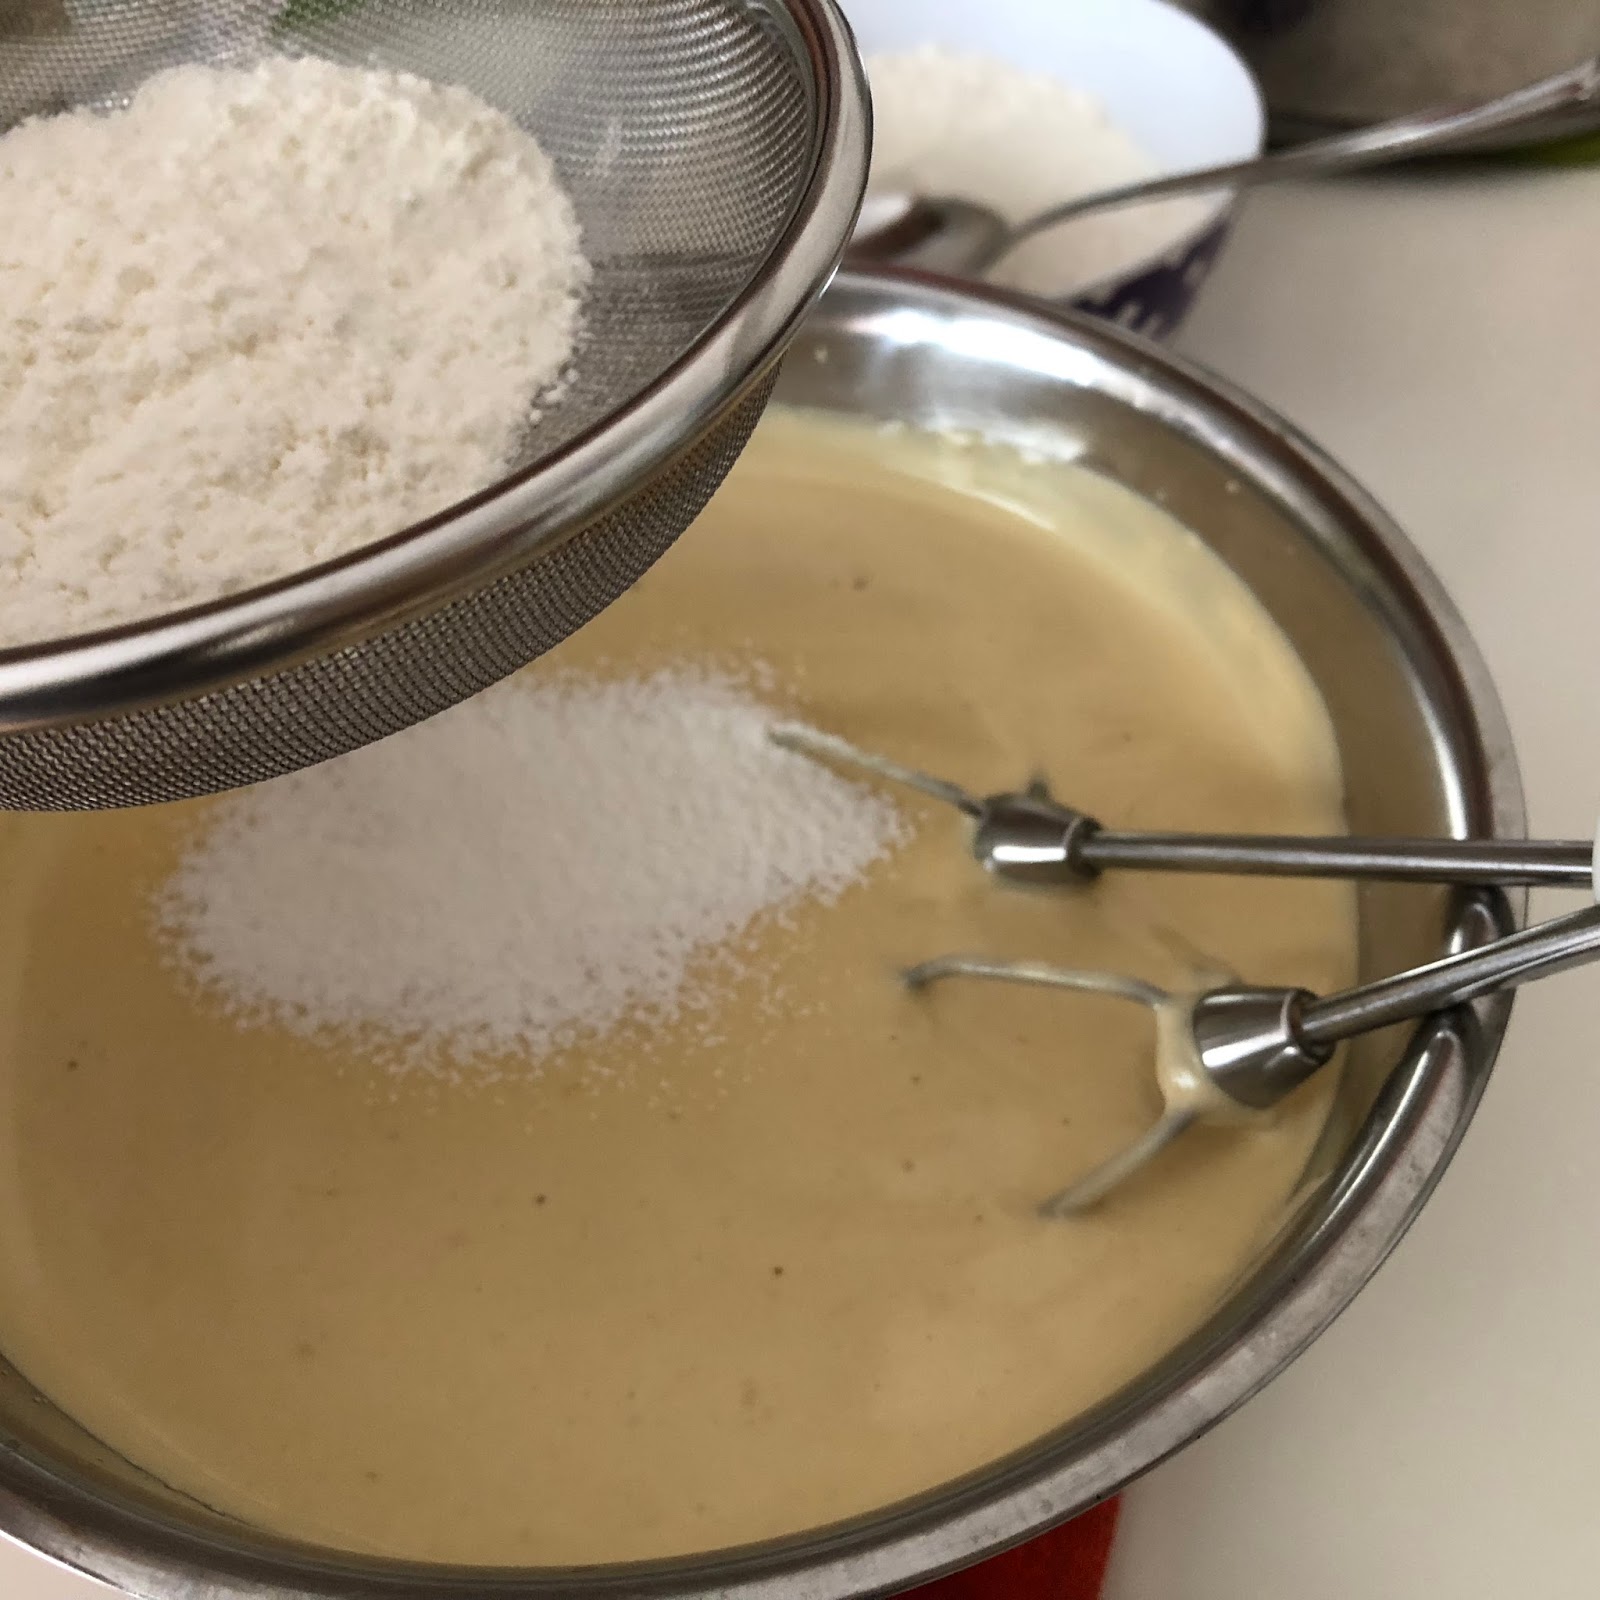
4. Sieve in the top flour mixed with baking powder and baking soda.

Give the batter a more thorough mix using a spatula to ensure no liquid settle at the bottom.

5. Pour the batter into the greased inner pot of the rice cooker.

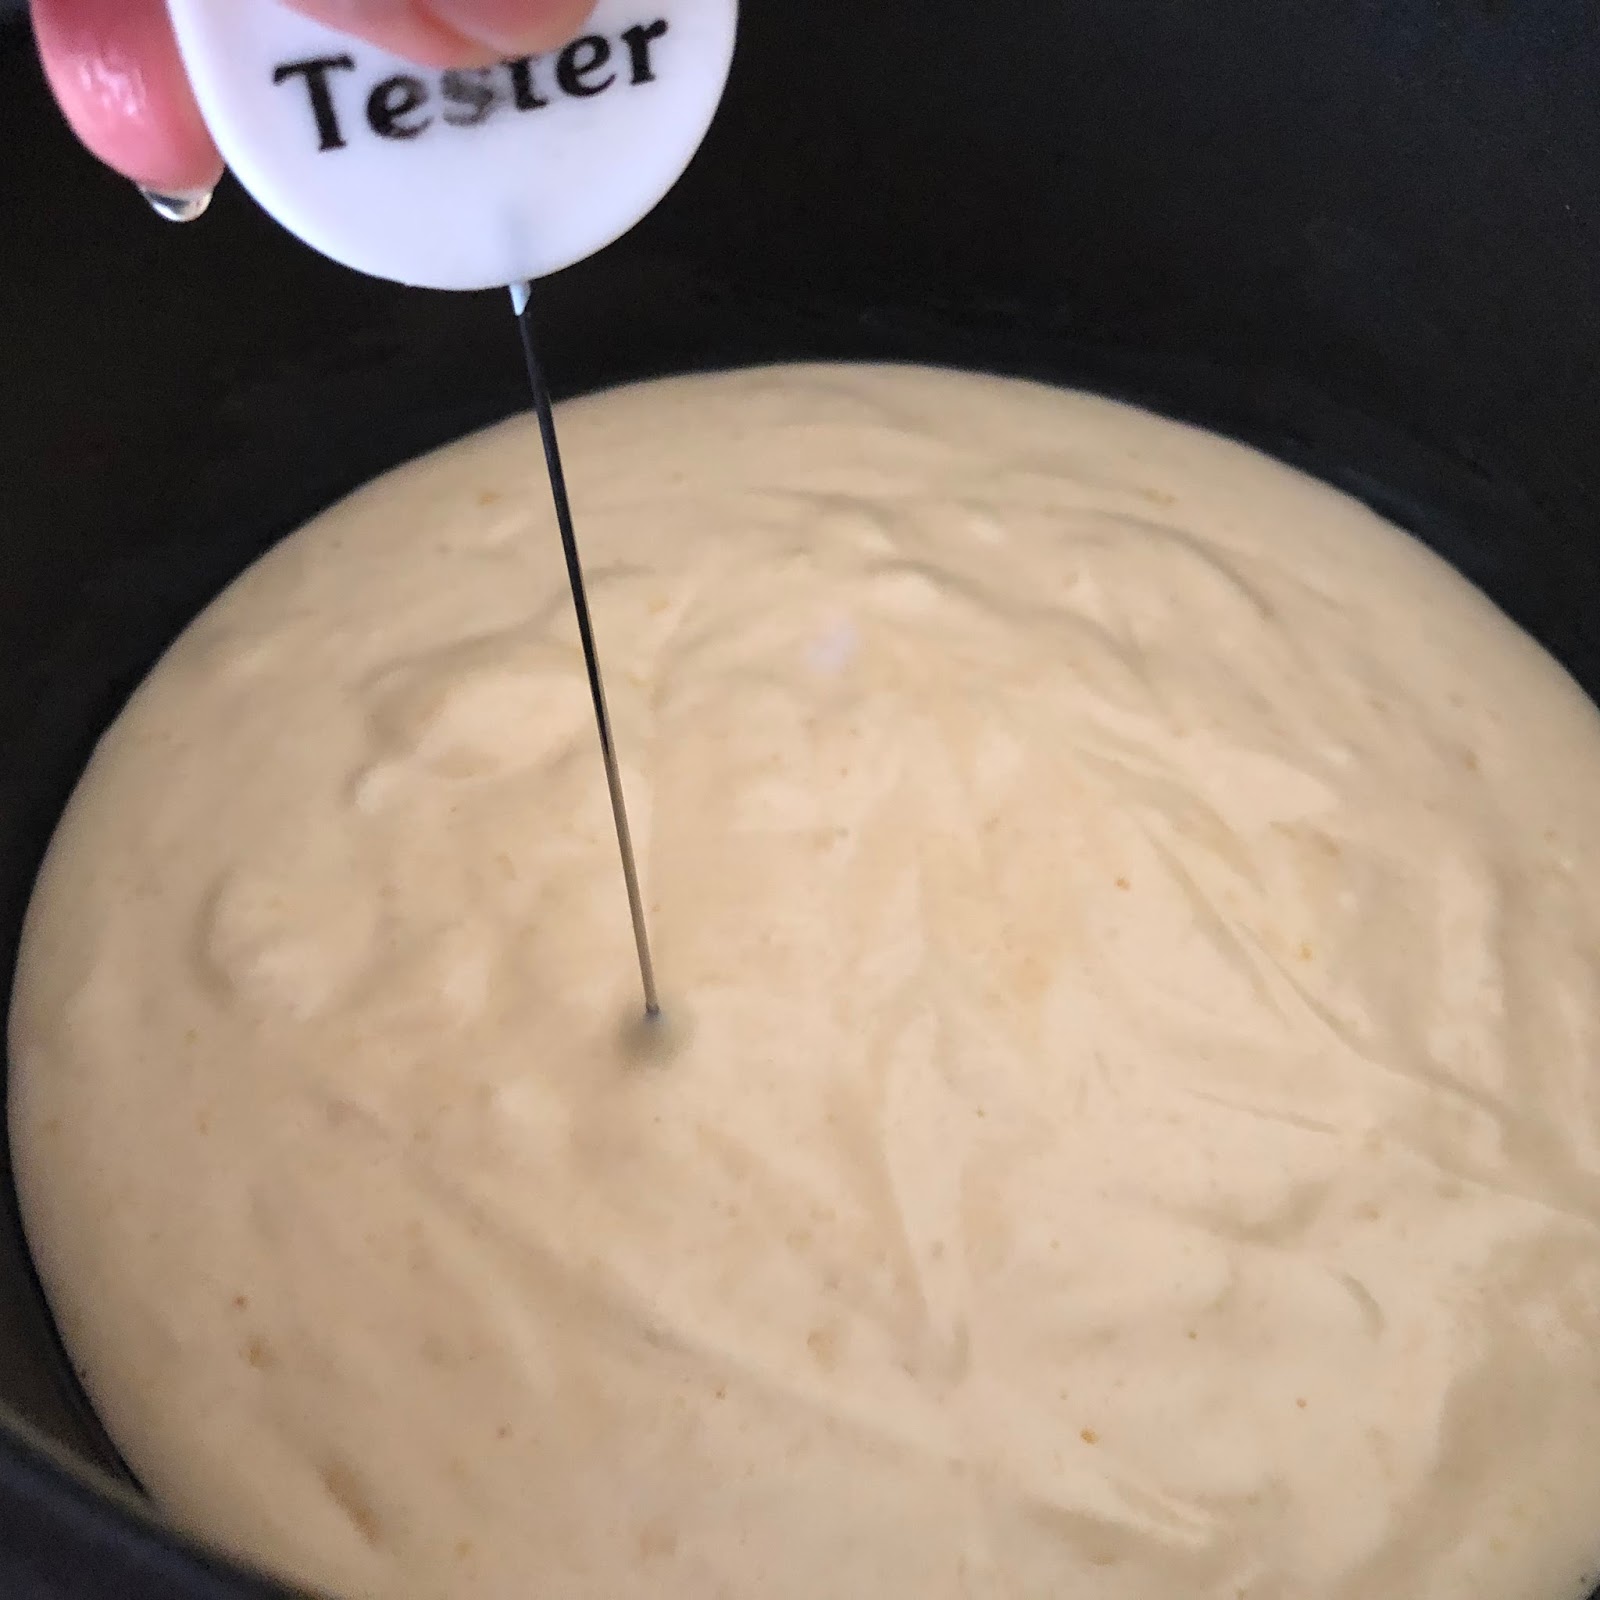
Run a thin skewer in zig-zag manner through the batter to break out any trapped air bubbles.

Place the inner pot into the rice cooker.

Select the "Cake" function and start the program. The program will take about 45 minutes to complete.


The cake is ready 😀
 
6. Let the cake cool down over a stand for about 5 minutes.

Place a piece of parchment paper over the cake,

invert the steamer's stand and rest it on the cake.

Place a chopping board over the pot.

Invert out the cake and let it cool down over the steamer's stand.

7. When the cake has completely cool down, cut and serve 😋


Thursday, 18 January 2018

IH Rice Cooker - Japanese Castella Cake


I have tried baking castella cake a few years ago. Love this cake for its oil-free  characteristics. 
A few days ago, when I looked at Barry's recipe, an ingredient in his recipe caught my attention. He added Japanese sweet rice wine, mirin. In his cake. To try out his interesting recipe, I halved the recipe and baked it in an IH rice cooker. And it turned out beautifully. The drawing point of this simple cake is the slightly chewy caramelised golden crust.
The butter coated in the pot gave this "oil-free" cake an extra caramelised butter aroma 🌸


IH Rice Cooker: Philips HD3175, 1.5L

Ingredients

All ingredients in room temperature
Using 55g omega 3&6 eggs

3 eggs
100g caster sugar
25g Japanese mirin (sweet rice wine)
40g rice malt syrup/golden syrup
85g bread flour (yes, this cake uses bread flour)


Directions

1. Add eggs to a dry and clean mixing bowl. 

Place the bowl over another bowl filled with a small amount of  hot water. Don't let the hot water touch the base of the mixing bowl above it.

Beat egg till frothy, then add in the caster sugar.

Continue to beat eggs till reaches the ribbon stage. The process took about 15 to 20 minutes.

2. While the electric hand whisk is still working, slowly drizzle in the mirin.

Followed by rice malt syrup.

Blend into a smooth batter.

3. Add in sieved bread flour. Briefly mix using the whisks manually.

Then fold using a spatula. Avoid over-mixing the batter or you'll lose the precious air bubbles!

4. Pour the batter into the rice cooker inner pot, pre-coated with a layer of butter.

Run a thin skewer in zig-zag manner across the batter to break out any large trapped air bubbles.

5. Place the inner pot into the rice cooker.

Select "Cake" function and start the program. The rice cooker will take 45 minutes to complete the baking process.

When the rice cooker "beep" to indicate the baking ends, turn off the power. Open the lid, and let the cake cool down for about 5 minutes.

6. Place a small sheet of parchment paper over the cake.

Invert the steamer's stand and rest on top of the cake.

Cover the pot opening with a small chopping board.

Turn over the entire set up. After the cake has dislodged from the pot, remove the pot.

Wrap the crust of the cake with cling wrap. This is to keep the moisture within the cake.

Wait for the cake to cool down completely before removing the cling wrap.

7. Cut and enjoy 😋💖


Recipe adapted from my FB friend, Barry Apek's recipe. Thank you Barry for sharing the great recipe :)