Showing posts with label Kitchen garden. Show all posts

Friday, 13 August 2021

Homegrown Mung Bean Sprout


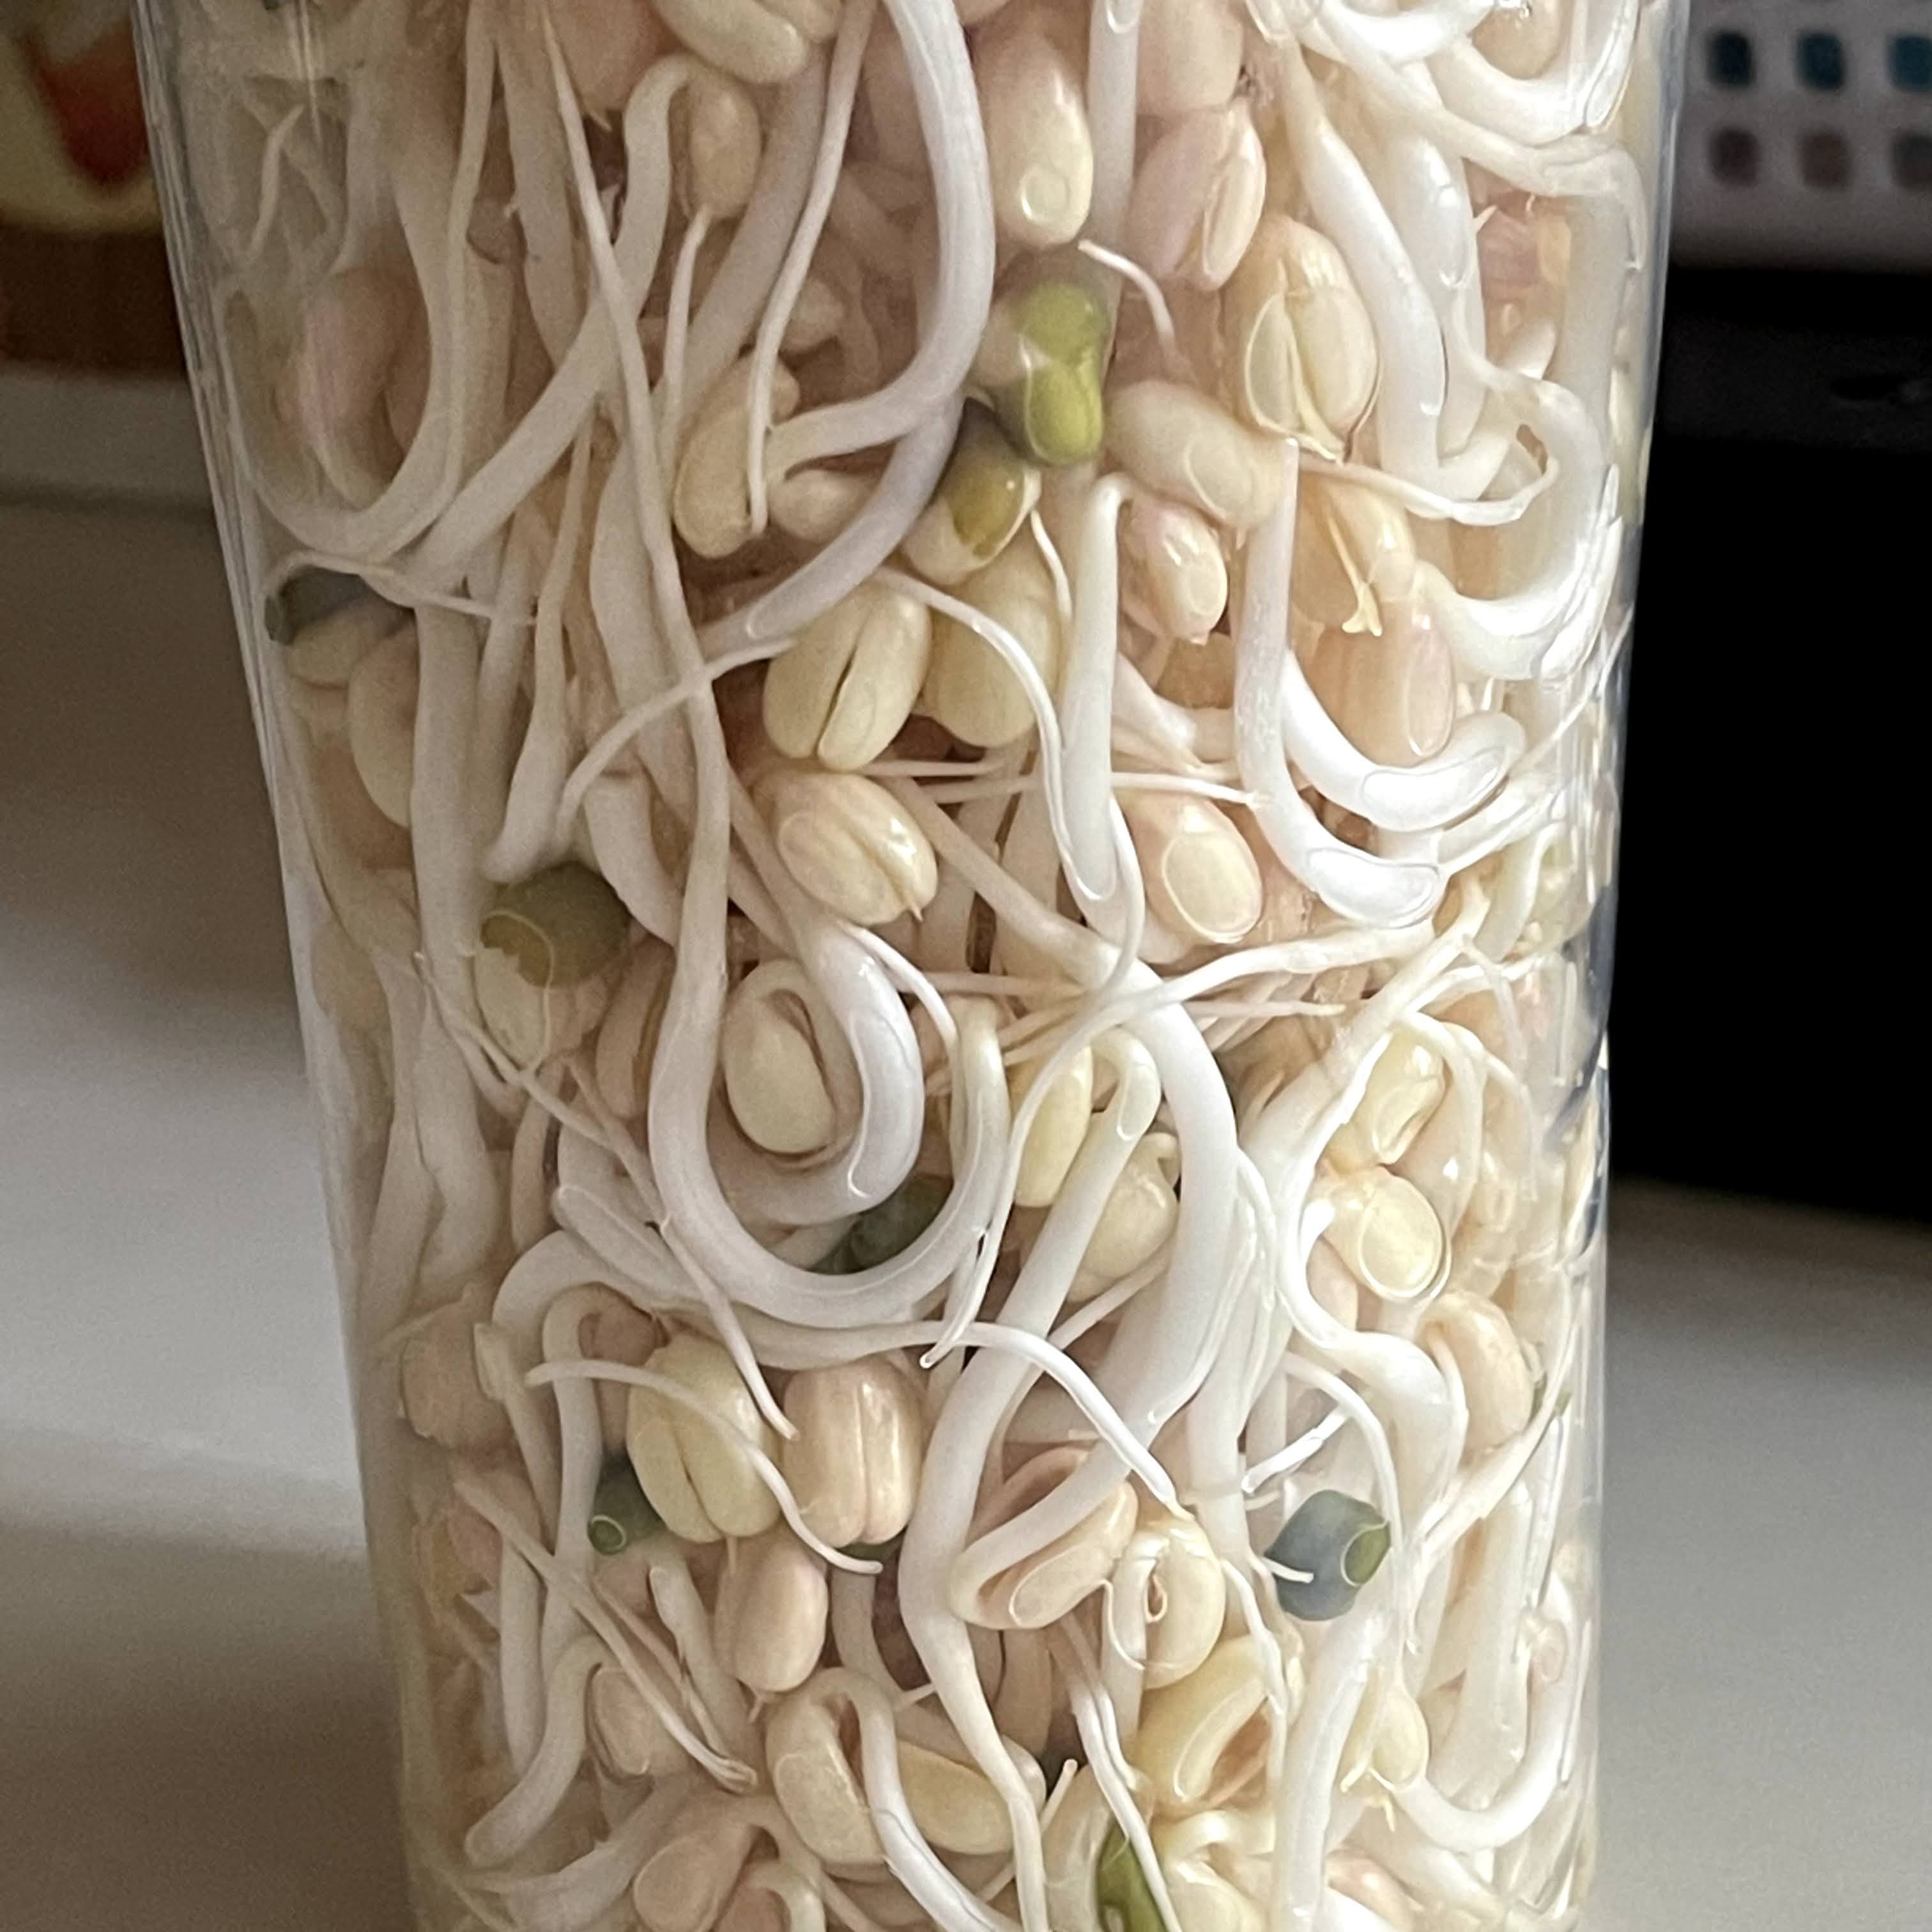
Taking advantage of the higher temperature in my tropical country, I only need about 3 days to grow the mung bean sprouts from seeds to juicy and crunchy sprouts 🌱🌱🌱

All I need was a tall transparent plastic bottle, a rolled up soft cardboard or thick paper, some organic mung beans, and regular soaking and showering of the growing sprouts. Easy steps involved, and my family get to enjoy freshly harvested mung bean sprouts. πŸ˜‹πŸœ

The mung bean sprouts can be used in sandwiches, salad, stir-fried noodles, or light noodle soup πŸ˜‹


Equipment
1x 500ml plastic bottle
1x thick paper or cardboard as screen

Ingredients
25~35 g organic mung beans

Directions

Day 1
Rinse the beans till the water runs clear. Soak the beans for about 8 to 10 hours, or overnight.


Towards the end of the 8 to 10 hours of soaking, some beans will begin to germinate🌱
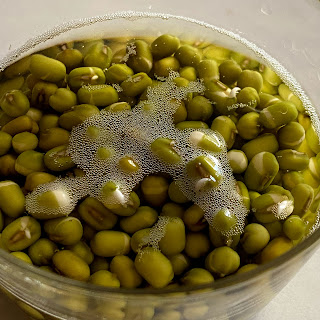
2. Prepare a clear tall plastic bottle, and roll up a thick paper or cardboard to serve as light shield for the transparent bottle.

3. Pour away the soaking water, and transfer the beans into the bottle.

Loosely cover the bottle with an opaque lid.

Cover the bottle with the rolled paper light shield.

4. Keep the entire setup in a dark, cool cupboard.

5. Soak the beans for about 3 to 10 minutes at an interval of about 1 to 3 hours.
Soak the beans a little longer before every long night.


Day 2
Repeat the soaking process. 
I prefer to remove the unsightly husks during draining of water. This step is optional.

At the later half of the day, the beans can be seen growing longer. A shorter interval, or more soaking frequency, help the beans to grow faster.


Day 3
You can start to harvest the bean sprouts on Day 3 when the sprouts have grown to your desired length.


When the bean sprouts grow longer and become more compact, you can stand the bottle in an inverted position once in a while.

Day 4
The bean sprouts grow longer and have longer roots too.


Harvest
Pull out the bean sprouts from the plastic bottle.

Snap off the long roots and the bean sprouts are ready for cooking 🌱🍲


Friday, 5 February 2016

Little Garden by the Sill - coriander


Coriander or cilantro is a difficult herb to keep green for long, even in refrigeration. Usually by middle of the week, the leaves will start to turn yellow. I've tried several methods to preserve this herb, like wrap it in plastic bag, or let it dried naturally in paper bag placed in the fridge. The results were unfavorable.
My effort starts to pay off when I successfully kept the herb green and "juicy" in the fridge after about a week. I divided the plant into two portions. I kept the green leaves in cling or food wrap and keep in a brown paper bag. And kept the root portion in water. Here's the procedure :)


Preparations 
1. You need fresh and healthy coriander with root intact. Wash and soak in veggie wash for about 10 minutes and drain away the water.

Part 1 - the green leaves
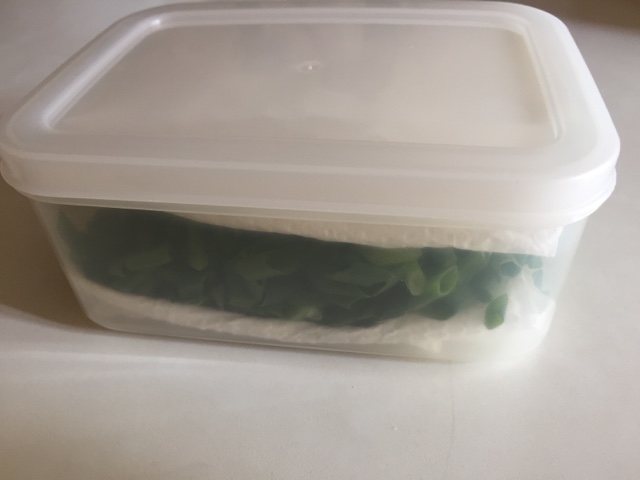
1. Pick the long and healthy leaves and dry them by hanging in the air for about 1/2 an hour.

2. Spread out the leaves over a cling wrap in single layer.

3. Place a paper kitchen towel over.

4. Roll up the wrap. I left the two ends open without sealing them.


5. Place the wrapped coriander leaves into a brown paper bag* and fold in to seal. Keep the pack in refrigerator.
I bought the brown paper bag from SKP.


6. The leaves and stems still remain green and juicy on the 6th day Y(^_^)Y


Part 2 - the roots

1. Keep the root with a little young green leaves in a shallow beaker of water, just enough to cover the roots.


2. Place the set up into a taller container.
I find the coriander is temperature sensitive. It dislike hot weather. Therefore, I'll keep the plant in a closed container, and keep it in the fridge during the nights.
Bring the plant to the sill on the next day for "sun-bathing" ><

After one week

You can harvest the leaves when needed.

My plant could only keep for two weeks, beyond that it would turn yellow :(

Related topic - keeping spring onion green longer
Click the link below 


Saturday, 2 January 2016

Garden by the Sill - Spring Onion

 
When we bought a fresh bunch of spring onions home, even if we keep them in the fridge, they will turn yellow and slimy after about 5 days. However, if we spend a little effort to keep them in different ways, we can ensure a longer green life span of the plant.

Usually, I'll cut and separate the green part from the white. I'll cut the green portion and keep them in a box in the freezer. While for the white portion, I'll keep them (with the roots intact), in a shallow cup of water by the kitchen sill. The onion will continue to grow fast. By end of the week, they can be harvested fresh.

Processing

1. Buy spring onions with roots intact.

2. Divide the spring onions into the green and the white portions.

3. Cut the green portion into short length and keep them in a freezer.


One day after freezing.

9 days after freezing.
Do not thaw and refreeze the frozen green onion, it will lose its form.


4. While for the white portion, bundled them together and dip in a shallow cup of water.


5. Place it next to the window sill, or any corner which is bright. 
The bundle on the right is the new plant, and the bundle on the left was the week-old plant.

The growing process 

3 Jan 2016

4 Jan 2016


5.1.2016

6.1.2016

7.1.2016

9.1.2016

13.1.2016
Harvested

Keeping food fresh = reducing food wastage 

*\(^o^)/*