Monday, 15 July 2013

Whipped Cream with Instant Custard Powder


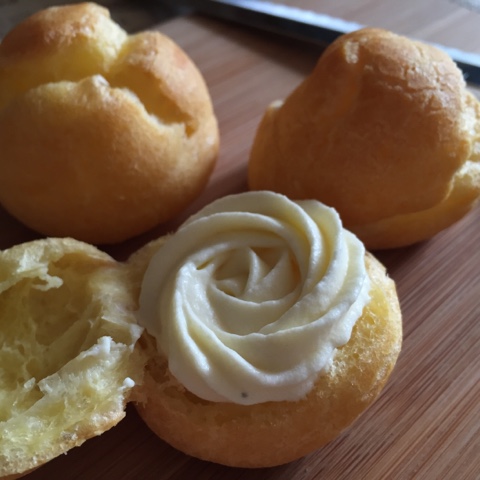
Whipped cream with instant custard powder helps to prevent the cream from melting too fast at our warm tropical climate. As the instant custard powder has been premixed with sugar and flavoring, hence lesser sugar and no vanilla essence need to be added :)

Appliances: electric hand blender or mixer 

Ingredients:
25g instant custard powder
1 tsp icing sugar
85g fresh milk
100g whipping cream

25 g 即凝蛋黄粉 instant custard powder
1 茶匙 糖霜
85g 冷鲜奶
100g 动物性鲜奶油

Methods:
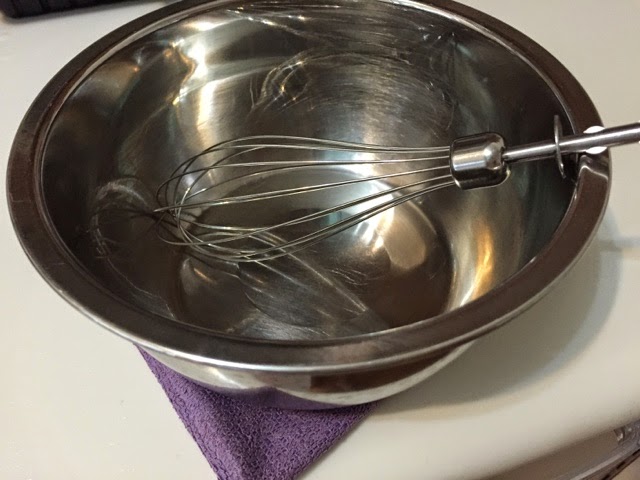
1. Chill one metal mixing bowl, a ballon whisk, and a damp teacloth in the freezer for about half an hour.
将钢盆、搅拌机的球型搅拌器、和一片略沾湿的布,放进冷藏阁冷藏1/2个小时。这有助在打鲜奶油时,让奶油保持低温。


2. Mix instant custard powder, and icing sugar with fresh milk. Cover with food wrap and keep chill in the fridge.
将即凝蛋黄粉和糖霜cc加入鲜奶中混合,盖上保鲜纸,放入电冰箱保持低温。


3. Fix the whisks to the electric hand blender. Place the mixing bowl on top of the semi-frozen teacloth. 
Pour the cold whipping cream into the chill metal bowl. 
将搅拌器与搅拌机衔接。把钢盆放在冰冻的湿布上,再把冷的动物性鲜奶油倒进钢盆中。

4. Start whipping the cream at turbo speed for about 1 to 2 minutes, until the cream thickens. 
以高速将奶油打发至变稠,大约1到2分钟。


5. Stir in the custard paste from (2) and whip till well combined. Keep the whipped cream in the fridge for 5 minutes to lower the temperature.
将(2)的蛋黄糊加入混均,再置入电冰箱5分钟降低温度。


6. Use a spatula to give the whipped cream a few stirs, before transferring it to a pipng bag.
用刮刀搅拌奶油霜数下,再装入挤花袋中。


7. Refrigerate the whipped cream for about an hour before use :)
将奶油霜放进冰箱一个小时才拿来操作。


Sunday, 14 July 2013

Rice Cooker Steamed Mocha Walnut Cake


Yield: One 14cm round cake

Appliances
Philips Avance Rice Cooker HD3087,
or rice cooker with steam function,
or a pot of hot water over stove.

Ingredients:
2 tsp instant coffee powder
1 tsp cocoa powder
1.5 tsp hot water 

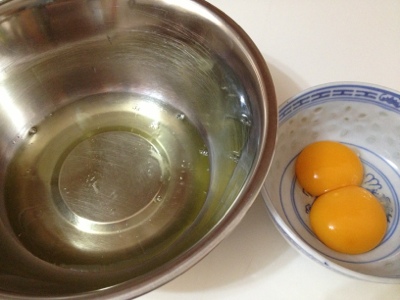
2 eggs, separated, room temperature
80g fine sugar

50g fresh milk, room temperature
15g condensed milk
10g vegetable oil

85g top flour
1/2 tsp baking powder 

1 tbsp walnut, toasted & crushed

2 茶匙 即溶咖啡粉
1 茶匙 可可粉
1.5 茶匙 热水
2粒 蛋,蛋白、蛋黄分开,室温
80g细糖
50g全脂牛奶,室温
15g炼奶
10g食油
85g低筋面粉
1/2茶匙 泡打粉
1 汤匙核桃,烤香碾碎

Directions:

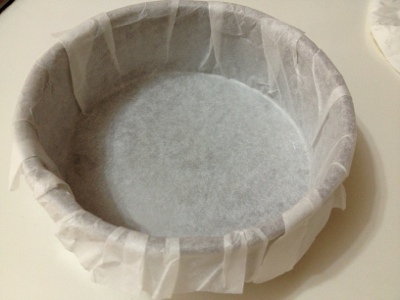
1. Line a 14cm cake tin with parchment paper. Set aside.

2. Mix flour with baking powder using a hand whisk.


3. Pour fresh milk, condensed milk, and vegetable oil into a bowl. 
If these ingredients are cold, try to warm them up in the rice cooker using 'keep warm' mode for about 20 minutes.

4. Mix coffee powder, cocoa powder and hot water into a paste. Add the coffee mixture to the milk mixture in (3). Set aside.


5.  Beat egg whites in a clean and grease free mixing bowl at high speed using an electric mixer till frothy. This takes about  1 minute.


6. Reduce the mixer speed to low and add in the sugar in three lots. When the sugar is well incorporated to the batter, adjust the mixer speed to high, and beat the egg white batter for about 2 minutes, or till soft peaks formed (tips of peak slightly bent).


7. Add in egg yolks, one at a time, to the egg white batter and mix well.


8. Add in the flour mixture, one tablespoon at a time, to the batter using the pair of whisks taken out from the mixer set. Stop mixing once no flour can be seen.
This is to prevent deflating the batter too much and too fast.

9.  Add the coffee milk mixture from (4) in three additions to the batter using the pair of mixer's whisks.
Similarly, try to mix the batter with minimum mixing time.

10. Pour about 120ml water into the inner pot of the rice cooker. And place a steamer rack in too.

11. Pour the egg batter into the cake tin. Give the cake tin a few jolts to level the surface and to get rid of trapped air. 


12. Sprinkle the toasted crushed walnut onto the top evenly.

13. Lower the cake tin into the rice cooking pot. Close the lid and set the cooking time to 18 minutes and start the steam function.


14. When the cooking time is up, the rice cooker will 'beep'. Open the lid slowly to avoid the condensed dews from dripping to the cake surface.

15. Remove the cake from the rice cooker and let it cool down for about 5 minutes in the cake tin.

16. Lift the cake out of the cake tin and allow it to cool down on a wire rack.


17. Cut and serve. This cake is best serve warm :)


Tuesday, 9 July 2013

Almond Cranberry Butter Cake


Yield: 1 x 14cm round cake

Ingredients:
2 eggs, room temperature
60g fine sugar
50g salted butter, softened
1/8 tsp cream of tartar
60g cake flour
1/3 tsp baking powder
2 tsp sour cream or yoghurt 
1 tbsp cranberry bits
1 tbsp almond flakes, for decoration 

Directions:
1. Line a 14 cm round cake tin with parchment paper.

2. Mix cake flour and baking powder in a bowl using a hand whisk. Set aside.

3. Whip softened butter till it becomes pale yellow. Add in 2 egg yolks and 40g of the sugar to the butter. (remaining 20g sugar to be mixed with egg white later). Blend well.


4. Sieve the flour mixture into the batter in 3 portions. Add 1 tsp of sour cream to the batter after each flour addition. Alternating between flour and sour cream, and end with flour.
It's best to do this part using silicon spatula or hand whisk.


5. In a clean grease-free bowl, whip egg whites using an electric mixer for about 2 minutes at high speed. 
Add in the remaining 20g sugar and cream of tartar, beat at lower speed. When all the sugar is well incorporated to the egg whites, increase the mixer speed to high, and beat for about 2~3 minutes or till soft peaks formed.

6. Preheat the oven to 170 degree Celsius .

7. Pour 1/3 of the egg whites to the batter at (4) and mix well. Then follow by the remaining 2/3. 
I use a hand whisk to give the batter a few final stirs to break out the scattered egg white lumps.


8. Finally, add in the cranberry bits to the batter and mix well.

9.Pour  the batter into the cake mould lined with baking paper.
Lightly tap the cake mould to get rid of trapped air. 

10. Arranged the almond flakes on top of the batter.  Bake in an oven for 30 minutes at 170 degree Celsius, or till a clean skewer inserted and pull out clean.

11. Turn out the cake and let it cool on a rack. When cool, cut and serve :)