Thursday, 24 November 2016

Sweet Corn Ice Cream 玉米冰淇淋


I was left with about 1/2 cup of steamed corn kernels after baking my corn yeast bread. While thinking of ways to make good use of these healthy grains - sweet corn ice cream flashed across my mind. After Google-ing a few recipes, I found most of the recipes involved substantial amount of egg yolks. In order not to be fretted about another leftover ingredient, for this case, the egg whites, I decided to go ahead with my own  spontaneous recipe 😌

As the richer whipping cream only constituted about half of the total quantity by weight, the ice cream was creamy but not rich. An added feature of this ice cream was - it's fiber-rich from the corn purée 🌽 Further, it was mildly sweetened.

I have to admit that I didn't scoop a nice, round ball of my sweet corn ice cream 😬 However, it was a delicious scoop of home-edition ice cream 😜


Ingredients

All ingredients fridge-cold if possible

100g steamed corn kennels 蒸玉米粒
70g fresh milk 鲜奶

200ml whipping cream 动物性鲜奶油
20g icing sugar 糖粉
1/2 tsp vanilla extract 香草精

1 tbsp steamed corn kernels 蒸玉米粒

Directions

1. Steam corn kernels for about 15 minutes at high heat till cooked. After cooling down to room temperature, keep in refrigerator till needed.


2. Keep the metal whisk of an electric hand blender/ mixer, a metal bowl and a piece of wet kitchen towel in the freezer for about 30 minutes. This is to prepare for whipping cream later.


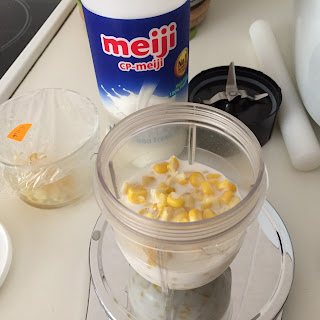
3. Blend cold corn kernels with cold fresh milk in a food processor till thick and creamy. Keep in refrigeration till needed.


4. Pour whipping cream into the cold mixing bowl sitting on a frozen kitchen towel from (2). Beat the whipping cream at low speed till it becomes frothy.

Add in the icing sugar, in several batches, beat at low speed and gradually increase to medium speed, till almost reaching firm peak stage. You'll see stable wavy pattern following the trail of the whisk.


5. Add in vanilla extract and beat at low speed till well blended.
❌ Be careful not to over whip the cream as it may segregate into butter and buttermilk ❌


6.  Add in the cold corn milk purée from (3), and blend using a spatula.


7. Add in some steamed corn kernels and mix well.


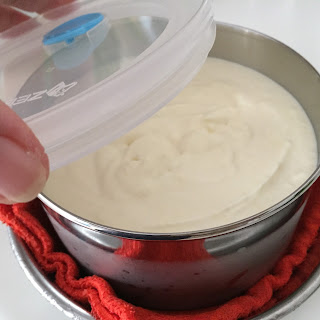
8. Pour the soft ice cream into a metal container, cover with a lid, and keep in the freezer for about 1 hour.


9. After 1hour, take out the soft ice cream, and give a few stirs to break out the ice crystals.
Repeat this process a few times till the mixture becomes thicker and thicker.


10. After the final.stir, cover the ice cream with a paper kitchen towel and a lid. Freeze it overnight ⛄

11. Let the ice cream thaw for about 10 minutes in room temperature before scooping and serving 😋
Enjoy 🍧🍦

Or, thaw the frozen ice cream in the fridge compartment for about 1 hour. I find this method of thawing will give the ice cream a more uniform temperature. In other words, you would not see the edge of the ice cream melted, while the centre is still hard 😀


Saturday, 19 November 2016

Easy Cucumber Salad for Chicken Rice


Cucumber and ginger-garlic chilli sauce are the indispensable side dishes of the popular Hainanese chicken rice. Some hawkers take an extra step to provide the customers with cucumber salad. However, not every hawker can prepare a good cucumber salad that suit my palate. I would prefer the salad to have a refreshing lemon juice to the strong vinegar taste 😋

Recently, I have been preparing this easy cucumber salad before I went out to buy the chicken rice home.  By the time the chicken rice reached home, the cool cucumber salad was just nicely marinated to go with the rice 😁


Ingredients

1 Japanese cucumber/kyuri, cut into chunks

2 cm carrot, peeled & julienned

1 very small clove garlic, finely chopped

Some lemon zest

1/2 tsp roasted sesame seeds

1/4 tsp fine salt

1/2 tsp raw sugar

2 tsp lemon/lime juice or vinegar

2 tsp raw sugar

Directions
1. Marinate the cucumber chunks and julienned carrot with 1/4 tsp salt and 1/2 tsp of raw sugar for about 15 minutes.


2. While waiting,  prepare the chopped garlic, and some lemon zest. Set aside.


3. Drain away the liquid collected from the cucumber.


4. Mix in the 2 tsp raw sugar, chopped garlic, lemon zest and lemon juice.


5. Finally, stir in some roasted sesame seeds, mix well and transfer to a clean and dry glass container.


6. Refrigerate till you get home with your yummy chicken rice. Enjoy  (^^)


Wednesday, 16 November 2016

Cranberry Cream Cheese Wholemeal Bun


Cranberry cream cheese bun is one of the popular bakery items here. I have to admit that it is quite addicting for bun that used good amount of quality cream cheese in filling.  I did come across some buns which have runny "cream cheese" fillings - obviously those were not 100% cream cheese fillings 🧀.

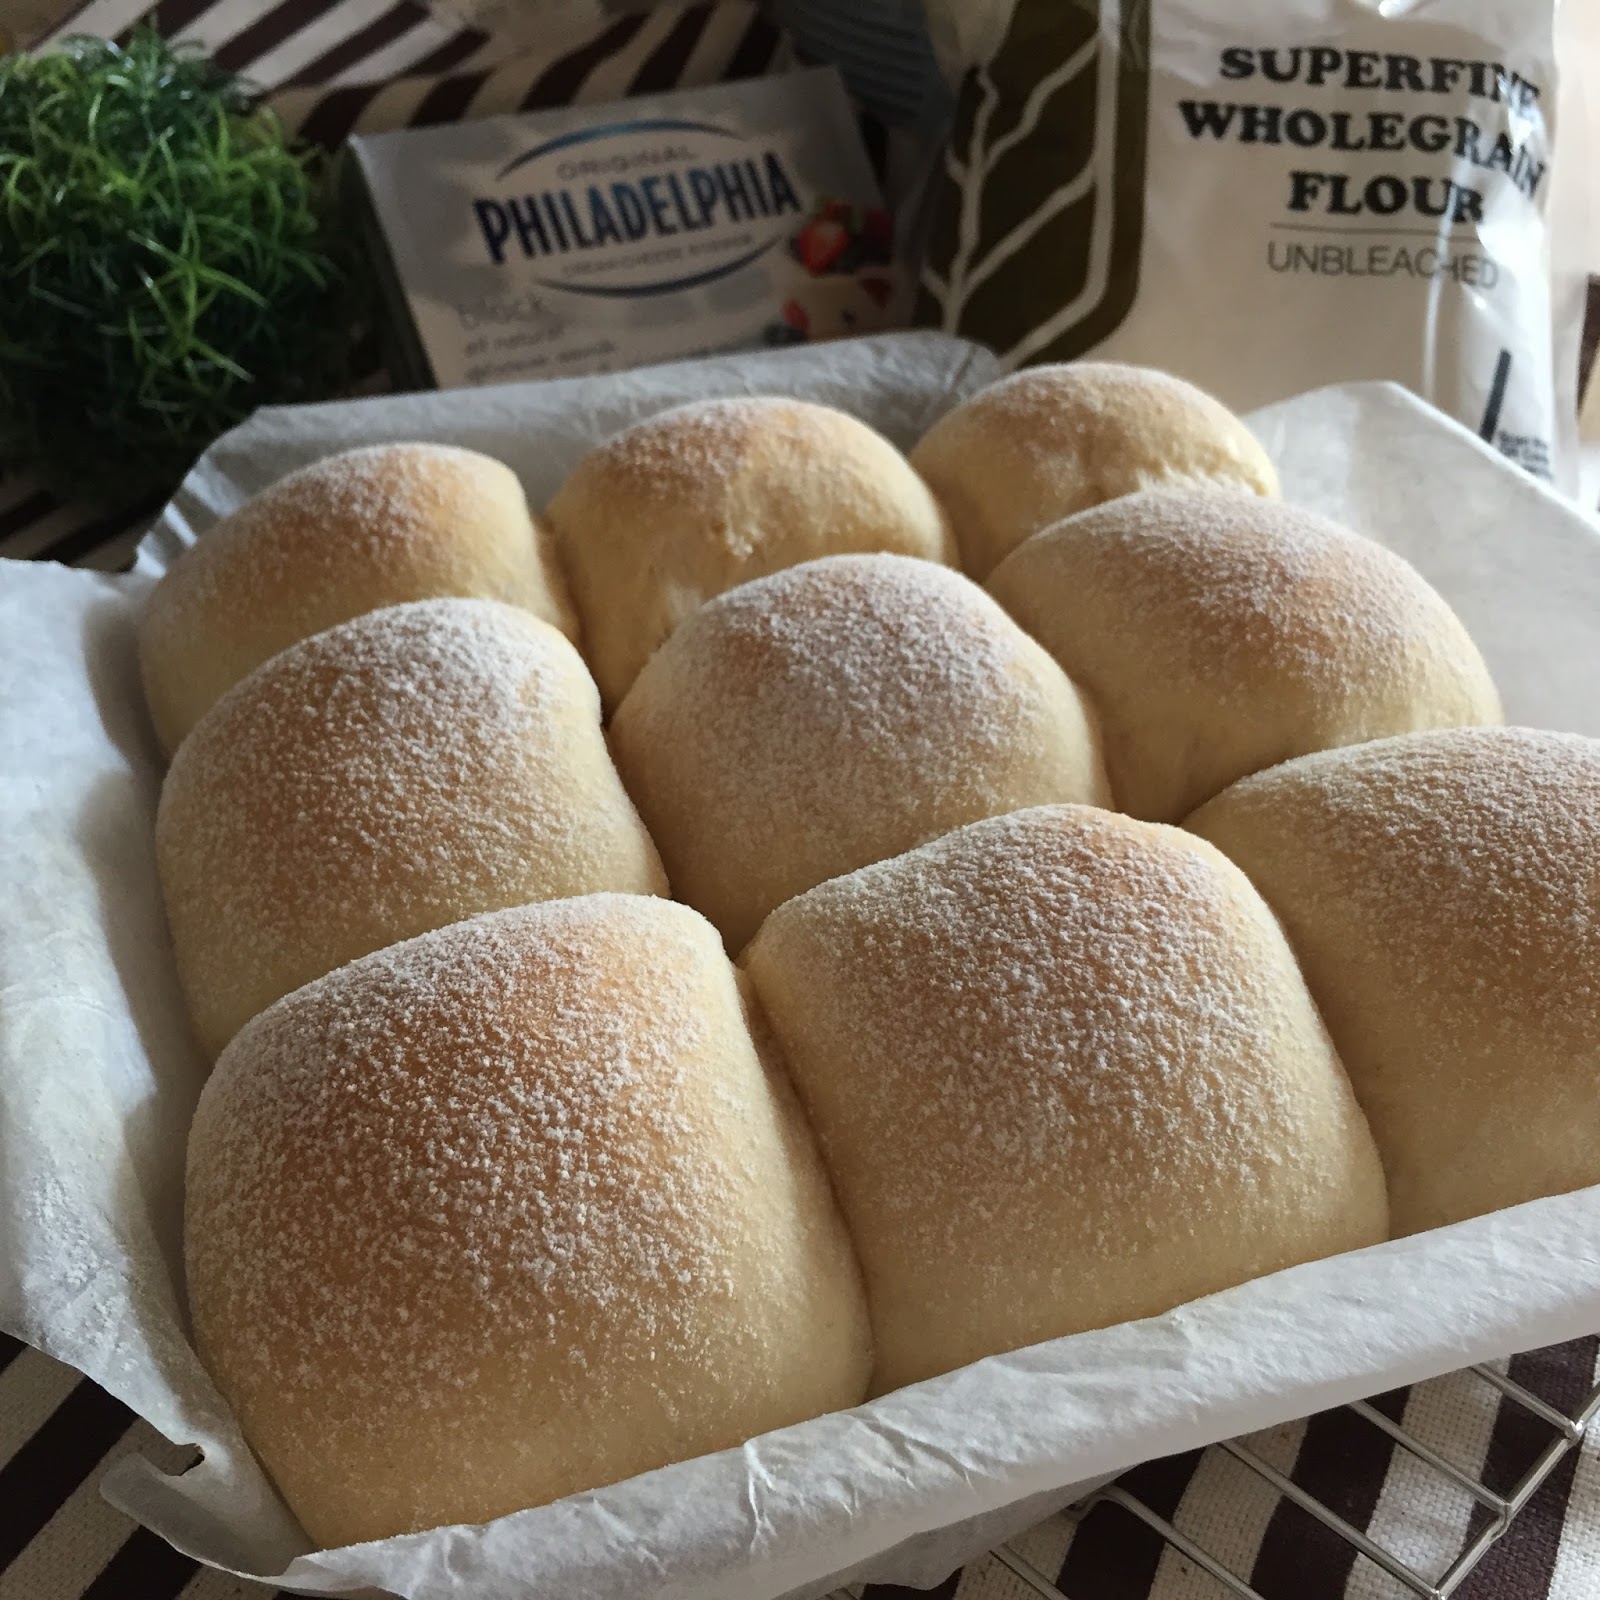
For this home-edition cream cheese bun, I added some superfine wholegrain flour to make this calorie-laden bun slightly healthier 😬  The buns also have been shaped into smaller size, as compare to those sold in the bakery - nice to eat, but better eat in moderation 😁. The wholemeal bread crumb was very soft, it went well with the lemon-flavoured cream cheese filling that tasted like cheese cake. They were all gone within a day 😋


Yield: 9 mini buns in a 20cm square pan

Bread maker
Mayer MMBM12 面包机


Bread weight
Raw dough weight: 406 g

Cranberry Cream Cheese Filling

Filling collected: about 180g

Ingredients

125g cream cheese 奶油乳酪
30g icing sugar 糖霜
1 tsp lemon juice 柠檬汁
Some lemon zest 柠檬皮削
20~25g dried organic cranberries 有机蔓越莓干


Direction
1. Leave cream cheese in room temperature to soften, or keep warm in a rice cooker for 2 minutes, and leave it in the rice cooker for about 20 minutes.


2. Cut dried cranberries into a bit size. Set aside.


3. Loosen the cream cheese, and cream it into a smooth paste.


4. Gradually stir in icing sugar, lemon juice, lemon zest and dried cranberries.


5. Transfer to a clean bowl, seal with a cling wrap, and refrigerate for 30 minutes, till needed.


Wholemeal Bread Dough


Ingredients
100g cold whole milk 冷全脂牛奶
25g cold water 冷水
15g condensed milk 炼乳
15g beaten egg 蛋液
20g cold unsalted butter 冷无盐奶油

150g bread  flour 高筋面粉
50g superfine wholegrain flour 超幼全麦面粉

30g raw sugar 黄砂糖

1/4 tsp salt 盐

1/2 tsp instant dry yeast 即发干酵母粉

Directions:

1. Line a 20cm square pan with parchment paper. Set aside.


2. Pour cold whole/fresh milk, water and condensed milk into a beaker. Stir to mix well. Set aside.


3. Mix bread flour, superfine wholegrain flour, sugar and salt together in a bowl.


5. Pour the wet ingredients, then followed by the dry ingredients into the bread pan. Follow the sequence of the ingredients being listed.


6. Dig a hole and pour in the instant dry yeast.


7. Place the bread pan into the bread machine.


8. Select "C-11 Ferment Dough" function; and press "Start".  
The function, which comprises of mixing, kneading and first fermentation, will take about 1 hour 30 minutes to complete.


9. When the program stops, let the dough continue to sit in the pan for another 20 to 30 minutes.

After 30 minutes, the dough is ready.


10. Turn out the dough onto a floured surface. Flatten it with your palm to release the trapped air.


11. Divide the dough into 9 equal portions, about 45g each


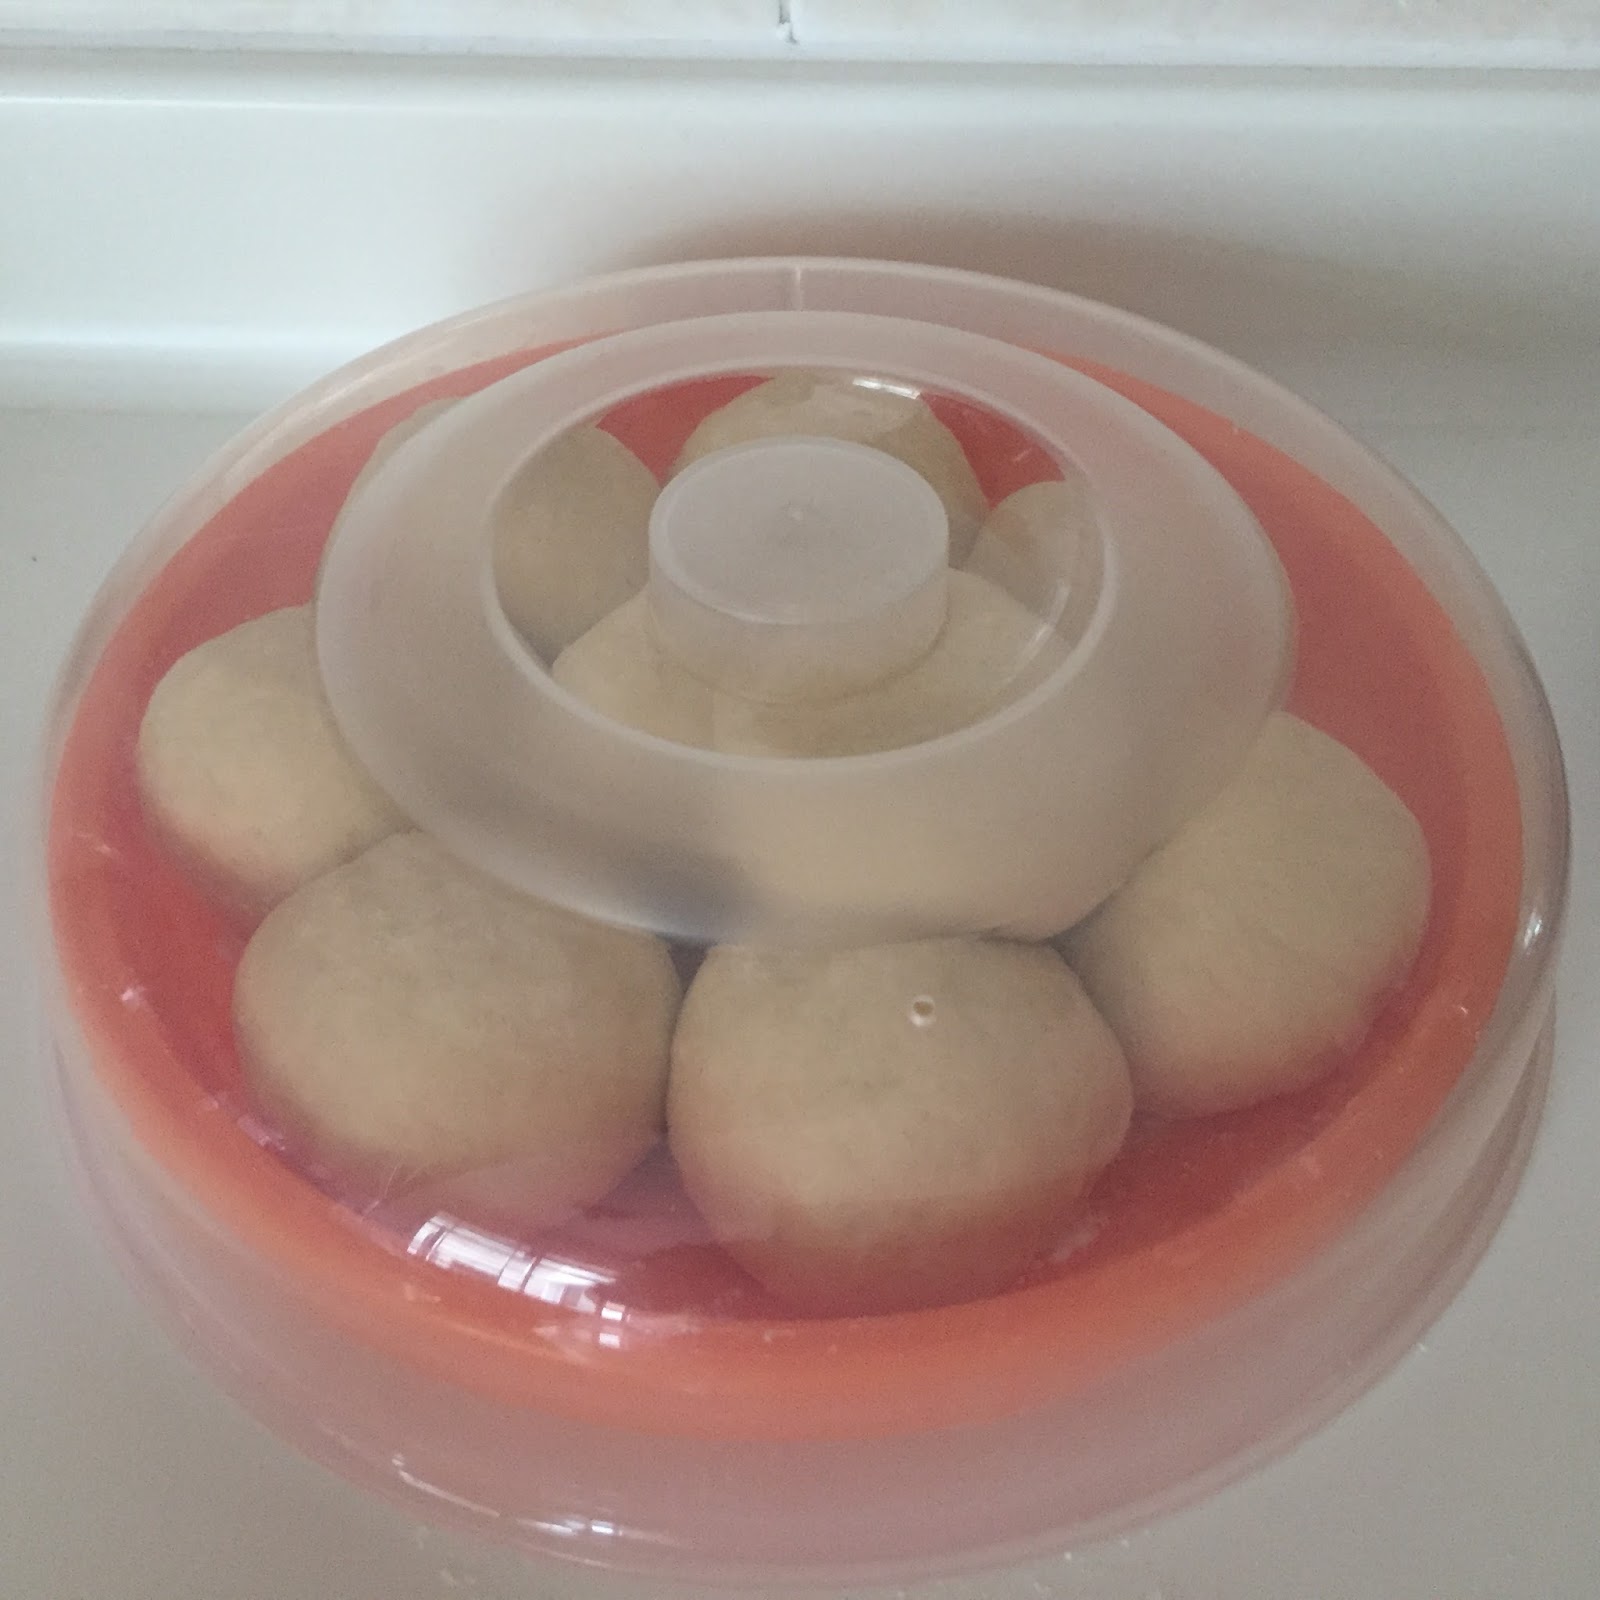
12. Roll up the small dough, pull down the sides several times to stretch out the dough surface, and seal at the bottom. Lightly coat with some flour and place on a plate, cover with a lid, and rest for 15 minutes.


13. After the rest, roll out the dough into a round shape, with the centre thicker than the edge.


Spoon about 18~20g of cream cheese filling to the centre of the dough, wrap it up and seal tightly.


Ensure the dough is tightly sealed to prevent the melted cream cheese from oozing out during baking.


Wrap your palm around the dough and let it roll within your palm, to shape it.

14. Place the dough into the lined square pan. Cover with a wet cloth and let the dough proof for about 80 to 90 minutes. 
The cold filling extended the proofing process from the usual 60 minutes to 90 minutes.


At the end of 90 minutes proofing, the inflated doughs  almost touching each other.


15. Preheat the oven to 180 degree Celsius. Sprinkle some bread flour over the dough surface.


16. After sending the dough to lower rack of the oven, lower the oven temperature to 160 degree Celsius, and bake for about 10 minutes.

After 10 minutes, lower the temperature to 150 degree Celsius and bake for about 12 minutes, or till the top of the bun slightly tanned.

End of baking.


17. Transfer the hot bread to cool on a wire rack. Enjoy ^^