Soft choco-banana bun with cream cheese and banana bits filling. The bread was baked at lower temperature to prevent the cream cheese from oozing out from the sealed opening.
Yield: 9 mini buns in 20 cm sq pan
Raw dough weight: 425g
Bread weight: 578g
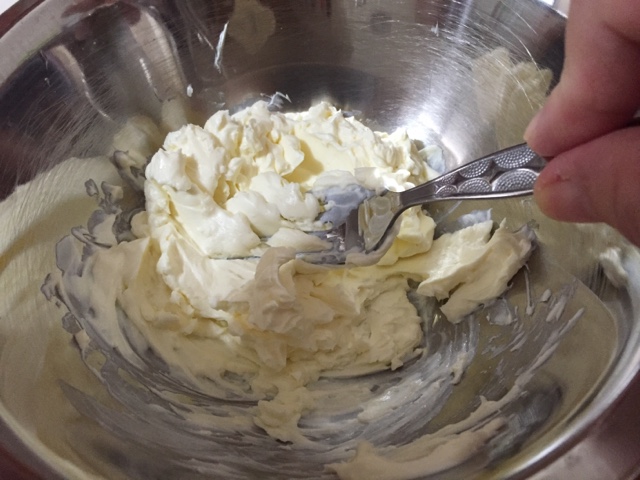
Cream Cheese Filling 奶酪馅
100g cream cheese, 奶油乳酪
40g diced banana 香蕉切粒
20g condensed milk 炼乳
Direction
1. Cut banana into small cubes.
3. After the ingredients have well combined, cover with a lid and store in the fridge till needed.
Bread dough
Ingredients
90g cold whole milk 冷全脂牛奶
15g condensed milk 炼乳
15g beaten egg
40g banana paste 熟香蕉泥
30g raw sugar 黄砂糖
1/4 tsp salt 盐
20g cold unsalted butter 冷无盐奶油
7g cold unsweetened baking chocolate
100% cocoa, shaved*
185g bread flour 高筋面粉
15g top/cake flour 低筋面粉
3/4 tsp instant dry yeast 即发干酵母粉
* can be substituted by 1 tsp of cocoa powder
Garnishing
Some beaten egg for glazing
9 walnut-in-halves
Directions
1. Use a fork to mash 40g of ripe banana into paste.
2. Shave cold baking chocolate (100% cocoa) into thin flake by using a kitchen knife.
5. Add in the mashed banana.
6. Add in the raw sugar and salt.
8. Add in the flour mixture from (3).
9. Dig a hole and pour in the instant dry yeast.
10. Place the bread pan into the bread maker. Select "dough" function and start the process.
11. When the program ends, let the dough sits in the Breadmaker for another 15 minutes.
The dough is ready.
12. Sprinkle some bread flour over both the work top and dough before inverting it out.
13. Flatten the dough to remove the trapped air.
14. Divide the dough into 9 portions, about 47g each.
15. Roll up the small dough, pull down the sides several times to stretch out the dough surface, and seal at the bottom. Lightly coat with some flour and place on a plate, cover with a lid, and rest for 15 minutes.
16. After the rest, roll out the dough.
17. Place the dough into the lined square pan. Spray some water and let the doughs proof for about 40 minutes in a warm oven.

18. Preheat the oven to 170 degree Celsius. Apply a thin coat of beaten egg over the dough surface.
Cut the walnut into halves and rest on the top.
19. Bake at 170 degree Celsius for 5 minutes, then lower the temperature to 160 degree for 5 minutes, finally further reduce to 150 degree Celsius for 8 minutes, at lower rack of the oven, or till the top turns slightly brown.


Hi, may I know what's the difference using raw sugar and castor/fine sugar ?
ReplyDeleteHi Diana, raw sugar, which is the unbleached form of sugar, not only has cane sugar taste but also has better nutritious value. It's okay to use fine sugar :)
DeleteCan I use cocoa powder insread of baking chocolate ? If yes, can advise how much must I increase the cold milk ? Thank you.
ReplyDeleteThis comment has been removed by the author.
DeleteThis comment has been removed by the author.
DeleteThis comment has been removed by the author.
DeleteYes, you can add about 1 tsp of cocoa powder in place of the baking cocoa. You need not have to adjust the milk quantity as the amount of cocoa powder is not big :)
DeleteHow long knead to breadmaker for it?
ReplyDeleteHi Teresa, my Breadmaker takes about 20 minutes to mix and knead, then it'll take about 80 minutes to do the first proofing :)
DeleteHi NgaiLeng , after deflating d dough do I still have to handknead d dough before dividing into portion ?
ReplyDeleteHi Sing Yee Fong, you can start dividing the dough immediately after deflating it :)
Delete