

The origin of this recipe was from a Japanese website. I deciphered the Japanese language recipe through the few chinese characters inserted between the chains of Japanese characters, as well as with the help of Google Translator. From my understanding, the recipe supposed to be able to bake a moist and silky texture bread which is good enough to be eaten plain. True, the bread really had a wonderful texture and nice milky aroma.

Pan size: 29x10.5x7.5 cm narrow base
Raw dough weight: 555g
Baking temperature: Bake from a cold oven start at 120°C for 10 minutes, then gradually increase the oven temperature by 10°C at every 10-minute interval till reaching 180°C. Bake at 180°C for 5 minutes, turn off the oven and let the bread stays for another 5 minutes. At lower rack of the oven.
Ingredients
140g water (125g)15g whipping cream
45g milk (35g)
5g fine sugar (0g)
3g instant dry yeast
280g Prima bread flour (300g)
20g Prima superfine wholemeal flour/ bread flour (0g)
20g Prima superfine wholemeal flour/ bread flour (0g)
30g fine sugar
4g fine salt
30g unsalted butter
Figures in green prints are original recipe quantities. If using Japanese bread flour, reduce the liquid quantity by 10g. You can either reduce the water or milk.
Some milk to apply over the dough before baking.
Some salted butter for glazing after baking.
Directions
1. Mix water, whipping cream, milk and 5g of fine sugar in a bowl.
Sprinkle instant dry yeast over the milk mixture. Cover and let it stands for about 15 to 20 minutes,

or till it becomes frothy at the surface.

2. In a big mixing bowl, mix bread flour, superfine wholemeal flour, 30g fine sugar and fine salt together.

Pour the mixture from Step 1 into the flour mixture.
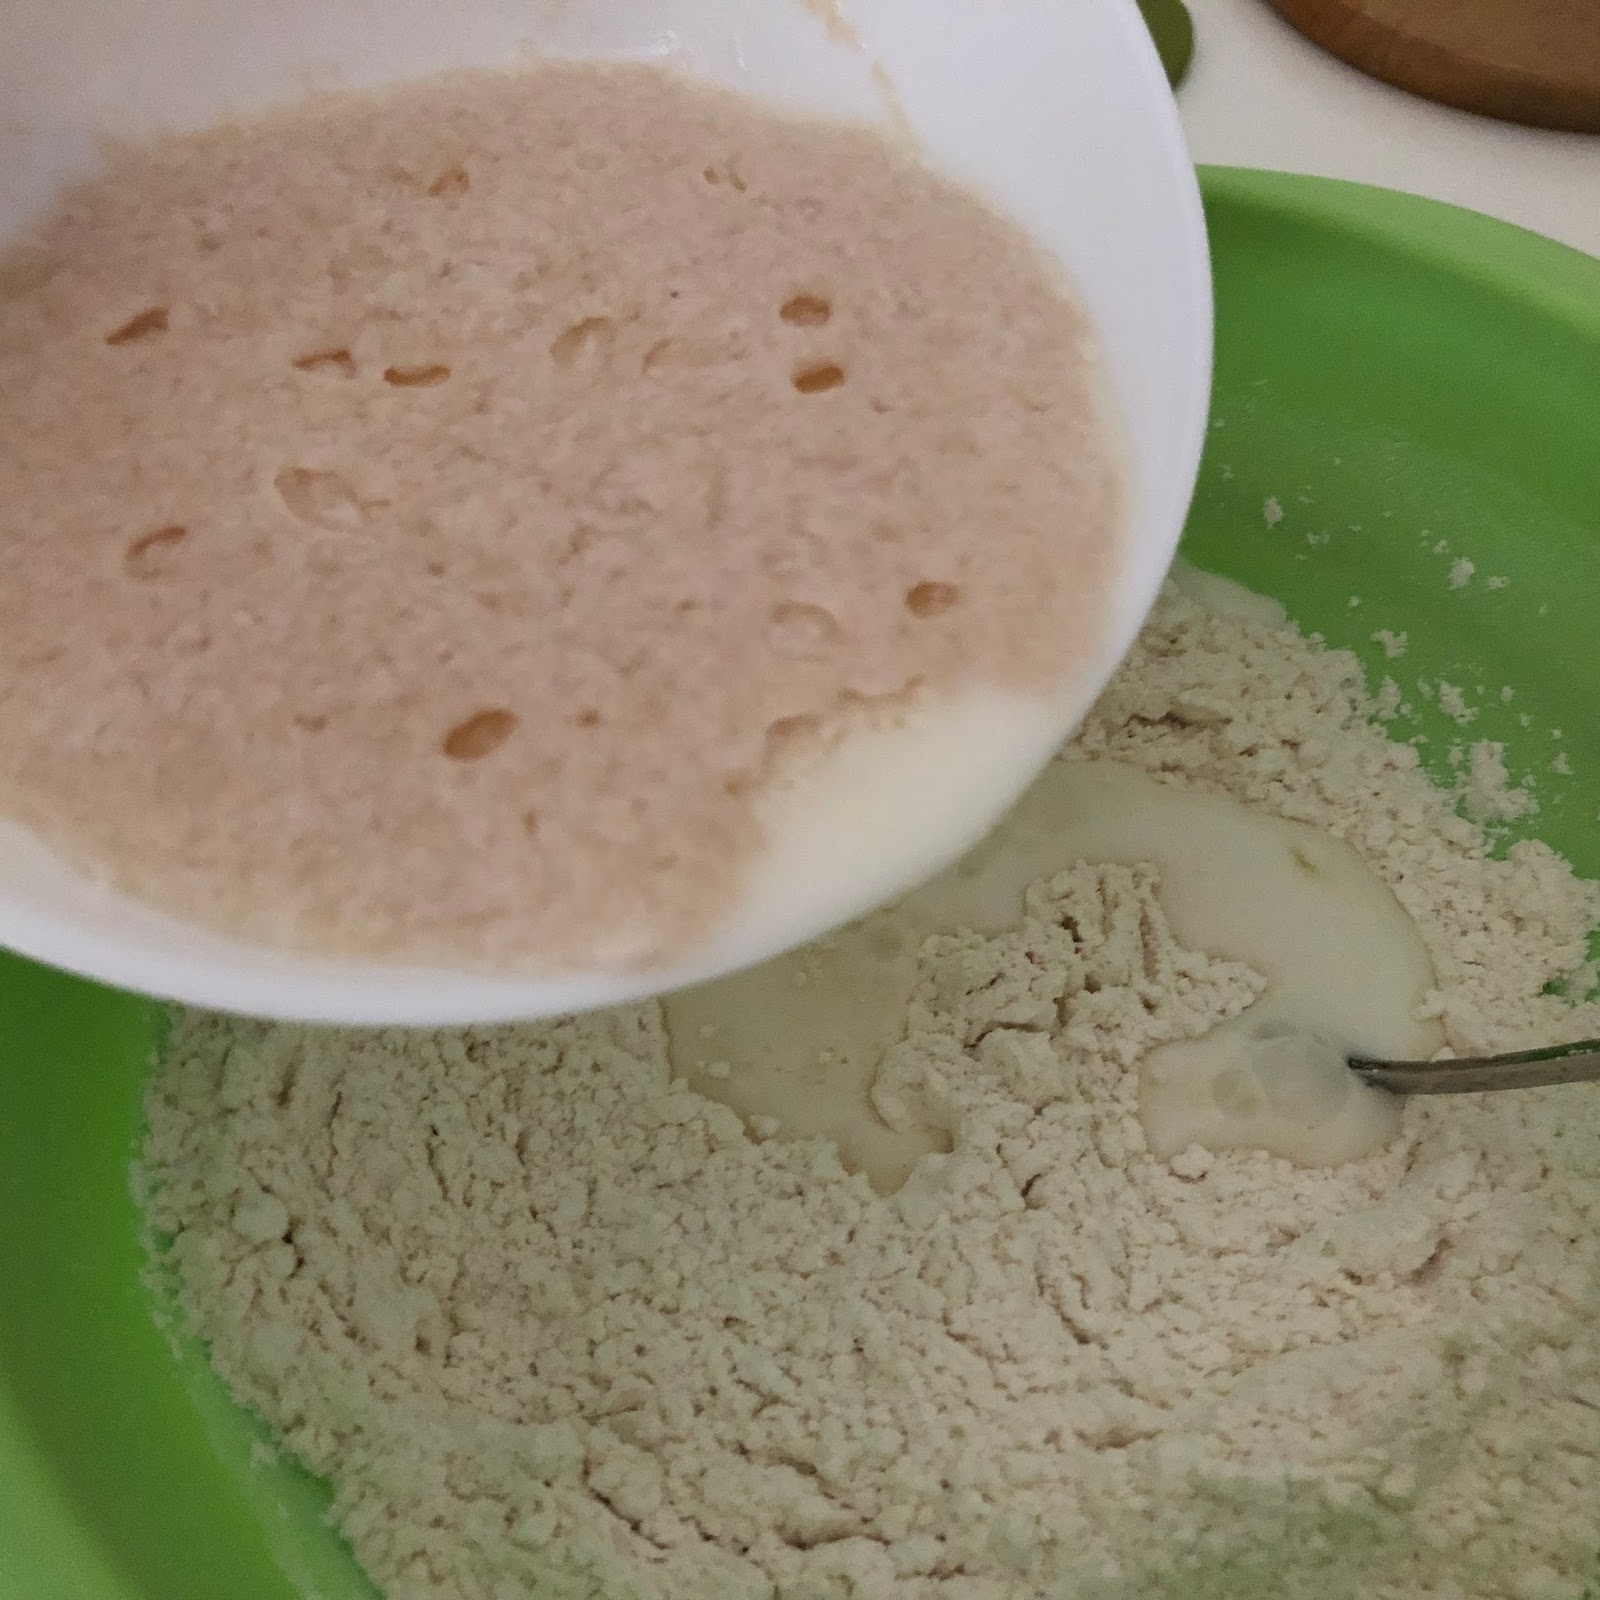
Stir in one direction until the ingredients form into a big lump. Cover and let it rest for about 15 minutes.

3. Knead the dough into a smooth dough.


Spread out the dough and knead in the softened butter.

Knead till the dough reaches window pane.

Shape into a ball,

place in a big mixing bowl slightly coated with butter. Spray some water over,

cover with a lid, and let it proof for about 1 hour at room temperature (about 29°C).


4. Turn out the dough onto a well floured work top. Deflate the dough and divide into 3 equal portions.

Shape the doughs into balls, cover and let them rest for about 15 minutes.

5. Take a dough and roll it out.

Flip over and roll again.

Fold the two long ends towards the centre. Roll the dough with a rolling pin to ensure the meeting edges merge well.

Roll up the dough from the shorter end.


Place the rolled dough into a loaf pan lined with parchment paper.

Spray some water over the doughs.

Cover with a kitchen towel, and let it proof for about 60 minutes, or till the dough almost reaching the rim of the loaf pan.


6. Apply a thin coat of milk over the top. No need to preheat the oven.


The original recipe, which bake in a 20x10x10cm pullman pan, suggested to bake in a preheated oven at 200°C for 30 minutes, or
140°C in a cold oven for 20 minutes, then increase to 210°C for 20 minutes

Increase the temperature to 140°C and bake for 10 minutes.

Increase the temperature to 160°C and bake for 10 minutes.

Increase the temperature to 180°C and bake for 5 minutes.


7. Remove the loaf from the pan immediately after leaving the oven.

Rest on a wire rack,

and brush some salted butter over the hot crust.

8. Let the bread cool down completely before cutting :)


Recipe adapted from Japanese Silky Milk Bread
Thank you very much for your generosity in sharing all the beautiful recipes. Most ovens in Australia have no top and bottom heat. It's either just top or fan-forced. From your experience, which mode is most suitable to bake this bread? Thank you and I look forward to your reply :)
ReplyDeleteHi Ann-Gee, if your oven have only the top and fan-force mode to choose, I think I would choose the fan force mode as it would provide a more uniform temperature within the oven.
DeleteHappy baking :)
Thank you so much for taking the time to reply me. I truly appreciate it. May 2018 arrive with hope and a bag full of blessings :)
DeleteThank you Ann-Gee 💕 May your new year be a happy and rewarding year 🌼
DeleteBread look so nice .yummy.thanks for sharing the wonderful recepi 😍
ReplyDeleteHi Celine, thank you for your nice comment. Hope you’ll like the recipe 😊
DeleteHello there thanks for your recipes this bread is just wonderful soft! It's incredible and better than tang zhong bread! I love the details and tips in your recipes, thanks for the inspiration!! You are a very effort baker!!
ReplyDeleteThanks for this recipe! It's better than tangzhong bread it's just so soft! I love the details in your recipe really thanks for the inspiration..u are a very effort baker!! :)
ReplyDeleteHi Celine. thank you so much for the recipe. May i know why baked in cold oven? Only this bread baked in cold oven? Thank you.
ReplyDelete