Wednesday, 21 September 2022

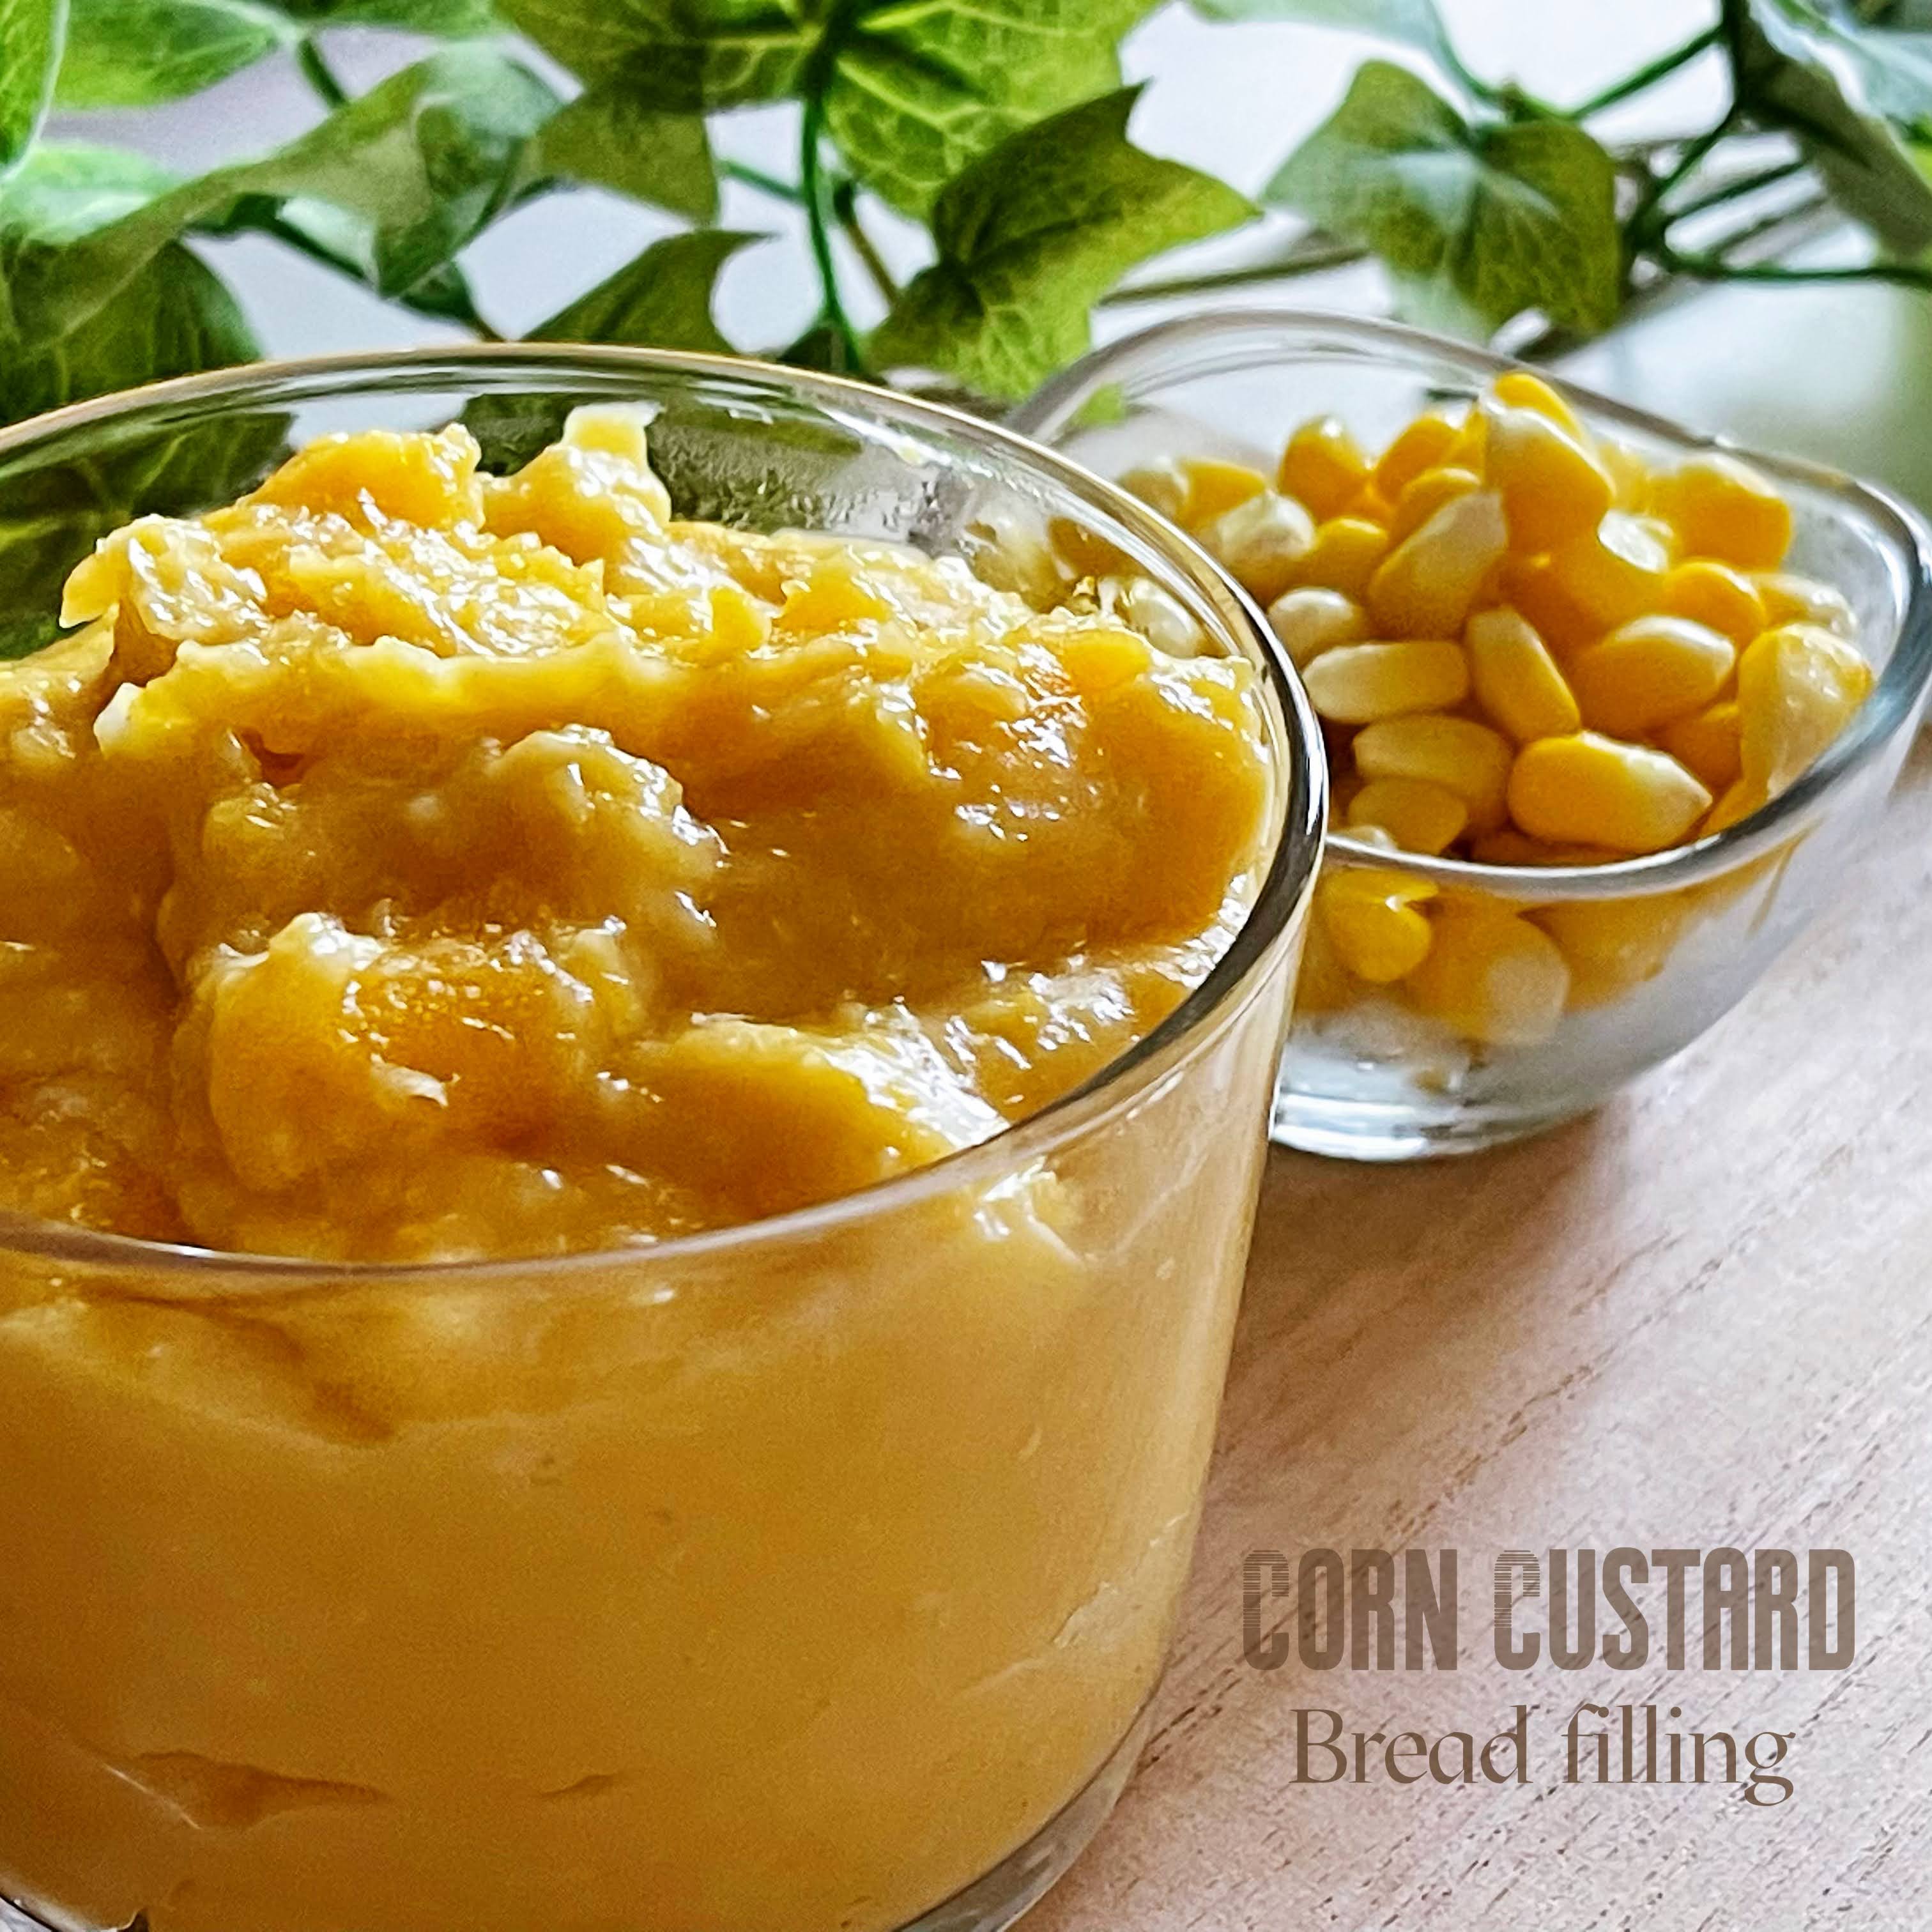
Corn Custard (for bread filling)


I love true corn custard with real corn bits in a creamy custard. This is one of my favourite bread fillings 😋


Ingredients 
A
10g unsalted butter 
25g raw sugar 

B
20g top flour 
5g potato starch
40g lactose-free milk/milk

C
40g whipping cream
10g condensed milk
1/2 tsp vanilla extract
Pinch of salt
1 egg, beaten, about 57g

D
50g fresh milk
60g steamed corn kernels


Visit my IG about stripping whole corn kernels neat and dry 🌽

Directions

Watch the process here: 


1. Blend D to your desired coarseness. I prefer to keep the paste with a bit of corn fragments.

2. Gradually mix B into paste, followed by C and D into a mixture. 

3. Heat A till fragrant. Do not have to melt all the sugar.

4. Pour the corn mixture from Step 2 into the melted butter in Step 3. Cook and stir constantly till it thickened.

5. Transfer the corn custard to a glass container. Cover with a cling wrap touching the custard surface. Cool down and refrigerate till needed.


Monday, 12 September 2022

Sugar Butter Crust Pumpkin Bun


Enjoy the caramelized crust and base of those pumpkin milk buns. Simple yet delicious. An all-time favourite bread type for the folks living here 😋


Video of the sugar butter crust pumpkin buns

Yield: 10 small buns
Raw dough weight: 549g
Pan size: 30.5x19x3.5cm
Baking temperature:  Preheat oven to 190℃, middle rack, bake at 180℃ for 17 minutes, lower to 170℃ for 1 minute, turn off oven and continue to bake for 2 minutes, or till crust turns golden brown.


Ingredients
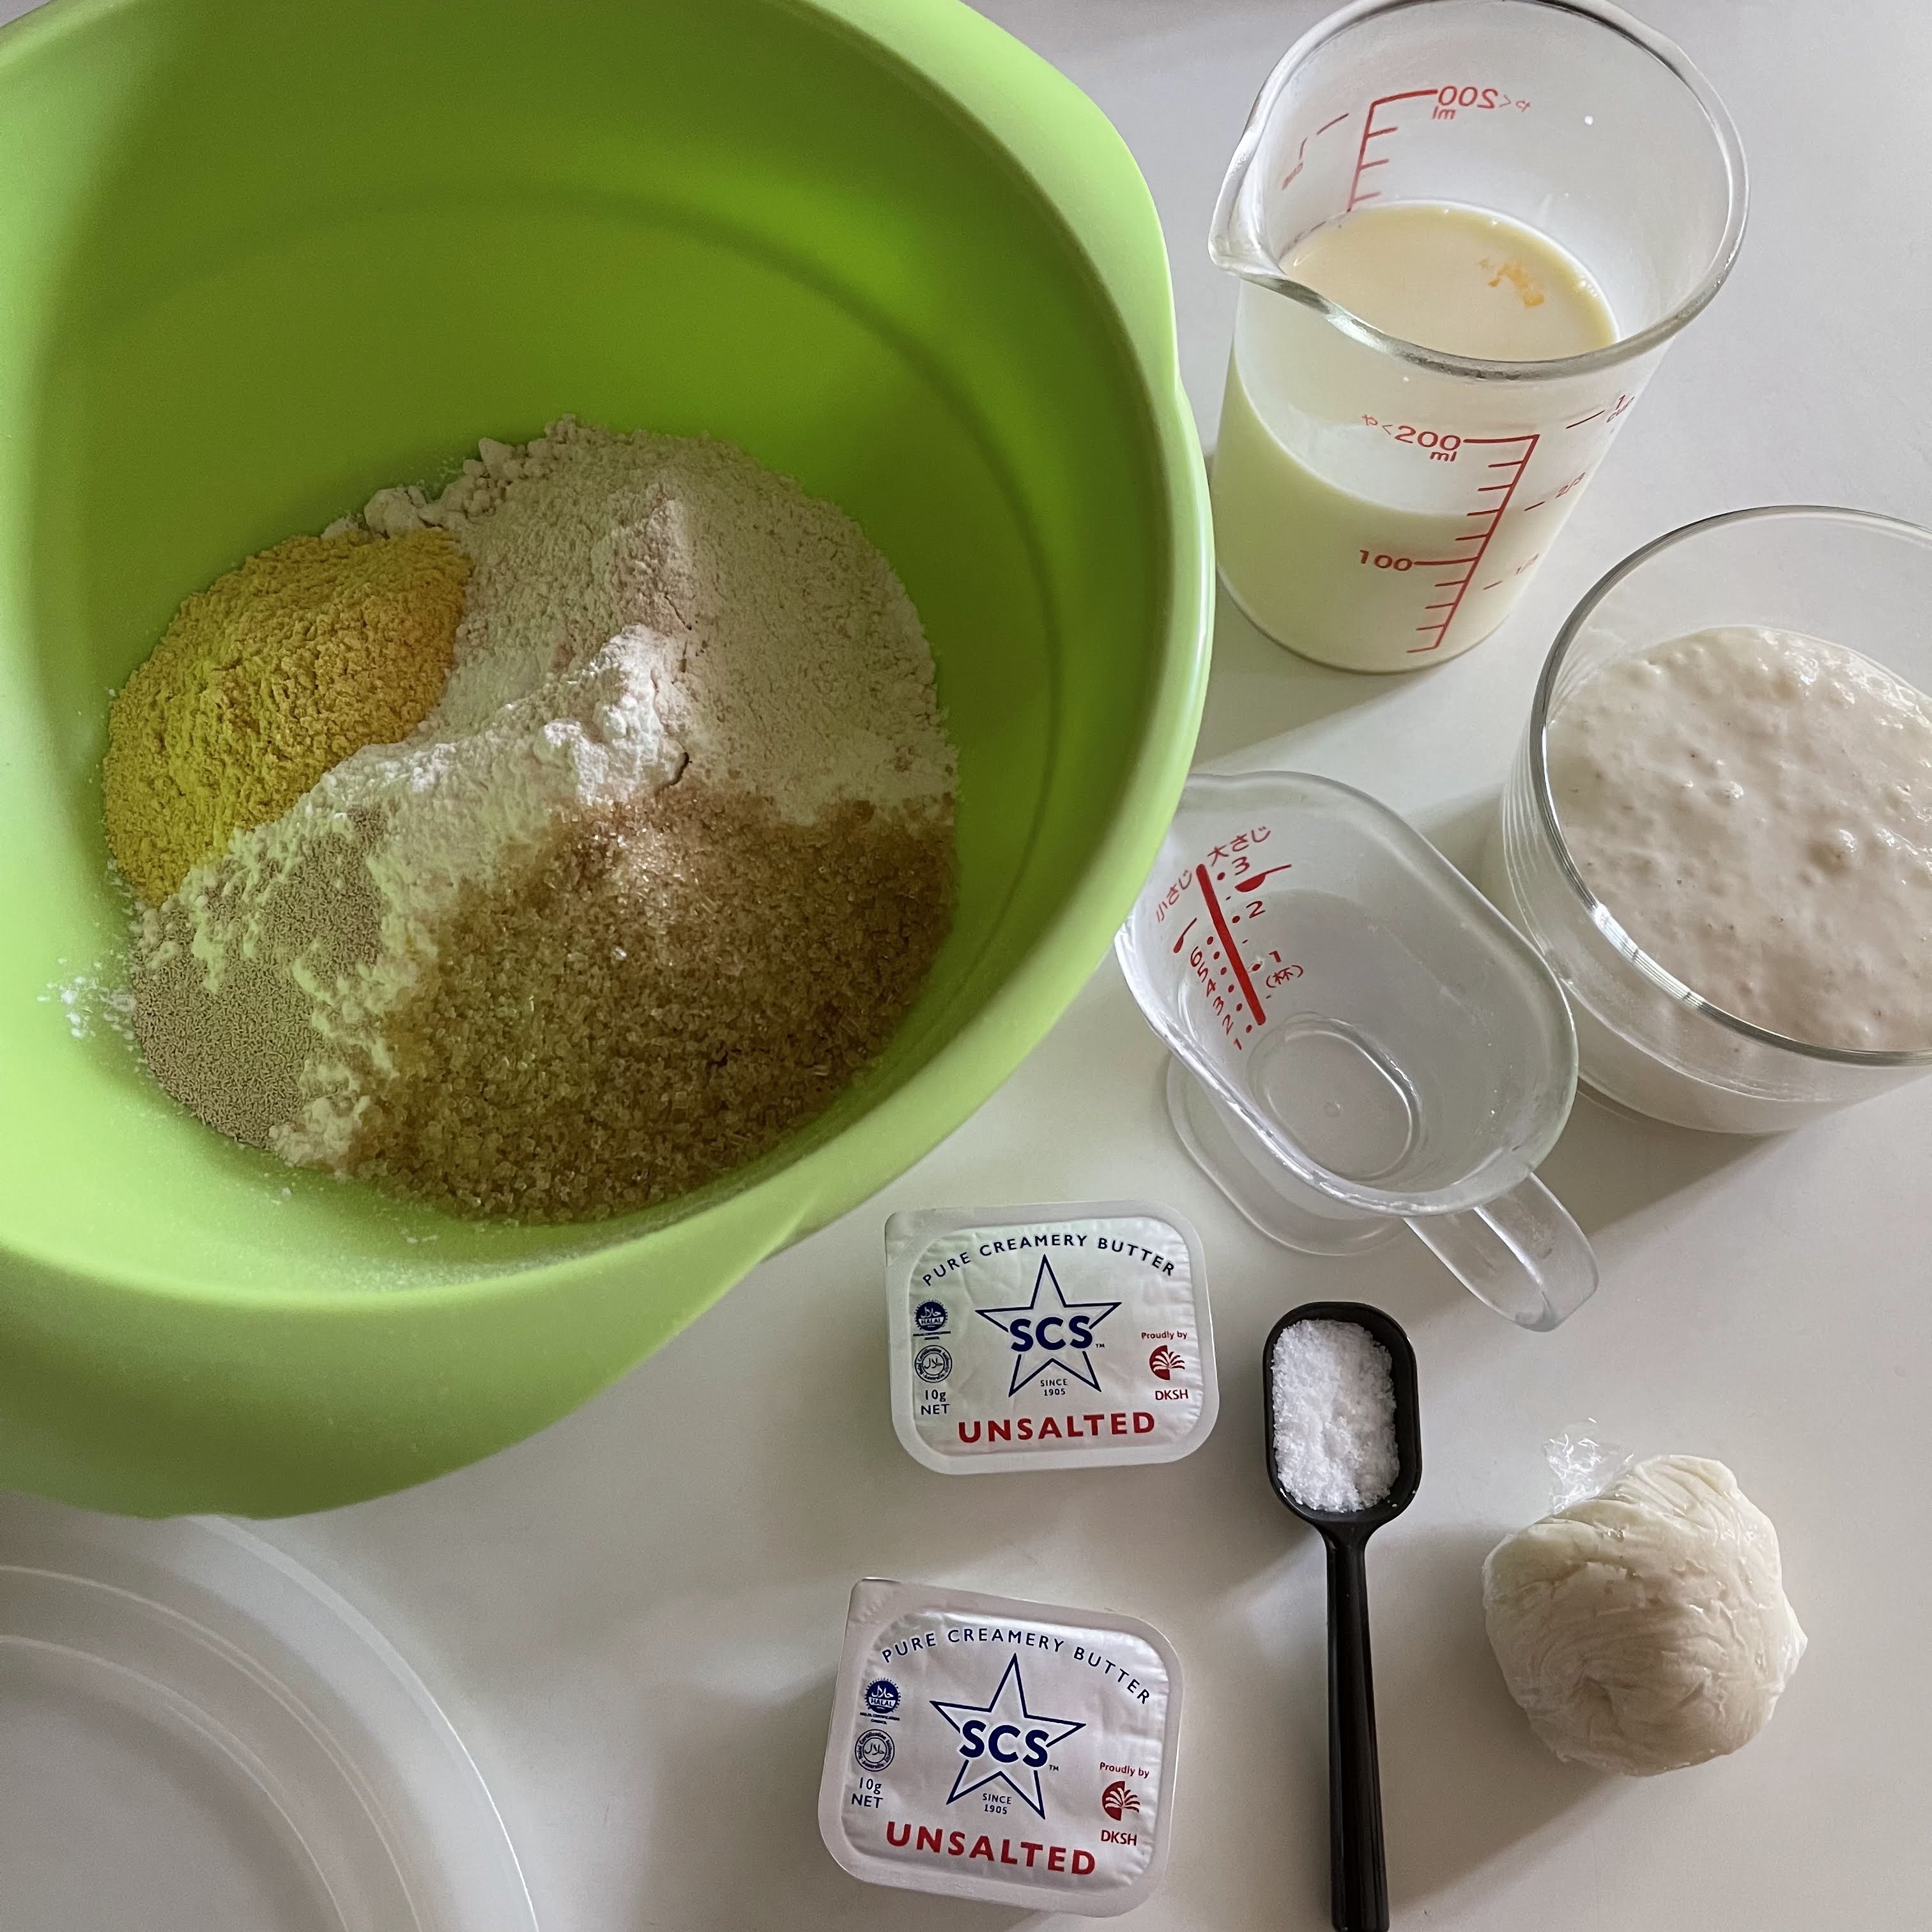
205g bread flour
20g top flour/cake flour
10g pumpkin powder
30g raw sugar
1g instant dry yeast
A little vanillin powder, optional

50g natural yeast/sourdough, 100% hydration*
30g yudane dough^
15g condensed milk
110g lactose free milk, cold 
5g whipping cream
10g beaten egg 
30g cold water, to be added depending on dough condition

3g low sodium salt

20g unsalted butter, softened

Toppings
egg-milk wash
20g salted/unsalted butter, cut into 20 small chunks and keep in freezer
Tablespoons of fine sugar for sprinkling
1 tsp coarse raw sugar for sprinkling


* 50g natural yeast can be replaced by 25g each of bread flour and water + 1/8 tsp instant dry yeast. Let the mixture stand for about 1 hour or more till it doubles in volume, before use. You can also keep the mixture in the fridge overnight and thaw it for 1 hour before use.

^ 30g yudane dough is prepared by combining 16g of bread flour with 16g of very hot or boiling water into a sticky dough. Wrap the yudane dough in cling wrap, and cool down before use. Use a silicone spatula to scrape out the sticky yudane dough from the cling wrap.


Directions:
1. Knead the dough following your preferred method. 
For my method, you can refer to my recipe Yudane Milk Bread. After kneading the dough to window pane stage, 

2. After kneading the milk dough to window pane, shape the milk dough into a ball, and keep in a plastic bag coated with a little cooking oil. Keep the dough in the fridge overnight.


3. In the next day, remove the outer plastic bag, and let the dough thaw at room temperature for about 80 minutes.

4. Divide the dough into 10 portions, shape into balls, cover with a towel or plastic sheet, and let them rest for about 15 minutes.

5. Shape each dough ball into a small Swiss roll shape.


6. Arrange the shaped dough in a baking tray (30.5x19x3.5cm) lined with parchment paper. Let the shaped dough prove in a cold oven for about 45 minutes.

While proofing, cut the cold butter into 20 small chunks. If you are using unsalted butter, dust a little low sodium salt over the cold butter chunks. Keep the butter chunks in the freezer before use.

45 minutes later 👇

7. Preheat the oven to 190℃. While waiting, brush the shaped dough with egg-milk wash. 

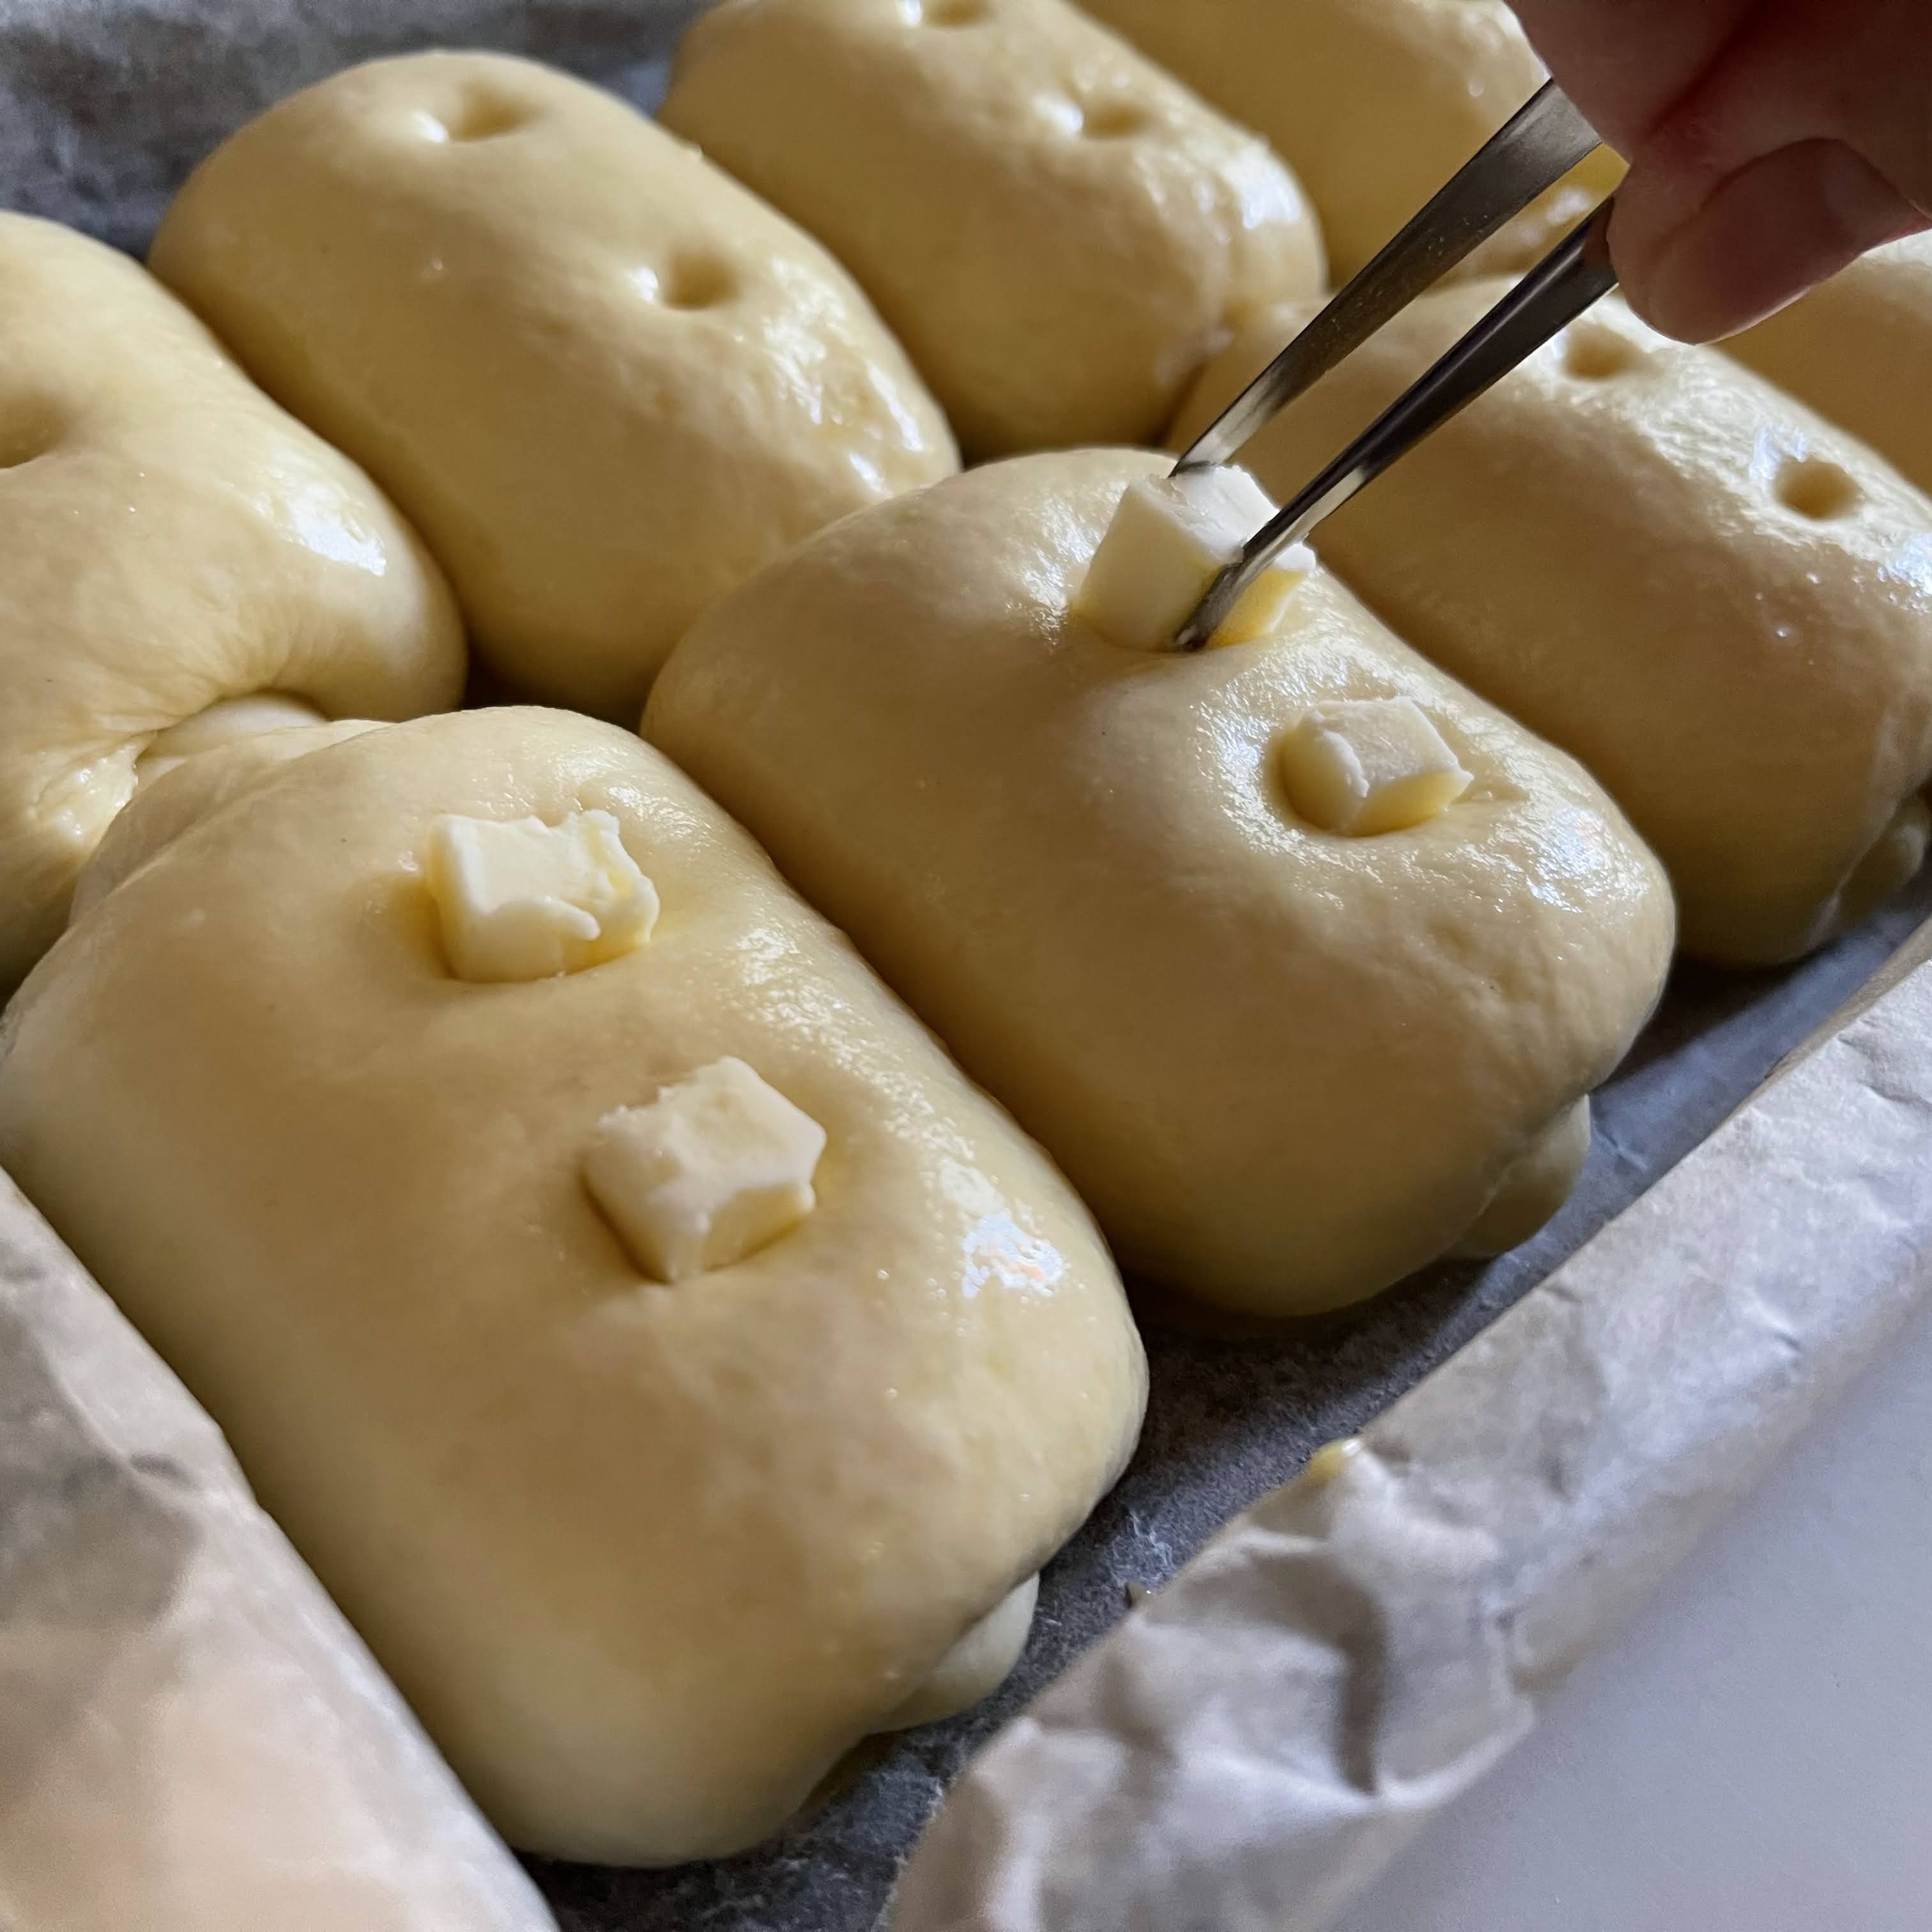
Poke two holes in each dough using a silicone head chopstick, or chopstick coated with oil.

Push a chunk of cold butter into each hole.


Sprinkle some fine sugar over the dough surface evenly.

Sprinkle a little coarse raw sugar granules over the shaped dough.


8. After closing the oven door, reduce the temperature to 180℃, and bake for about 17 minutes, lower to 170℃ for 1 minute, turn off oven and continue to bake for 2 minutes, or till crust turns golden brown.

9. Remove the bread from the oven, lift out from the pan, and cool over a cooling rack.


Enjoy them warm for the caramelized aroma 😋


Sunday, 4 September 2022

Inari Sushi


Inari sushi or sushi in seasoned deep-fried tofu pockets has always been my must-have sushi while dining in a Japanese restaurant. It's simple yet flavourful 😋 You can control the salt and sugar content of the inari age according to your preference - the privilege of home-cooked food 😃

Inari age or seasoned deep-fried tofu pockets are easy to prepare with the use of a Japanese seasoned soya sauce or tsuyu. You save the trouble for having to hunt for dashi and mirin. Yamamori Tsuyu came in a small bottle of 220ml which would not take up a big space in the fridge to store. It can be used in meat dishes that called for soya sauce.


Ingredients
115g deep-fried tofu puff, 9 pieces 

300g water
80g Yamamori Tsuyu/seasoned soya sauce
40g raw sugar


Directions

1. Gently roll a rolling pin or a chopstick over a tofu puff to break out the connecting fiber within the puff. This helps to open up the tofu puff later.

2. Push the tofu puffs into a bowl of water, and gently press them to "rinse" out the oil. Change a few times of water till lesser oil can be seen on the water surface. 
Some people prefer to give the tofu puffs a quick boil to remove the oil. However, I think rinsing the tofu puffs in cold water a few times do the same job and save on energy.


Gently squeeze dry the tofu puffs. Set them aside.

3. Bring water, tsuyu/seasoned soya sauce, and raw sugar to a boil.

4. Add the tofu puffs to the sauce pan. Push the tofu puffs to submerge in the sauce. You can use a drop lid to do the job. Otherwise, cover the pot with a lid, and push down the tofu puffs a few times during the course of cooking.

Simmer the tofu puffs for about 20 to 30 minutes, or till the sauce has reduced to about 1 to 2 cm deep.

Let the inari age cool down in the sauce.

5. If you are not making the inari sushi immediately, you can keep them in an air-tight container for up to 3 days in the fridge; or 3 weeks in the freezer.


Sushi Rice for 4 inari
Cook the sushi rice as per the instruction given on the rice packaging.
From my experience, each inari age can take up about 20g of uncooked  sushi rice.

Ingredients
80g sushi rice
115g water

9g sushi rice vinegar

Directions

1. Rinse the short grain sushi rice a few times, and let them soak for about 3 hours. 

2. Drain the rice, and add about 115g of water to cook in a rice cooker. Let the rice simmer in the keep warm mode for about 10 minutes.

3. Add about 9g of sushi vinegar or seasoned vinegar to the hot rice. Toss the rice using a spatula, be careful not to flatten the rice. Transfer the warm rice to a bowl, cover with a lid or towel, and let it cool down to room temperature before use.


Assembling Inari Sushi


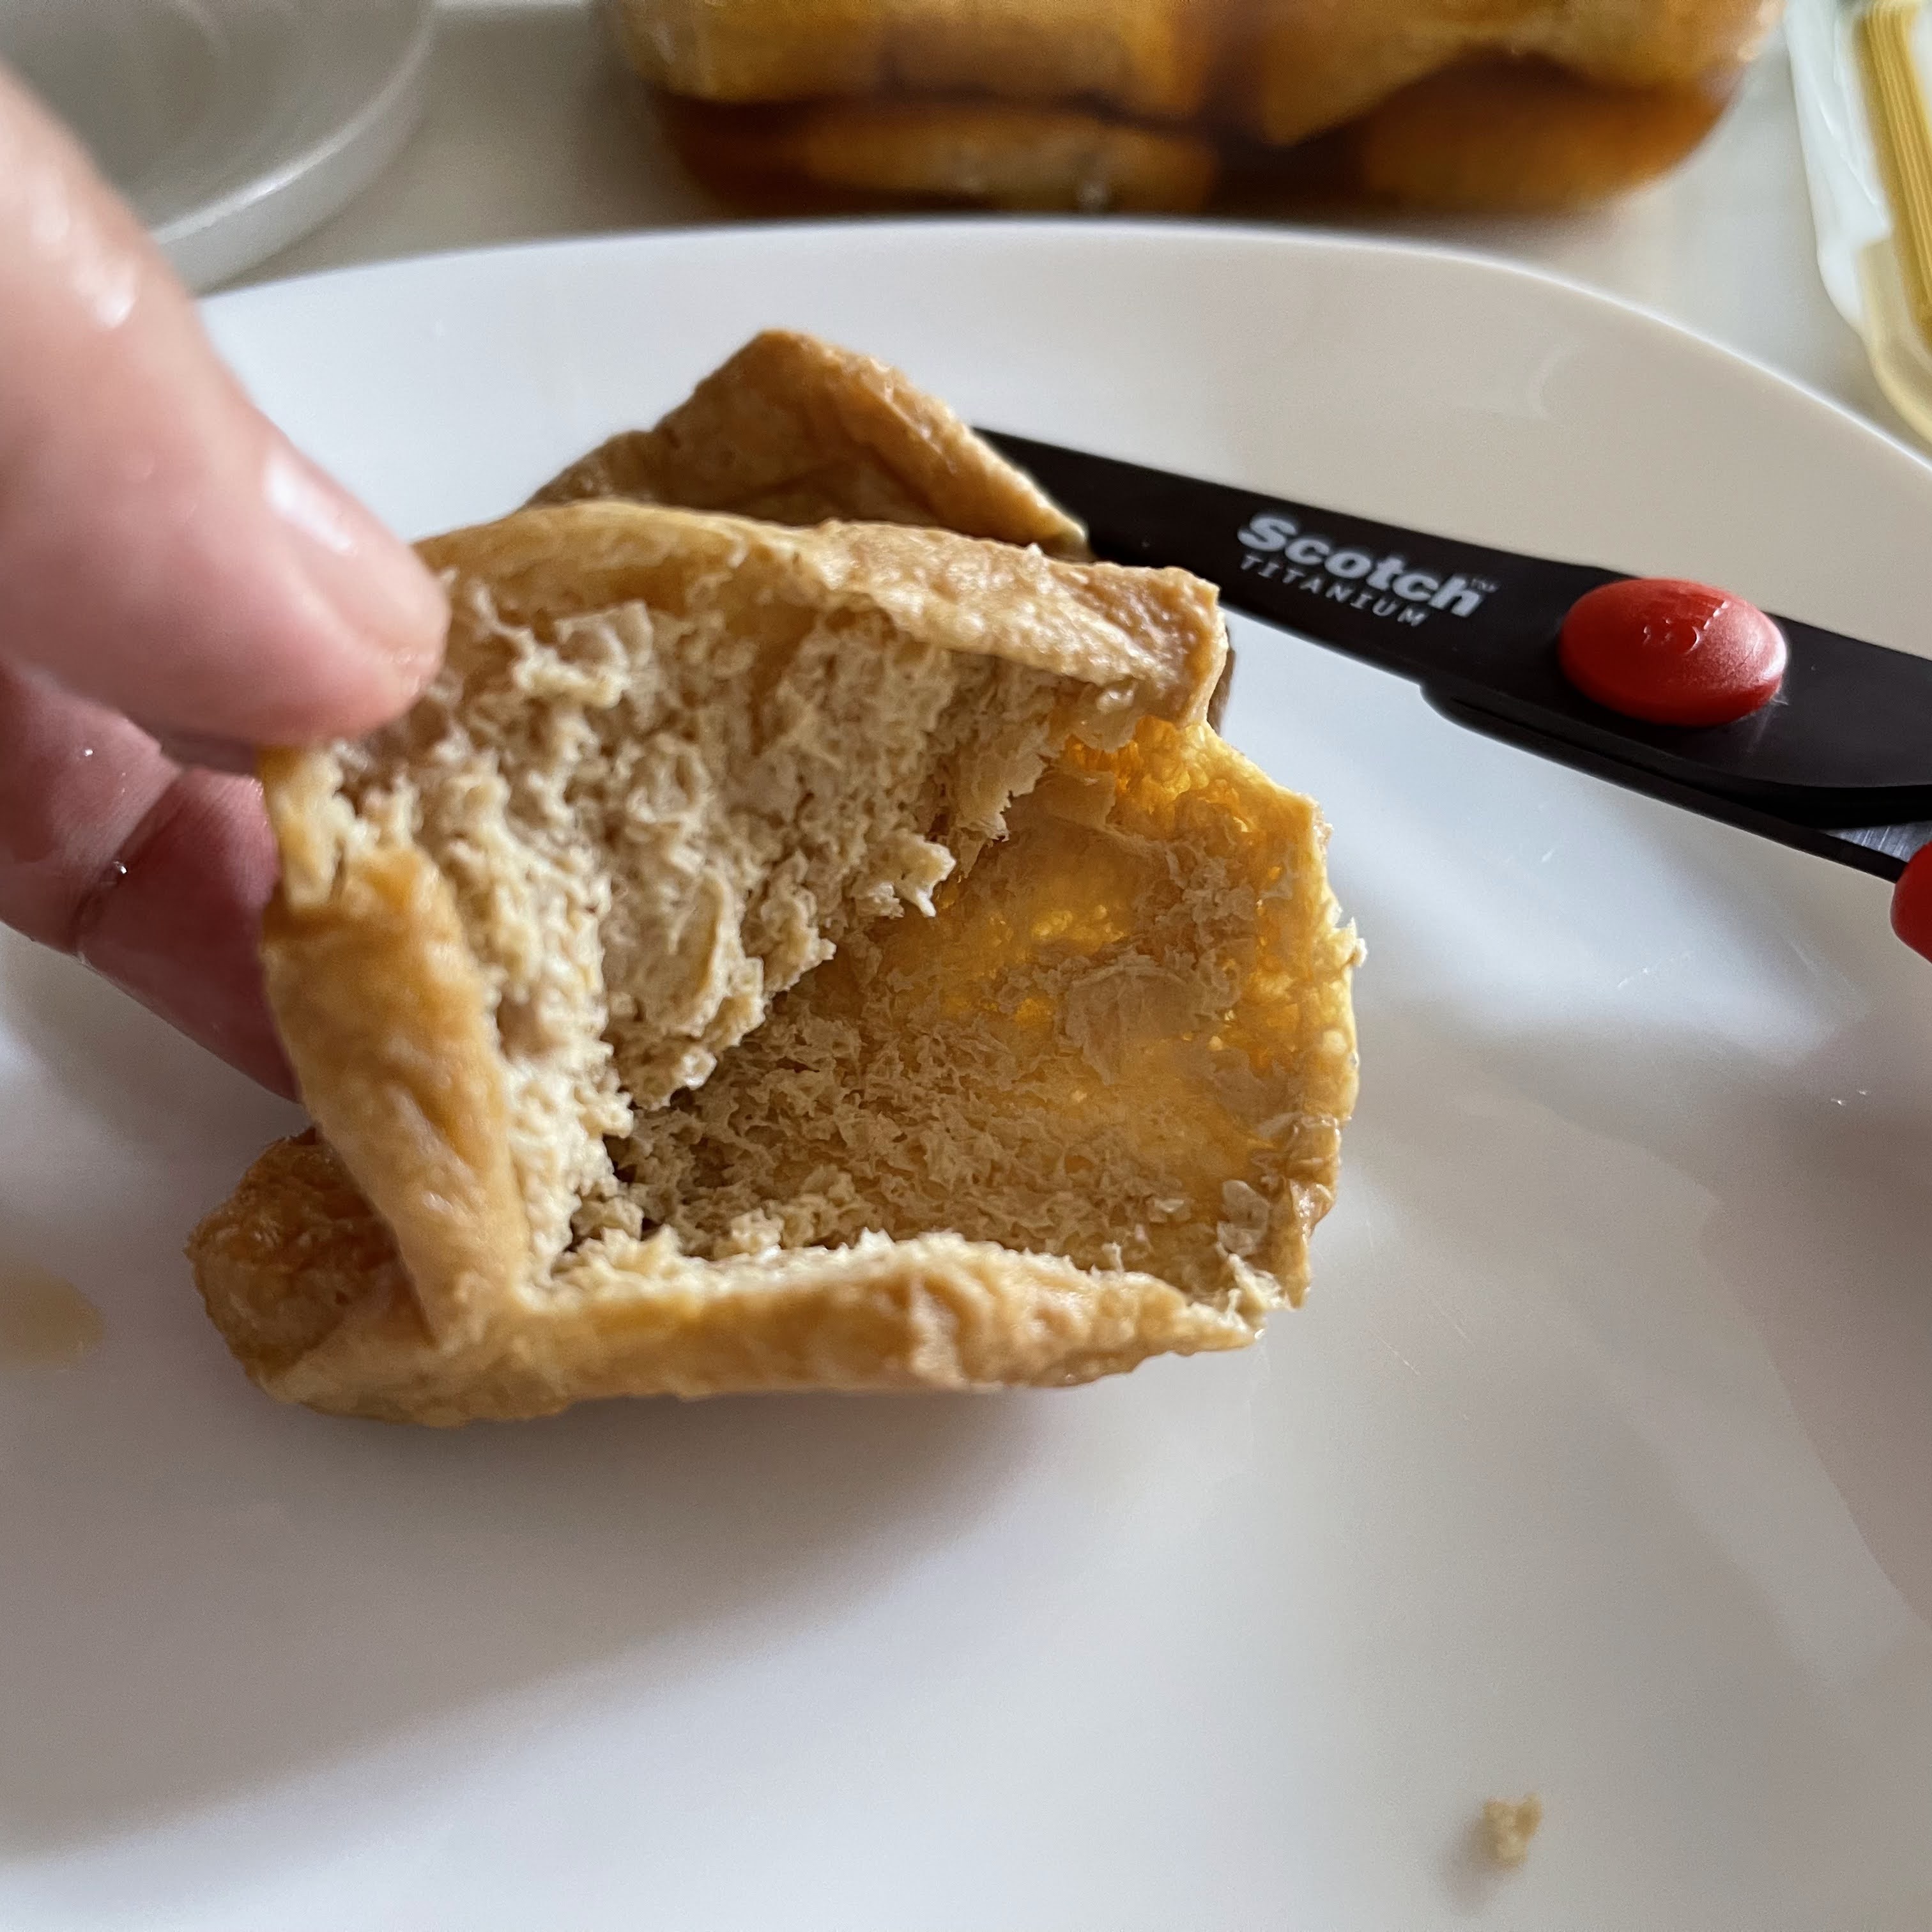
1. Lightly squeeze dry the inari age. Cut open one of the longer edges of the inari age, and slowly open up the interior.

2. Shape a rice cake out of the cooled sushi rice and push into the inari age. Fold in the two sides and invert the inari sushi.

Refrigerate and serve cool 😋