Saturday, 4 September 2021

Checkerboard Bubble Cheese Bun (SSL)


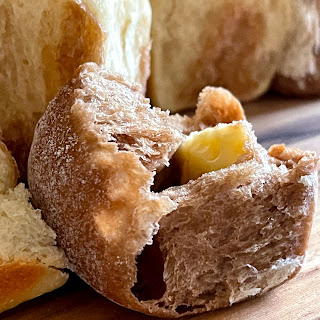
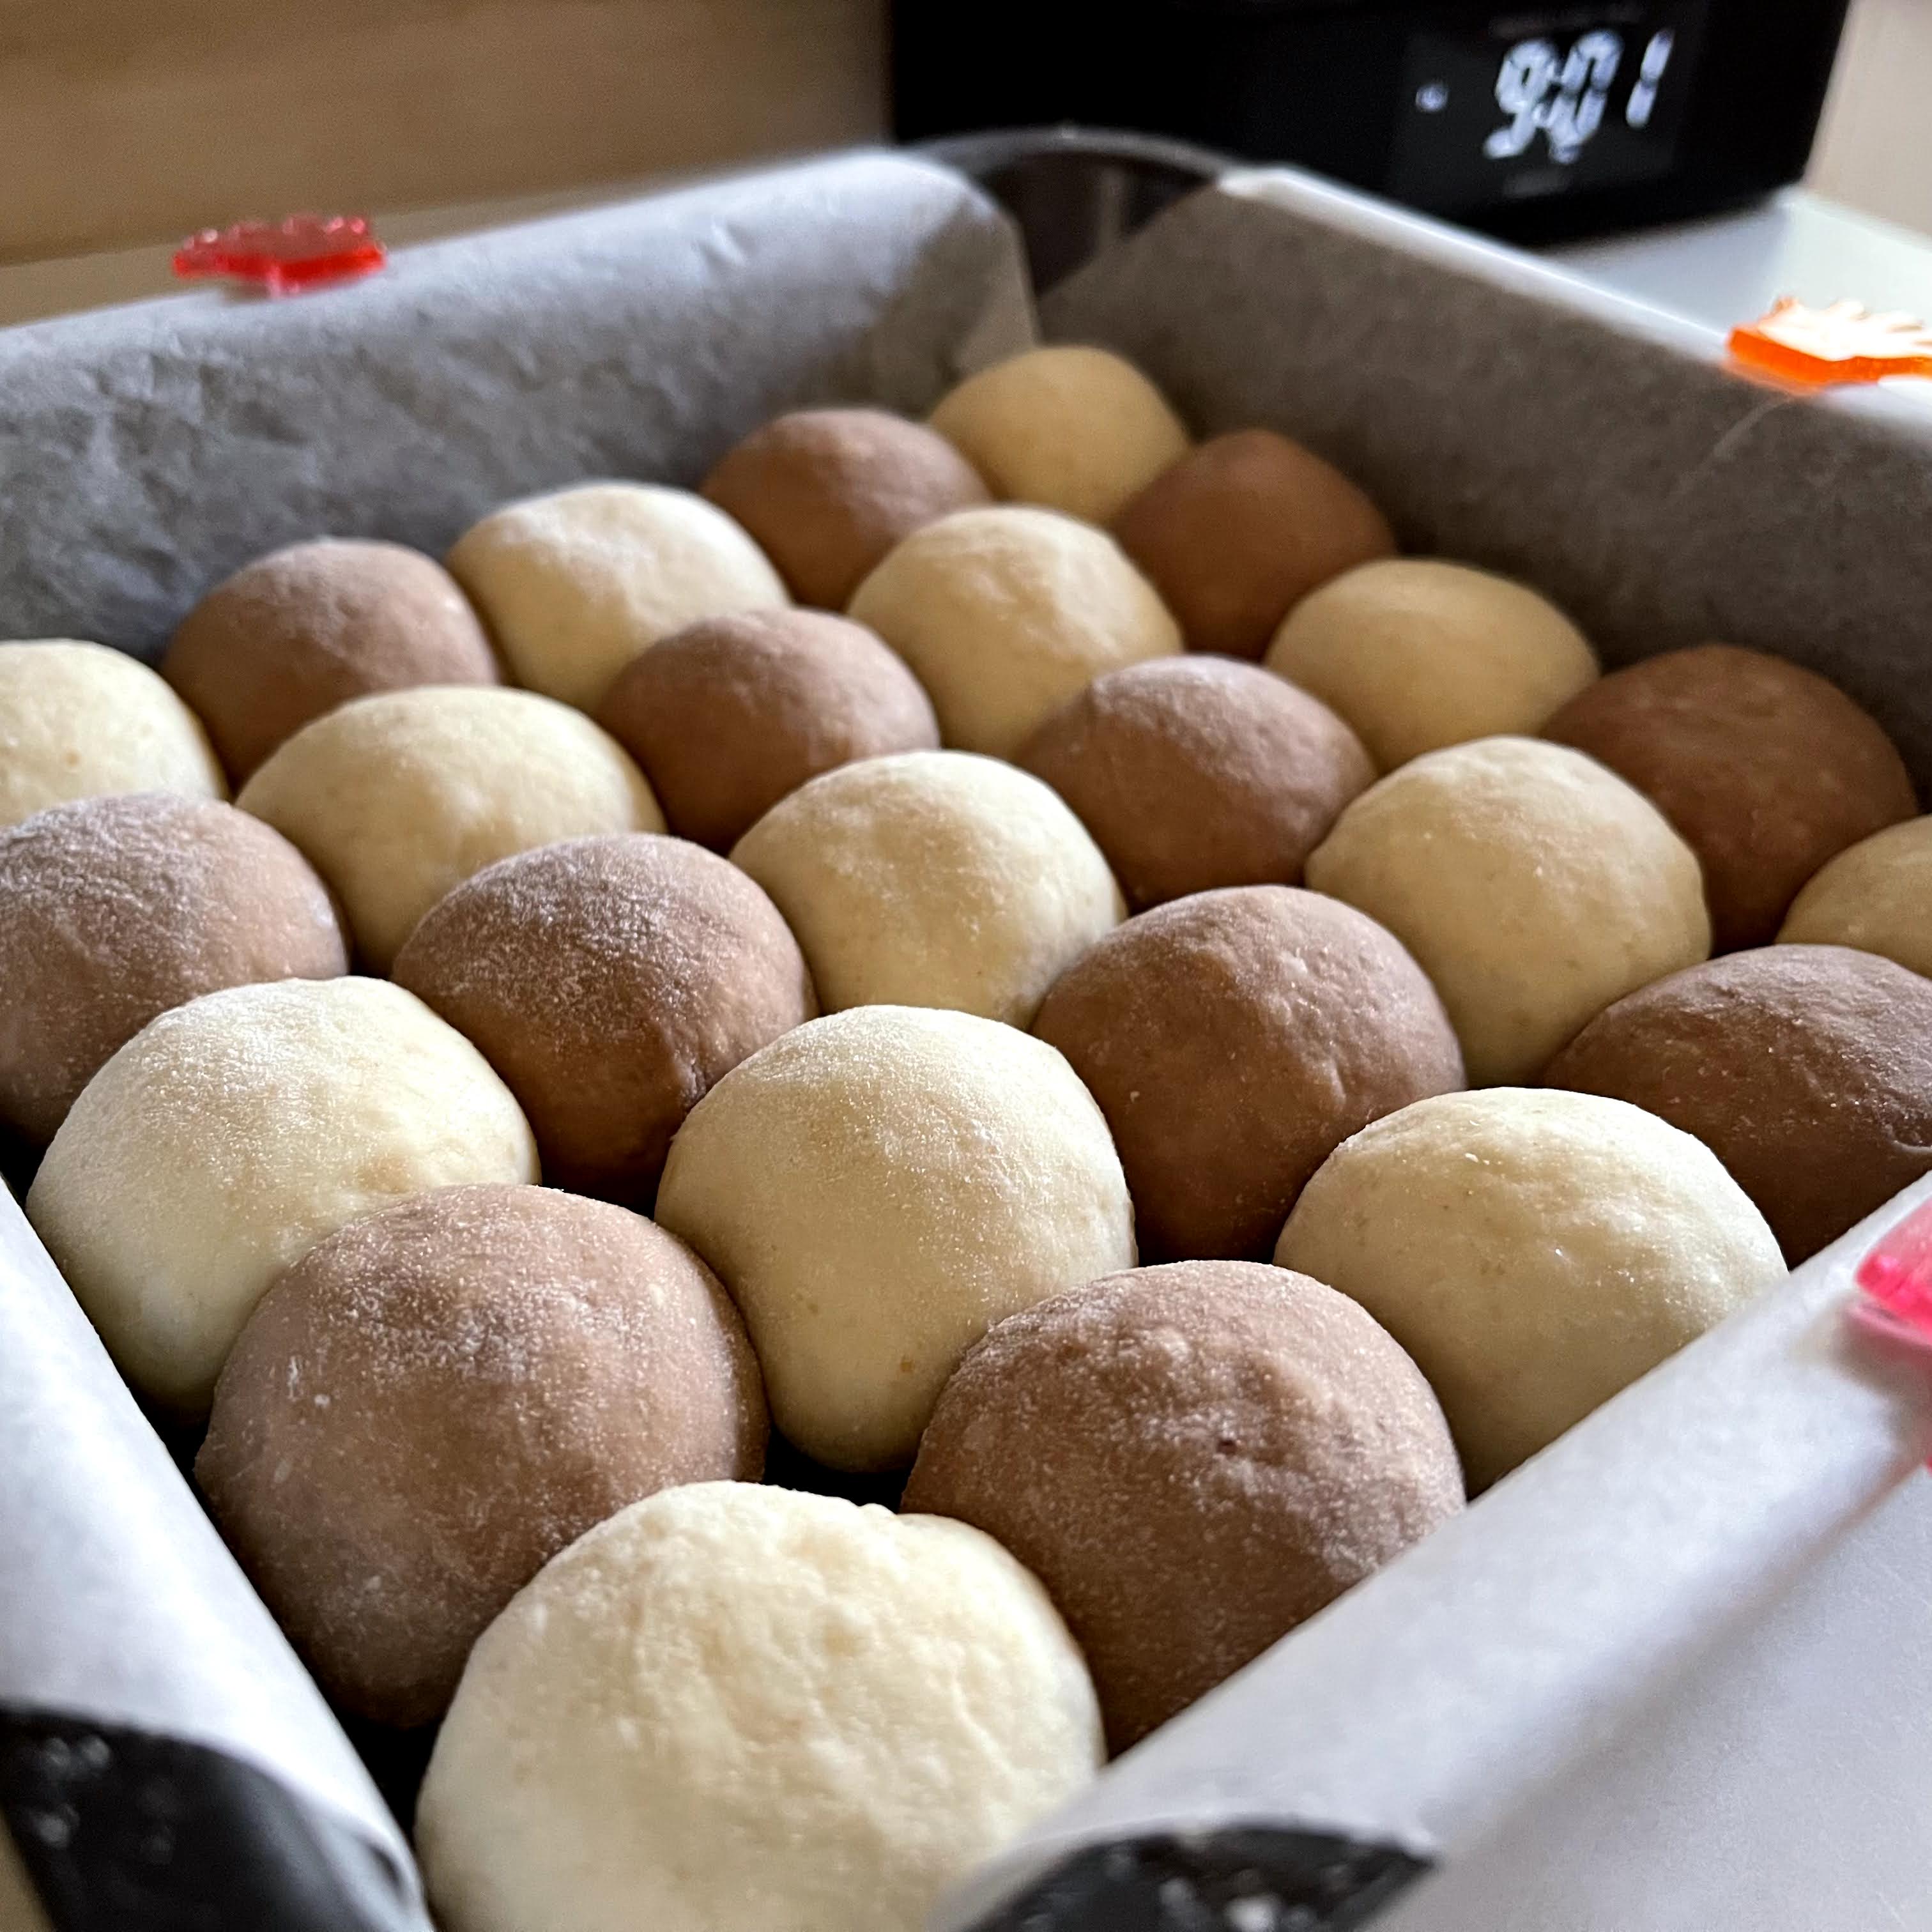
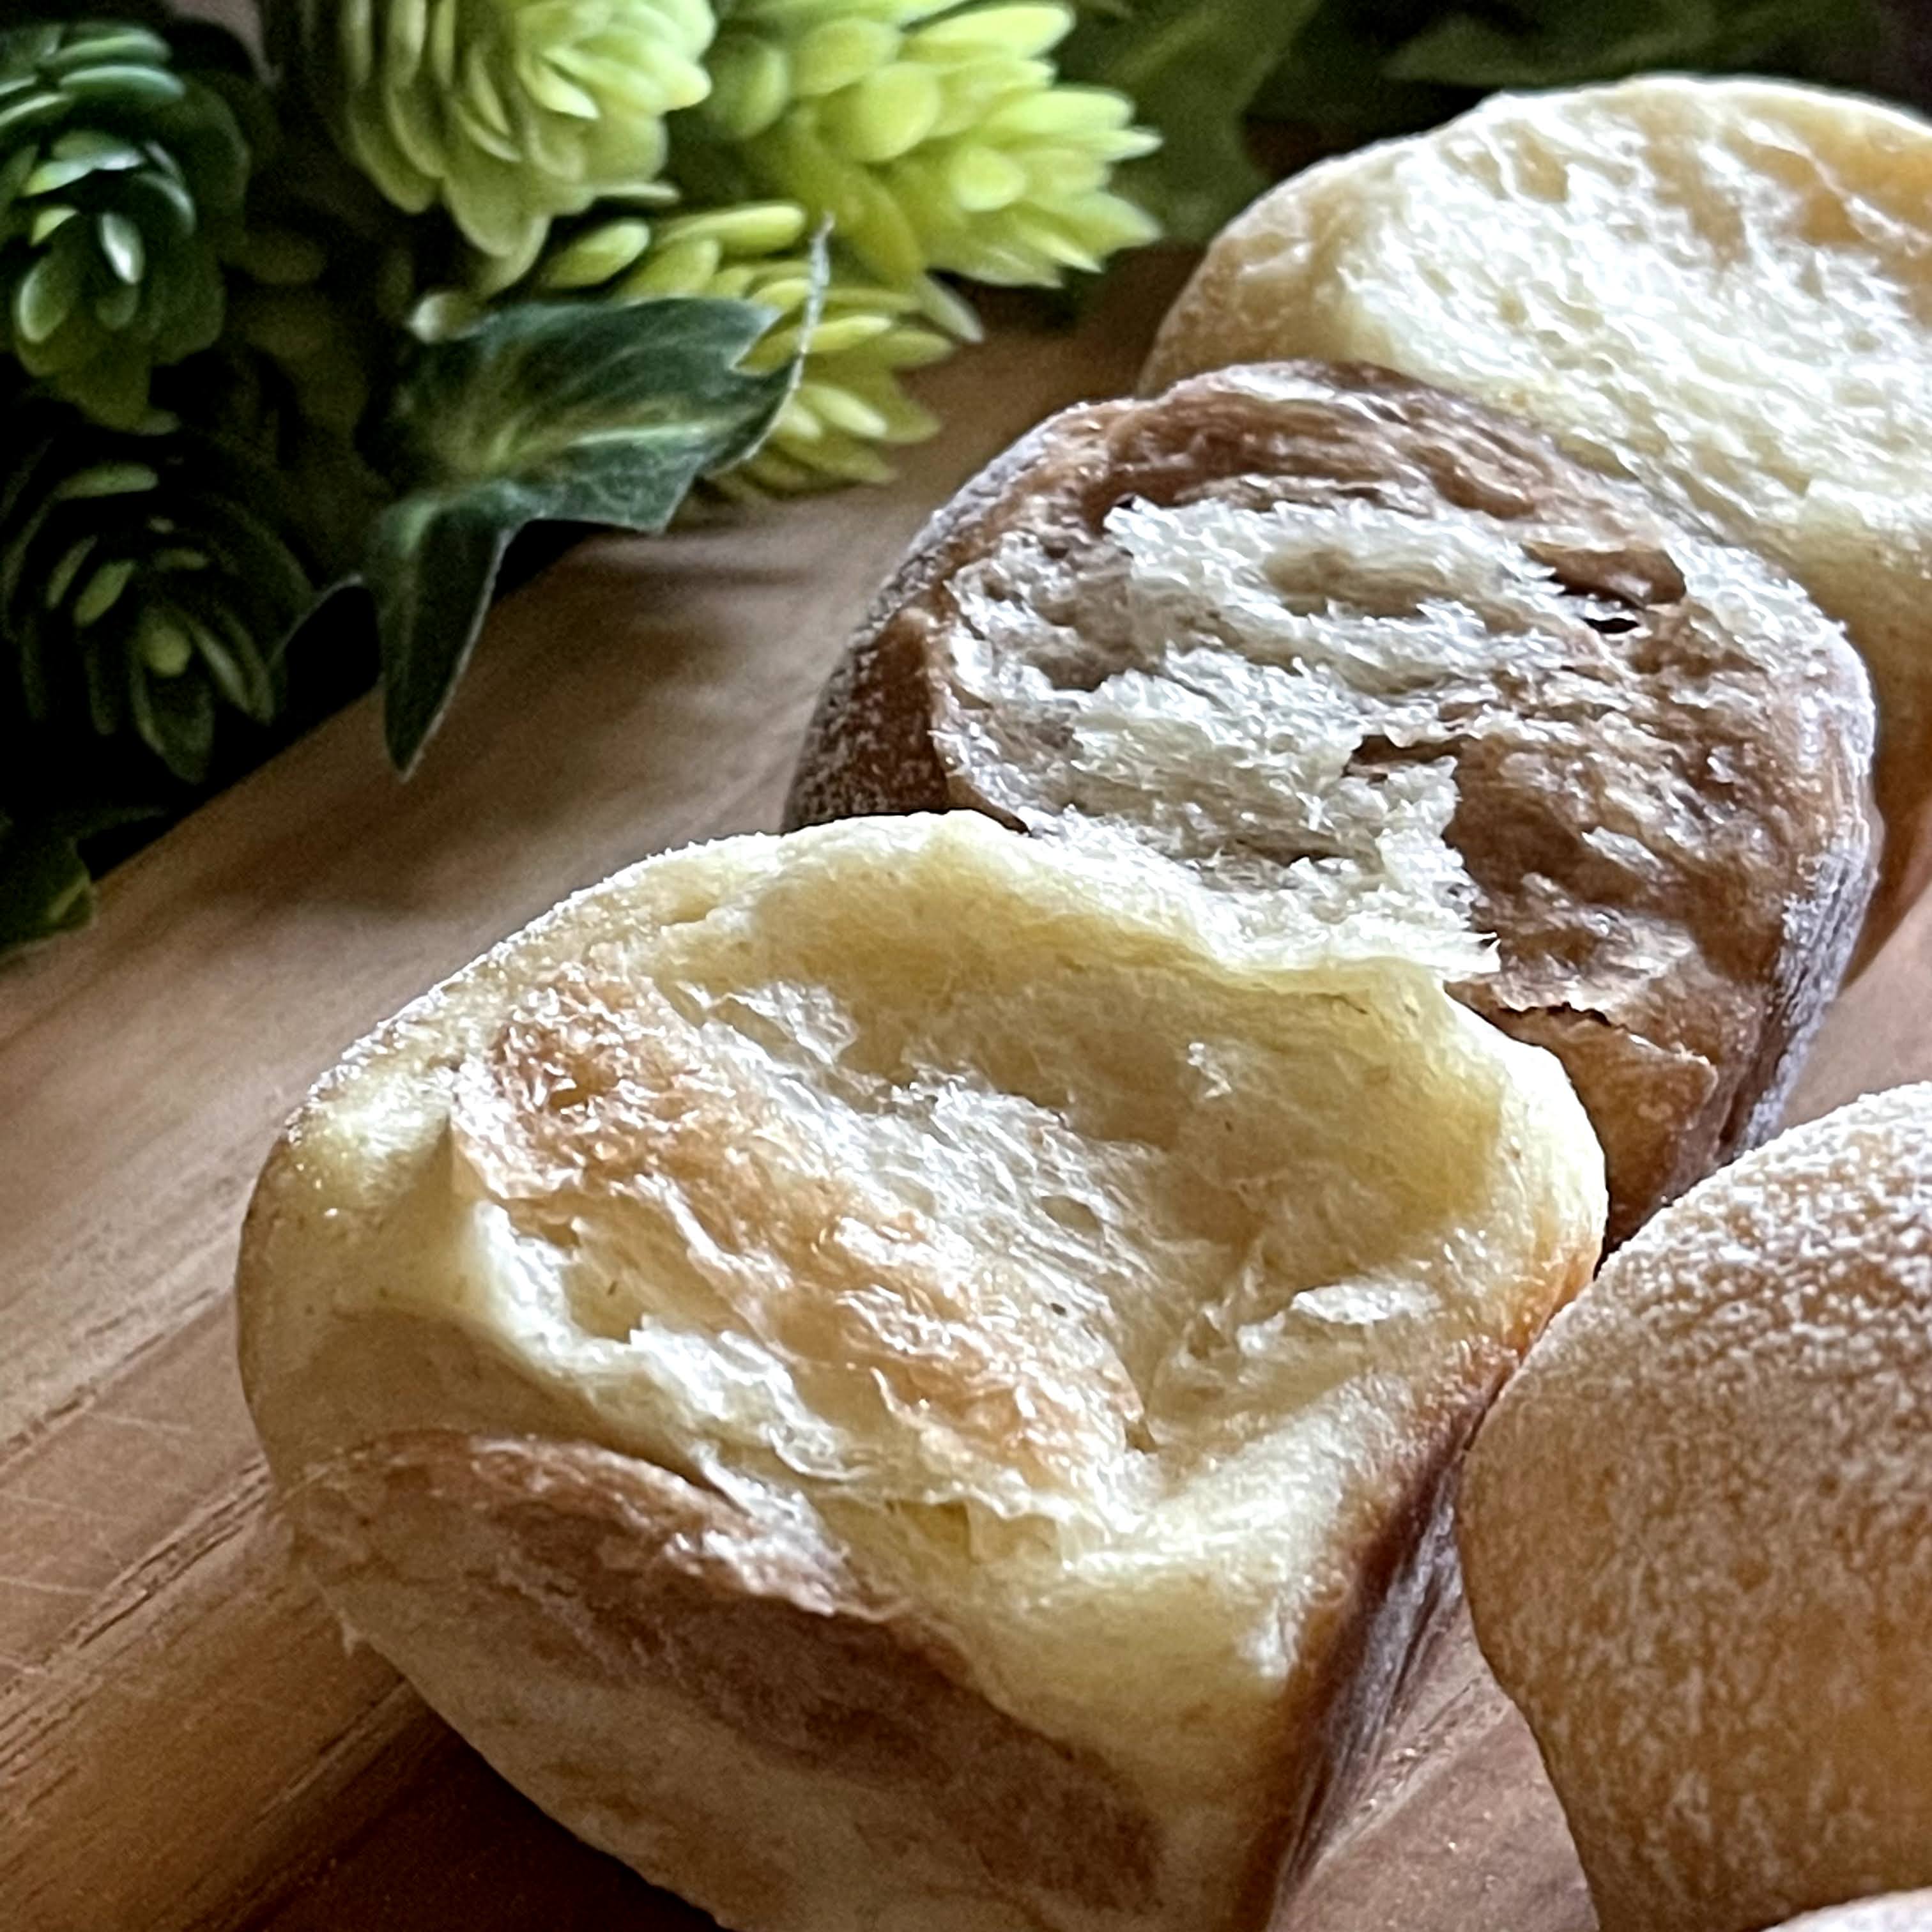
My checkerboard bubble cheese buns were inspired by my FB friend Barry Apek's 6x6=36 mini buns. I could not match his 36-buns record, as my 20cm square pan could only hold 25 buns. Or should I say, those were the smallest dough, my fat fingers could shape 😜

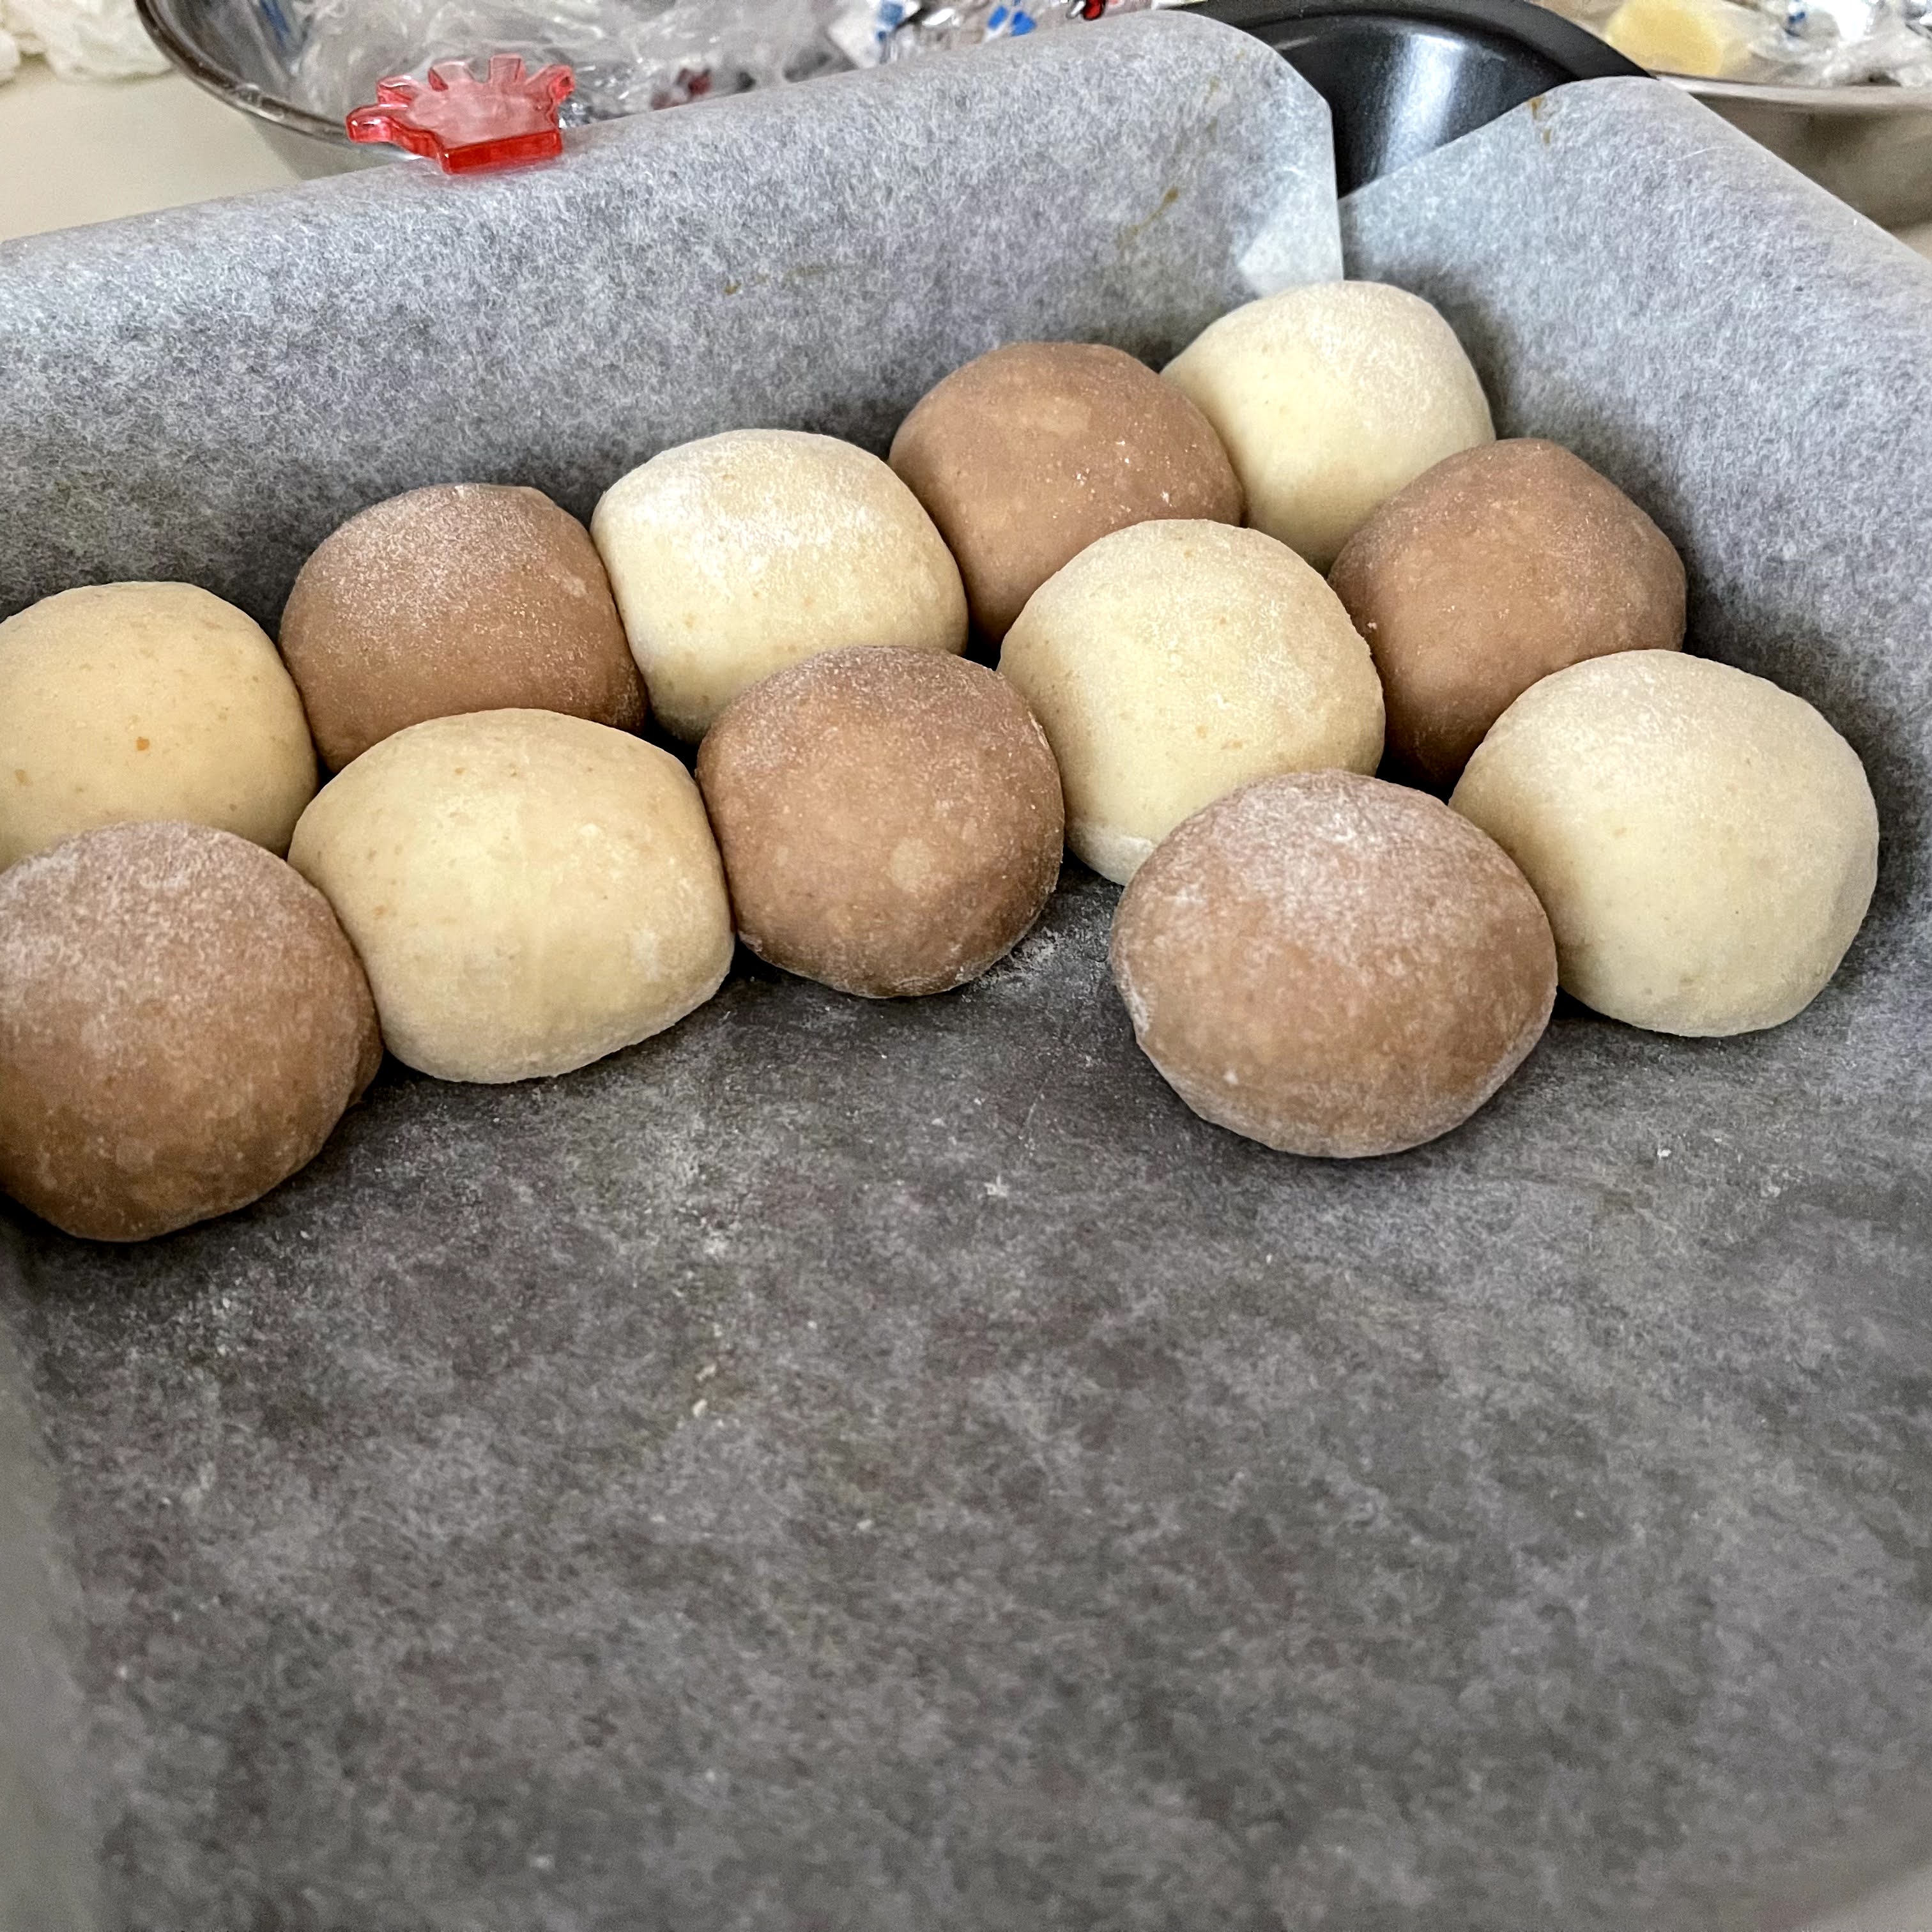
Instead of a tray of plain single flavour buns, I added cocoa powder to about half of the dough, and wrapped each dough ball with cheese. The milk dough ball held a Laughing Cow soft cheese cubes, while the cocoa dough ball held a candy-size cheddar cheese cube. 


Yield: 25 mini buns in one 20cm square pan
Pan size: 20 cm square pan
Raw dough weight: 523g
Baking temperature: Preheat oven to 200℃, lower rack, bake at 180℃ for 8 minutes, reduce to 160℃ for 10 minutes, turn off oven and continue to bake for 3~5 minutes. 

Sweet Stiff Levain (SSL)

Ingredients
25g cool boiled water
10g raw sugar
20g natural yeast, 100% hydration*
50g unbleached bread flour

* 20g natural yeast can be replaced by 10g bread flour + 10g water + 1/8 tsp instant dry yeast


Let the sweet stiff levain stands in room temperature for about 6~8 hours, or triple in volume, before adding to dough. 
sweet stiff levain (πŸ‘ˆclick to access the preparation method)

Soy Milk Dough

Ingredient
A
180g bread flour
20g spelt flour/plain flour
30g raw sugar
1g instant dry yeast
pinch of vanillin powder, optional

B
103~105g sweet stiff levain Pull SSL into smaller portions after adding to the flour mixture to facilitate kneading.
15g multigrain soy pulp, optional
15g beaten egg
110g sweetened soy milk
20g whipping cream, cold
10g water, cold (to be added depending on dough condition)
 
C
3g low-sodium fine salt

D
10g unsalted butter, softened

Cocoa Dough
5g cocoa powder
~5g water

Cheese fillings
13 cubes Laughing Cow Belcube
12 Anchor cheddar candy cheese


Directions

Knead the dough following your preferred method till reaching window pane.
1. As 25 is an odd number, so I cannot divide the dough evenly into 2 parts. This is how I calculate and divide my soy milk dough.
Soy milk dough = 513g
Final dough weight: Soy milk dough + 5g cocoa powder + 5g water = 523g
Calculate individual dough weight: 523g / 25 = 20.92g
13 soy milk dough weight= 20.92 x 13 = 272g
12 cocoa milk dough weight = 20.92 x 12 = 251g

Cut out about 272g of soy milk dough and keep in an oiled plastic bag. /Squeeze out the air, and tie a loose knot at the end. Cover with a lid, and keep the soy milk dough in the fridge.

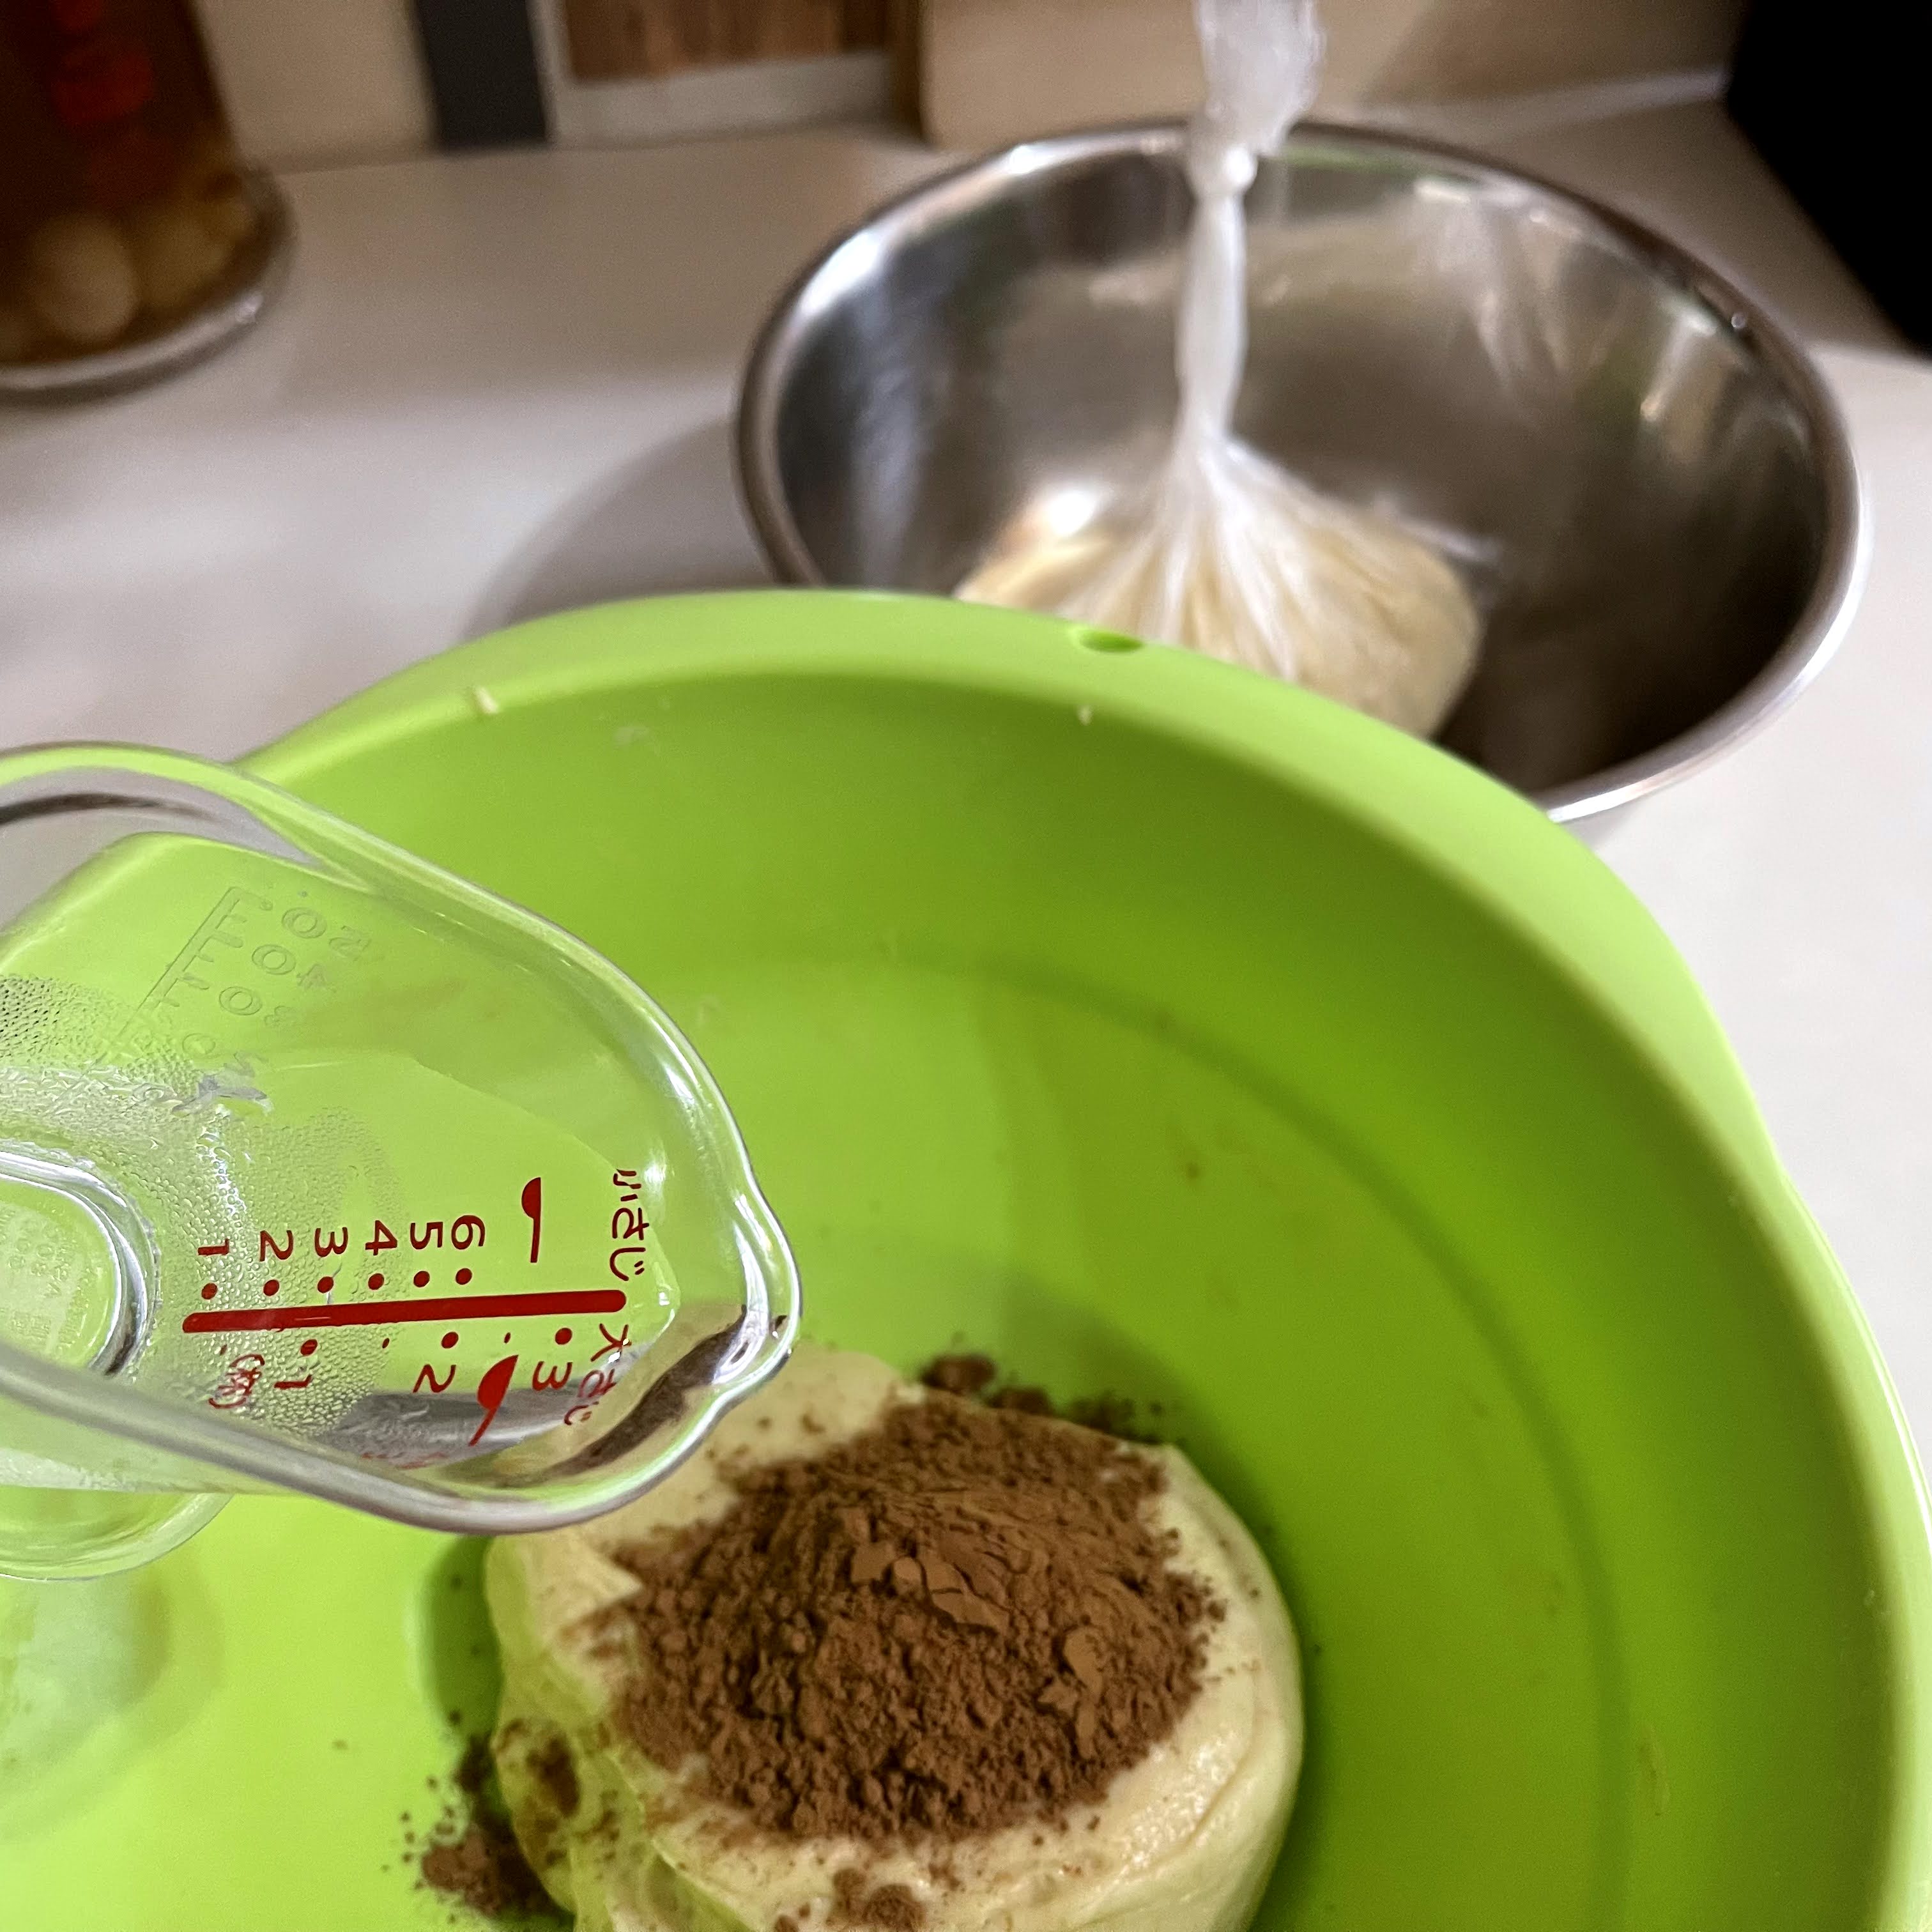
Add 5g cocoa powder and 5g water to the remaining soy milk dough( about 241g). Knead into a smooth cocoa dough and keep in another oiled plastic bag. /Squeeze out the air, and tie a loose knot at the end. Keep both the soy milk dough and cocoa dough in the fridge. Let the dough undergo cold fermentation in the fridge for about 16 hours.
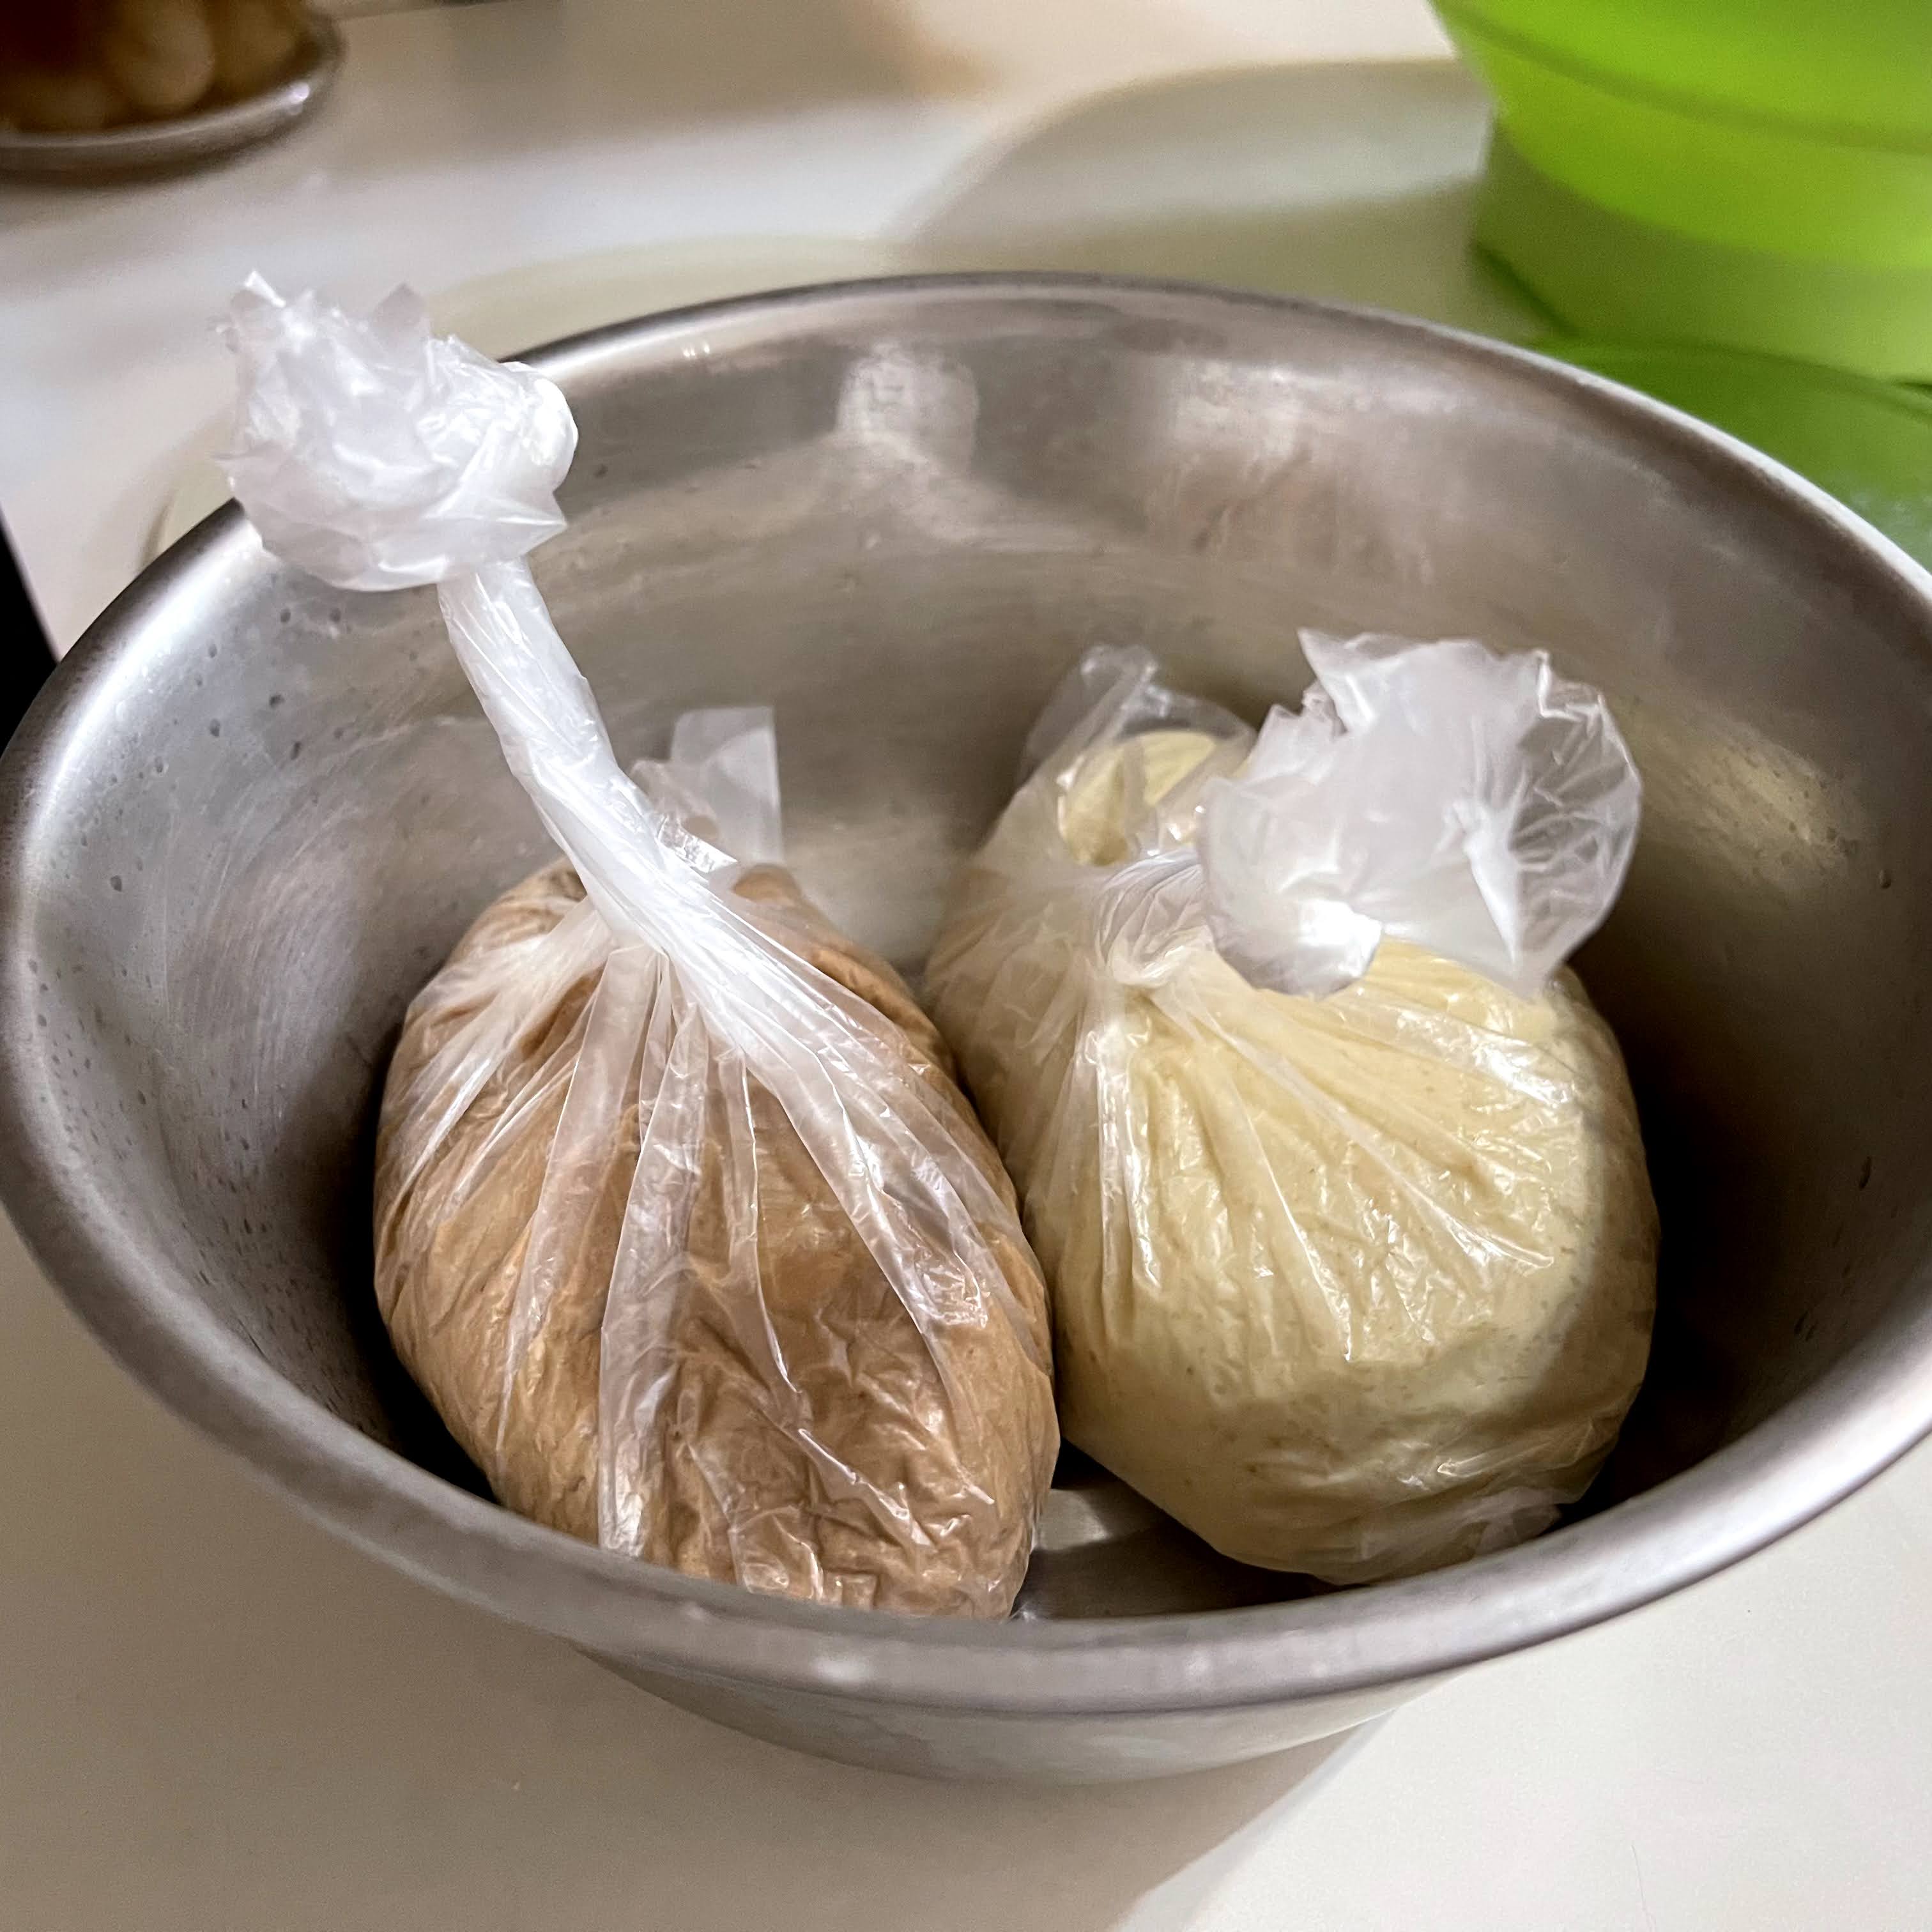
2. In the next day, invert the dough and let them thaw in room temperature for about 90 minutes.

3. Invert out the soy milk dough onto a floured work top. Deflate the dough, and divide the dough into 13 portions, about 20 to 21g each.

Shape into small dough balls, cover, and set aside.

4. Similarly, invert out the cocoa milk dough onto a floured work top. Deflate the dough, and divide the dough into 12 portions, about 20 to 21g each.

Shape into small dough balls, cover, and set aside

Let the dough balls rest for about 5 minutes.

5. Flatten a soy milk dough ball, and put a Belcube in the center.

Similarly, flatten a cocoa milk dough ball, and put a candy cheese in the center.


Wrap up both dough balls and shape into two balls.

6. Place the pair of dough balls in the baking pan lined with parchment paper. 
Repeat Step 5 and Step 6 till finished all the dough.


7. Cover the shaped dough with a tea cloth, and let them undergo second fermentation for about 70 minutes, or till the dough balls filled up most of the empty space.

8. Start to preheat oven to 200℃ for about 10 minutes. While waiting, dust a thin layer of bread flour over the top of the shaped dough.

Bake at lower rack of the preheated oven. After closing the oven door, lower to 180℃ and bake for 8 minutes, reduce to 160℃ for 10 minutes, turn off oven and continue to bake for 3~5 minutes, or till the top lightly tanned.

9. Remove the hot buns from the pan after leaving the oven, and rest on a wire rack. Enjoy the petite cheese buns warmπŸ˜‹


Friday, 3 September 2021

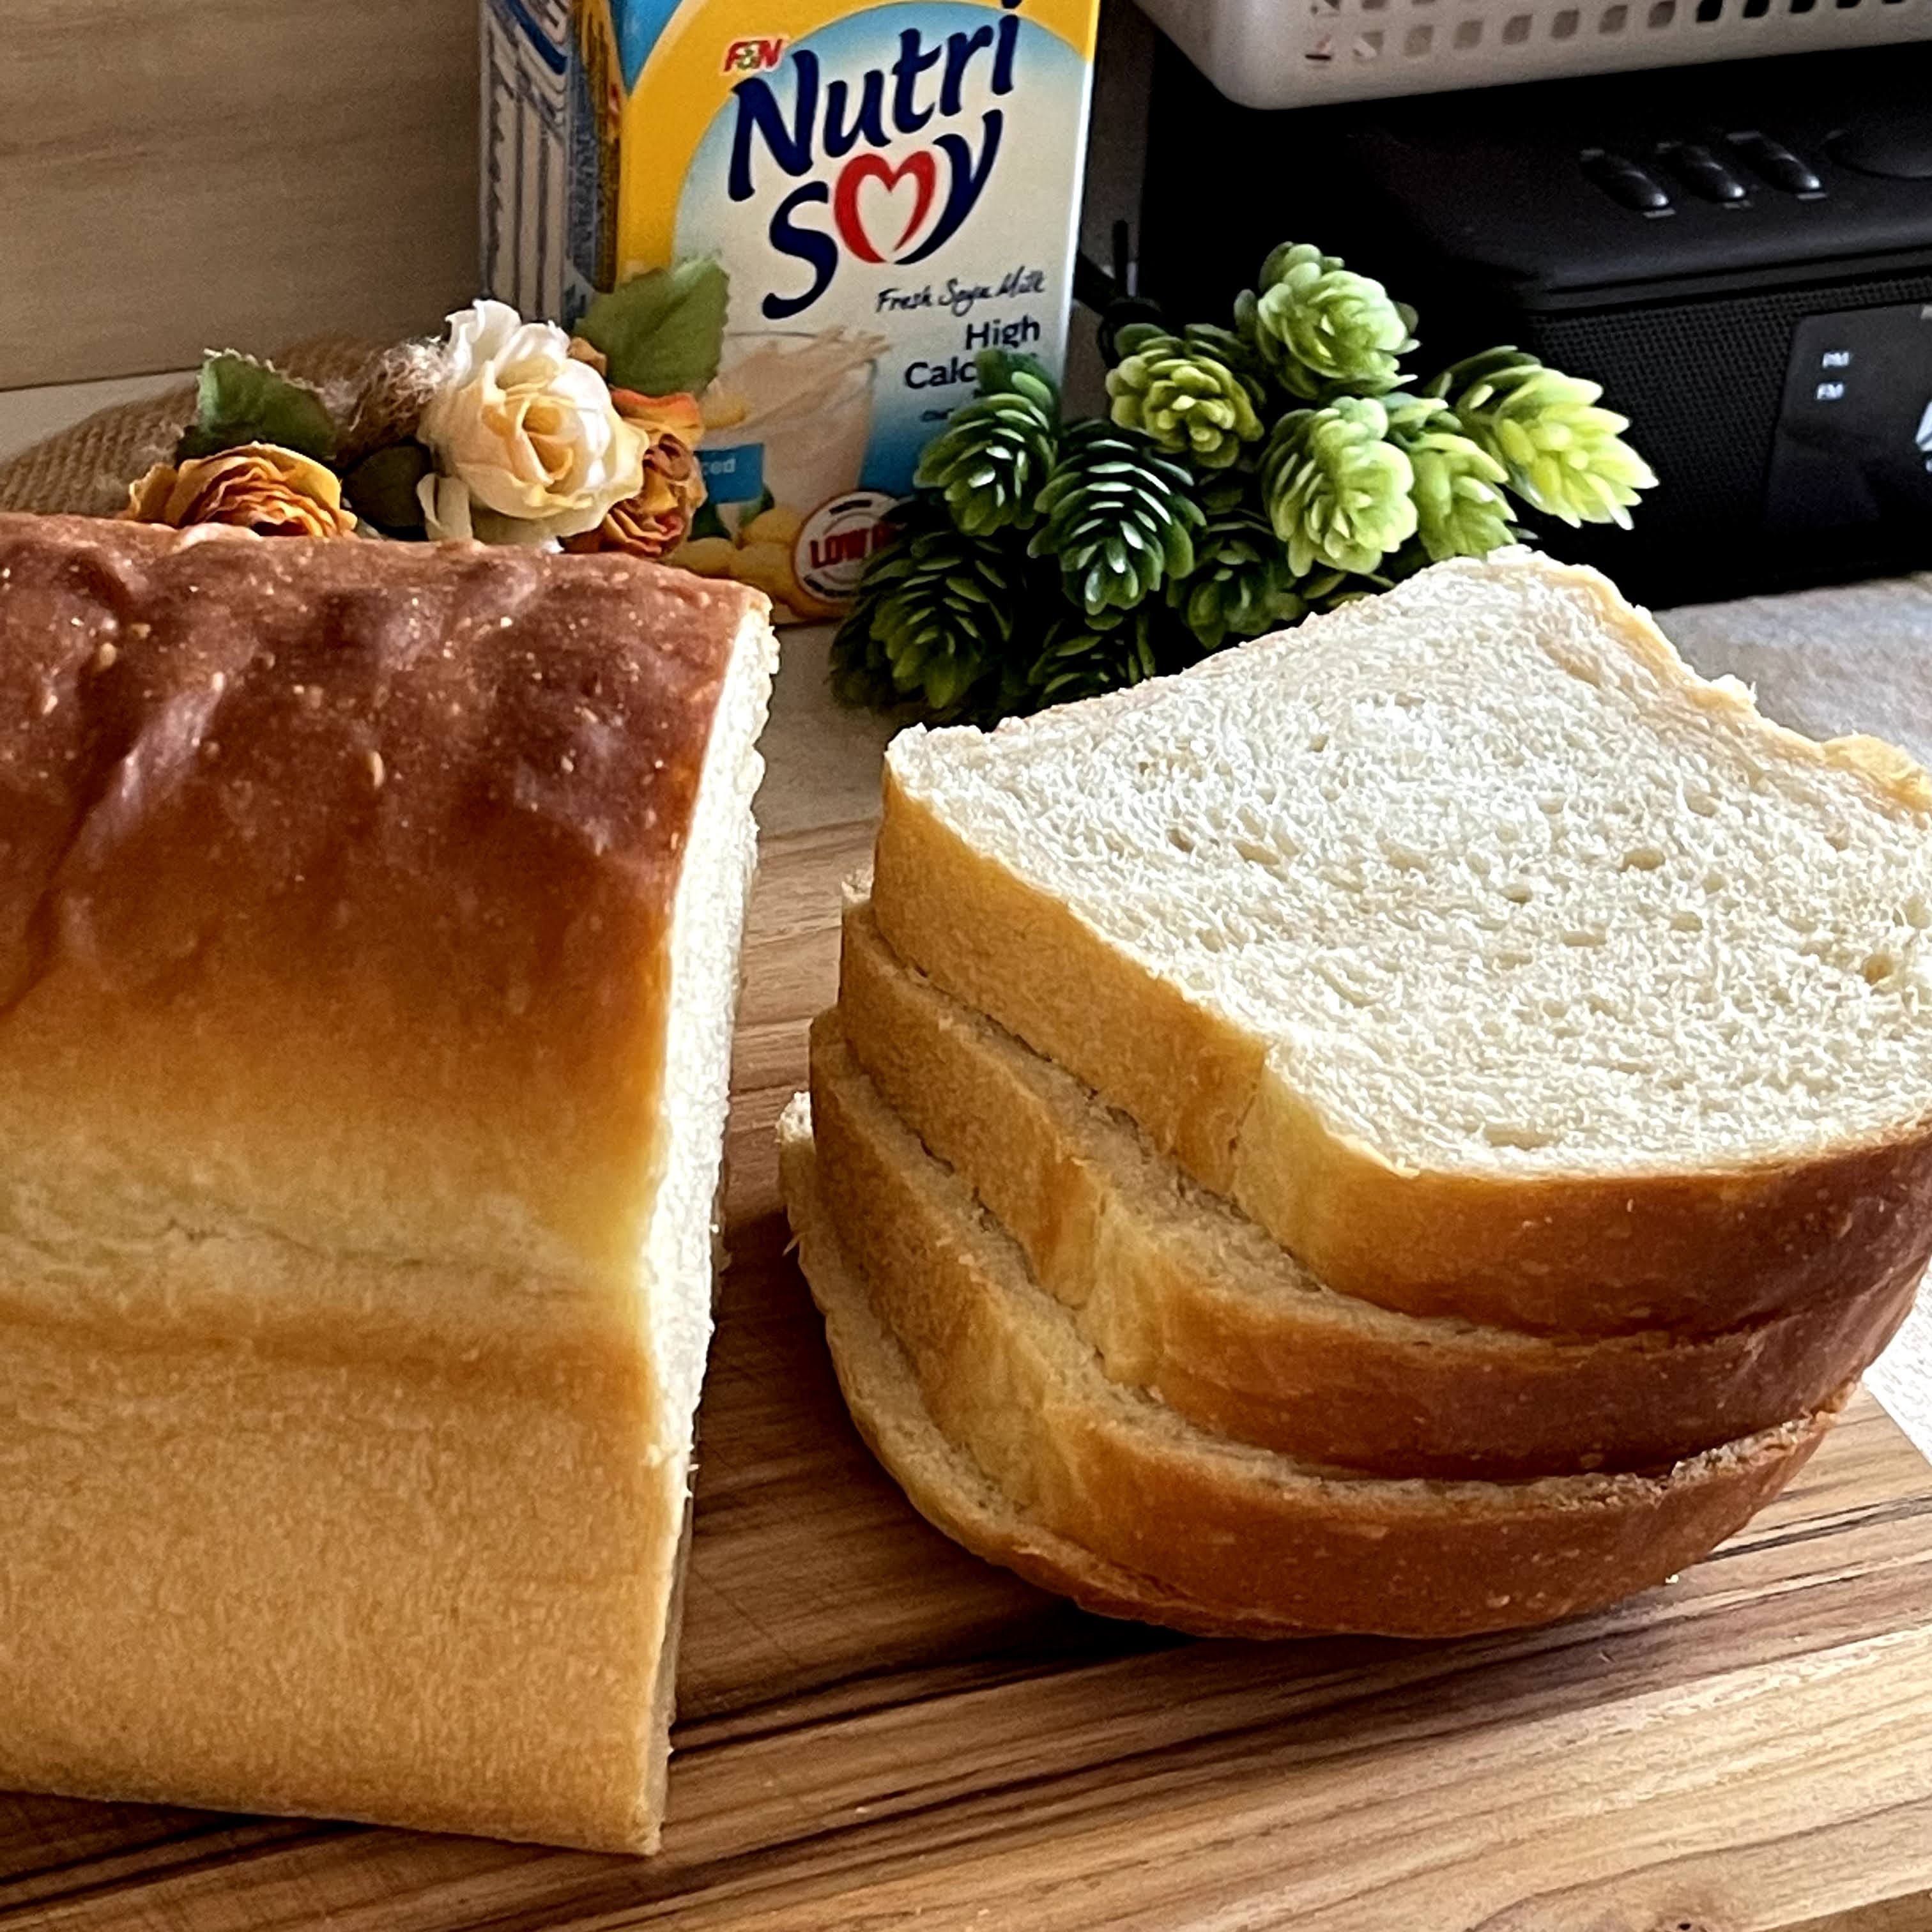
Egg-less Soy Milk Butter Bread (SSL)

I seldom baked savoury breads. Having baked many sweet breads, I suddenly craved for savoury bread. Added with sweet stiff levain which gave the bread a springy texture, the salted butter glazed crust also gave a soft, savoury and aromatic golden crust to the bread.

The bread is best enjoyed with just a coat of salted butter and no others πŸ˜‹

Yield: one loaf of bread
Pan size: 21x13x10 cm Jamie Oliver 1.5L bread pan
Raw dough weight: 630g
Baking temperature: Preheat oven to 190℃, lower rack, bake at 180℃ for 15 minutes, reduce to 170℃ for 15 minutes, turn off oven and continue to bake for 5 minutes. 

Sweet Stiff Levain (SSL)

Ingredients
40g cool boiled water
15g raw sugar
20g natural yeast, 100% hydration*
80g unbleached bread flour

* 20g natural yeast can be replaced by 10g bread flour + 10g water + 1/8 tsp instant dry yeast


Let the sweet stiff levain stands in room temperature for about 6~8 hours, or triple in volume, before adding to dough. 
sweet stiff levain (πŸ‘ˆclick to access the preparation method)

Egg-less Soy Milk Dough

Ingredient
A
200g bread flour
30g superfine wholegrain flour/plain flour
20g raw sugar
1g instant dry yeast

B
150~155g sweet stiff levain Pull SSL into smaller portions after adding to the flour mixture to facilitate kneading.
130g sweetened soy milk
20g whipping cream, cold
40g water, cold (to be added depending on dough condition)
 
C
5g low-sodium fine salt

D
30g unsalted butter, softened

Topping
2g whipping cream

Glazing
5g butter, melted
1g low-sodium salt

Directions

Knead the dough following your preferred method till reaching window pane.
1. Mix  Ingredient A in a mixing bowl.

2. Mix in Ingredient B. Mix in one direction till it becomes a lump. Cover with a lid and let the dough rest for 15 minutes

3. Knead the dough using an electric hand mixer fitted with a pair of dough hooks till the dough is smoother. Knead in Ingredient C.


4. Knead in Ingredient D, 

till the dough is smoother and a bit glossy.

5. Perform about 100 to 200 sets of "slapping and folding" till the dough is elastic (the dough can stretch to about 30 cm without breaking).
The dough can also be pulled out into a thin membrane, known as window pane stage.


6. Shape into a ball

and transfer the dough into a plastic bag coated with a thin layer of oil. Tie a loose knot, and keep in a second plastic bag before storing in a big mixing bowl with a lid.
Store the dough in the fridge for about 12 to 16 hours, or overnight to undergo cold fermentation. 
My fridge temperature is about 4℃.


7. On the next day, remove the outer plastic bag, invert the dough, and let it thaw in room temperature for about 2 hours.

8. Turn out the dough to a floured work top. Deflate the dough and shape into a ball. Cover with an inverted mixing bowl, and rest for 15 minutes.

9. Roll out the dough to about 1 cm thick.

Flip over the dough, and fold in the two wings towards the middle line.

Roll out to achieve an even thickness. Roll up like a swiss roll.


Lower the dough into the bread pan coated with a thin layer of homemade non-stick spread. Spray some water over, cover with a tea cloth, and let it proof for about 110 minutes, or till almost reaching the rim of the pan.


10. Start to preheat oven to 190℃ for about 10 minutes. While waiting, brush a thin coat of whipping cream under the Toppings, over the top of the dough.

11. Bake at 180℃ for 15 minutes, reduce to 170℃ for 15 minutes, turn off oven and continue to bake for 5 minutes.

12. Remove the hot bread from the pan after leaving the oven, and rest on a wire rack.


13. While the bread is still hot, brush a layer of melted salted butter under the "Glazing" over the crust.

Let the bread cool down to room temperature.

14. After the bread has completely cooled down, cut and enjoy 🍞 πŸ˜‹