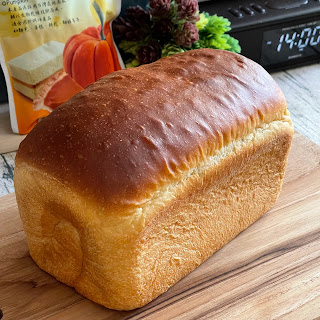
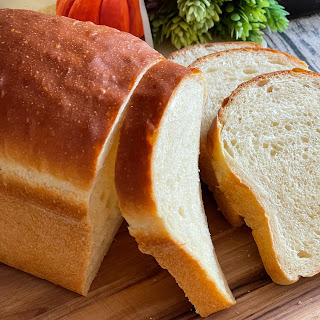
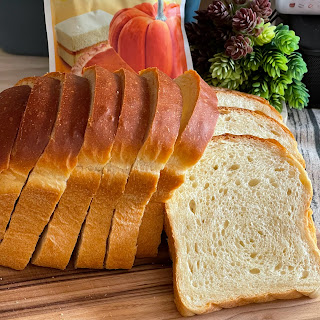
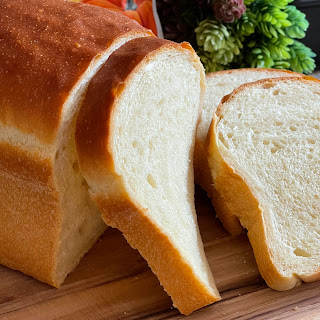
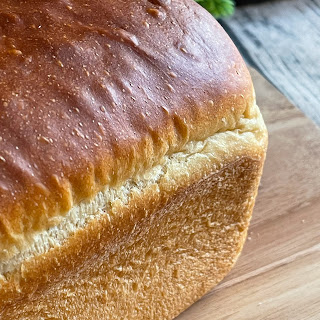
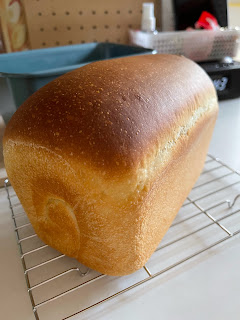
A soft and delicious pumpkin milk bread using pumpkin powder and some whipping cream. The pumpkin powder I used was premixed with tapioca powder, so the colour tone was not very bright. The butter-brushed crust not only softened the crust, but also gave it a light buttery aroma 😋
Sweet Stiff Levain SSL (120 ~ 125g)
Ingredients
30g water
12g raw sugar
20g natural yeast, 100% hydration
60g superior bread flour/bread flour
- Add water, raw sugar and natural yeast in a small bowl. Stir to mix well.
- Add in the bread flour, and stir in one direction till it pulled to form a dough.
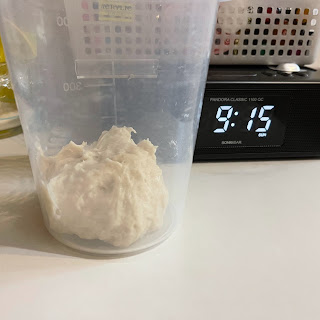
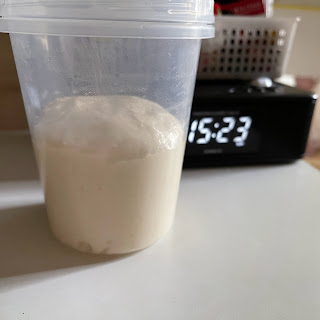
- Store the sweet stiff levain in a tall container for about 6 hours, or till it triples in size.
Ingredients
A.
205g superior bread flour/bread flour
20g superfine wholegrain flour/plain flour
10g pumpkin powder
30g raw sugar/fine sugar
1g instant dry yeast
pinch of vanillin powder, optional
B
120~125g sweet stiff levain from above
C
150g low fat milk
20g whipping cream
30g cold water
D
3g low-sodium salt
E
20~30g salted/ unsalted butter

Some milk as milk wash before baking
Some butter spread as glazing after baking
Directions
Knead dough into window pane using your prefer method
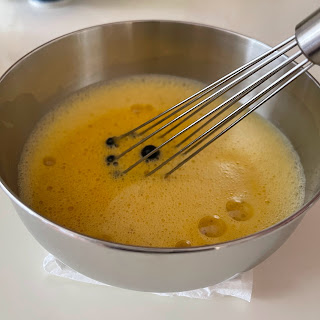
1. Mix all ingredient A in a big mixing bowl.
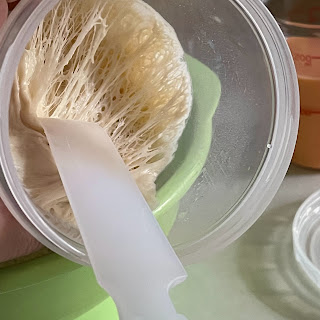
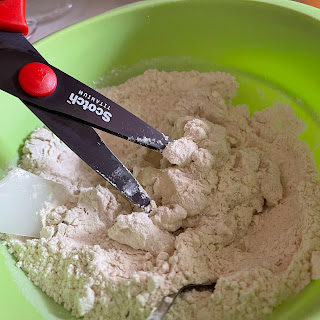
2. Add ingredient B into the mixing bowl. Use a pair of kitchen scissors to cut the sweet stiff levain into smaller pieces to facilitate mixing. Or, you can pull the SSL into small pieces using your fingers. I prefer the latter if I have the time.
4. Use a hand mixer fitted with a pair of dough hooks, and knead the dough till smoother. Add in Ingredient D, followed by Ingredient E. Knead the dough till smoother.
Performance about 200 sets of "slapping and folding" till reaching window pane.
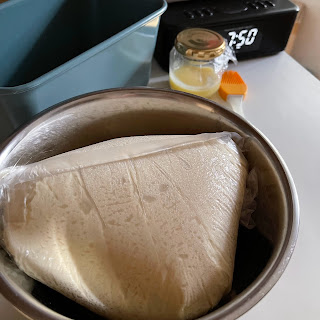
5. Shape the dough into a ball and keep in a plastic bag coated with a thin layer of oil. Tie a loose knot, keep in a second plastic bag, and put in a covered bowl. Store in the fridge to undergo cold fermentation for about 14 to 16 hours, or overnight.
6. Remove the outer plastic bag, invert the dough and let it thaws in room temperature for about 60 to 90 minutes.
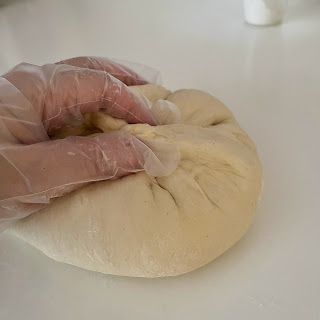
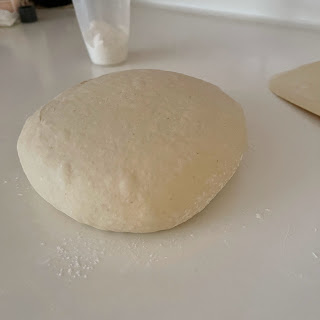
7. Remove the plastic bag and turn out the dough onto a floured work top. Deflate the dough, and shape into a ball again.
Let the dough rest for about 15 minutes.
8. Roll out the dough to a thickness of about 5 to 8mm.
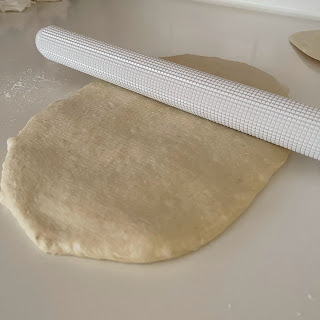
Flip over, and turn the dough 90°, roll the dough into a uniform thickness.
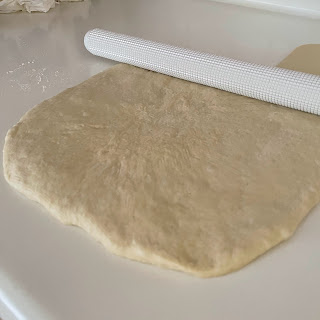
Roll flat the dough to get an even thickness.

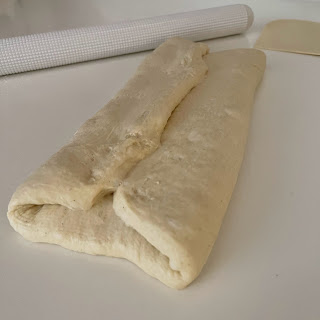
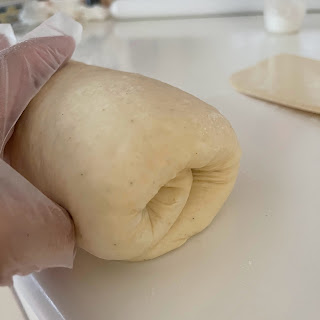
Roll up the dough,
into a swiss roll shape.
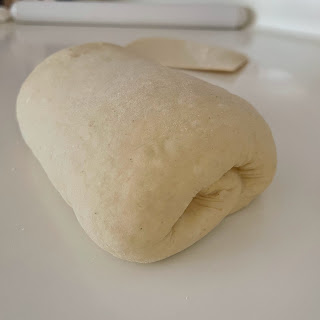
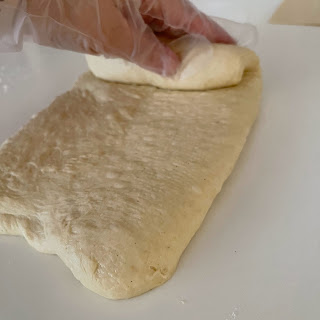
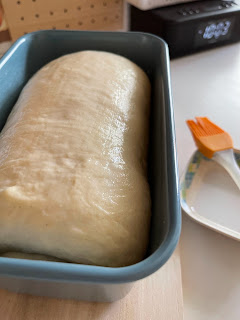
9. Lower the shaped dough into a bread pan coated with butter or homemade non-stick baking spread.

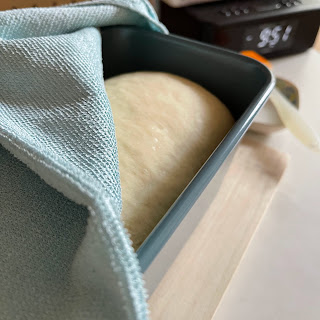
Or till the dough reaches about 4/5 height of the pan.
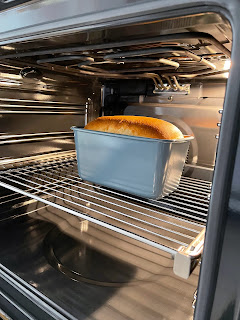
10. Start to preheat oven to 190℃ for about 10 minutes.
Fold in the two wings towards the center.
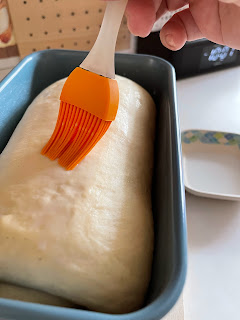
Cover the pan with a tea cloth, and let it proof for about 60 to 90 minutes.
While waiting, apply some milk over the top of the dough.
11. Bake in a preheated oven at middle rack. Reduce the temperature to 180℃ after closing the oven door. Bake for about 15 minutes, before further reduce the temperature to 170℃ and bake for about 20 minutes, or till golden.
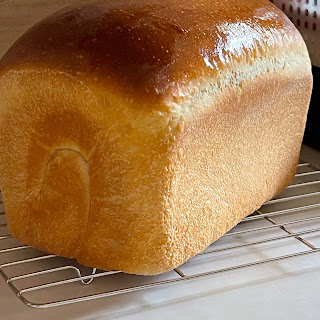
12. Remove the bread from the hot pan immediately after leaving the oven.
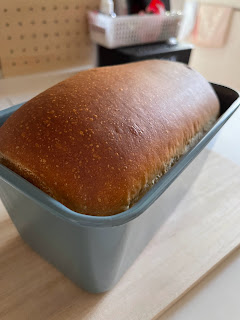
Let the bread stands over a wire rack.
Immediately brush some butter spread over the top of the hot bread.
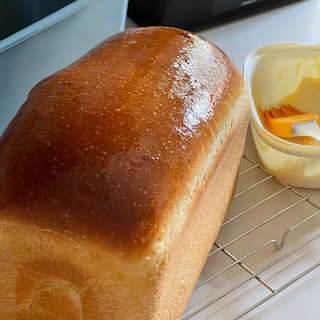
Let the bread cool down to room temperature over a wire rack.
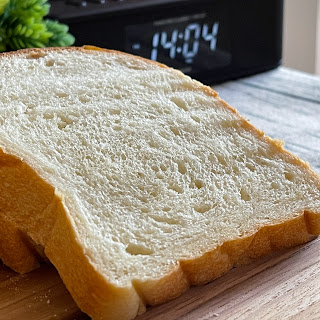
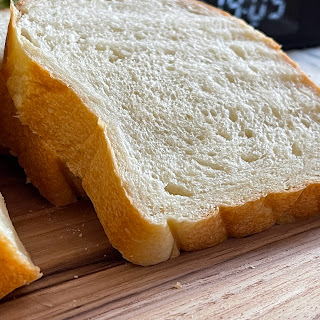
13. Cut and enjoy 😋