Saturday 17 December 2016

Light Japanese Cheesecake (2-egg recipe)


I love this light Japanese cheesecake which involves mainly 2 eggs, 20g butter and 80g of cream cheese.  Relatively light in terms of the fat content as compare to other similar cake recipes I used. The cheesecake was equally creamy :P


A cheesecake looks more pleasant if it is crack-free. This has always been my challenge when baking this type of cake.  There are so many recipes with different recommended baking method.  This round I decided to bake by eyes, not by following recommended temperature and duration. Although this is rather troublesome as I have to stand by the oven window gazing at the rising cake constantly, it helped to minimize the chance of developing a deep canyon in the middle of the cake.


Pan size: one 16cm round cast iron pot, or 6x3" round cake pan wrapped with aluminum foil.

Ingredients

All ingredients in room temperature

Using 55g Omega-3 eggs


80g cream cheese
20g unsalted butter
60g fresh milk

2 egg yolks

20g top/cake flour
15g corn flour

2 egg whites
50g fine sugar
1/2 tsp lemon juice


Directions

1. Line the base of a 16cm Le Crueset round cast iron pot with parchment paper, and grease the wall with butter or non-stick spray.
Preheat the oven to 160 degree Celsius.


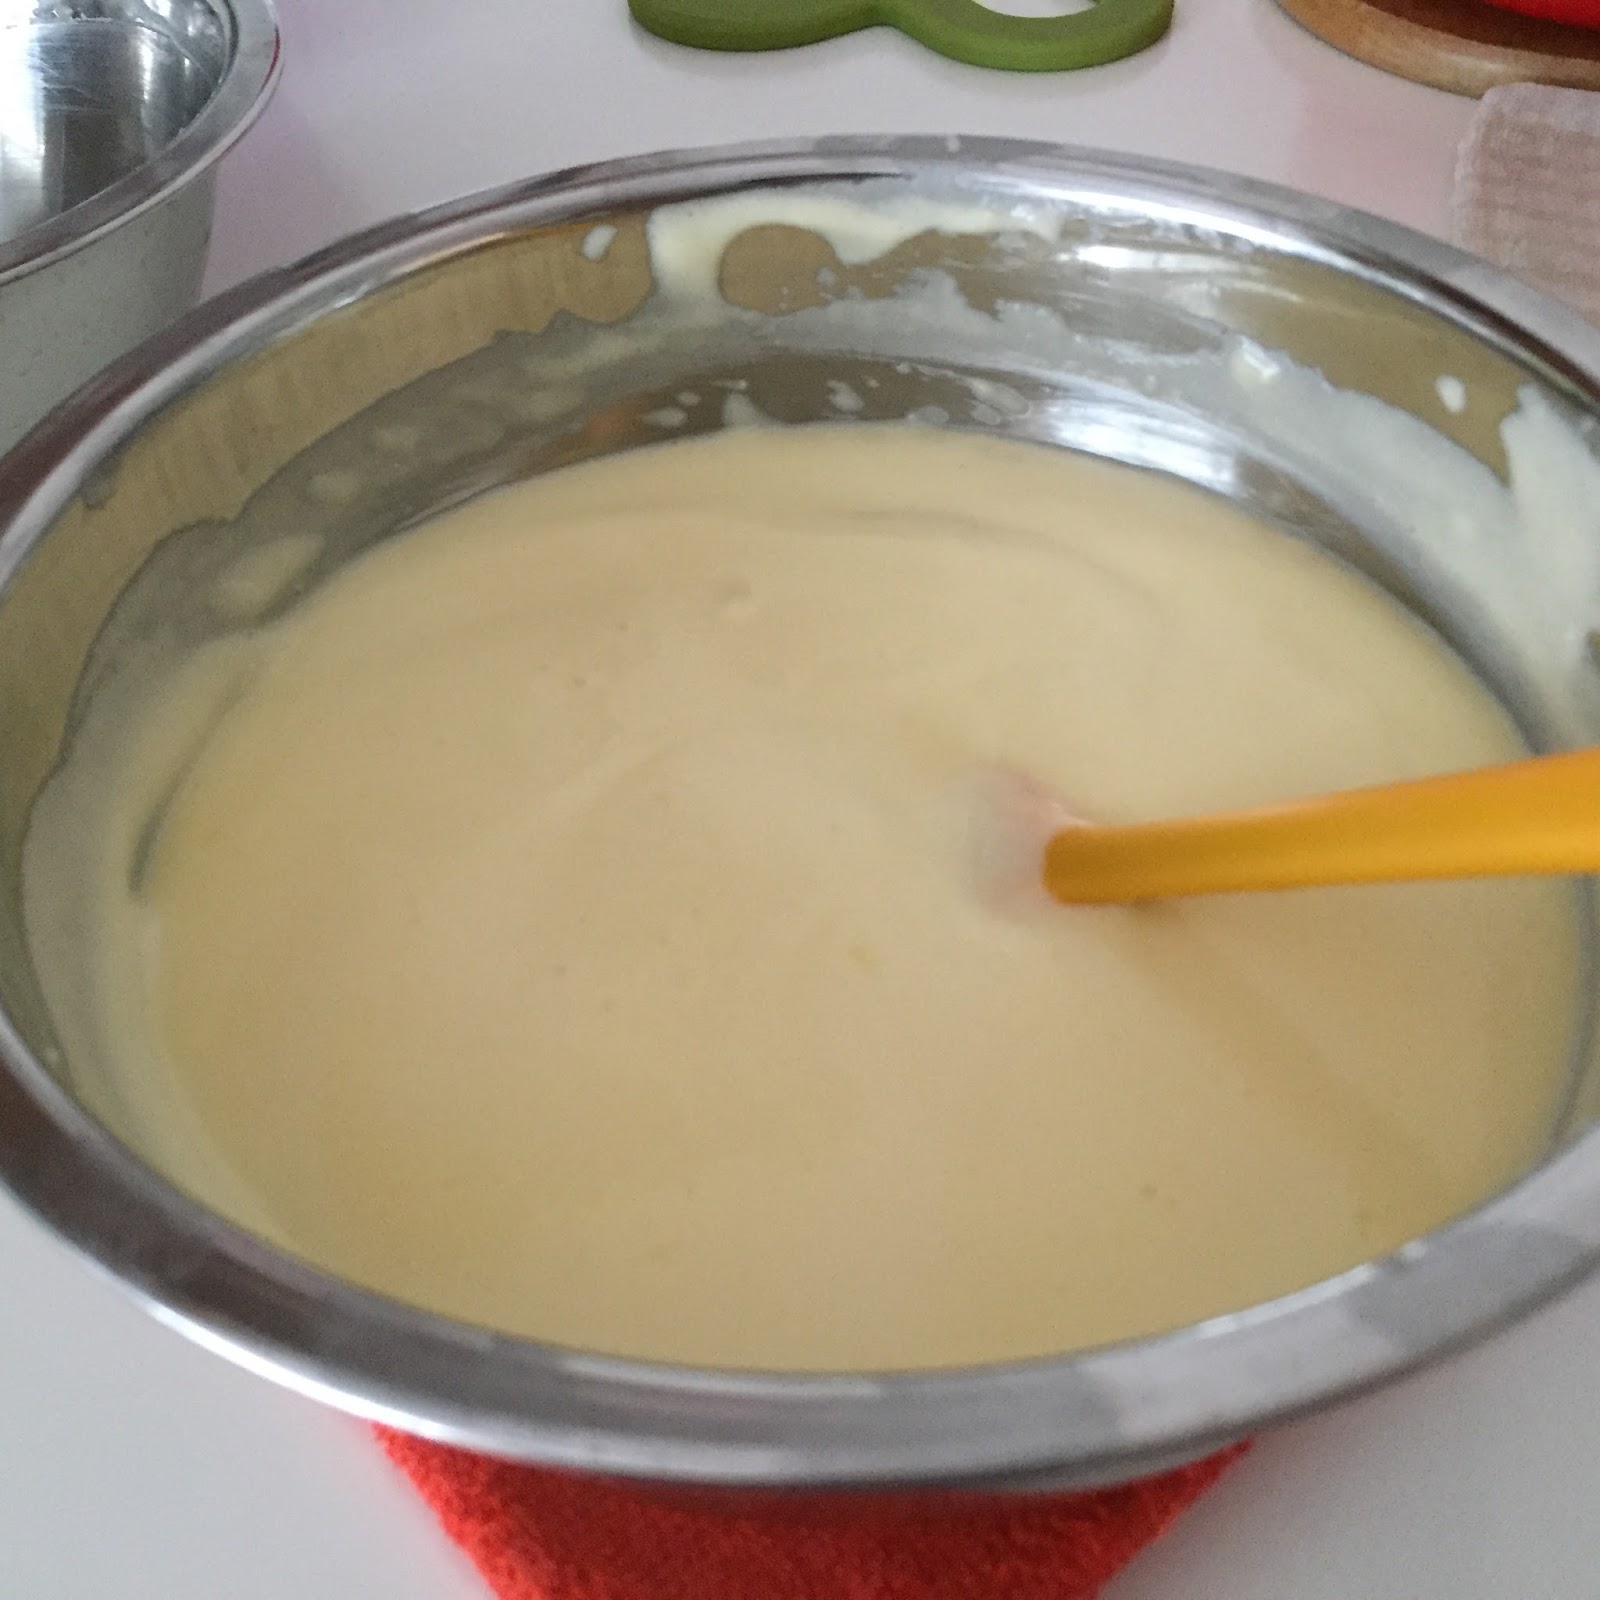
2. Add cream cheese, unsalted butter,and milk in a heat resistant mixing bowl, and place over a double-boiler. Stir over low heat till all the ingredients melted into a smooth batter.


3. Remove the cheese batter from the double boiler, and stir in the two egg yolks, one at a time.


4. Sieve in the top/cake flour and corn flour. Mix well. Cover and set aside.


5. Whip up egg whites in a dry and grease-free mixing bowl. Add in the sugar, in 3 batches, after the egg white has become frothy (medium low speed)

Add in the lemon juice after adding the 3rd batch of sugar. Whip at low speed still almost reaching the soft peak stage.


6. Scoop some meringue to mix with the cream cheese batter at (4), using a spatula.


 Pour the cream cheese batter back to the meringue. Mix well using a spatula.


7. Pour the batter to the prepared Le Crueset pot.  Bang lightly to remove any trapped air bubbles.


8. Place a wire-gauze in a 20x20cm square pan, and pour about 1 cm of hot water into it.
Lower the pot into the warm water bath.


The baking temperature and duration are only for reference purpose. Please adjust according to your oven and batter conditions.

9. Bake at the lowest rack of a preheated oven at 160 degree Celsius for 25 minutes , or till the top of the rising batter has formed a flat top.

Reduce the oven temperature to 140 degree Celsius, when the top of the batter has formed a plateau. Bake for another 25 to 30 minutes, till the top beginning to brown.
If small crack starting to be seen, open the oven door for about 5 to 10 seconds to reduce the temperature.


When the top starts to brown, turn off the bottom heating element, and increase the oven temperature, using only the top heating element, to 170 degree Celsius for 2 minutes. This is to give the cake a nice golden top.

Turn off both the heating coils, and let the cake stays in the closed oven for about 15 minutes.  This enable the cake to brown more evenly, and shrink gradually.


10. After transferring the cake out of the oven, lightly bang the cake over a kitchen towel. This will help to minimise the cake from over-shrinking. Let the cake rest over a wire rack for about 10 minutes, and invert it out onto the cooling rack. (After the side of the cake pulls away from the wall of the pot.)


11. After the cake has cooled down to room temperature, refrigerate it for about 3 hours before cutting.
Enjoy it cool :)


Wednesday 14 December 2016

My First Sourdough White Bread


Greatly appreciate My Daily Sourdough Bread for sharing the detailed and explicit beginner's guide to sourdough bread making. I'm happy that with the many pointers mentioned in the guide, I was able to produce a decent sourdough bread with honeycomb-liked texture ( even though this was my first attempt 😁).  I knew I didn't do a good scoring to the bread, hopefully my next sourdough bread would look better πŸ˜‰


This is not a good guided recipe, as it is just my sharing and recording of the entire process πŸ€“

Dough

100g unbleached bread flour
75g water

2g salt
1/4 tsp water (for dissolving the salt)


Starter (100% hydration)

10g unbleached bread flour
10g water
9g active natural yeast


Directions

1. Mix 100g of unbleached bread flour with about 75g of water to form a soft and sticky dough. Keep the dough in a covered container.

In a separate container, mix 10g of unbleached bread flour with an equal amount of water, and 9 g of active natural yeast. Seal the opening with cling wrap.

I left both in room temperature (abourt 29°C) for about 4 hours before chilling in the fridge vegetable compartment for overnight.
The original guide suggested to prepare these two items in the evening, and leave them in room temperature till next morning. However, with our warmer tropical temperature, I believed it would be better to leave them in the fridge.


2. In the next morning, I took out the two doughs and left them in room temperature for about 45 minutes before combining them.  The dough was given about 2 minutes of kneading, and left to rest for about 1 hour.
After 1 hour, dissolve 2g of salt in a small amount of water, and kneaded it into the dough.

The dough was then undergone 3 hours of bulk fermentation.
I did 4 to 6 stretch and folds at an interval of about 30 minutes during the bulk fermentation.


Cover the dough with a lid after every stretch and fold session.


The last stretch and fold session.


3. After the 3 hours of bulk fermentation, dust some bread flour over the dough before turning it out onto a work top.
Use a dough cutter to help me fold up the dough into half. Turn 90° and fold up again. Repeat the steps till the dough became a ball. 
Let the dough rest for about 15 minutes.


4. While the dough was resting, prepare the proofing basket by placing a kitchen towel into a basket. I used a steel colander.
Dust some bread flour over the kitchen towel.


5. After the 15 minutes rest, flip the dough over and fold in the four sides. Finally, roll up the dough to create tension on the surface.


You'll be able to see trapped bubbles below the surface.


6. Transfer the dough into the proofing basket with the smooth side facing down. Fold in the kitchen towel to cover the dough. Let the dough proof for about 3 hours at room temperature of about 30° C.
The owner of the recipe suggested to to do an extra 1 hour of.proofing in the fridge for easy scoring later. But I skipped this step 😬


7. The dough is ready when you press the dough, the indent would return slowly, and the volume of the dough would increase.


8. About 1/2 an hour before baking, preheat a Dutch oven with the lid in the oven at 240°C.
(I learned from another guide suggested that the bread can be place in a cold Dutch oven, and bake in a preheated oven for 30 minutes, before baking without the lid. I may try this next time 😁)

9. Turn the dough onto a parchment paper and do some scoring on the surface.


10. Lower the dough into the hot Dutch oven, cover and bake at 240°C for about 20 minutes. Remove the lid and reduce the oven temperature to 230° C and bake for about 20 to 25 minutes, or till golden.


11. Let the bread cool down before cutting 😜
But I cut the bread while it was still warm 😌 Can't wait any longer, hehe 😬