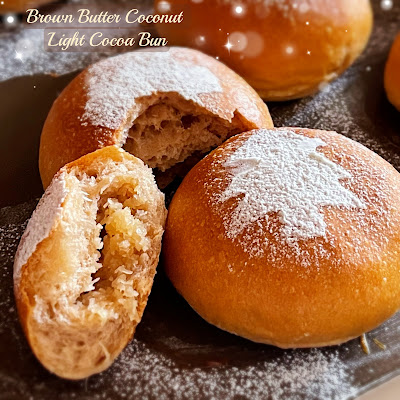
We are used to eating palm sugar or gula meleka flavour coconut buns here in Singapore and Malaysia. For a change, I baked nine light cocoa flavour buns filled with brown butter flavoured sweet coconut. They were delicious as coconut was still the main drawing point of the buns.
As these coconut buns were baked closed to Christmas festive, so I decorated the buns with bread-flour-pine-tree patterns 🎄🌲
Brown Butter Coconut
Ingredients
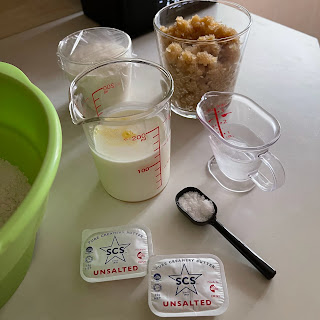
250g fresh grated coconut
30g salted butter
50g raw sugar
40g dark brown sugar
15g hot water
5g glutinous rice flour
20g water
Directions1. Melt butter in pot at medium-low heat. Swirl the pot occasionally to prevent the melted butter from burning at the base. Wait for the butter to turn foamy and darker in colour.
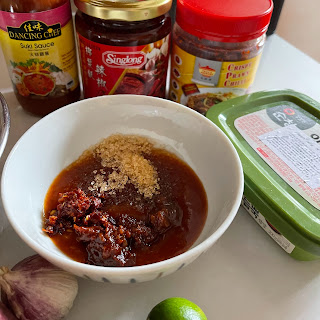
2. Add in the two types of sugar,
and 15g of hot water.
3. When the hot liquid content starts to bubble, stir in the grated coconut and mix well.
4. When the grated coconut turns soft, add in the glutinous rice flour pre-mixed with 20g of water. Stirring the content continuously. The brown butter coconut is ready when it becomes drier.
You will collect about 340g of brown butter coconut in the end. Collect about 208g for baking the buns, and keep the remaining amount in the fridge.
Yield: 9 long buns
Raw dough weight: 485g
Baking temperature: Preheat oven to 180℃ for 10 minutes, bake at middle rack, at 180℃ for 10 minutes, lower to 170℃ for about 10 minutes.
Ingredients
200g bread flour
25g raw sugar
3g cocoa powder
1g instant dry yeast
50g natural yeast/sourdough, 100% hydration*
29g yudane dough^
100g low-fat milk, cold +
15g whipping cream +
10g beaten egg
30g cold water to be added depending on dough condition
2g low sodium salt
20g unsalted butter, softened

* 50g natural yeast can be replaced by 25g each of bread flour and water + 1/8 tsp instant dry yeast. Let the mixture stands for about 1 hour or more till double in volume, before use. You can also keep the mixture in the fridge overnight and thaw it for 1 hour before use.
^ 29g yudane dough is prepared by combining 15g of bread flour with 15g of very hot or boiling water into a sticky dough. Wrap the yudane dough in cling wrap, and cool down before use. Use a silicone spatula to scrape out the sticky yudane dough from the cling wrap.
+ 100g low fat milk & 15g whipping cream can be replaced by 115g fresh milk.
Directions
1. Knead the dough following your preferred method.
For my method, you can refer to my recipe
Yudane Milk Bread. After kneading the dough to window pane stage,
shape the dough into a ball,
and keep in a plastic bag pre-coated with a thin coat of oil. Squeeze out most of the air, tie a loose knot, and keep in a second plastic bag.
Place the bag of dough in a big mixing bowl, cover with a lid, and store the dough in the fridge overnight to undergo cold fermentation. I let the dough keep in the fridge for about 16 hours.
2. In the next day, invert the dough, and thaw the dough for about 1 hour in room temperature. Thaw the brown butter coconut filling at the same time.
3. Transfer the thawed dough to a floured work top, deflate, and divide into 9 portions.
Shape into 9 balls, cover with a tea cloth, and let them rest for 15 minutes.
4. Roll out a dough ball into a flat dough of about 1cm thick.
Flip over the dough, and scoop about 20~22g of filling onto center of the dough.
Wrap up the dough and pinch to seal the joining edges. Shape into a ball, and flatten the top a little.
5. Transfer the shaped dough to a non-stick baking tray.
Let the shaped dough proof in a closed oven for about 35~40 minutes.
6. Remove the tray of shaped dough from the oven. Start to preheat the oven to 180℃ for about 10 minutes.
Brush the shaped dough with beaten egg at the side without staining the top.
Dust some bread flour over the top. With the use of a coffee foam art stencil, you can create pattern over the bun. This step is optional. You can brush the entire bun with beaten egg.
7. Bake at middle rack, at 180℃ for 10 minutes, lower to 170℃ for about 10 minutes.
8. Remove the tray of hot buns from oven and rest over a cooling rack.
Let the buns cool down before enjoying 😋