Friday 18 November 2022

Coffee Milk Custard Bun (Yudane)


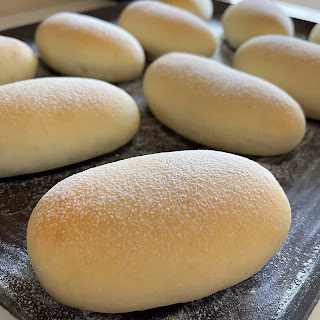
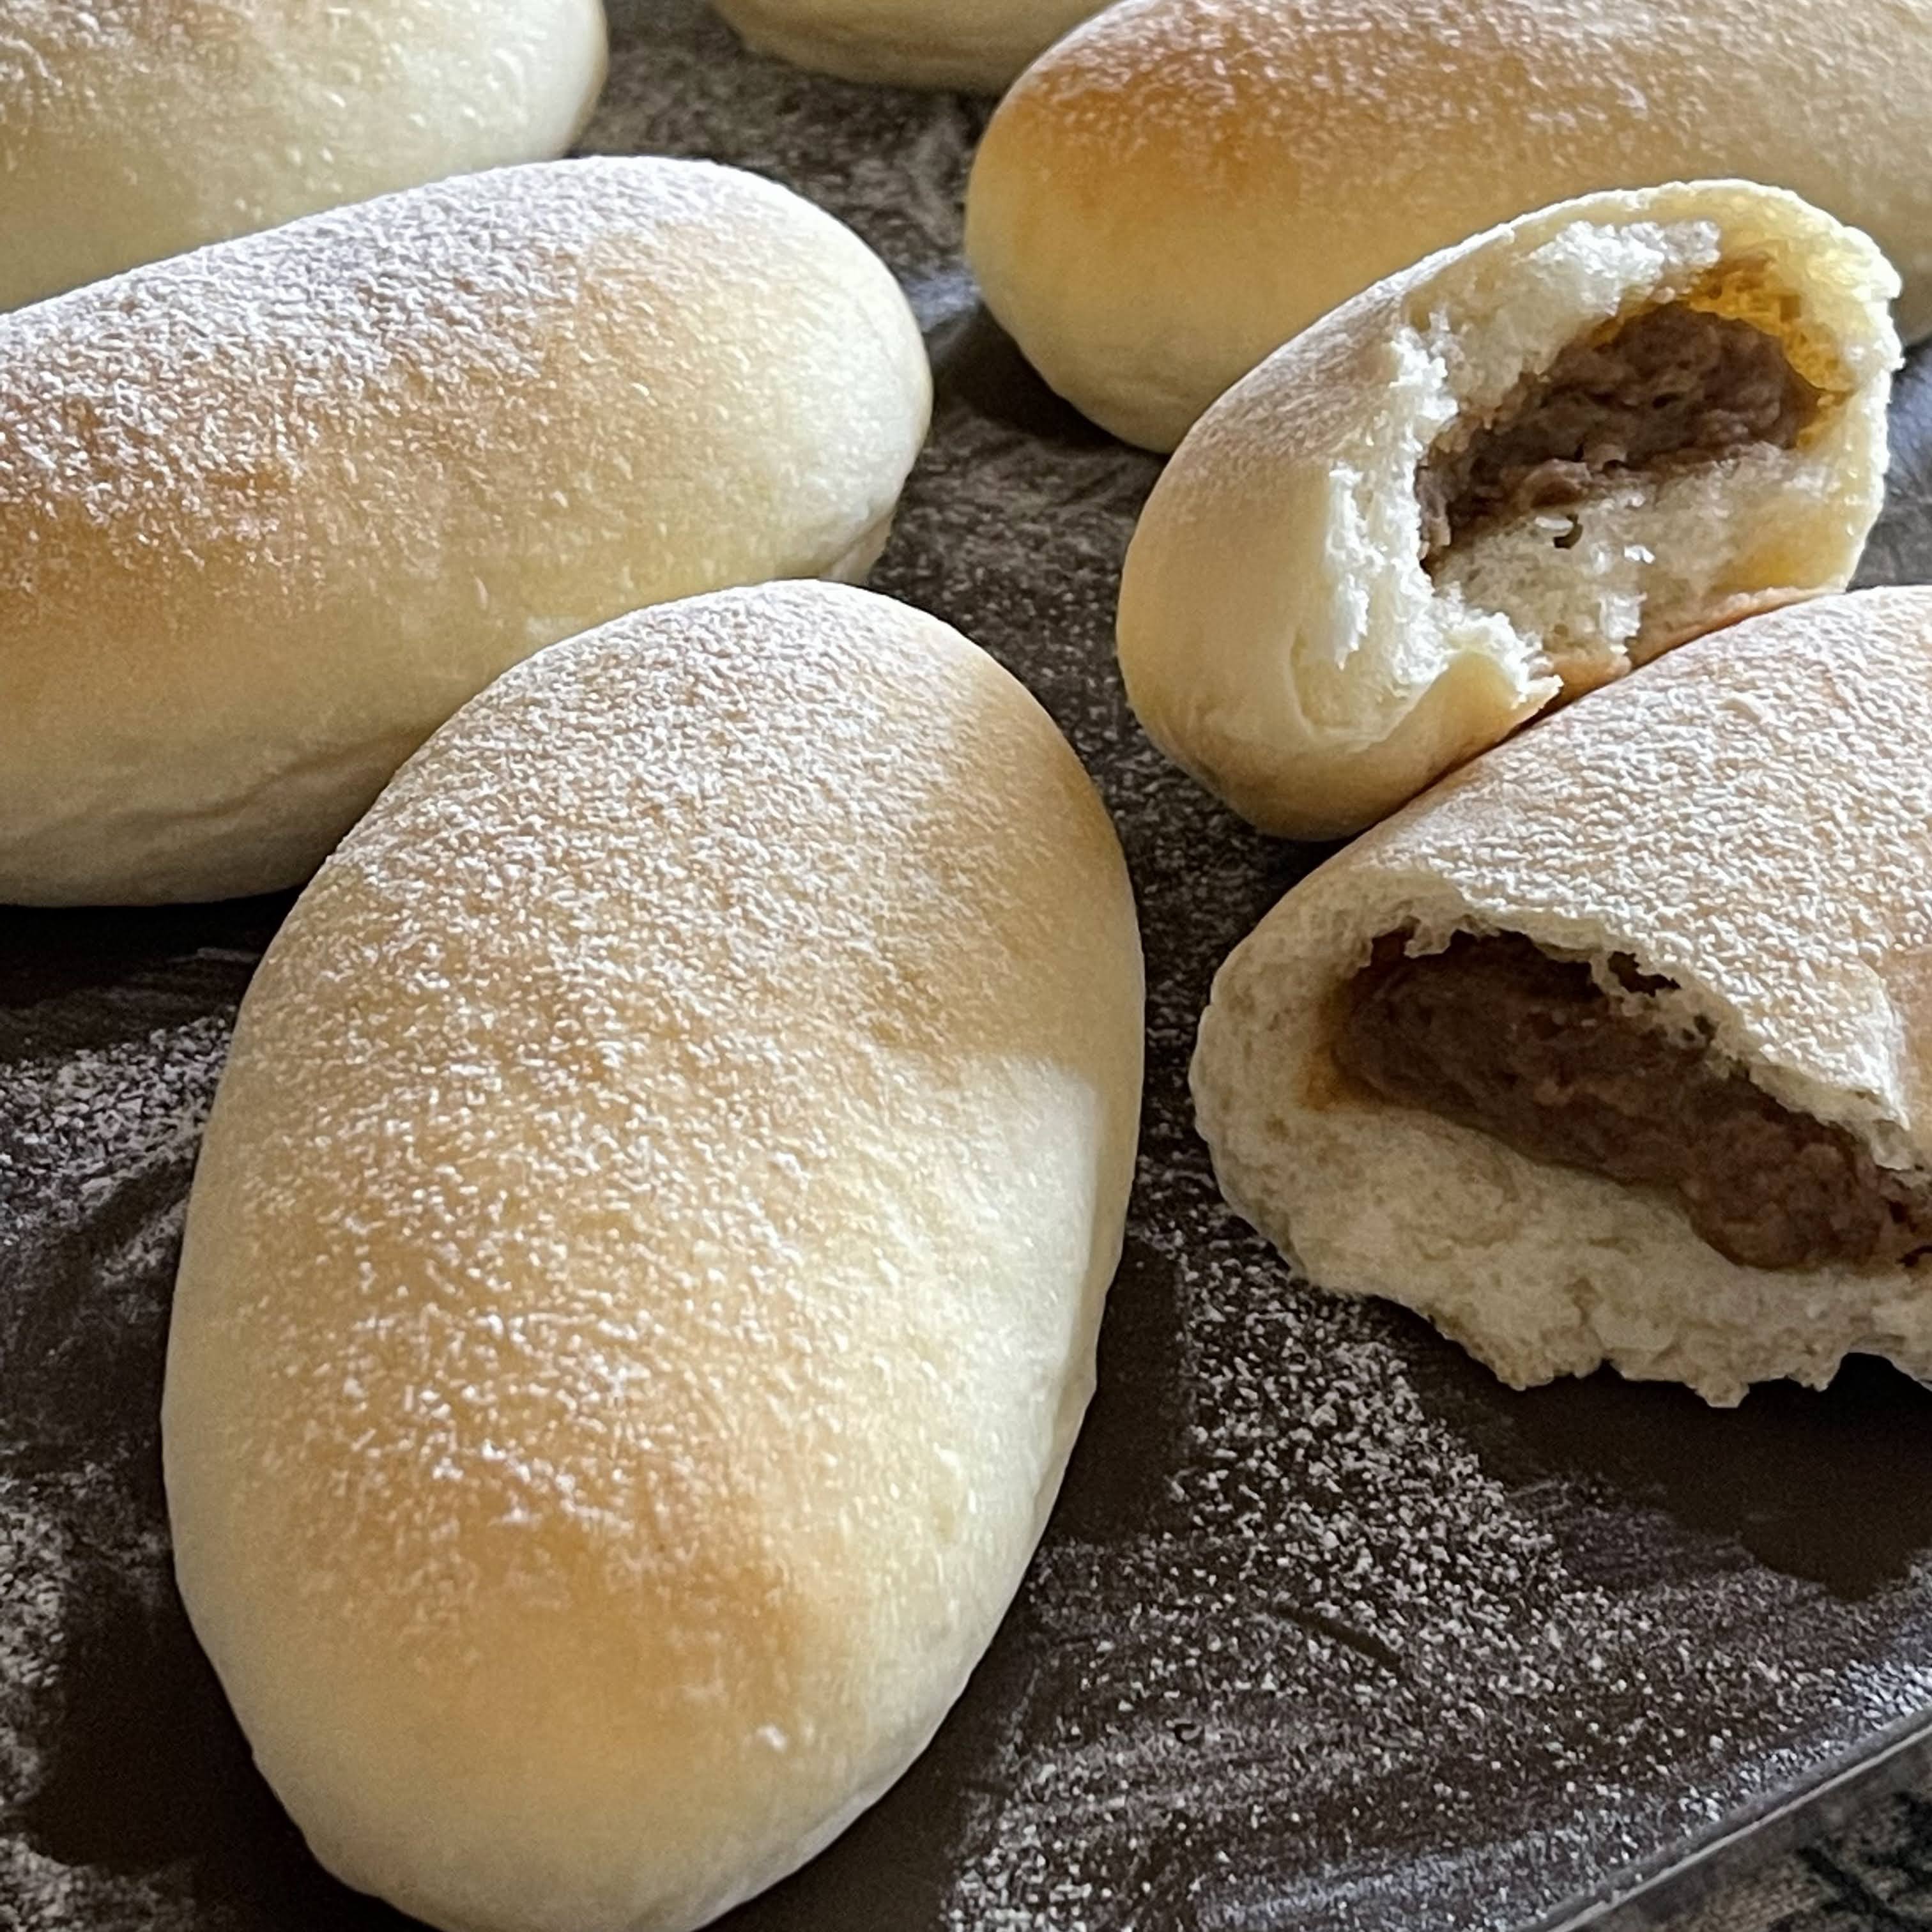
Sweet milk buns baked to a light tone to keep an airy soft texture and sweet aroma that paired well with the coffee milk custard filling. To me, it was like eating a coffee flavour marshmallow 😍😋

Video of the coffee milk custard buns 👇


Yield: 10 small buns
Raw dough weight: 563 g
1st proofing: overnight 
Thaw in room temperature for 80 minutes
2nd proofing: 40 minutes 
Baking temperature:  Preheat oven to 180℃, middle rack, bake at 180℃ for 5 minutes, reduce to 170℃ for 5 minutes, further reduce to 150℃ for 4 minutes, turn off oven and continue to bake for 3 minutes.

Ingredients
220g bread flour
20g superfine wholegrain flour
40g raw sugar
1g instant dry yeast
1/8 tsp vanillin powder, optional

50g natural yeast/sourdough, 100% hydration*
30g yudane dough^
115g low-fat milk, cold 
10g condensed milk 
15g whipping cream
10g beaten egg
30g cold water, to be added depending on dough condition

3g low sodium salt

20g unsalted butter, softened

Filling
Click above link to access to the custard recipe 👆

Toppings
Sprinkle some bread flour over the crust before baking.

* 50g natural yeast can be replaced by 25g of bread flour and 25g of water + 1/8 tsp instant dry yeast. Let the mixture stand for about 1 hour or more till it doubles in volume, before use. You can also keep the mixture in the fridge overnight and thaw it for 1 hour before use.

^ 30g yudane dough is prepared by combining 16g of bread flour with 16g of very hot or boiling water into a sticky dough. Wrap the yudane dough in cling wrap, and cool down before use. Use a silicone spatula to scrape out the sticky yudane dough from the cling wrap.


Directions:
1. Knead the dough following your preferred method. 
For my method, you can refer to my recipe Yudane Milk Bread. 

2. After kneading the dough to window pane, shape the dough into a ball, and keep in a plastic bag coated with a little cooking oil. Keep in a second plastic bag before keeping the dough in the fridge overnight.

3. In the next day, remove the outer plastic bag, invert the dough, and let the dough thaw at room temperature for about 70 to 80 minutes. Thaw the coffee custard just before shaping the buns.

4. Turn the dough onto a floured worktop, deflate the dough and divide the dough into 10 portions.  Shape into 10 balls, cover with a towel or plastic sheet, and let them rest for about 15 minutes.

5. Roll flat a dough, and scoop about 24 to 25g of coffee milk custard to the center of the flat dough. 

Wrap up the dough and shape into a cigar shape.

6. Arrange the shaped dough onto a non-stick baking tray. Keep the shaped dough in a cold oven for second proofing for about 40 minutes.

End of second proofing 👇


7. Start to preheat an oven to 180℃ for about 10 minutes. While waiting for the oven to get ready, dust some bread flour over the shaped dough.

8. Bake at 180℃ for 5 minutes, reduce to 170℃ for 5 minutes, further reduce to 150℃ for 4 minutes, turn off oven and continue to bake for 3 minutes, or till the buns are lightly tanned.

9. Let the buns cool down a while before serving. Enjoy 😋


Coffee Milk Custard


Coffee milk custard prepared for my bread baking. The custard texture was smooth and have an aromatic coffee-milk fragrance 😋 I purposedly cooked the custard to a drier state, so the custard would not ooze out from the buns during baking.


Ingredients

{A}
10g unsalted butter

{B}
4g instant coffee powder, 2 tsp
25g raw sugar
20g hot water

{C}
27g top flour
13g potato starch
50g low fat milk

{D}
60g whipping cream
20g condensed milk
1 egg, 57g 


Directions
1. Mix instant coffee powder with raw sugar in a small glass. Dissolve coffee powder and raw sugar mixture in hot water from B. Set it aside.


2. Mix C into a smooth paste.


3. Gradually add whipping cream, condensed milk and egg from D to C, one by one.


4. Mix coffee-sugar mixture from Step 1 to the mixture in Step 3.


5. Heat unsalted butter from A in a pot till bubbles. Pour mixture from Step 4 to the hot butter. Stir regularly till thickened.


6. Transfer the coffee milk custard to a clean container, and line a cling wrap sheet over the custard surface. Refrigerate after cooling down.


Saturday 12 November 2022

Steamed Sweet Rice Cake

A simple steamed rice cake that is easy to make, just need to wait ... You would enjoy the nice alcohol aroma at the end of the 3-hour proofing. I used a small glass container to steam the rice cake which made it split in the middle due to thickness. Maybe I would use a smaller container to give a thinner cake next time 😉

Raw cane sugar was used instead of the usual fine white sugar, to I named it as 黄糖糕 instead of its common name 白糖糕 😉


Ingredients

{A}
65g rice flour
5g tapioca starch/rice flour
60g water

{B}
100g water
45g raw cane sugar/fine sugar
1~2 blades pandan leaf

{C}
1/4 tsp instant dry yeast
1 tsp water, 5g

{D}
1/2 tsp rice bran oil/mild flavour vegetable oil


Directions

1. Mix ingredient {A} together into a smooth paste. Set it aside.


2. Heat ingredient {B} in a heat-resistant bowl till it boils.


3. Pour the hot ingredient {B} to mix with ingredient {A} into a smooth batter. Set it aside to cool down to about 35℃. It would take about 45 to 60 minutes to cool down in room temperature.


4. While waiting for the batter to cool down, mix ingredient {C}. Just sprinkle the dry yeasts over the water and let them slowly soak up the water. The yeast water would become foamy after a while.


5. When the batter has cooled to around 35℃, mix ingredient {C} to it.


Let the batter proof for about 3 hours or till small bubbles can be seen on the surface. You would be able to smell a nice alcohol aroma.


6. Stir ingredient {D} to the batter. And start to heat up the rice cooker using "Steam' function.

7. Pour the batter to a heat-resistant glass container (14x10x5 cm) lightly coated with rice bran oil.

8. Stand the container in the steamer tray, and start the "Steam" function of a rice cooker. The cake would cook in about 15 to 20 minutes.

End of steaming 👇


9. Remove the steamed rice cake from the rice cooker, and cool over a rack.

Cut the rice cake using a plastic knife after it has completely cool down. Enjoy 😋