Wednesday 22 April 2020

Steamed Sweet Rice Cake 白糖糕


A popular steamed rice cake with a honeycomb-liked structure, and infused with faint alcohol aroma from a short fermentation of the rice batter. Maybe my steamer's steam was too strong, and the cake was too thick, the honeycomb-liked structure was a little messy. However, the springy taste of the cake was wonderful, and it was neither sour, nor too sweet 😍

Servings: two cakes in two 14x7x2.5cm rectangular mould

Ingredients

70g rice flour
60g water

100g water
45g fine sugar
1 blade of pandan leaf, optional

1/4 tsp instant dry yeast
1 tsp water

1/2 tsp rice bran oil/mild flavour vegetable oil

Directions

1. Mix rice flour with 60g of water into a smooth paste in a heat resistant mixing bowl. Set aside.

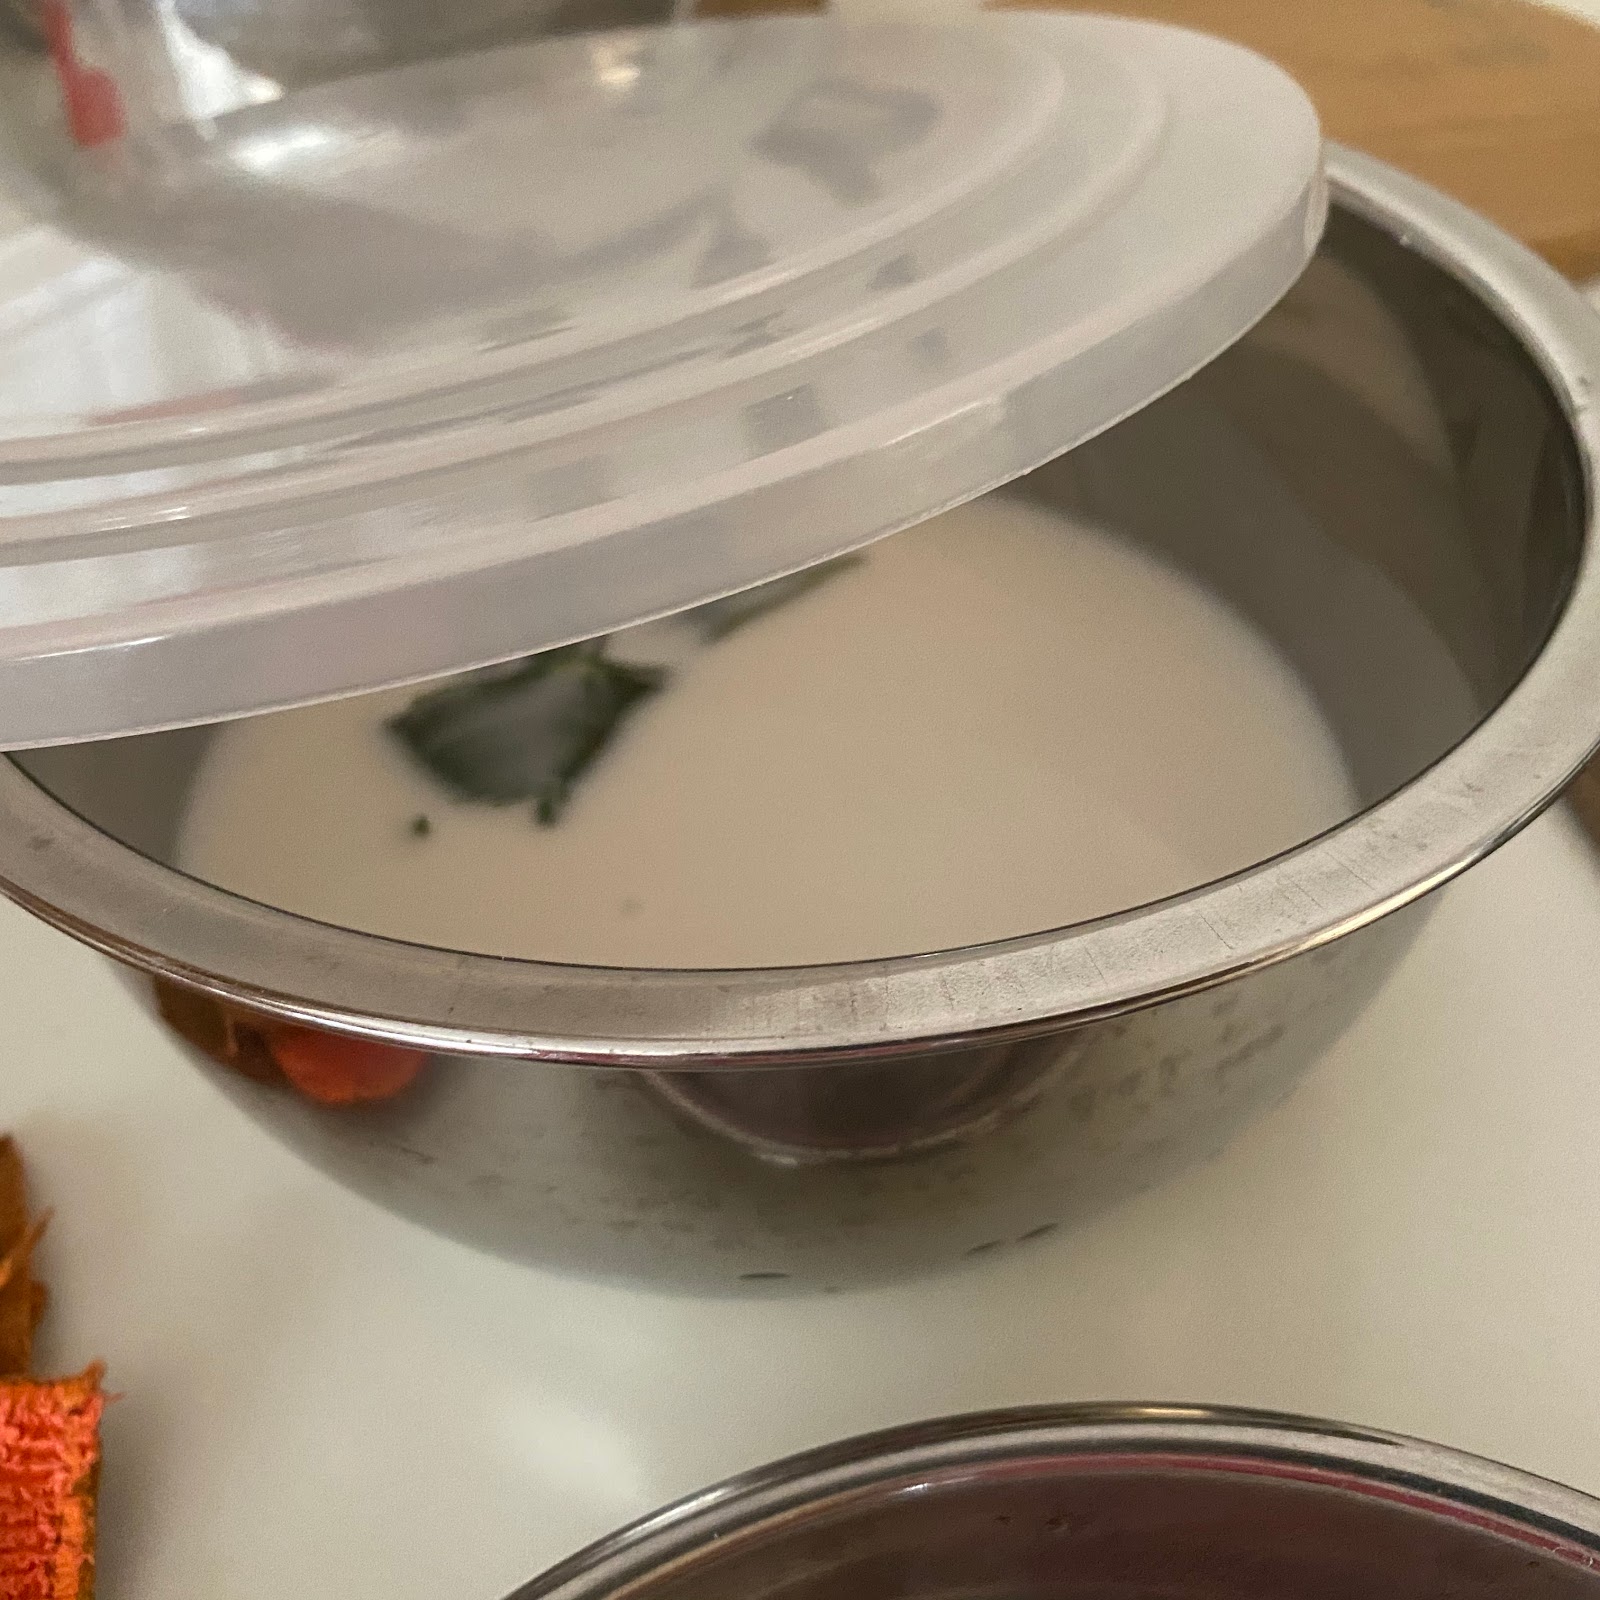
2. Boil 100g water with 45g fine sugar and pandan leaf,  till the sugar dissolves.

3. Pour the hot pandan-syrup from Step 2 into the rice paste in Step 1. Stir to mix well.

4. Transfer the bowl to a water bath heat over low temperature. Stir regularly to prevent the rice paste from forming lump at the base of the bowl.

When rice paste started to form lumps, remove the mixture from the heat.

Continue to stir till all the lumps disappear. The rice batter should be smooth and slightly thickened. Cover the rice batter partially, and allow it to cool down to below 35℃.

5. While waiting for the rice batter to cool down, activate the yeast by sprinkling the instant dry yeast over 1 tsp of water. Need not stir the mixture. Let it stands for about 30 minutes, or till frothy.

6. When the rice batter has cooled down to below 35℃, stir in the yeast mixture from Step 5.


Cover and let it ferment in room temperature for about 150 to 180 minutes, or till you can smell a nice alcohol aroma.

The rice batter will be filled with air bubbles at the end of the fermentation.


7. Mix about 1/2 tsp of mild flavour vegetable oil to the rice batter.

8. Start to heat up a steamer. Pour the batter into two moulds coated with a thin layer of vegetable oil.

Steam for about 15 minutes, off the power, and let the cakes stand in the steamer for another 5 minutes.


 Use a cake tester to check the doneness of the cakes.

9. Allow the cakes to cool down over a wire rack.

Remove from the moulds and cut into your desired shape and size 😋


Monday 20 April 2020

Sugar Crust Pandan Row Bun


Sometimes, I encountered difficulty in namely my bread appropriately. The term, row bun, is a literal translation from the Chinese term 排包. It means buns arranged in row form. And usually the buns are shaped in long rolls.
The pandan flavoured milk buns were topped with icing sugar crust over a thin wash of melted butter before baking. The aroma of the bread was wonderful 😋

Yield: 8 long buns
Equipment: Good hand mixer fitted with dough hooks
Raw dough weight: 398g
Temperature: Preheated oven at 200℃ for 5 minutes, 180℃ for 7 minutes, and 160℃ for 2~3 minutes, at lower rack.

Ingredients

200g unbleached all purpose flour
30g raw sugar
7g milk powder
2g instant dry yeast
2g salt, to be added later

30g fresh pandan paste *
20g beaten egg
30g natural yeast/sourdough, 100% hydration ^
20g rice bran oil/mild flavour vegetable oil
50+10g cold water, 10g of water to be added depending on dough moisture

* Blend 20g fresh pandan leaves with 50g water, and collect 30g fresh pandan paste without straining.

^ natural yeast can be replaced by 15g each of all purpose flour and water + 1/8 tsp instant yeast.

Toppings
4g butter, melted
about 1 tbsp icing sugar

Directions

1. Knead bread dough to window pane according to your preferred method.
This is my method 😃
Mix all the ingredients, except the salt, together in a mixing bowl, stir in one direction, till the ingredients became a ball.


Cover with a lid and let it stands for about 15 minutes.

After the 15-minutes rest, use a hand mixer fitted with dough hooks, to knead the dough till it becomes smoother *(about 2 minutes at Speed 1). Add in the salt.

Continue to knead at Speed 1 till the dough looks smoother, about 3 to 5 minutes.

Remove the hand mixer, and do about 30 sets of slap-and-folds.
You may like to take a look at the video for the steps, click the link below 😉
Bread dough kneading using a hand mixer

Shape the dough into a ball, cover with a lid, and let it rest for about 60 minutes, or till double in size. Go to Step 2.

OR

Keep the dough in a lightly oiled plastic bag, tie a loose knot, and keep in the fridge for about 2 hours.This allows the dough to undergo autolysis to compensate for any under-kneading done earlier. This step is optional.


After the refrigeration, invert the dough with the bag, and let it thaw for about 50 to 60 minutes.

2. Invert the dough out onto a floured worktop, deflate the dough, and divide into 8 portions, about 50g each.

Shape into a ball,

and place in a plate with lid on. Let the dough rest for about 15 minutes.

While waiting for the dough, melt 4g of butter for use later.

3. Roll flat a dough to about 5mm thick.

Flip over, and roll up from the longer side into a cigar shape.

Pinch to seal.

Place the shaped dough over a baking tray lined with non-stick baking sheet, ensure good spacing between dough.

4. Brush a thin coat of melted butter over the dough.

Let the dough proof in a cold oven for about 45 to 50 minutes, or till the dough double in size.

5. Remove the dough from the oven. Start to preheat the oven to 200℃. Dust a thick coat of icing sugar over the dough.

Bake at lower rack of a preheated oven at 200℃ for 5 minutes, lower to 180℃ for about 7 minutes, and 160℃ for about 2~3 minutes, or till golden.

6. Remove from oven and cool down a while before enjoying 😋