Besides using the Singapore Black Pepper Crab Spice to prepare the chicken roll, I also used it in my first Hasselback potatoes attempt. Soft, nice and flavourful, too 😋

 |
| https://www.loveafare.com.sg/singapore-black-pepper-crab-paste |
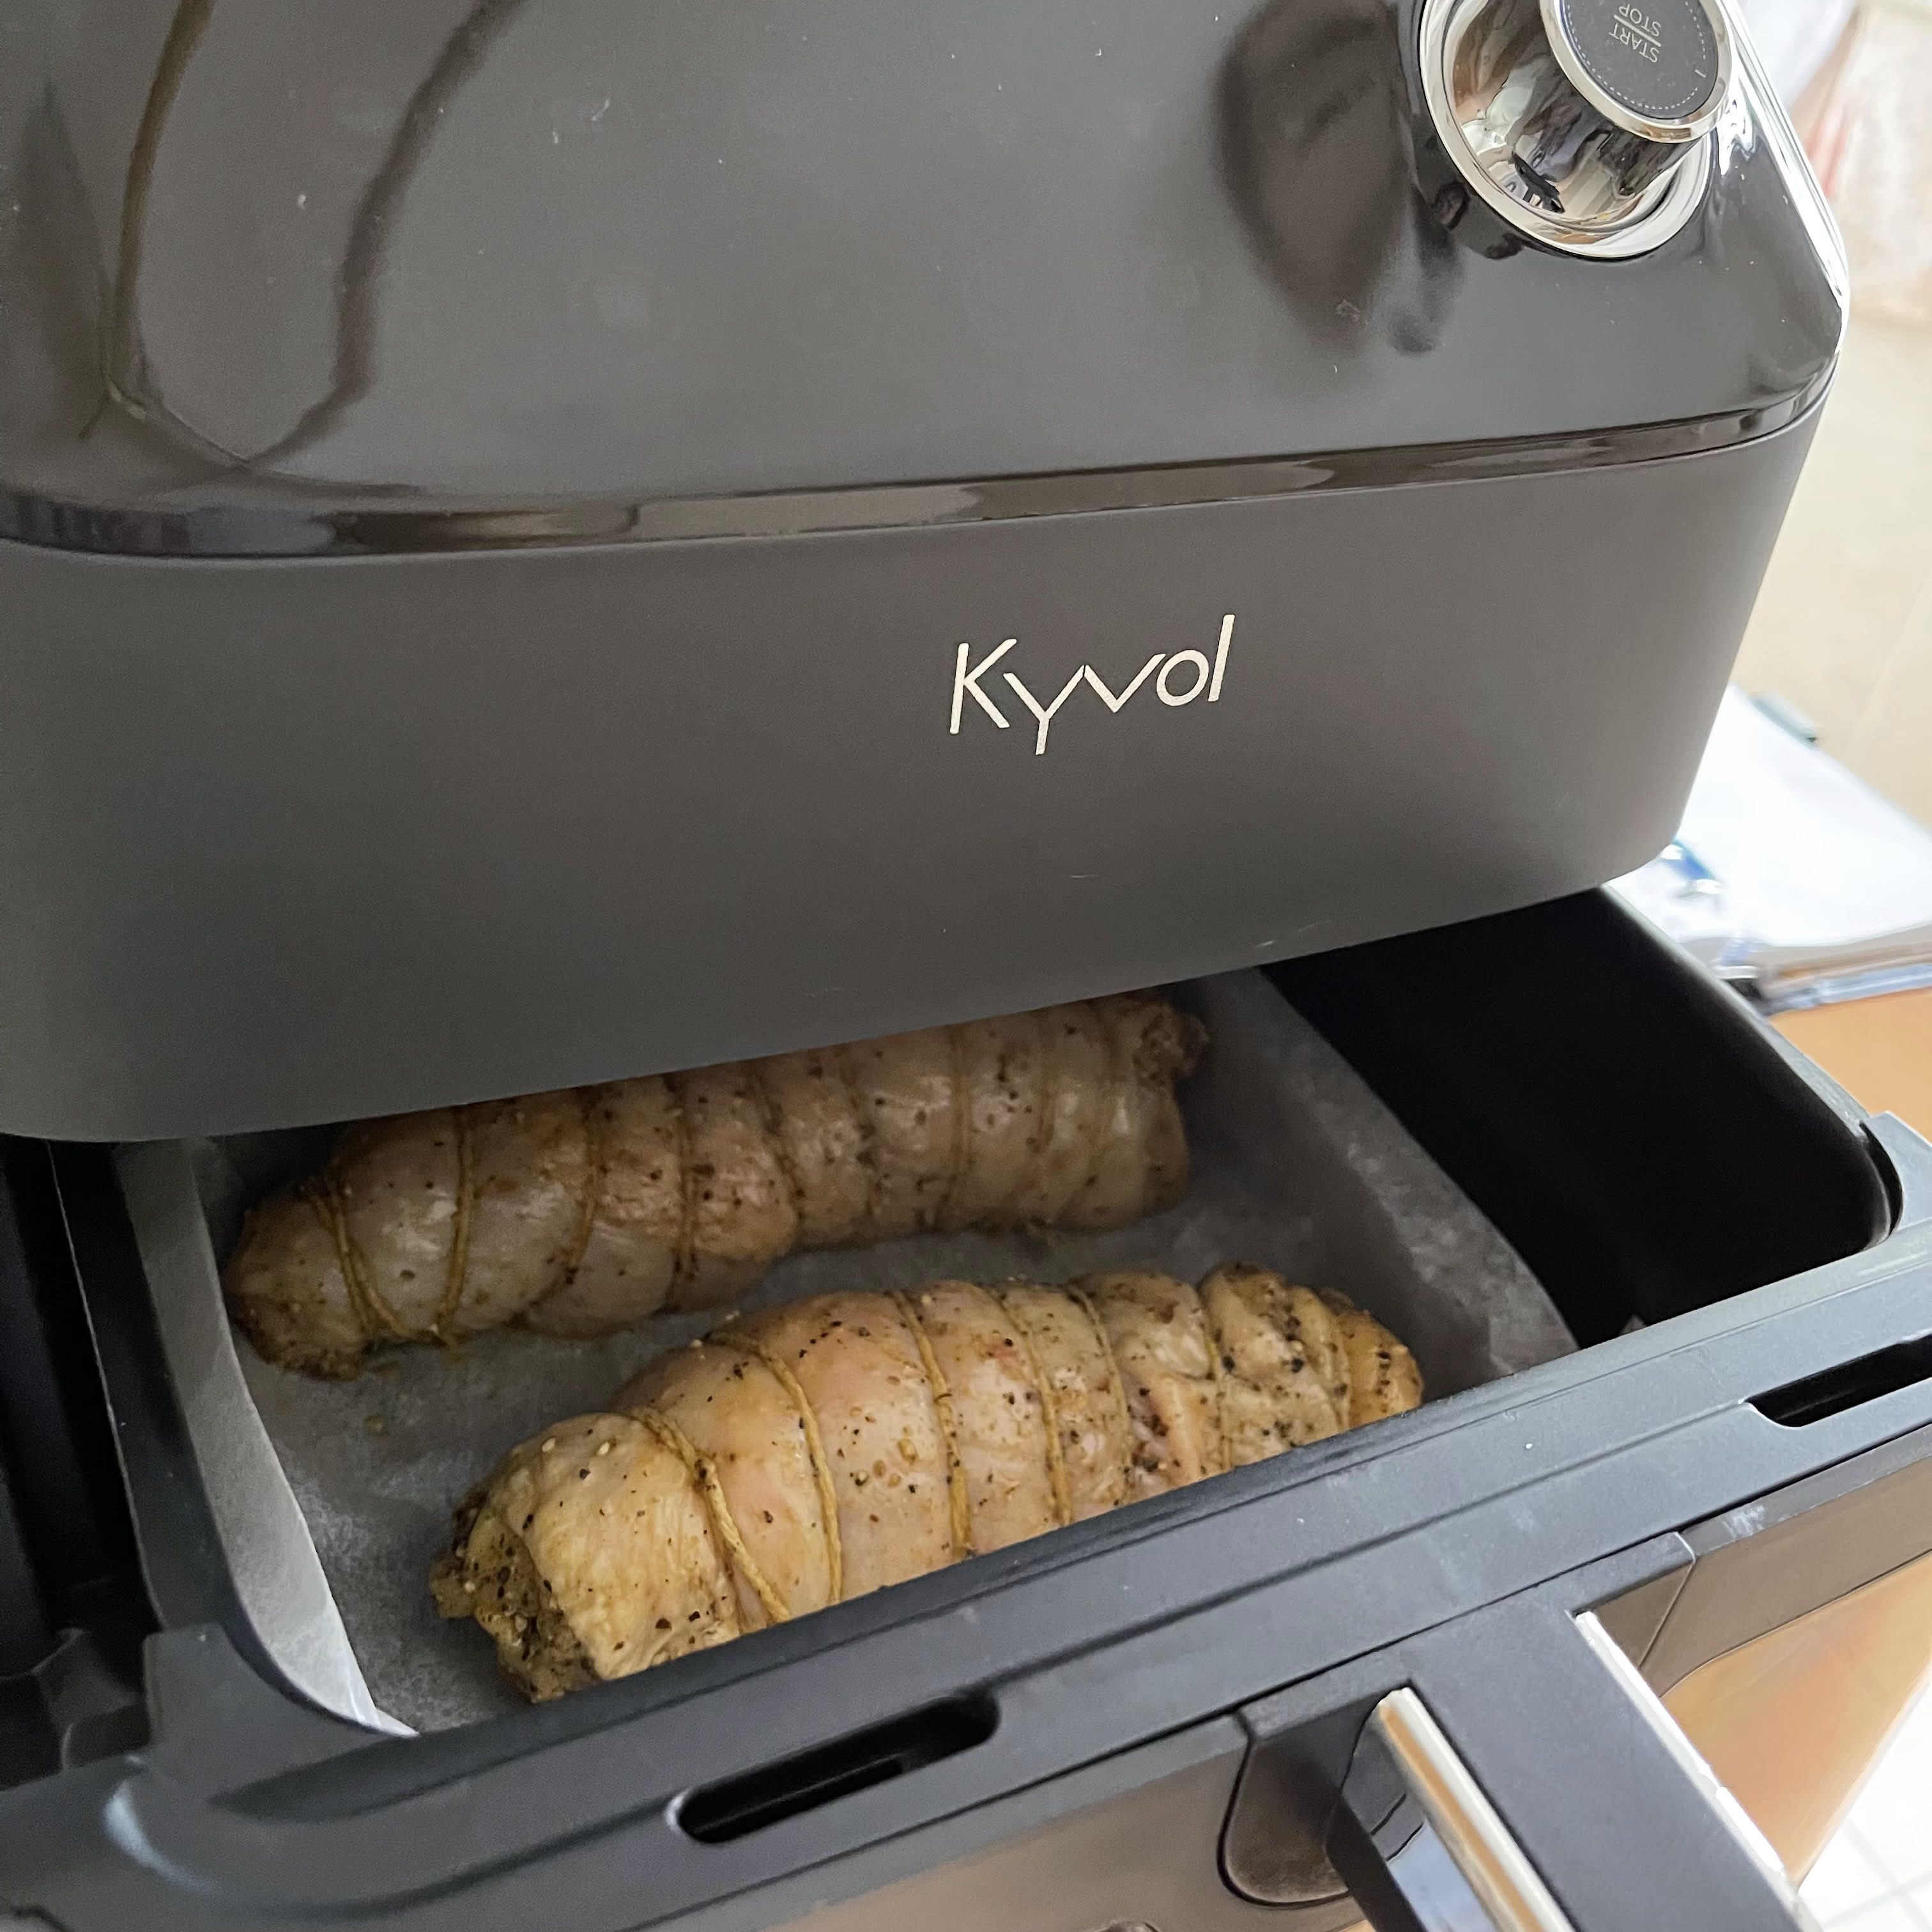
Equipment: Kyvol Air Fryer AF600

Black Pepper Boneless Chicken Roll
Ingredients
2 thawed frozen boneless chicken legs, 550~600g in total
Marinating ingredients
25g Greek yogurt/milk (to tenderize the meat)
15g Singapore Black Pepper Crab Spice, 4 tsp
1g low-sodium salt, 1/4 tsp
1g garlic powder
1g turmeric powder
8g dark brown sugar
3g light soya sauce
7g rice bran oil/canola oil
Directions
1. Rinse boneless chicken legs and pat dry. Marinate with 25g Greek yogurt for about 30 to 60 minutes in the fridge.
While waiting, mix the remaining marinating ingredients together into a paste.

Seal with a cling wrap and let the chicken meat stand for about 2 to 3 hours, or overnight in the fridge.

3. Cut two 150cm long cotton threads, wrap and tie the chicken meat into two rolls. Keep the skin side facing out.


4. Preheat an air fryer to 180℃ for about 3 to 5 minutes. Line the air fryer basket with parchment paper for convenient cleaning later.


Place the rolled meat into the lined air fryer basket, and close the basket.

5. Set the timer as 15 minutes, and temperature as 180℃, and start to cooking process.
After about 5 minutes, when the skin starts to brown, open the AF basket and flip the meat over to cook the undersides. Continue to cook for about 3 to 5 minutes. When the skin starts to brown, open the AF basket and flip the meat again. Reduce the temperature to 160℃ and continue to cook for about 5 minutes.

In the last 1 minute, brush the chicken meat with the remaining marinade and the oil collected over the parchment paper.

When the chicken skin appears crispy, stop the air fryer.

6. Remove the roasted chicken legs from the AF basket.


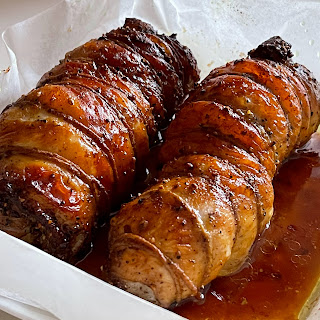

Cut the meat into serving sizes after cooling down 😋


Hasselback Potato
Ingredients
4 mini Brastagi/Granola potatoes, 60-~70g each
10g unsalted butter
10g rice bran oil
1 tsp Singapore Black Pepper Crab Spice
1/8 tsp low-sodium salt
1/8 tsp garlic powder
dash of turmeric powder
Directions
1. Brush the potatoes with a soft bristle brush. Slit the potatoes into thin slices with the bottom 1/3 height intact. Put a face-down spoon in front of the potato when cutting, stop the slicing when the knife touches the back of the spoon.
Soak the cut potatoes in water for about 30 minutes. This helps to remove some of the starch so the slices would not stick together during cooking.

Close the lid, and start the rice cooking process. Stop steaming after 20 minutes. This helps to partially cook the potatoes. Let the potatoes cool down till they are not too hot to be handled.

While the potatoes are cooling down, warm the butter and rice bran oil till melted. Add the rest of the ingredients to the warm oil.

3. Pour oil mixture into the potatoes, opening up and rubbing in between the slices.


4. Preheat an air fryer to 180℃ for about 3 to 5 minutes. Line the air fryer basket with parchment paper for convenient cleaning later. 


Place the potatoes into the lined air fryer basket, and close the basket.

5. Set the timer as 15 minutes, and temperature as 180℃, and start to cooking process.
After about 5 minutes, when the skin starts to brown, open the AF basket and flip the potatoes over to cook the undersides. Continue to cook for about 3 to 5 minutes. When the skin starts to brown, open the AF basket and flip the potato again, and continue to cook for about 3 to 5 minutes, or to your preferred brownness.


Serve the Hasselback potatoes with the cut boneless chicken rolls after drizzling with lime juice. Enjoy 😋