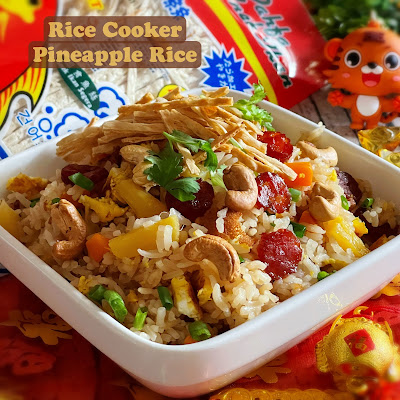
The golden cashew nuts, which symbolized golden ingots, are being sprinkled over the golden pot of prosperity rice.
Have a golden pot of rice at the beginning of a Lunar New Year, and blessed with continuous good luck and fortune 💰💰💰🎈🎉🎇🎆🀅🀅🀅

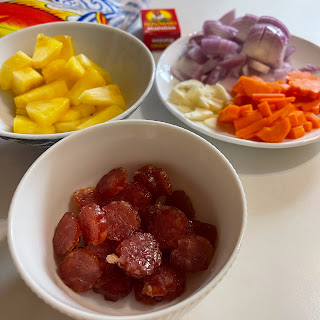
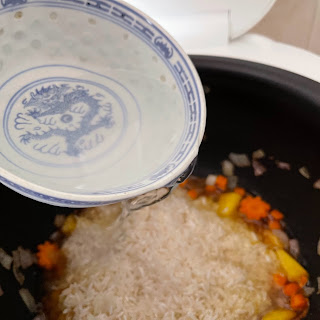
Ingredients
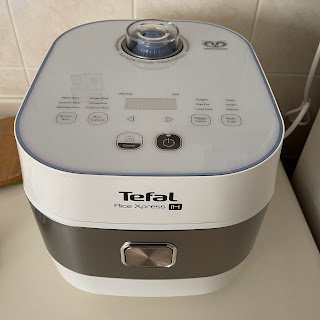
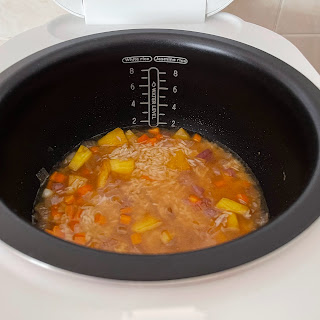
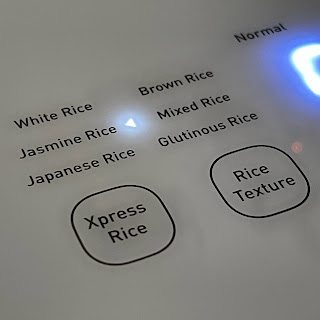
Rice Cooker: IH Rice Cooker with soup function
Servings: about 2 to 3 persons
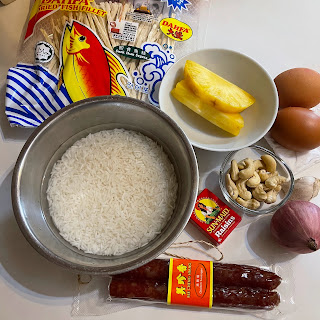
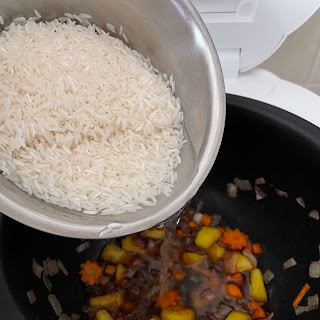
230g Thai long grain rice
270g water to soak rice
90g water, to be added depending on your preference of the rice softness
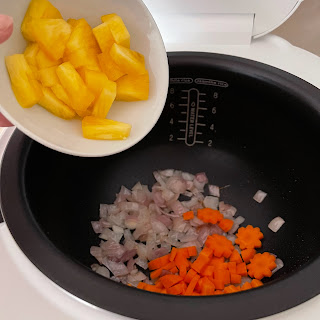
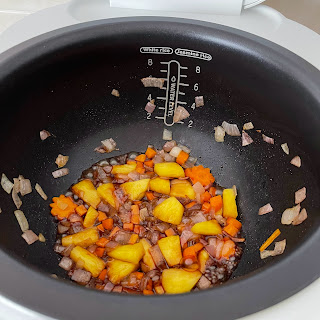
80g honey pineapple
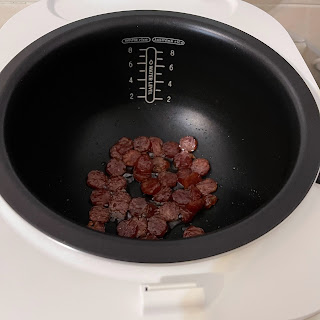
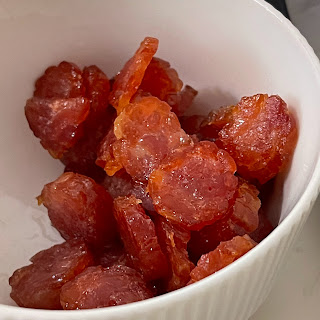
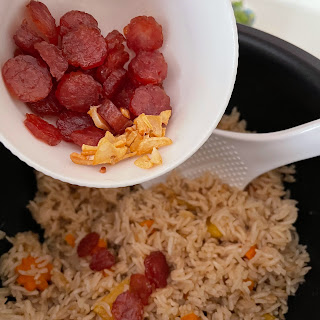
50g chinese chicken sausage
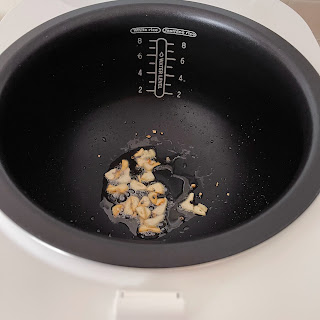
7g garlic, chopped
60g onion, cut coarsely
35g carrot, diced
2 eggs
15g raisins
30g cashew nuts
15g Dahfa dried fish fillet, strips
2 tbsp of chopped spring onion and coriander leaves
Condiments
10g dark brown sugar/raw sugar
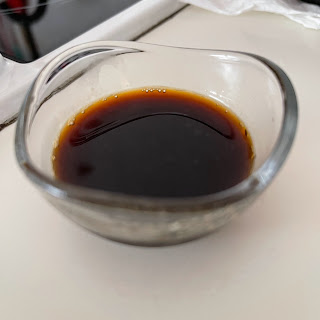
15g light soy sauce
5g rice wine, 花雕酒
1g mushroom/chicken seasoning powder
some pepper powder
Directions
1. Soak rice with 270g of water for about 30 to 60 minutes.
Chinese chicken sausage - remove the skin, and cut into 2 to 3 mm thick slices
Garlic - sliced
Onion - cut coarsely
Carrot - diced or cut into flower shape
Pineapple - remove the core, and cut into triangular chunks


Rinse the raw cashew nuts before drying up in paper kitchen towel. Roast the cashew nuts in a preheated oven at 150℃ for about 10 minutes. Toss the cashew nuts every few minutes to roast them evenly.
Toast the Dahfa dried fish fillet strips in a warm oven at 100℃ for about 10 minutes, or till crispy and fragrant. Keep the dried fish fillet strips in the oven till serving.

12. Add about 1 tbsp of milk, 1/2 tsp of low-salt fish sauce, 1/4 tsp Maggie Seasoning sauce, and some pepper powder to 2 beaten eggs. Fried the egg batter into a golden crispy omelette. Set aside.

13. Get all the topping ingredients ready before the rice is cooked.

14. After the rice cooker has beeped or the rice is cooked, turn off the rice cooker, and let the rice simmer for about 20 to 30 minutes to let the rice grains absorb the moisture.

15. After the 20 to 30 minutes simmering, loosen the rice with a spatula. Shake some pepper powder over the hot rice and mix well.

Add in the fragrant sausage slice, garlic crisps,
and raisins.

Break the omellete into smaller pieces and mix into the rice.

Finally, add in the spring onion and coriander leaves, and give the rice a thorough mixing.

The pineapple rice is about done 😉


16. Scoop the pineapple rice to serving bowls, and top with roasted cashew nuts and Dahfa dried fish fillet strips. Enjoy 😋😋