When the weather becomes a bit colder, I would crave for the warm chocolate buns. Inspired by the almond glaze applied to the panettones, which many of my friends were baking recently, I just tried it on my chocolate buns. Chocolaty buns with sweet cocoa crust, and sticky sweet chocolate filling 😍😋
Yield: 10 small buns
Raw dough weight: 530g
1st proofing: overnight in fridge
Thaw for 80 minutes before shaping
2nd proofing: 25 minutes
Baking temperature: Preheat oven to 190℃, middle rack, bake at 180℃ for 11 minutes, lower to 170℃ for 5 minutes, finally turn off oven and continue to bake for 2 minutes, or till crust turns lightly golden brown.
Ingredients
205g bread flour
15g superfine wholegrain flour
5g cocoa powder
30g raw sugar
1g instant dry yeast
50g natural yeast/sourdough, 100% hydration*
30g yudane dough^
120g sweet chocolate milk, cold
20g whipping cream
25g cold water, to be added depending on dough condition
3g low sodium salt
20g unsalted butter
Filling
35~40g chocolate chips for baking
Almond Cocoa Glaze (72g)
40g raw sugar
5g chopped almond
3g corn starch
3g rice flour/corn starch
2g almond flour
2g cocoa powder
5g spreadable butter/rice bran oil
15g egg white
Topping
4g sugar grains for baking

* 50g natural yeast can be replaced by 25g each of bread flour and water + 1/8 tsp instant dry yeast. Let the mixture stand for about 1 hour or more till it doubles in volume, before use. You can also keep the mixture in the fridge overnight and thaw it for 1 hour before use.
^ 30g yudane dough is prepared by combining 16g of bread flour with 16g of very hot or boiling water into a sticky dough. Wrap the yudane dough in cling wrap, and cool down before use. Use a silicone spatula to scrape out the sticky yudane dough from the cling wrap.
Directions:
1. Knead the dough following your preferred method.
For my method, you can refer to my recipe
Yudane Milk Bread. After kneading the dough to window pane stage,
2. After kneading the chocolate milk dough to window pane, shape the dough into a ball, and keep in a plastic bag coated with a little cooking oil. Keep the dough in the fridge overnight.
3. In the next day, remove the outer plastic bag, and let the dough thaw at room temperature for about 90 to 100 minutes.
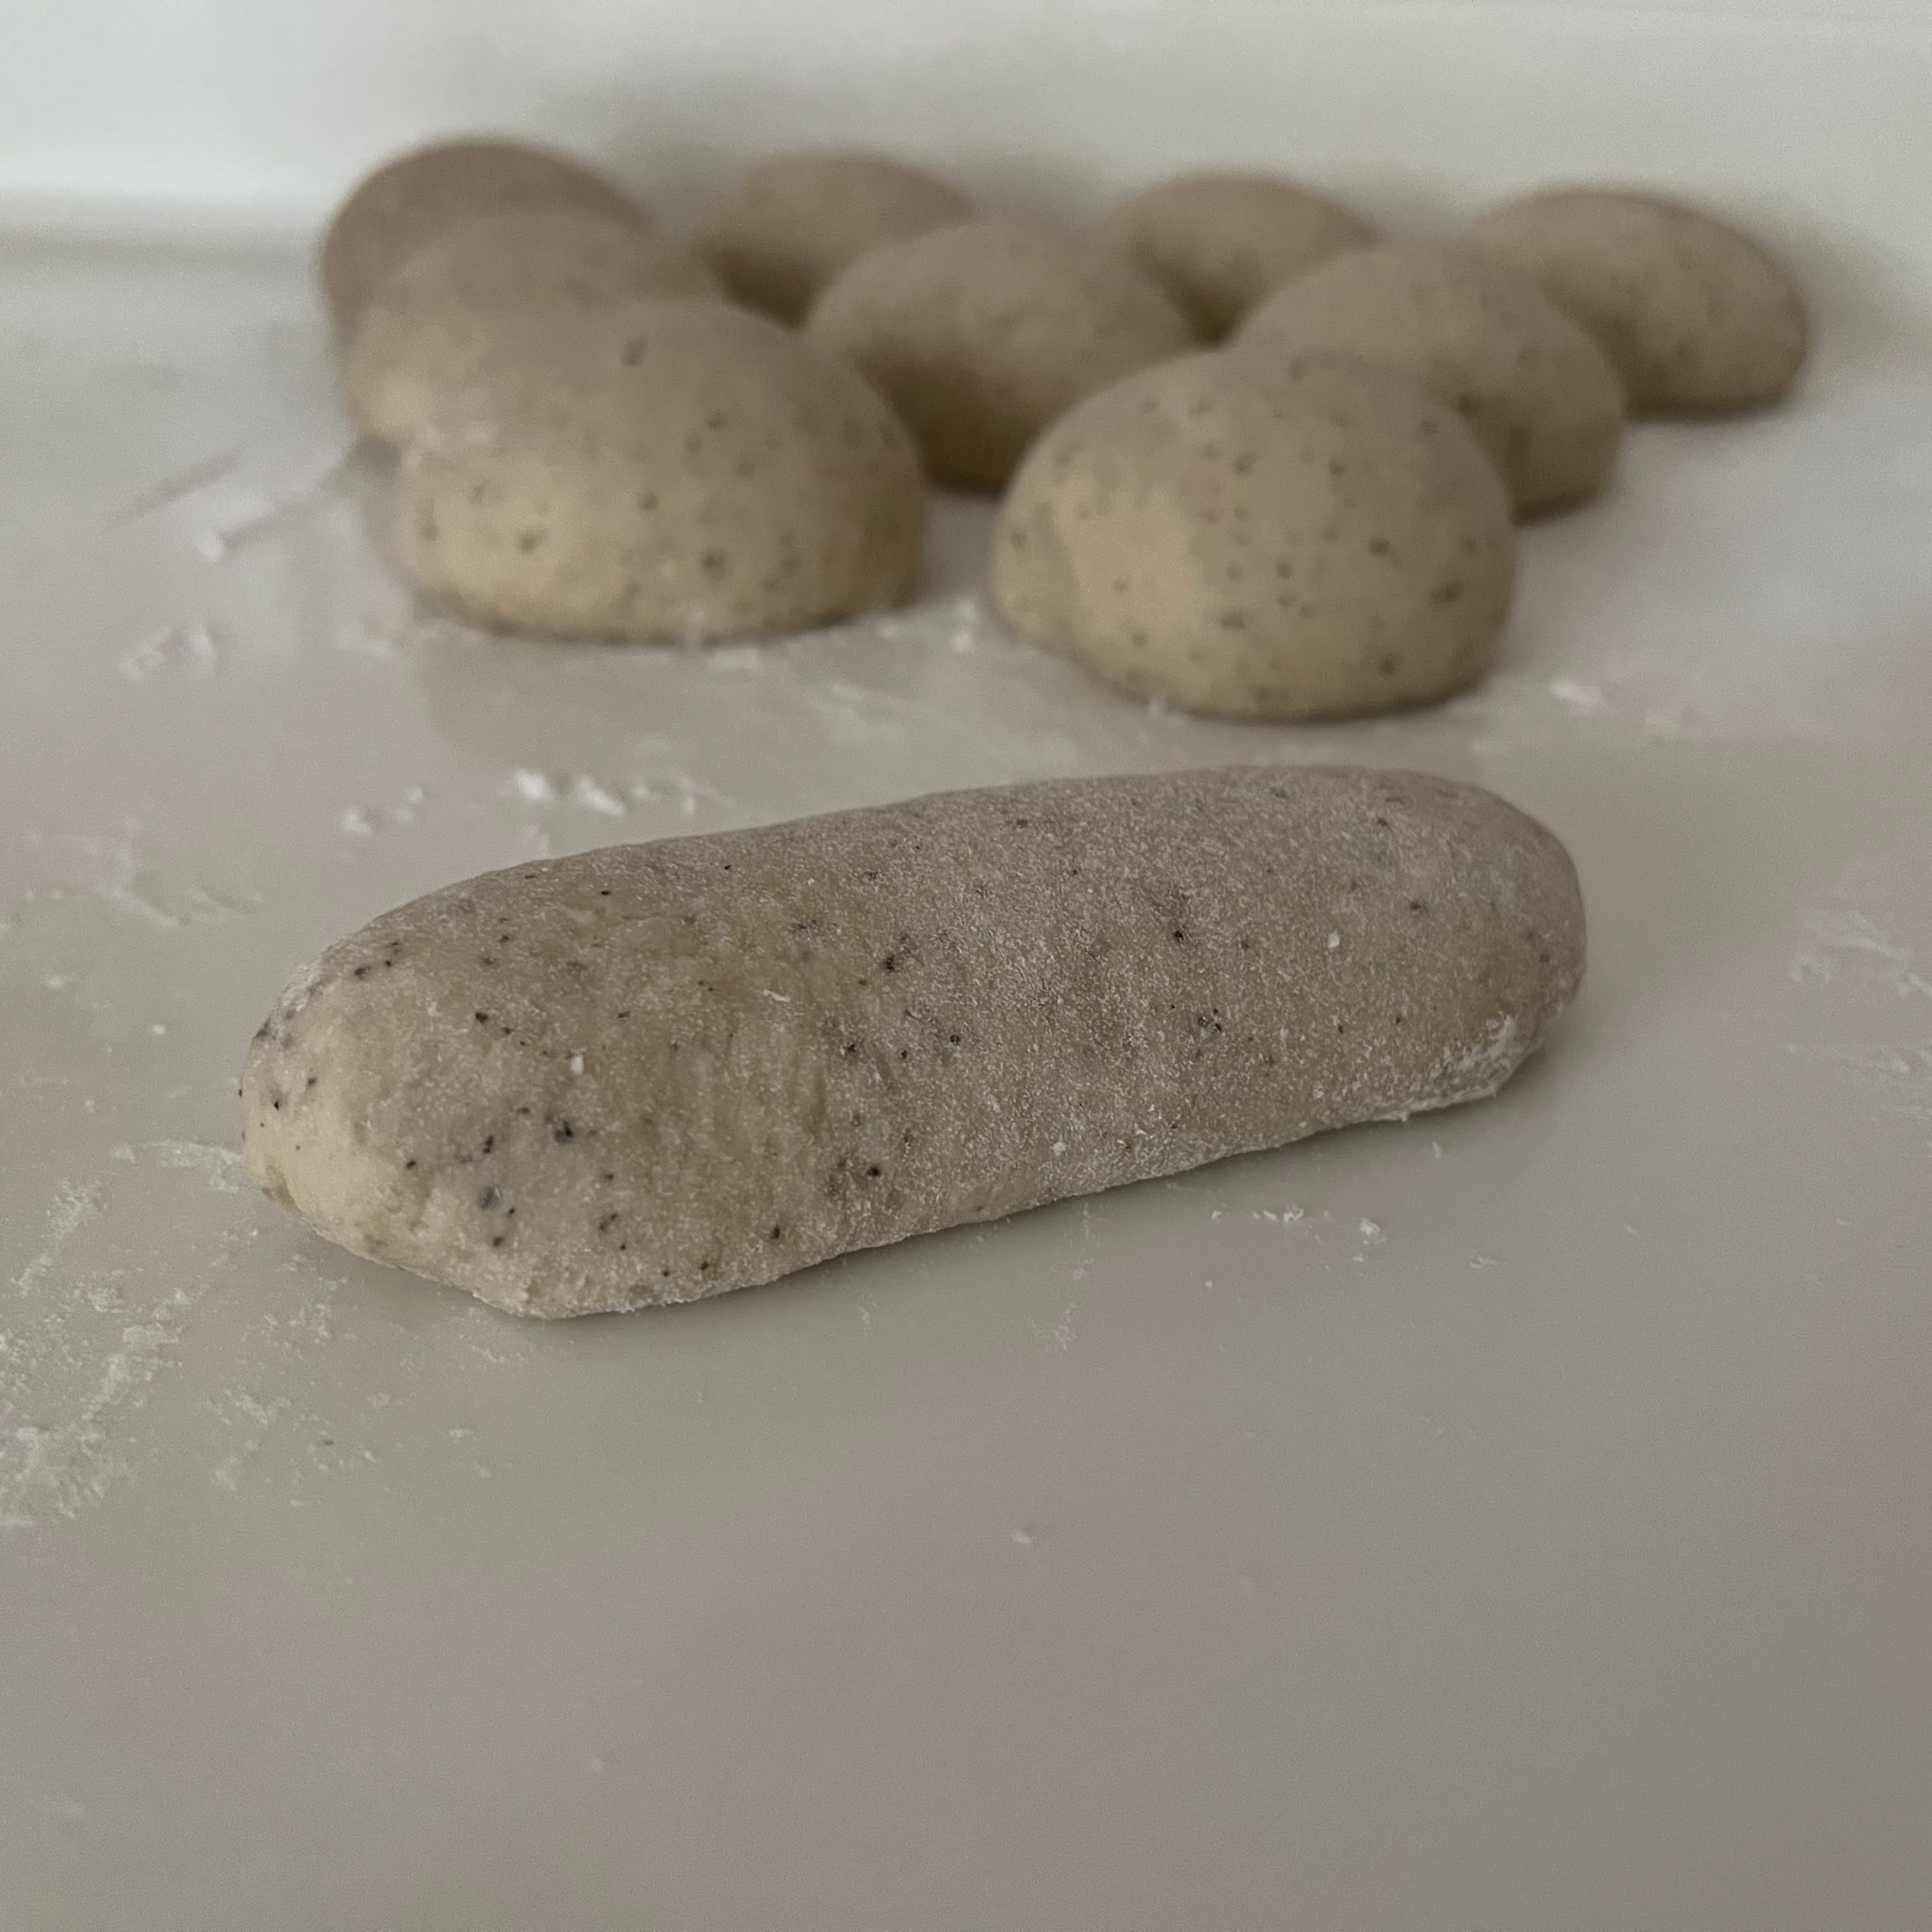
4. Divide the dough into 10 portions, shape into balls and let them rest for about 15 minutes.
5. Roll out a dough into a flat dough with the edge thinner than the center. Add about 3 to 4g of chocolate chips to the center.
Wrap up the dough, and shape into a ball. Arrange the shaped dough on a baking tray.
Let the shaped dough rest in a cold oven for about 25 minutes.
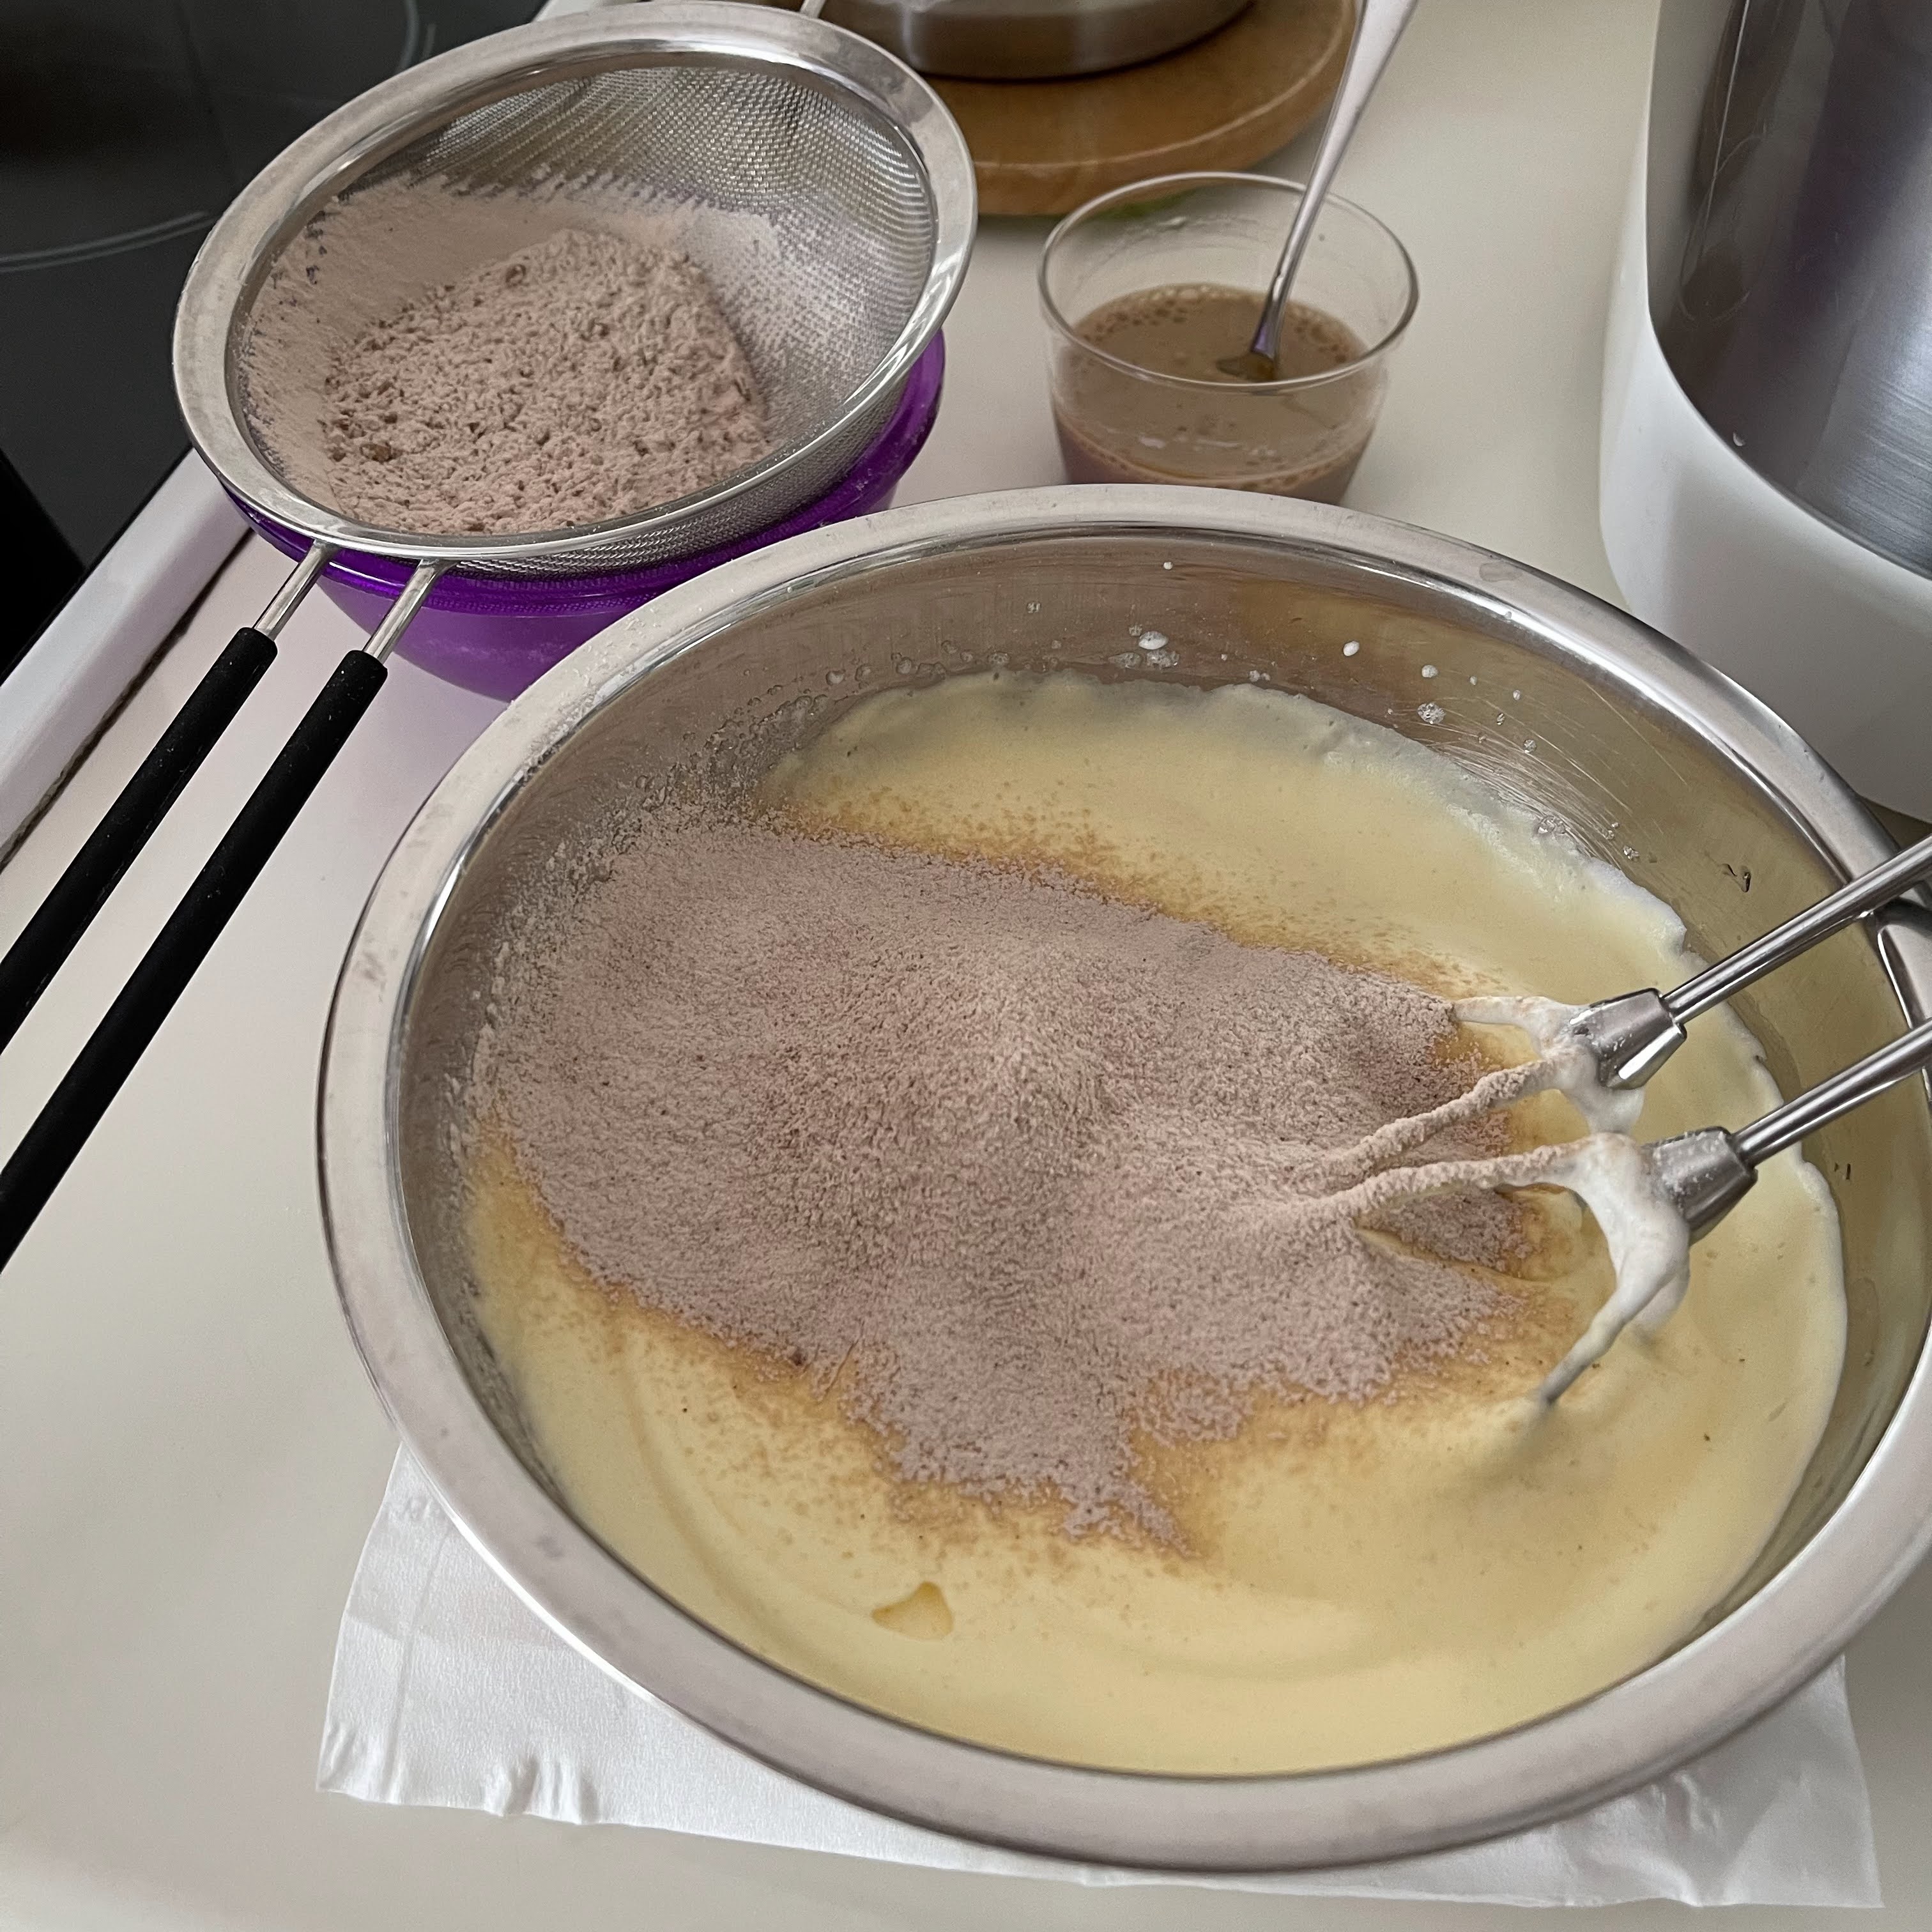
6. While waiting for the shaped dough to proof, prepare the almond cocoa glaze.
Mix all the ingredients into a glaze.
7. Remove the shaped dough from the oven, and start to preheat the oven to 190℃ for about 10 minutes.
While waiting, spoon the almond cocoa glaze over the top of the shaped dough. The glaze would flow down from the top.
Scatter some sugar grains over the top.
8. Bake at middle rack, at 180℃ for 11 minutes, lower to 170℃ for 5 minutes, turn off oven and continue to bake for 2 minutes, or till the almond cocoa glaze has dried up.
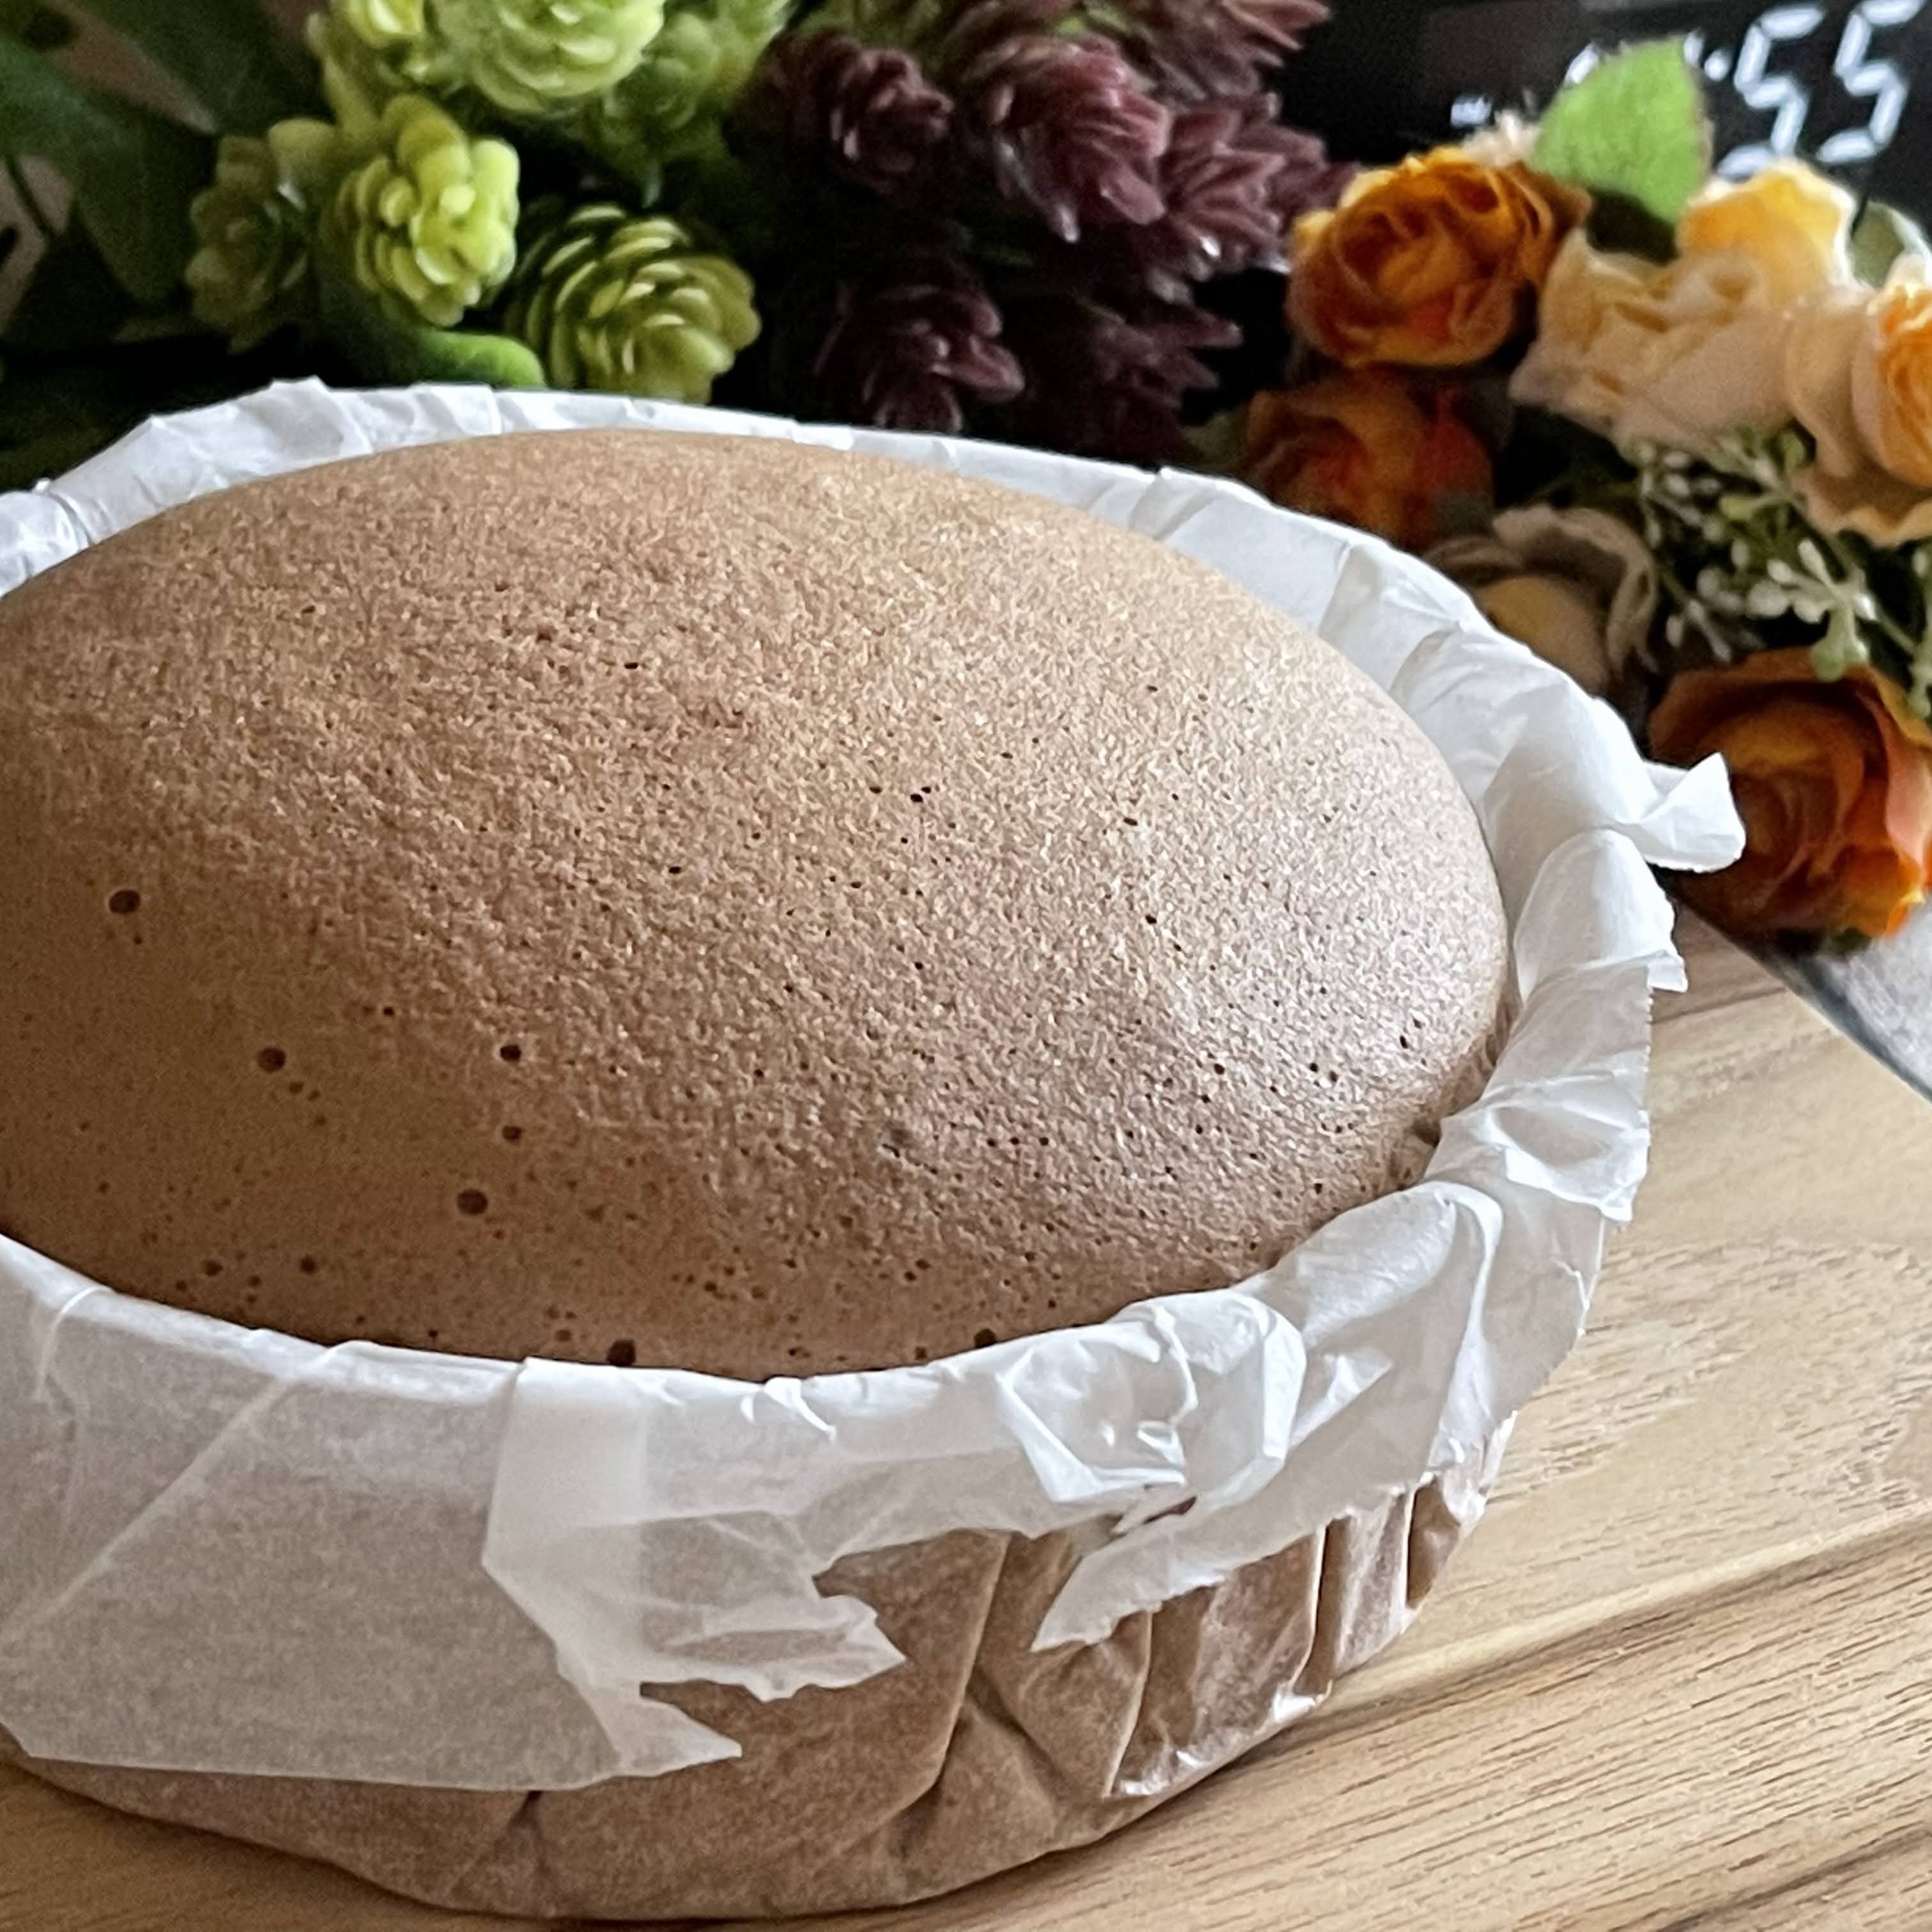
9. Remove the hot buns from the oven, and cool down a while before serving them warm 😋
The almond cocoa glaze crust would become wet after a while. Just give the buns a light toast before serving to dry up the crust again. Enjoy 😀