Monday, 7 August 2017

Sourdough Waffles


A nice recipe which helps to salvage discarded sourdough and turns it into golden crispy waffles :)

Ingredients


Sponge
100g unbleached all purpose flour
10g raw sugar
200g fresh milk/buttermilk*
100g sourdough starter, 100% hydration

* Original recipe suggested buttermilk


Waffle Batter
Above sponge
1 egg, 55g
20g melted butter
3g fine salt
3g baking soda

Directions

1. Mix the four Sponge ingredients together in a mixing bowl.


2. Seal with cling wrap and let the sponge dough stands in room temperature for 5 hours or overnight. The original recipe suggested to keep the Sponge overnight, but I shortened the fermentation duration to 5 hours 😬


3. Towards the end of the 5-hour fermentation, melt butter in the rice cooker using "Keep Warm" function.


4. At end of the 5-hour fermentation, 

mix melted butter with an egg,


before pouring into the Sponge dough. Mix well.

Followed by salt,

and baking soda.

Blend well.

The batter became bubbly.


5. Preheat the waffle maker and apply a thin coat of oil over the surface.
Pour an appropriate amount of batter onto the waffle maker, close and wait for the "Ready" sign to light up.
As the batter "expands" quite substantially during heating, try to avoid over filling the mould, to avoid spilling.

At end of baking, the waffle became golden brown and crispy.

6. Serve the waffles immediately to enjoy the crispiness.  If the waffles become soft after cooling down, toast it to regain its crispiness.


Serve with whipped cream and berry jam


Whipped Cream
150g cold whipping cream
10g icing sugar
10g cold mayonnaise subsititute (optional) *

* it helps to hold the whipped cream in room temperature longer.

1. Freeze the mixing bowl and whisks for 30 minutes before using.

2. Pour all the ingredients in the cold mixing bowl, whip using an electric hand mixer till firm peaks formed.


3. Keep the whipped cream in the fridge till needed.


Waffle recipe adapted from King Arthur Flour - Classic Sourdough Waffles or Pancakes with great appreciation :)


Lemon-Milk Mayonnaise Substitute

I'm not a fan of mayonnaise neither be it a jarred one nor freshly made one. I think mainly because of its oiliness and strong vinegar taste 🙁

When the Japanese Potato Salad recipe, which I intended to try, called for mayonnaise, I knew I have to search for a mayonnaise substitute recipe. However, most of the recipes still require quite a big quantity of oil, so I decided to concoct my own recipe.

The  3 main ingredients which I used were glutinous rice flour, milk powder and water. In fact, water took up about 2/3 the total weight of the entire condiment. Hence, it can be safely regarded as low-fat. As it has a mild milk and lemon taste, I can add other spices to change its flavour. More to explore in the future 🤔

Recently I made another batch of mayonnaise-substitute without lemon, so I can have a wider choice of adding it to my other dishes. I added 10g of it to my whipped cream to allow it to stay longer in room temperature. For recipe please refer to my sourdough waffle :)


Produced 50g of the mayonnaise substitute

Ingredients

5g glutinous rice flour
10g milk poweder
1/4 tsp fine sugar
45~50g water

salt to taste
1 tsp lemon juice (leave out the lemon juice if use for whipping cream)


Directions

1. Mix glutinous rice flour, milk powder and fine sugar in a heat resistant cup.

2. Stir in the water and mix well.

3. Stir the mixture over low heat constantly.

When the mixture starts to thicken, remove from the heat source, and stir till it becomes a smooth soft paste.

4. Add salt to taste, and mix well.

5. Blend in about 1 tsp of lemon juice.

6. It's done 😁
Transfer to a glass container and keep it in the fridge after it has cool down to room temperature.


Added to Japanese Potato Salad

Wednesday, 2 August 2017

Coconut Water+Milk Jelly 椰水+椰奶冻


My mom used to prepare agar agar jelly using the raw strip form of agar agar in the early days before the powder form appeared in the market.  For an retro-experience, I prepared 4 pudding cups of coconut jelly using the agar agar strips bought from Fairprice supermarket. Surprisingly, I found the agar agar strips seemed to dissolve faster than using the powder form 😯

In this recipe, coconut water, trim coconut milk, and raw sugar were used to prepare this healthier jelly. Using coconut water instead of plain water, as the former is more nutritious in terms of trace minerals and antioxidant than the latter. And most important of all, it's low in fat 😀


Servings: 4 x 200ml pudding bottles

Ingredients
5~6g dried agar agar strips *
350ml coconut water
70g water ^
2 blades pandan leaves, optional

50g raw sugar

200ml trim coconut milk
Pinch of salt

* if you prefer a softer jelly, you can use 5g of the agar agar strips.
^ you can change the water to coconut water


Directions
1. Rinse and soak agar agar strips in water for about 15 to 20 minutes.

Drain away the water.  After draining the water away, the weight of the soaked agar agar strips was about 31g.

Cut the agar agar strips into shorter lengths to facilitate them to dissolve during cooking.


2. Boil coconut water, water, pandan leaves and the agar agar strips till the agar agar strips dissolved.


Cover the pot during heating to minimise water lose to evaporation.


3. Add in the raw sugar and stir to dissolve. Adjust the sweetness according to your preference.


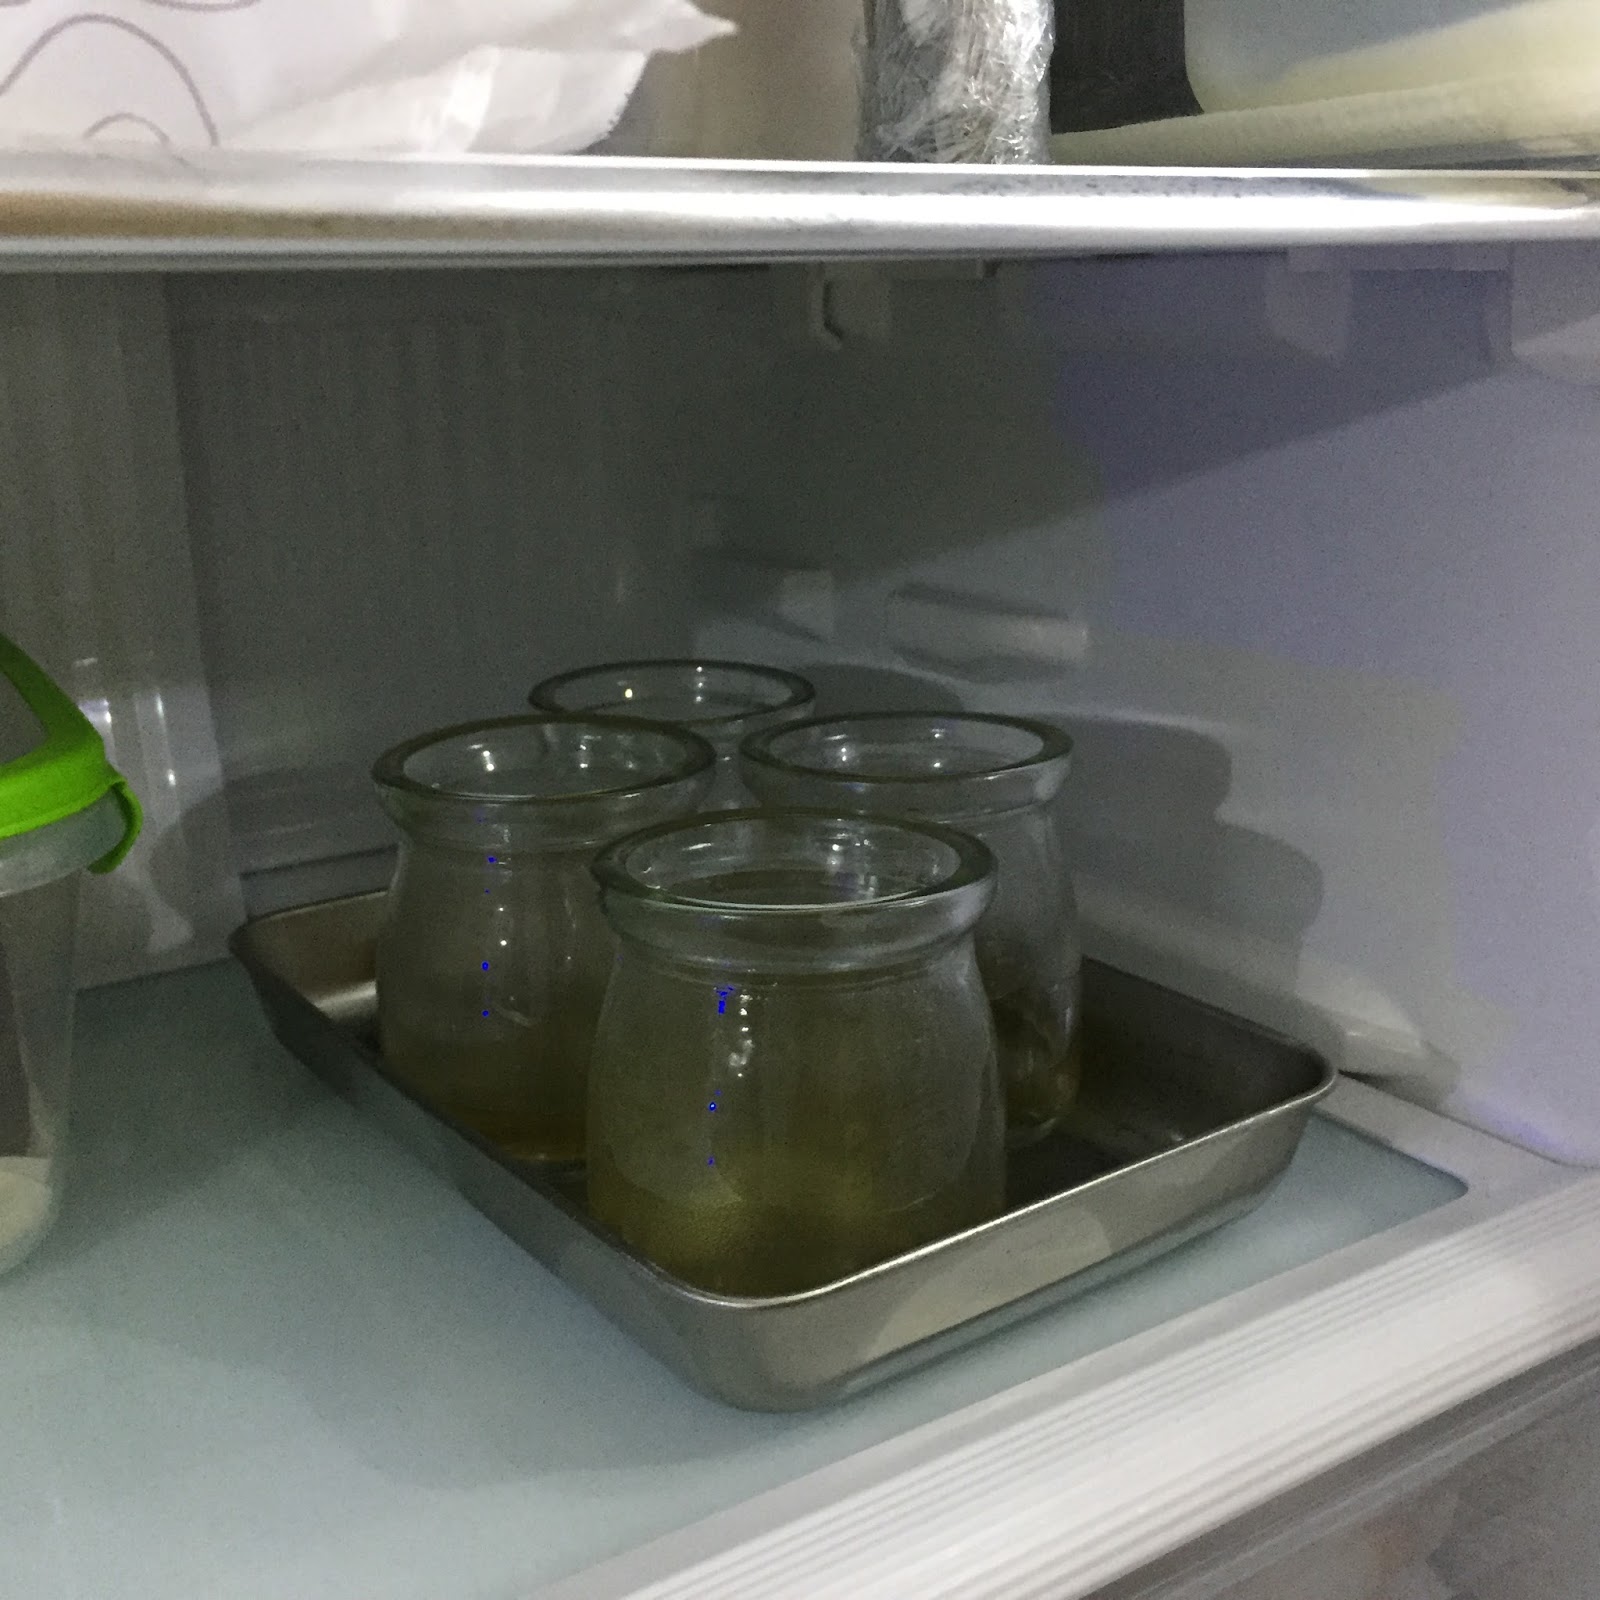
4. Scoop about 45ml of agar agar water into the 4 pudding bottles to form a clear layer. This step is optional.

Refrigerate the clear agar agar for about 10 minutes to harden it.


5. Remove the pot of remaining agar agar water from the heat source, and stir in the trim coconut milk and a pinch of salt.


6. When the clear agar agar layer has hardened, pour in the coconut-agar agar water into the pudding bottle.


Cool down on a rack before transferring to the fridge to refrigerate for about 1 hour.

7. Serve cold 😋