Sunday, 10 January 2021

Peanut Powder Coated Moo-chi


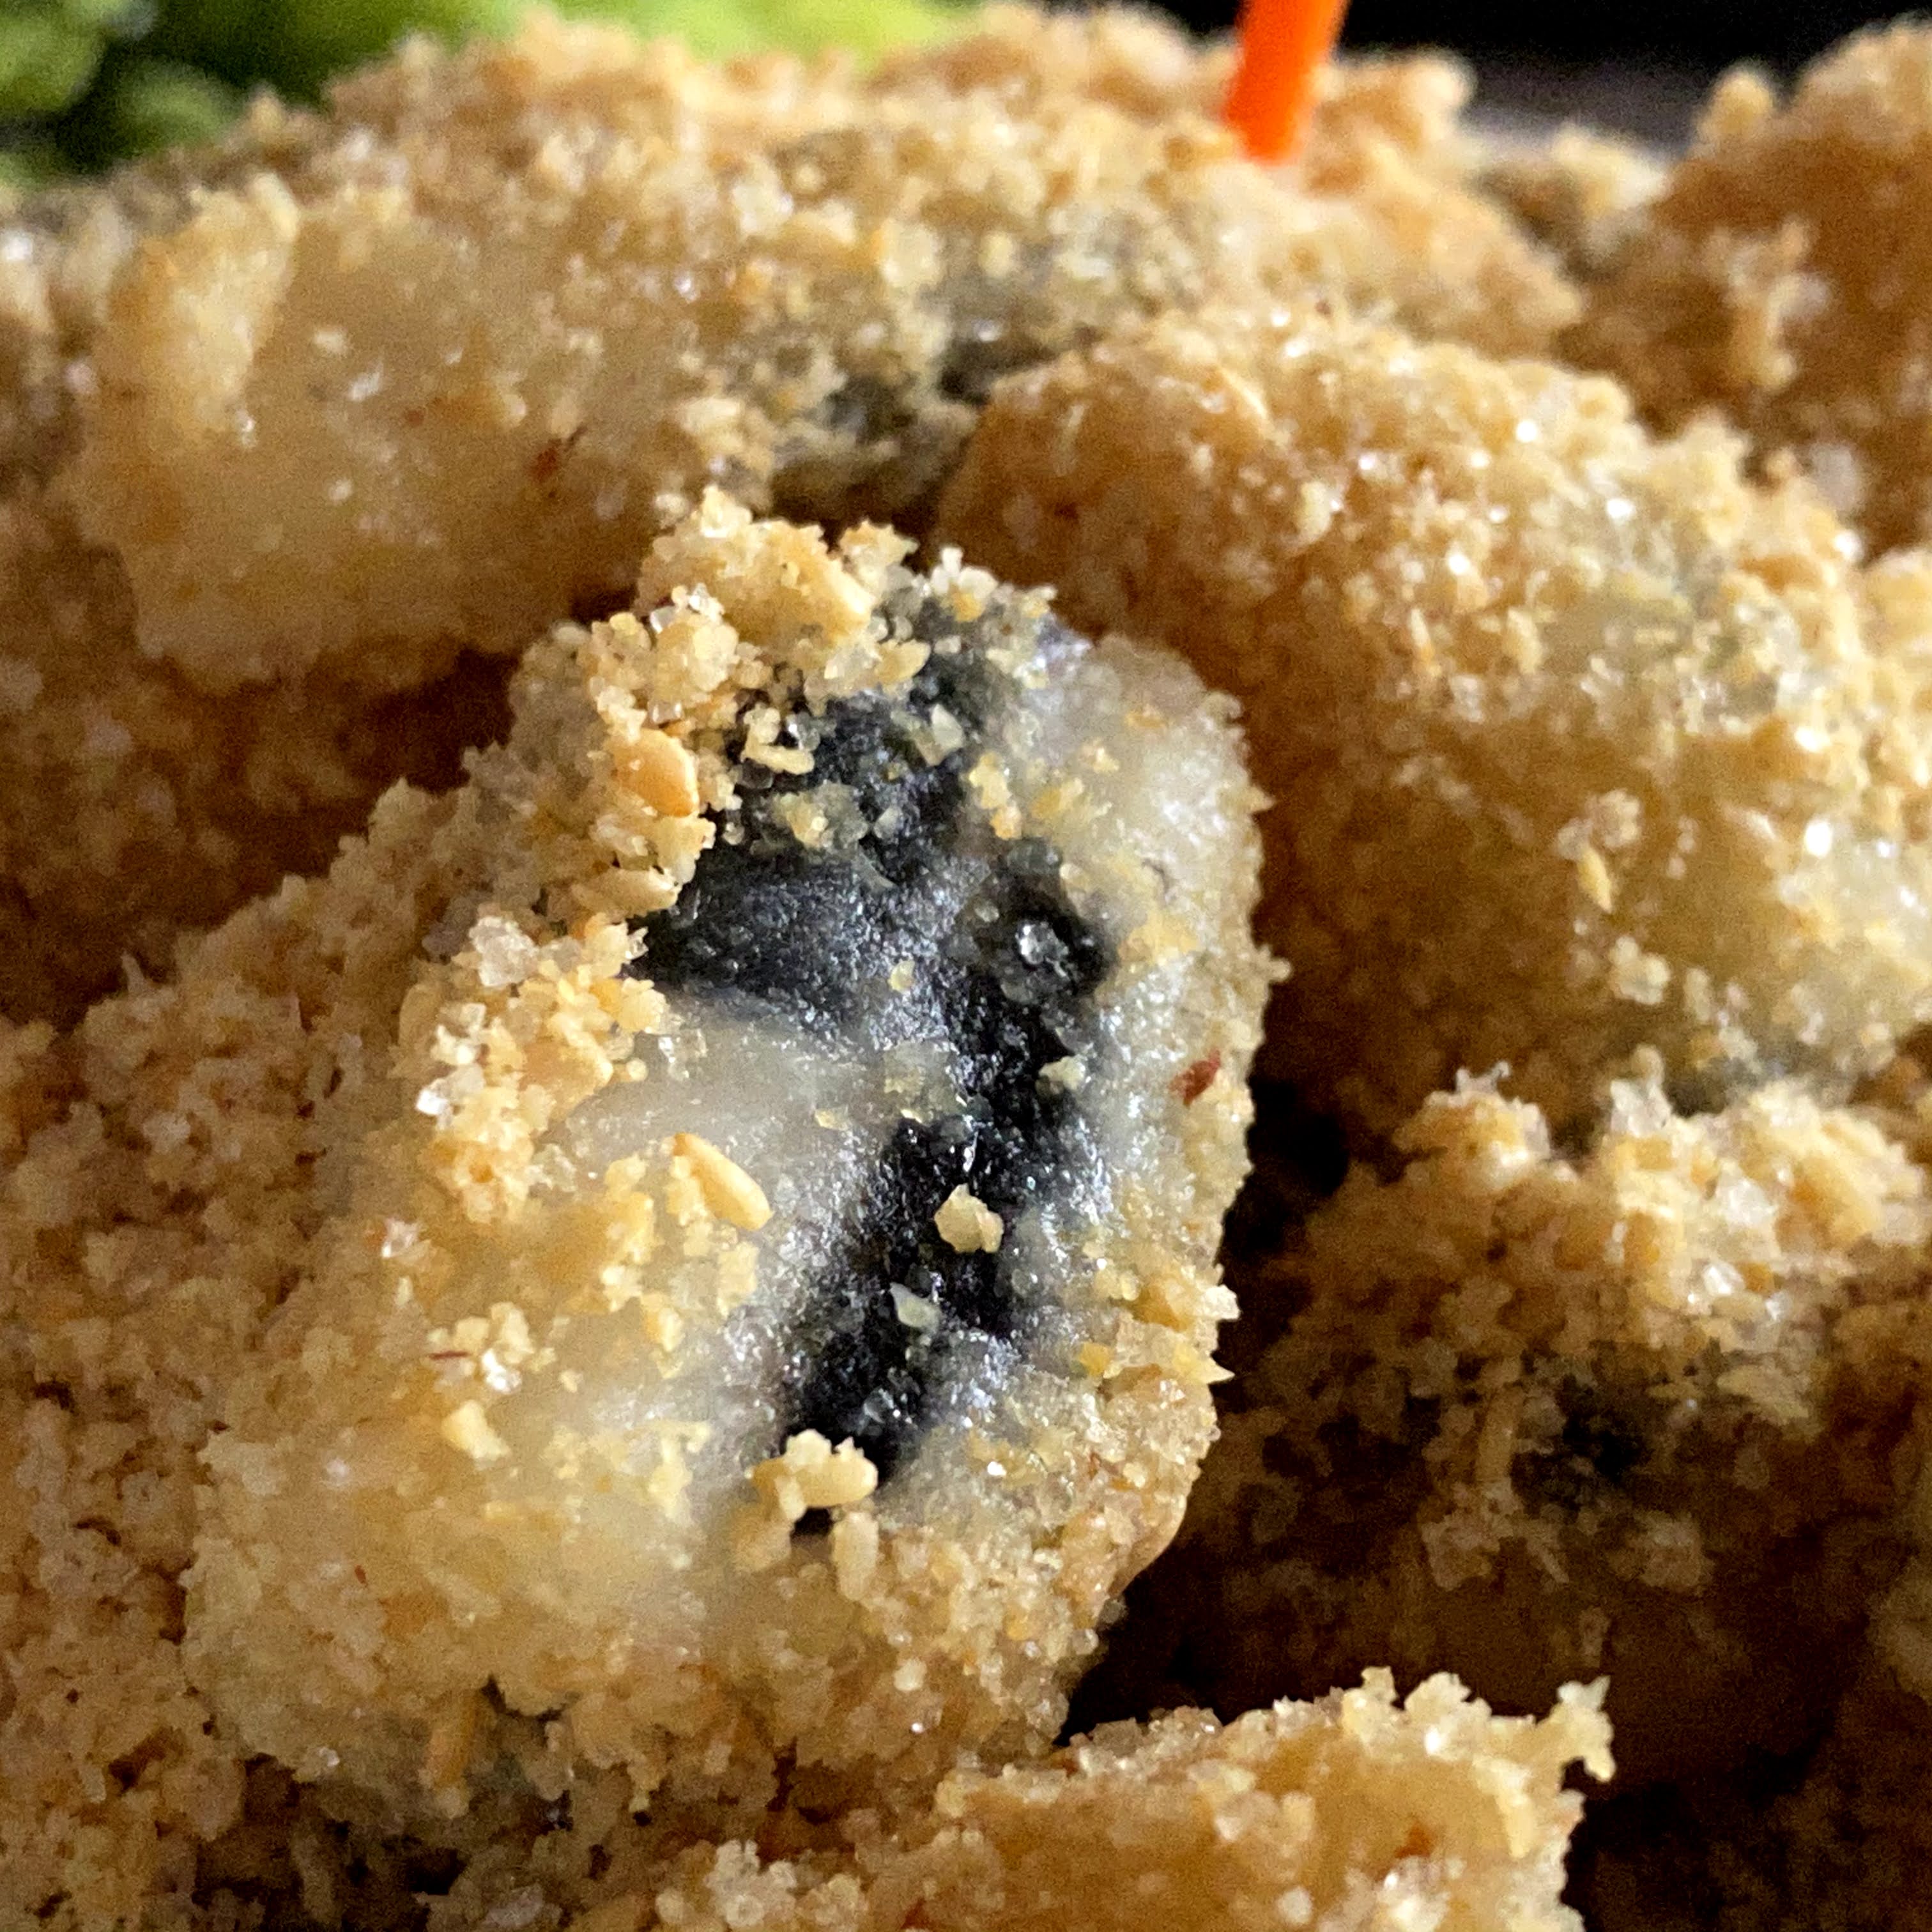
My peanut mochi moooo~🐄 Tweaked my original peanut mochi recipe by adding bamboo charcoal powder to create the cow patched pattern. No difference in taste, just look different. Just having some fun preparing to usher the Moo Moo Year 😜

Yield: 3 to  4 persons

Ingredients

95g glutinous rice flour, about 1 cup
10g tapioca starch *
10g fine sugar
25g hot water
150~155g water

1/4 tsp bamboo charcoal powder

100g ground peanut powder + sugar #
10g white sesame seeds, roasted, optional

* tapioca starch can be replaced by glutinous rice flour
# the ground peanut powder I used have already added some sugar in it

Directions

1. Mix glutinous rice flour, tapioca starch and fine sugar in a bowl or measuring jug.

Dig a well in the center and pour hot water into it. Let the content stands for about 10 minutes without disturbing it.

Mix the content..

Followed by 150~155g of water.

Stir into a smooth batter.


Cover with a sheet of cling wrap and let the batter stands for 15 minutes to 2 hours. I let the batter stood for 2 hours.

2. Transfer about 45g of the original batter to a small pouring jug, and mix 1/4 tsp of bamboo charcoal powder to it. 


3. Mix the peanut powder and roasted white sesame seeds in a mixing bowl or plate. Set aside.

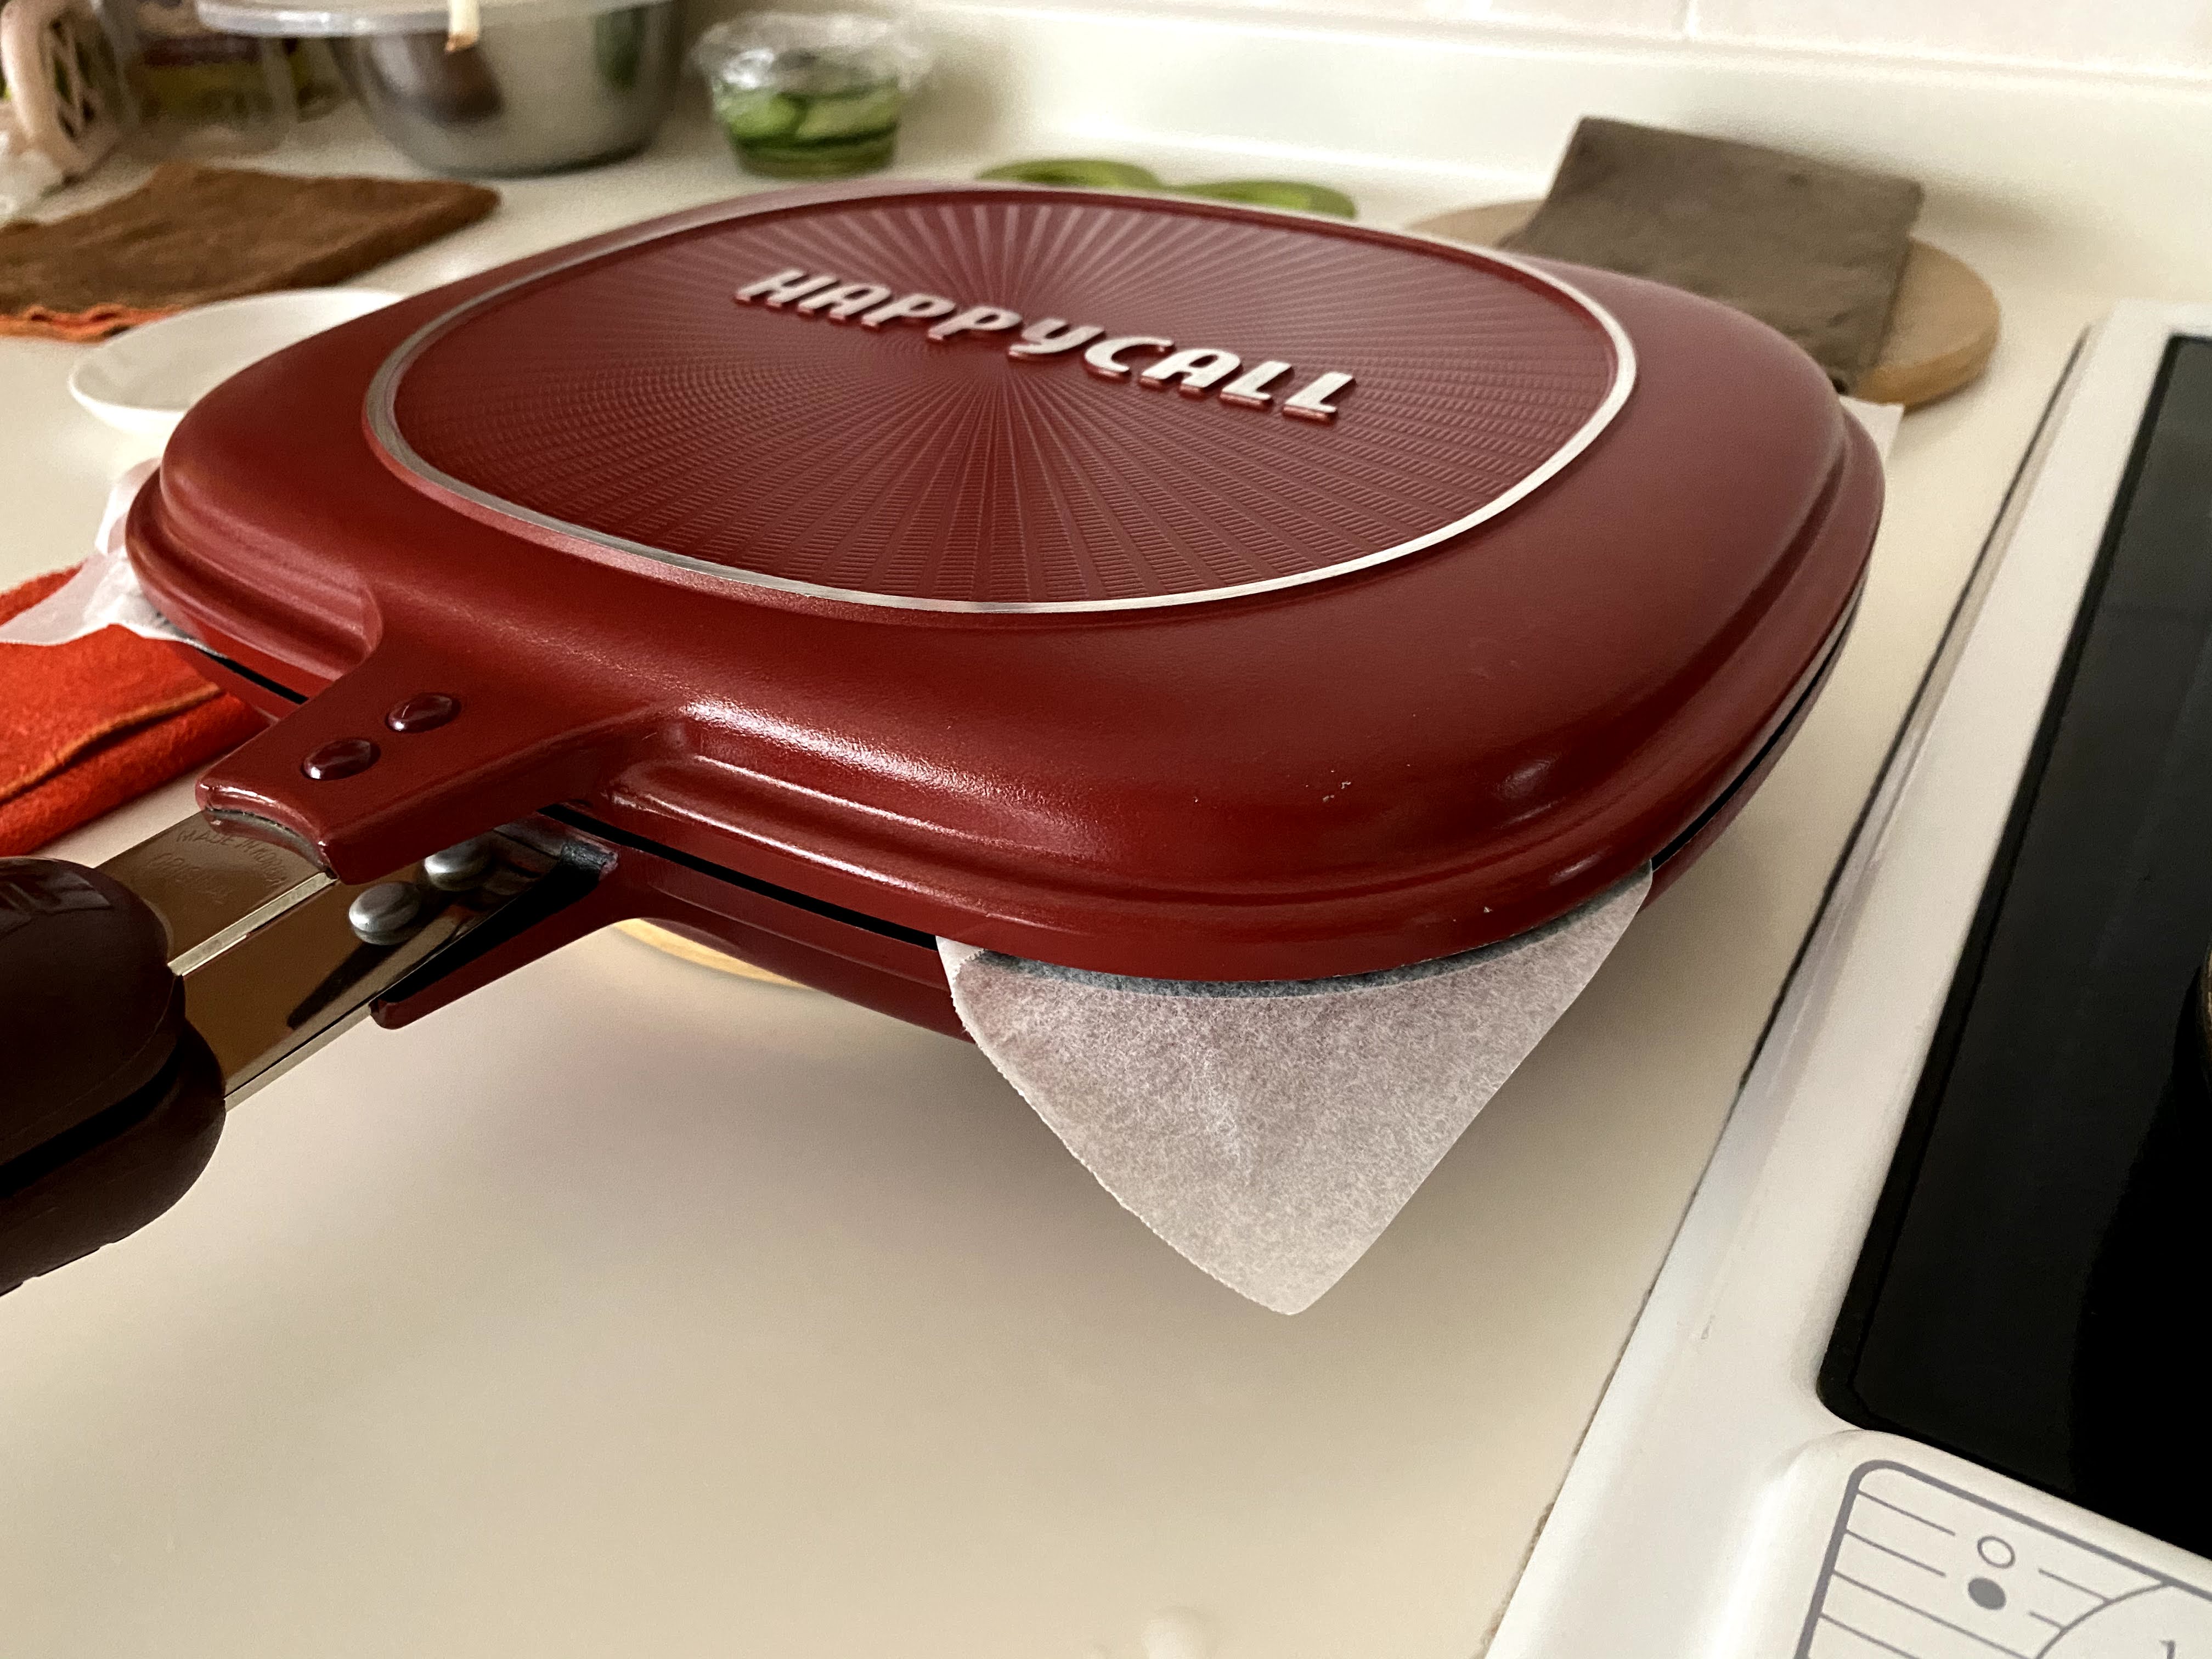
4. Heat about 1 tbsp of vegetable oil in a preheated non-stick flat base pan at low heat.

When the oil is hot, stir the batter and pour it into the pan.

Let the batter spread out on its own without disturbing it.

Pour the bamboo charcoal batter in small amount over the original batter to create the patched pattern.


Close the lid and let the batter heat for about 3 minutes at low heat.


5. The batter is ready when it solidifies. Use a spatula to roll up the glutinous rice cake.

Heat on both sides till the glutinous rice cake is cooked, or turns slightly translucent.

6. Coat a pair of kitchen scissors and tongs with non-stick spray or oil before use. Cut a small portion of the cooked glutinous rice cake and drop into the peanut powder mixture.


Cut the glutinous rice cake into smaller pieces and toss them to coat with the peanut powder mixture. The peanut powder prevents the cake cubes from sticking to each other.


7. Serve warm or cold 😋


Roast Mixed Pepper Chicken Roll

 
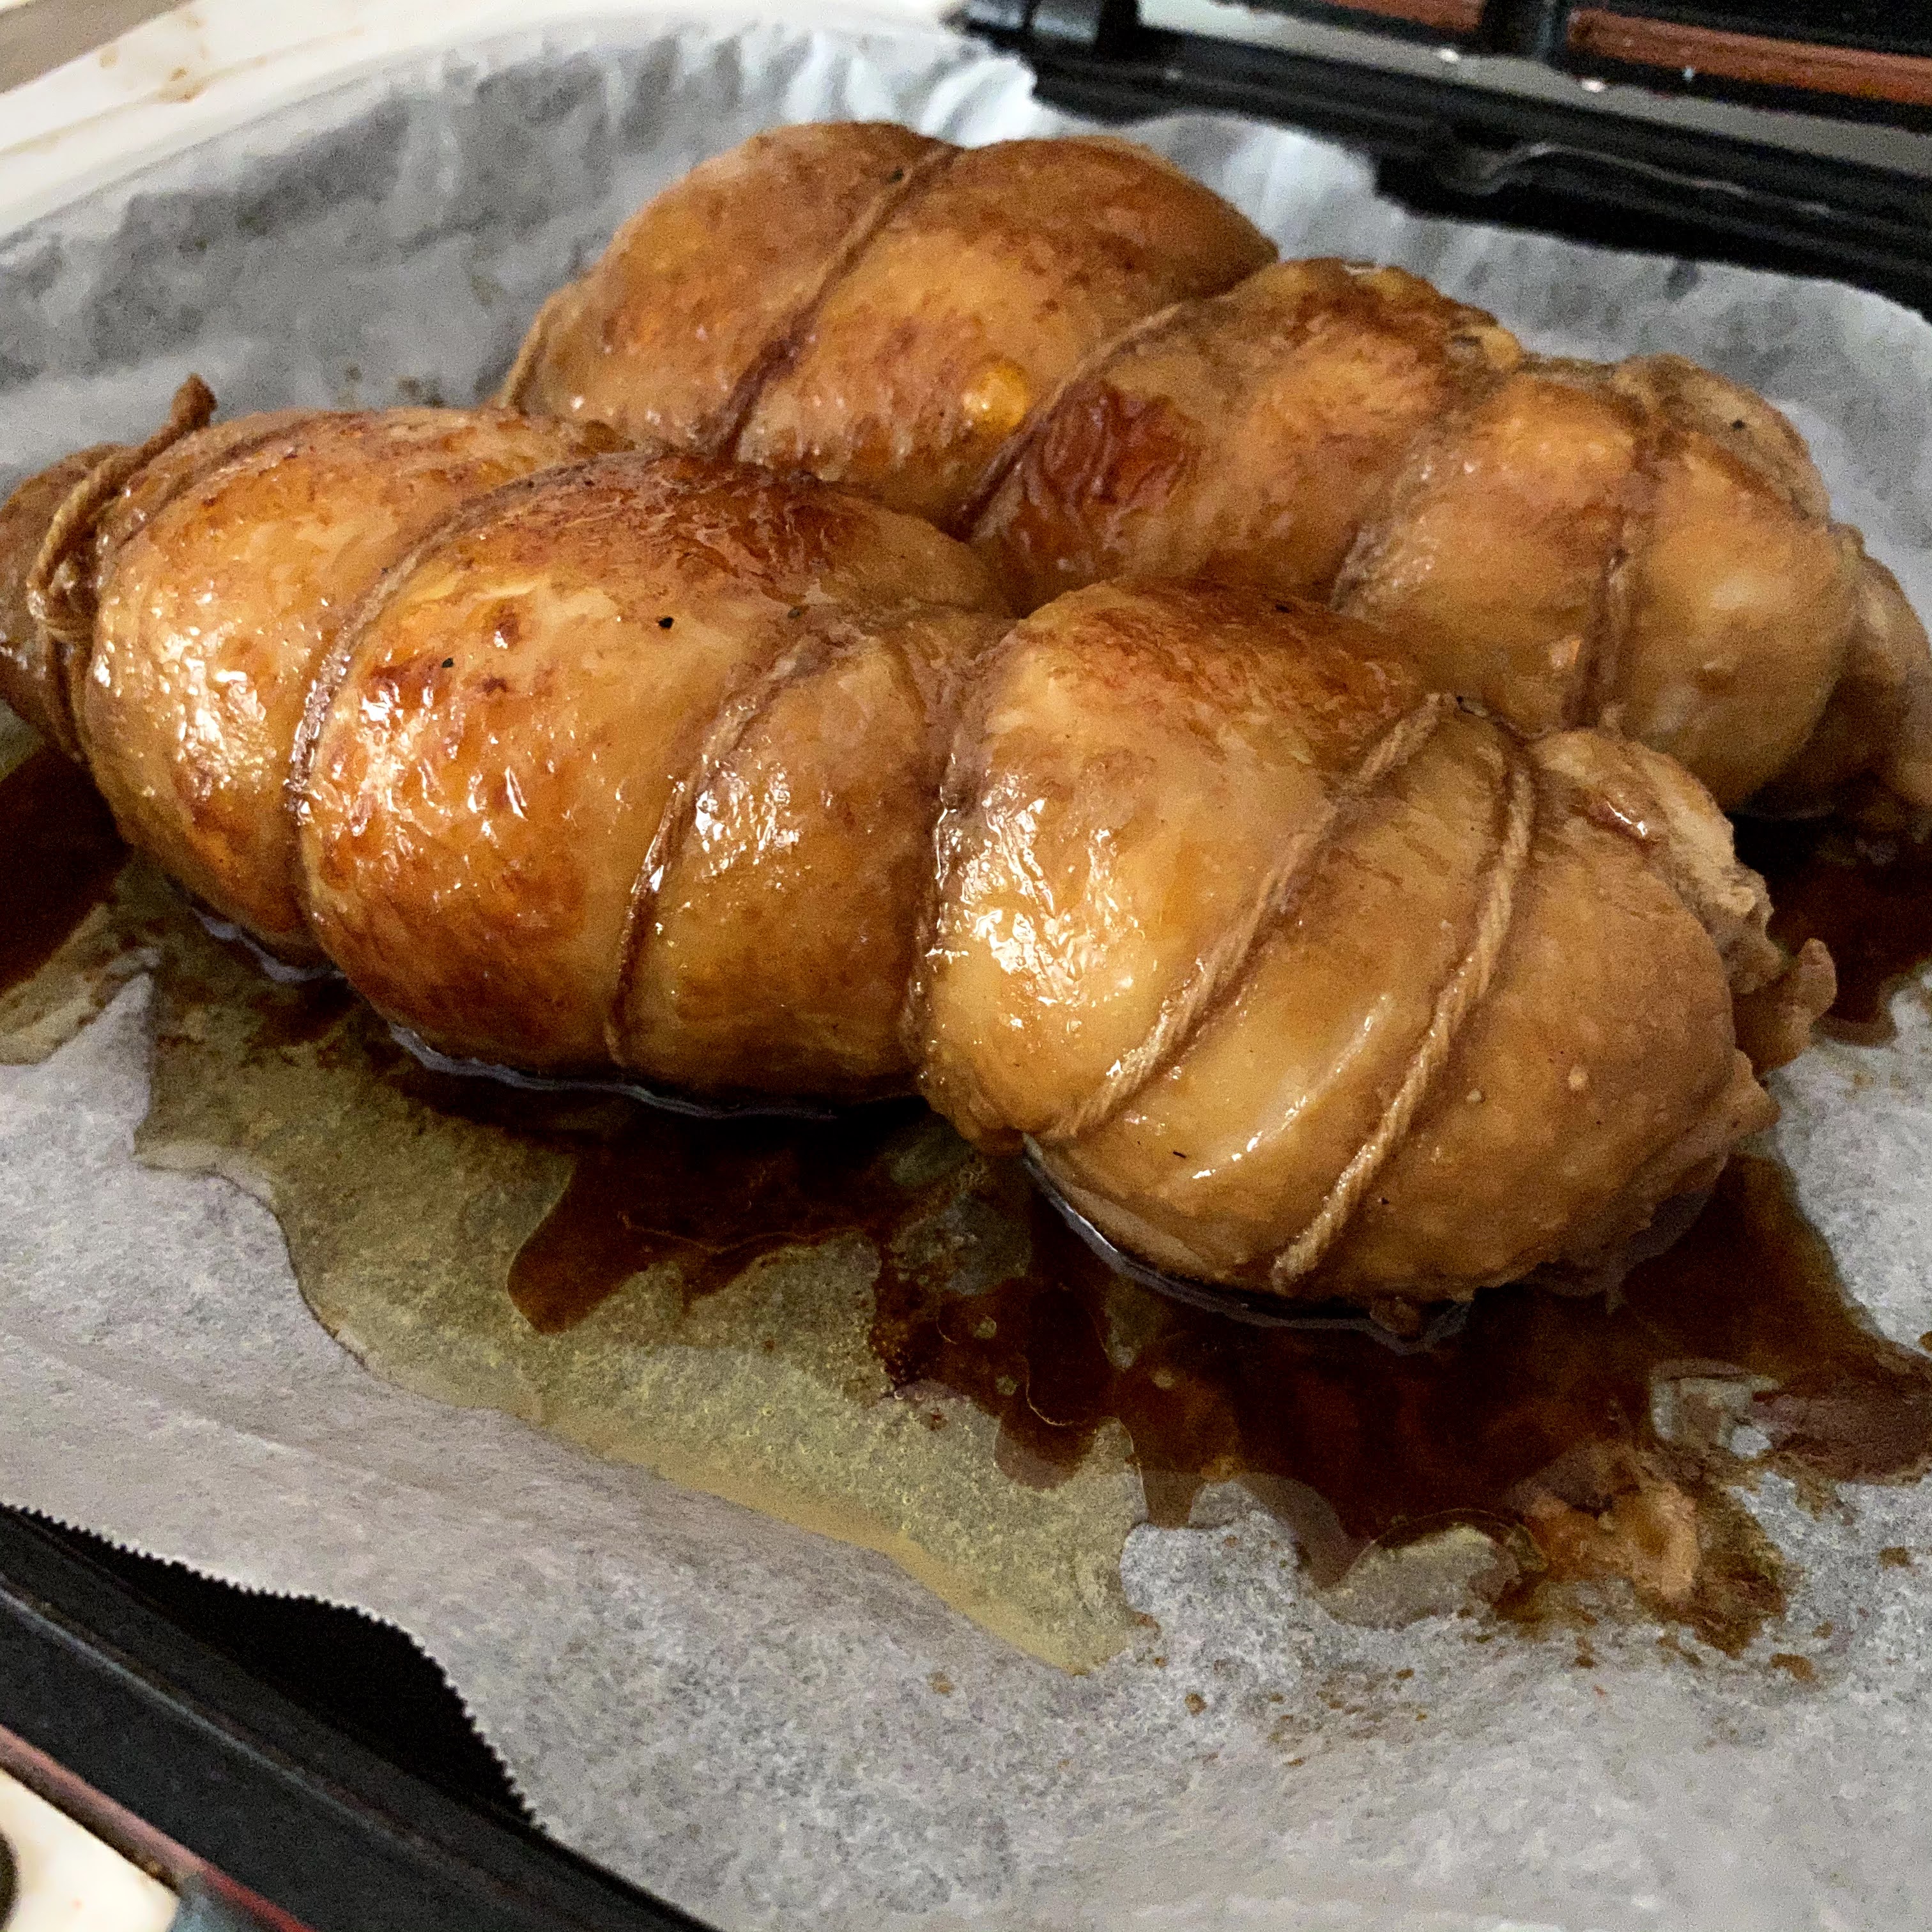
Very aromatic roast chicken rolls in mixed peppers flavour, and a juicy meat locked under the thinly roasted skin. The melted fat and juice just oozed out under skin when you sink your teeth into the meat 😋

Servings: about 2 to 4 persons

Ingredients
2 boneless chicken leg, about 450~480g

Marinade
6g hua diao jiu/chinese cooking wine
3g low-sodium fine salt

5g light soy sauce, low salt
20g oyster sauce
1/4 tsp dark soy sauce
1g Maggie Seasoning sauce, optional
10g dark brown sugar

2g mixed pepper, freshly ground*
dash pepper powder
dash of garlic powder
pinch of ginger powder
1/4 tsp potato starch

5g rice bran oil/mild flavour vegetable oil, to be added just before rolling up the chicken 

* the mixed pepper can be replaced by black pepper, and the amount is subject to your own preference.

Basting sauce
Melted chicken fat collected after searing


Directions

1. Rinse boneless chicken leg meat.

2. Coat the meat with hua diao jiu/rice wine, and rub the meat with salt. 

Mix the rest of the marinating ingredients, except the rice bran oil, in a small bowl.

Pour the marinating sauce over the meat and rub overd.

Seal the bowl with cling wrap and let the meat marinate for about 1 to 3 hours.

3. Cut two cotton threads with length of about 1 meter each.

Before rolling up the meat, coat rice bran oil evenly over the meat.

Roll up the meat, wind and tie with a cotton thread around it.

4. Sear the meat with skin down over a thick base pan lined with a piece of parchment paper.

Rotate the meat rolls so that all the faces are well seared and turn golden at medium high heat.

Fat melted and collected at the base of the meat


Finally, turn off the flame, close the lid, and let the meat simmer for about 30 minutes using the remnant heat retained in the pan.

More melted fat collected at the end of simmering

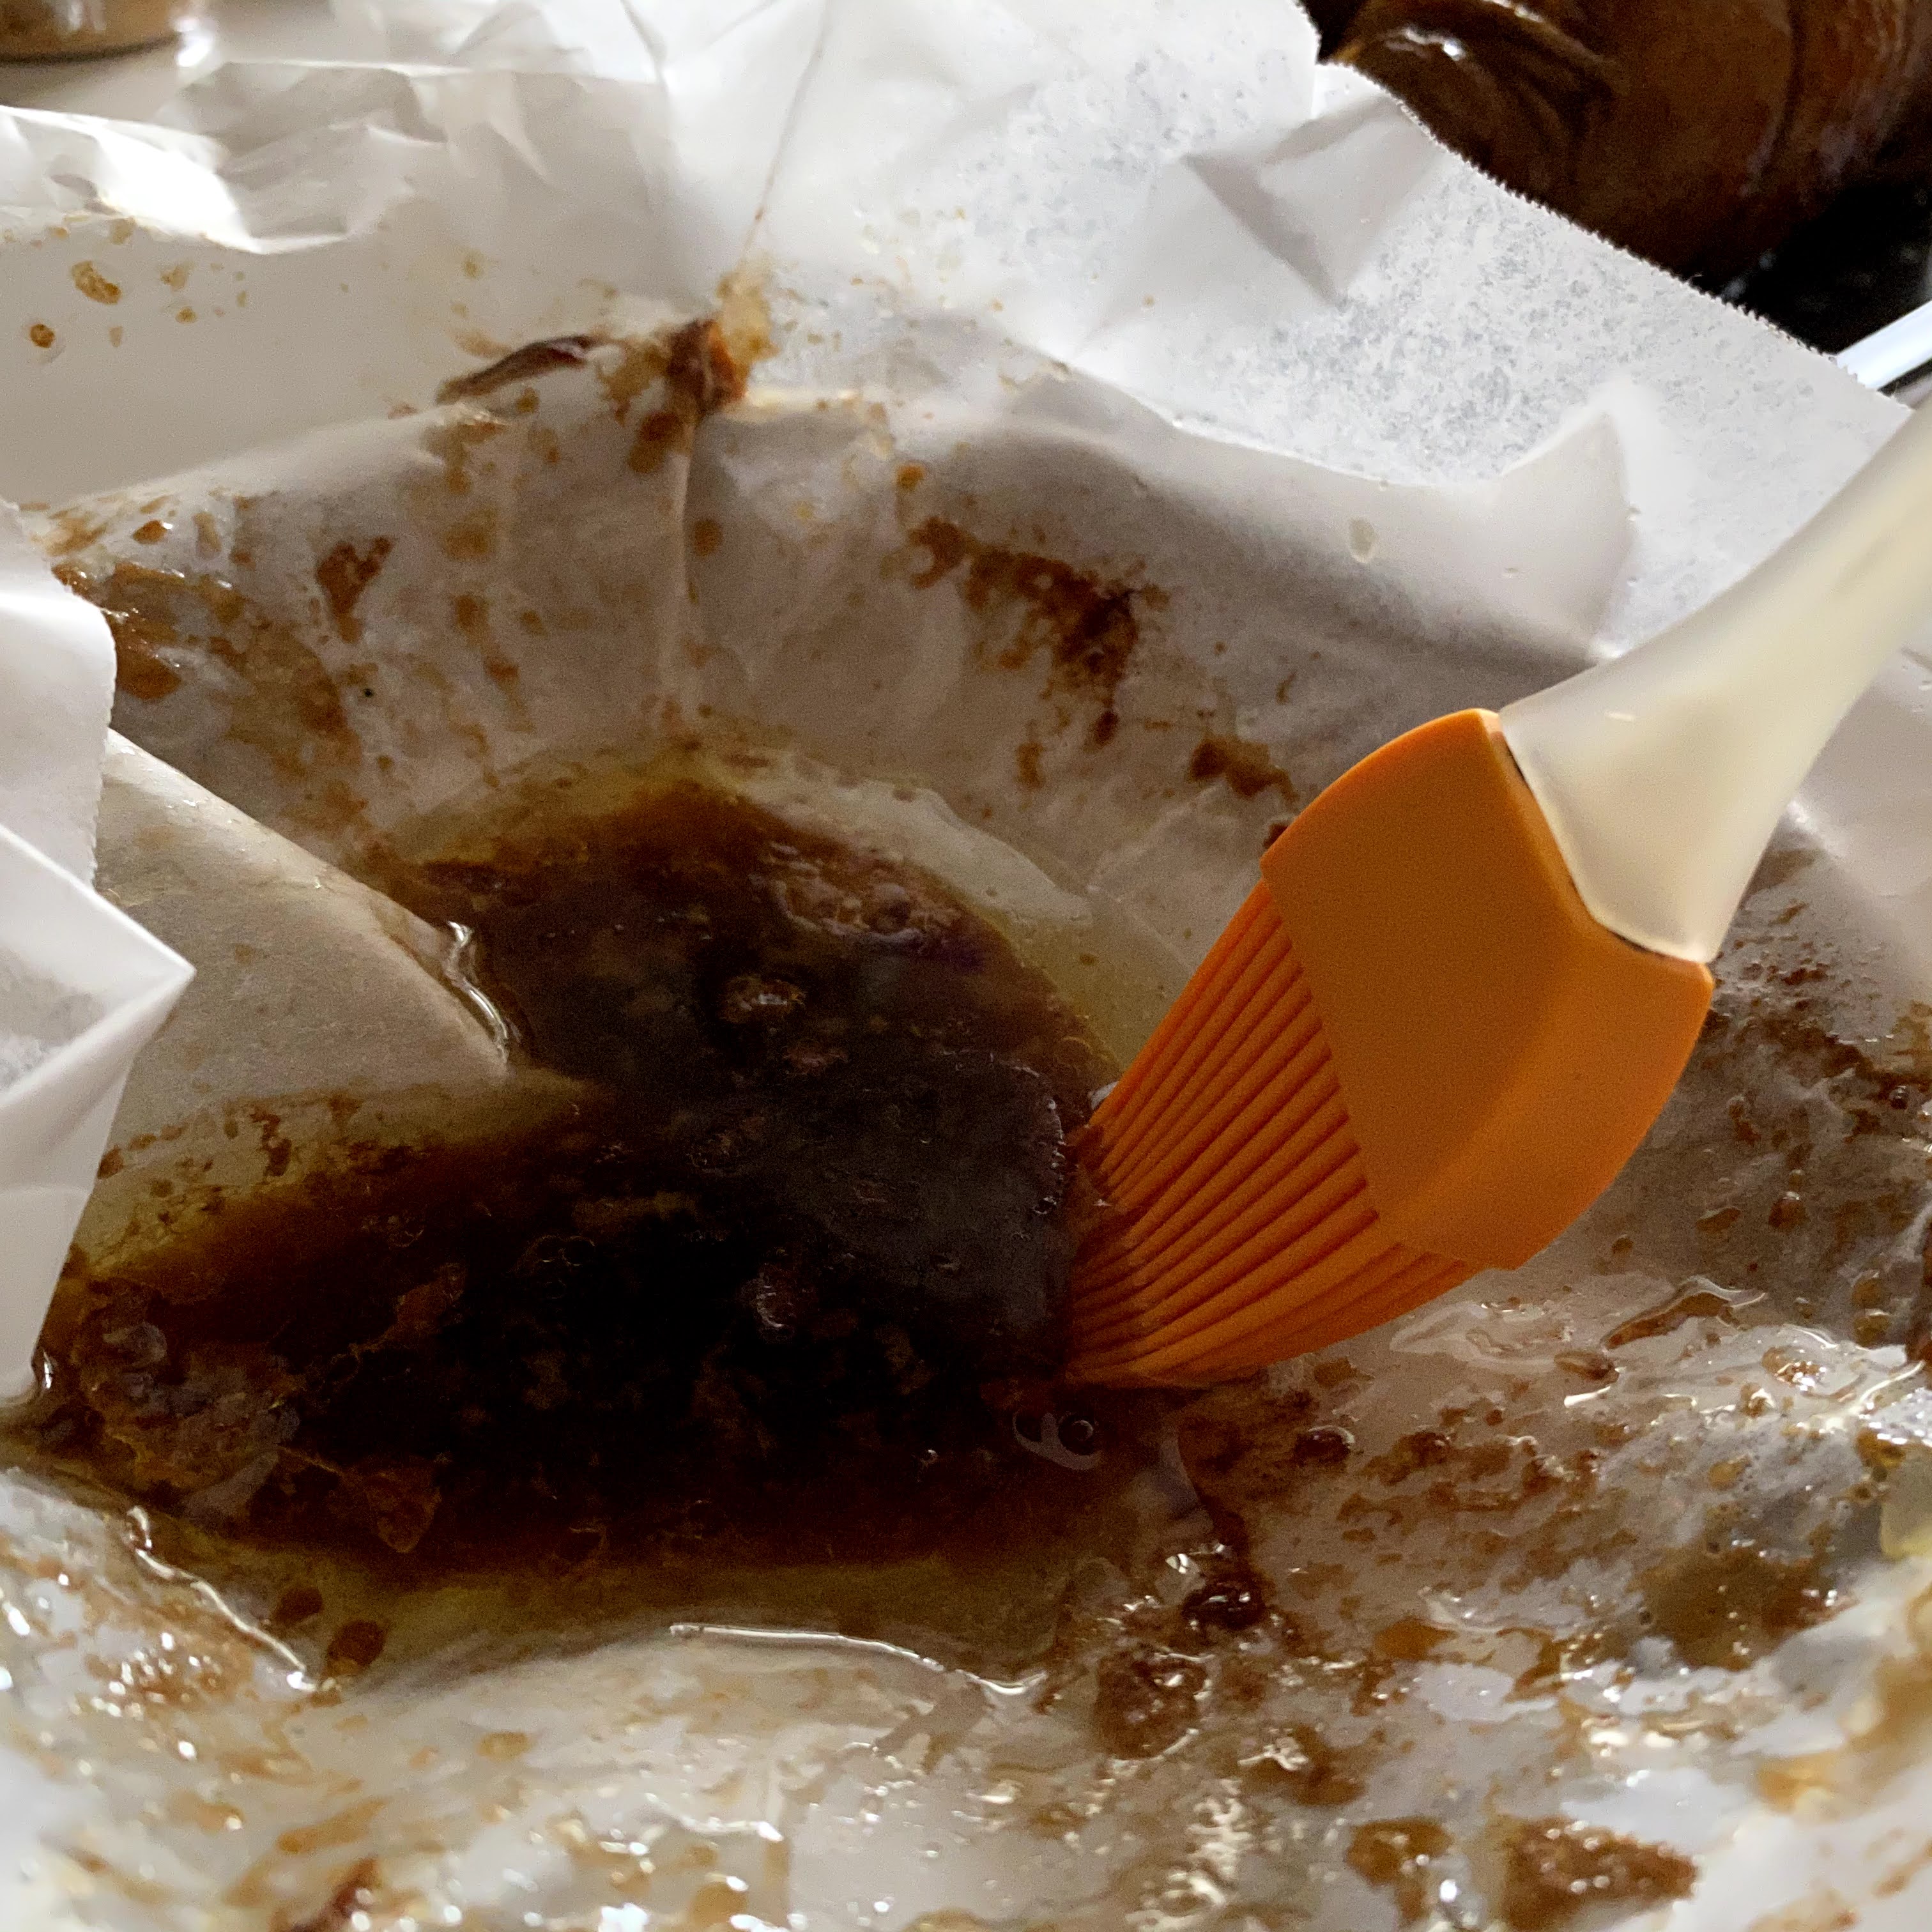
5. Transfer the meat rolls to a roasting plate. And collect the melted fat for basting later.

Brush the meat rolls with a thin coat of melted chicken fat, and sprinkle some freshly ground mixed pepper over the top. Roast in a preheated oven toaster at 170℃ for about 8 minute. 


Repeat the process for about twice or thrice. When the skin starting to char, reduce the temperature to 150℃.

Let the meat rolls rest in the warm oven toaster for about 15 to 20 minutes after the roasting process ends.

End of roasting.

7. Untie the thread and slice the roasted chicken rolls into thick chunks. Enjoy the juicy meat warm 😋


Monday, 4 January 2021

Coffee Cheese Cupcake

To me plain coffee sponge cupcake is unable to bring out the aroma of the coffee, unless it is served with cream. To take a shortcut would be to bake the coffee sponge cake with a small cube of creamy cheese. Yum Yum 😋
Another shortcut I took was to add a small amount of coffee oil to the batter as too much coffee powder would make the cake bitter. Although the coffee oil is an artificial food flavouring, a small amount to enhance the flavour of the food should be acceptable 😉


Yield: 7 to 8 cupcakes
Paper cup mould size: 5Dx4H cm
Baking temperature: Preheated oven at 160℃ for 25 minutes at middle rack

Ingredients
Using 55~57g eggs
All ingredients in room temperature

2 egg whites
pinch of salt
45g raw sugar
5g dark brown sugar/raw sugar

2 egg yolks

58g cake flour
2g wheat starch/corn starch
1g baking powder

1g instant coffee powder
1g cocoa powder
10g hot water

10g evaporated milk/milk
10g condensed milk/golden syrup
14g rice bran oil/mild flavour vegetable oil
1g coffee oil, optional

7~8 cubes The Laughing Cow Belcube, thawed


Directions

1. Dissolve instant coffee powder and cocoa powder in 10g hot water.
Combine the liquid coffee with condensed milk, evaporated milk, rice bran oil and coffee oil in a small glass. Set aside.

2. In a clean, dry and oil-free mixing bowl, beat egg whites with pinch of salt till foamy before adding raw sugar and dark brown sugar in a few batches. Beat the meringue till reaching firm peak stage.

Add the yolks, one at a time, to the meringue, and beat briefly till well combined.

3. Combine cake flour, wheat starch, and baking powder in a small bowl. Sieve 1/3 of the flour mixture to mix with the egg batter.
Add 1/2 of the coffee-milk mixture from Step 1 to the batter. Repeat the step with the rest of the flour mixture and coffee-milk mixture in alternating sequence, and ends with flour mixture.

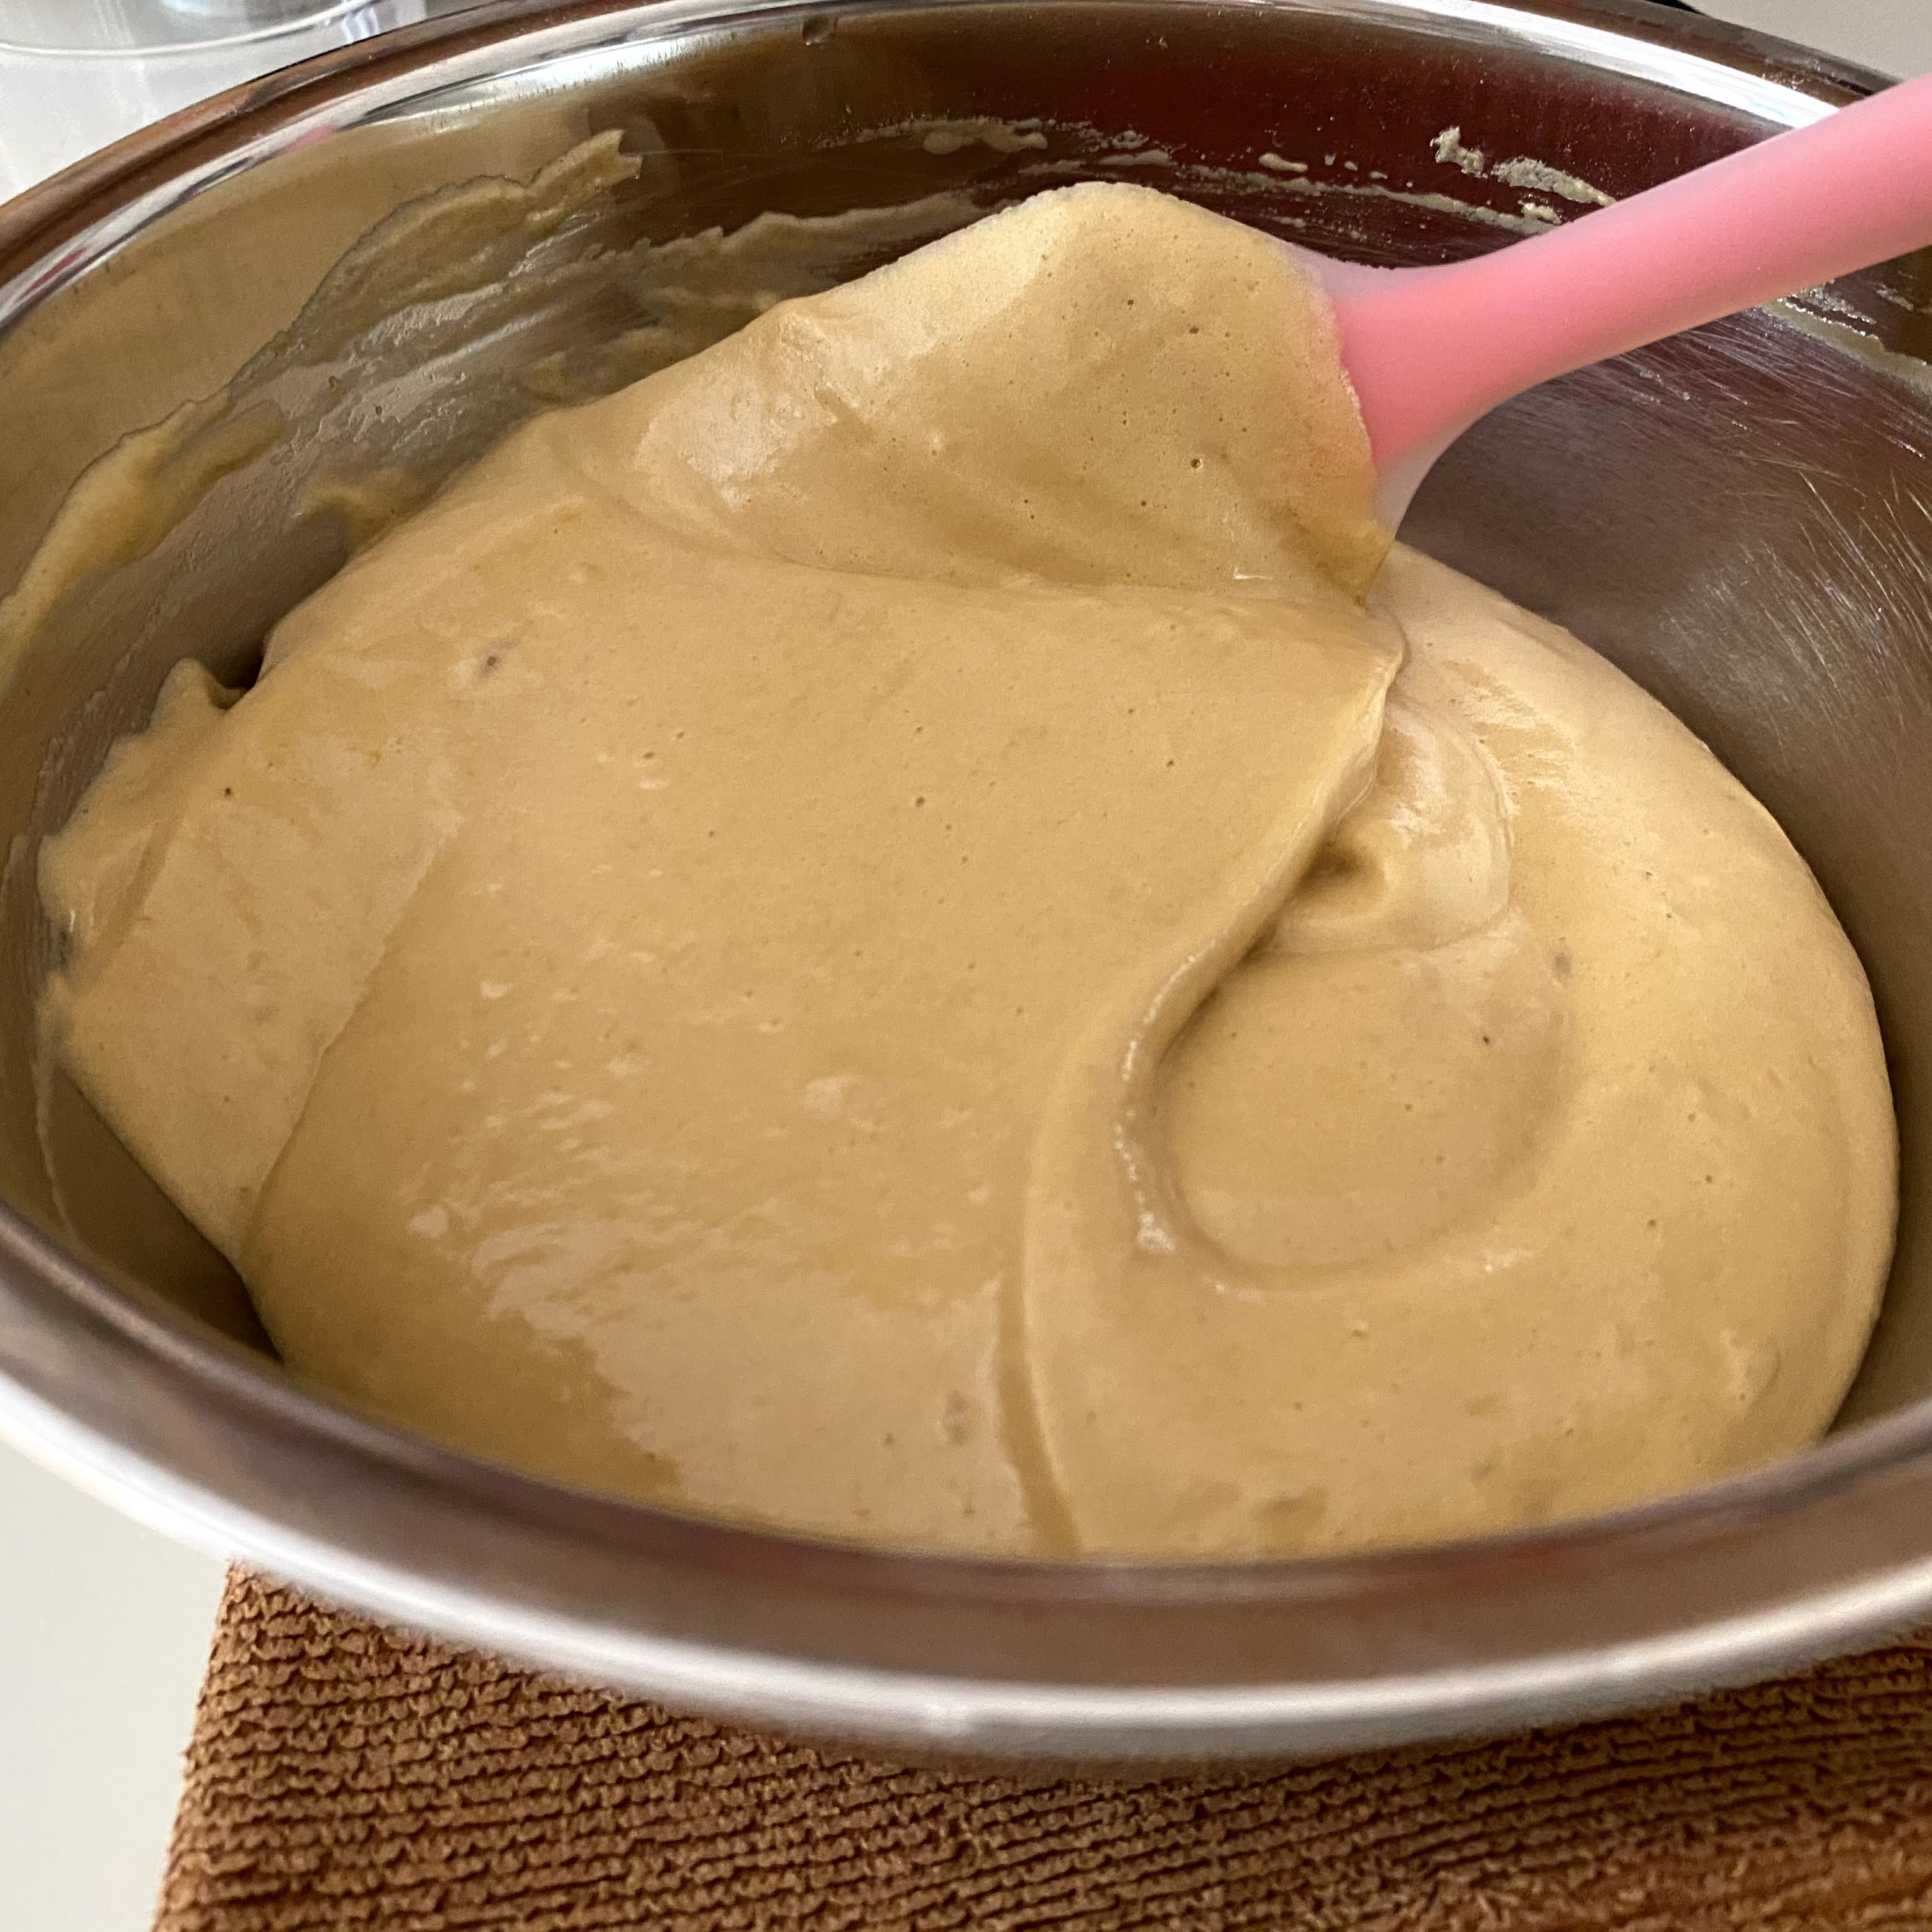
Use a silicone spatula to do a thorough mixing into a smooth batter.

4. Pour the batter into either 7 or 8 paper cup moulds, and push a thawed cheese cube into the center of the batter. 

Cover the cheese cubes with the batter, and arrange the filled cupcake moulds over a baking tray.

5. Bake at middle rack of a preheated oven at 160℃ for about 25 minutes, or till the crusts turn brown.

If you bake 7 cupcakes instead of 8 cupcakes, the crusts will be rounder

6. Transfer the cupcake to a wire rack to cool down.


Enjoy the cake warm 😋