Thursday, 23 March 2023

Steamed Melon Milk Pandan Bit Cake


Embarking on a leaner steamed cake baking in terms of calories and energy saving 😜 Tried a new ingredient - Japanese Melon Milk paired with chopped pandan leaf bits. The cake has a nice sweet scent coming from both the melon flavour and the pandan leaf bits.

I used chopped pandan leaf bits instead of blended pandan leaf paste, as it was more convenient to chop one pandan leaf than having to blend a few pandan leaves in a food processor.  Further, the tiny pandan bits also served as decorative bits to the plain steamed cake 😍


Ingredients
All ingredients in room temperature 
Using 57 to 59g eggs

{A}
2 egg whites 
Pinch of low sodium salt
20g fine sugar
20g raw sugar/fine sugar
2 egg yolks

{B}
70g top/cake flour

{C}
50g Japanese Melon flavoured milk
10g condensed milk
10g rice bran oil/mild flavour vegetable oil
5g pandan leaf, chopped finely

green food colour, optional


Directions

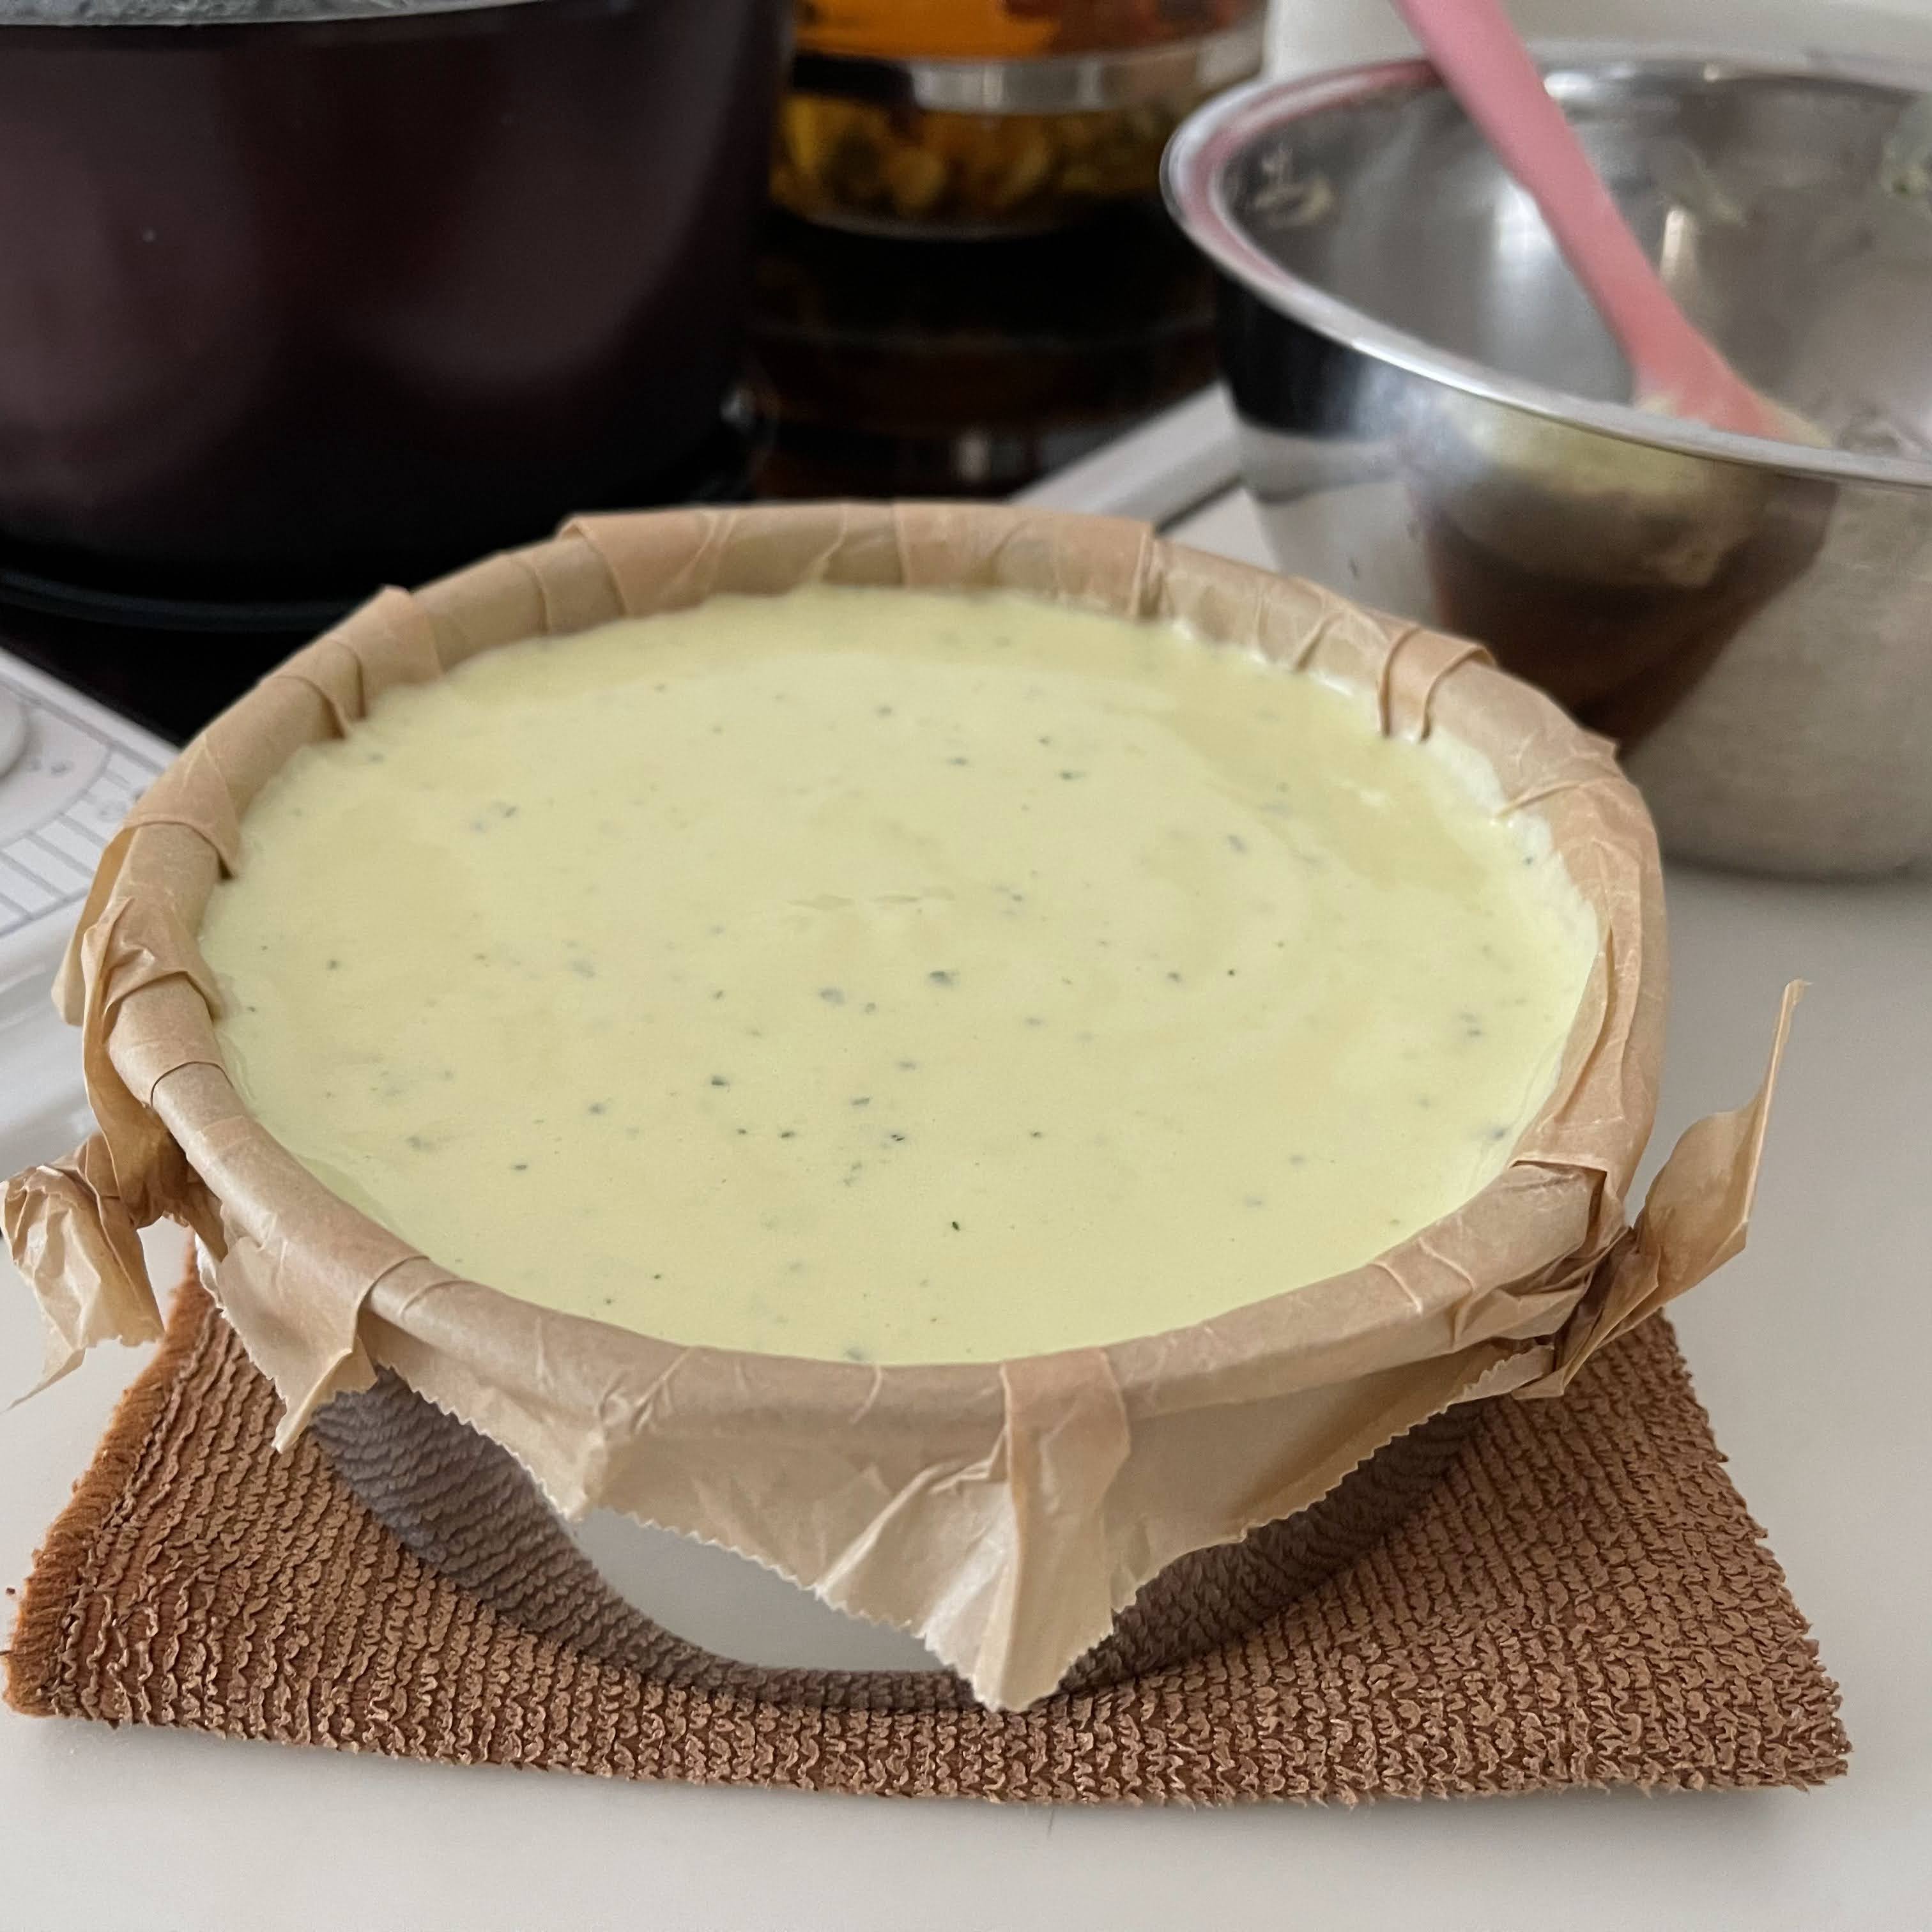
1. Line a 135x45mm round pan with parchment paper. Set it aside.
Picture for demonstration

2. Start to bring 130g of water in a 18cm sauce pan or a small pot to a boil in medium-low heat. Cover the pot with a glass lid with a steam vent.

3. Mix {C} ingredients in a small glass. Set aside.

4. In a clean and dry mixing bowl, beat egg white with salt, fine sugar and raw sugar till reaching firm peak. 
Mix in yolks and beat till reaching ribbon stage as {A}.

5. Sieve and mix in 1/3 of {B} using an electric hand mixer.

Pour and mix in 1/2 of {C} melon milk mixture from Step 3. Continue to mix in the remaining {B} and {C} in alternating sequence. End the mixing with {B}. Use a silicone spatula to do a final mixing into a smooth batter.
In the sequence of: 1/3 B → 1/2 C → 1/3 B → 1/2 C →1/3 B 

Add a drop of green food colour to the batter and mix well. This step is optional.

6. Pour the batter into one 135x45mm round pan lined with parchment paper prepared in Step 1.


7. Lower the pan into a pot of boiling water, and stand over a low steamer rack. Steam at medium-low heat for 5 minutes; lower to low heat and continue to steam for 13 ~ 15 minutes

Turn off the heating, without opening the lid, let the cake simmer for 5 minutes to gradually “cool down” in the pot.


8. Open the lid carefully to avoid the steam condensation from dripping onto the cake surface. 

Drop the cake with pan over a cloth thrice. 

Let the cake cool down for 5 minutes over a cooling rack before lifting out of the cake pan. 

Peel away the parchment paper, and cut the cake after cooling down. Enjoy πŸ˜‹


Monday, 20 March 2023

Japanese Red Bean Petite Rose Bun


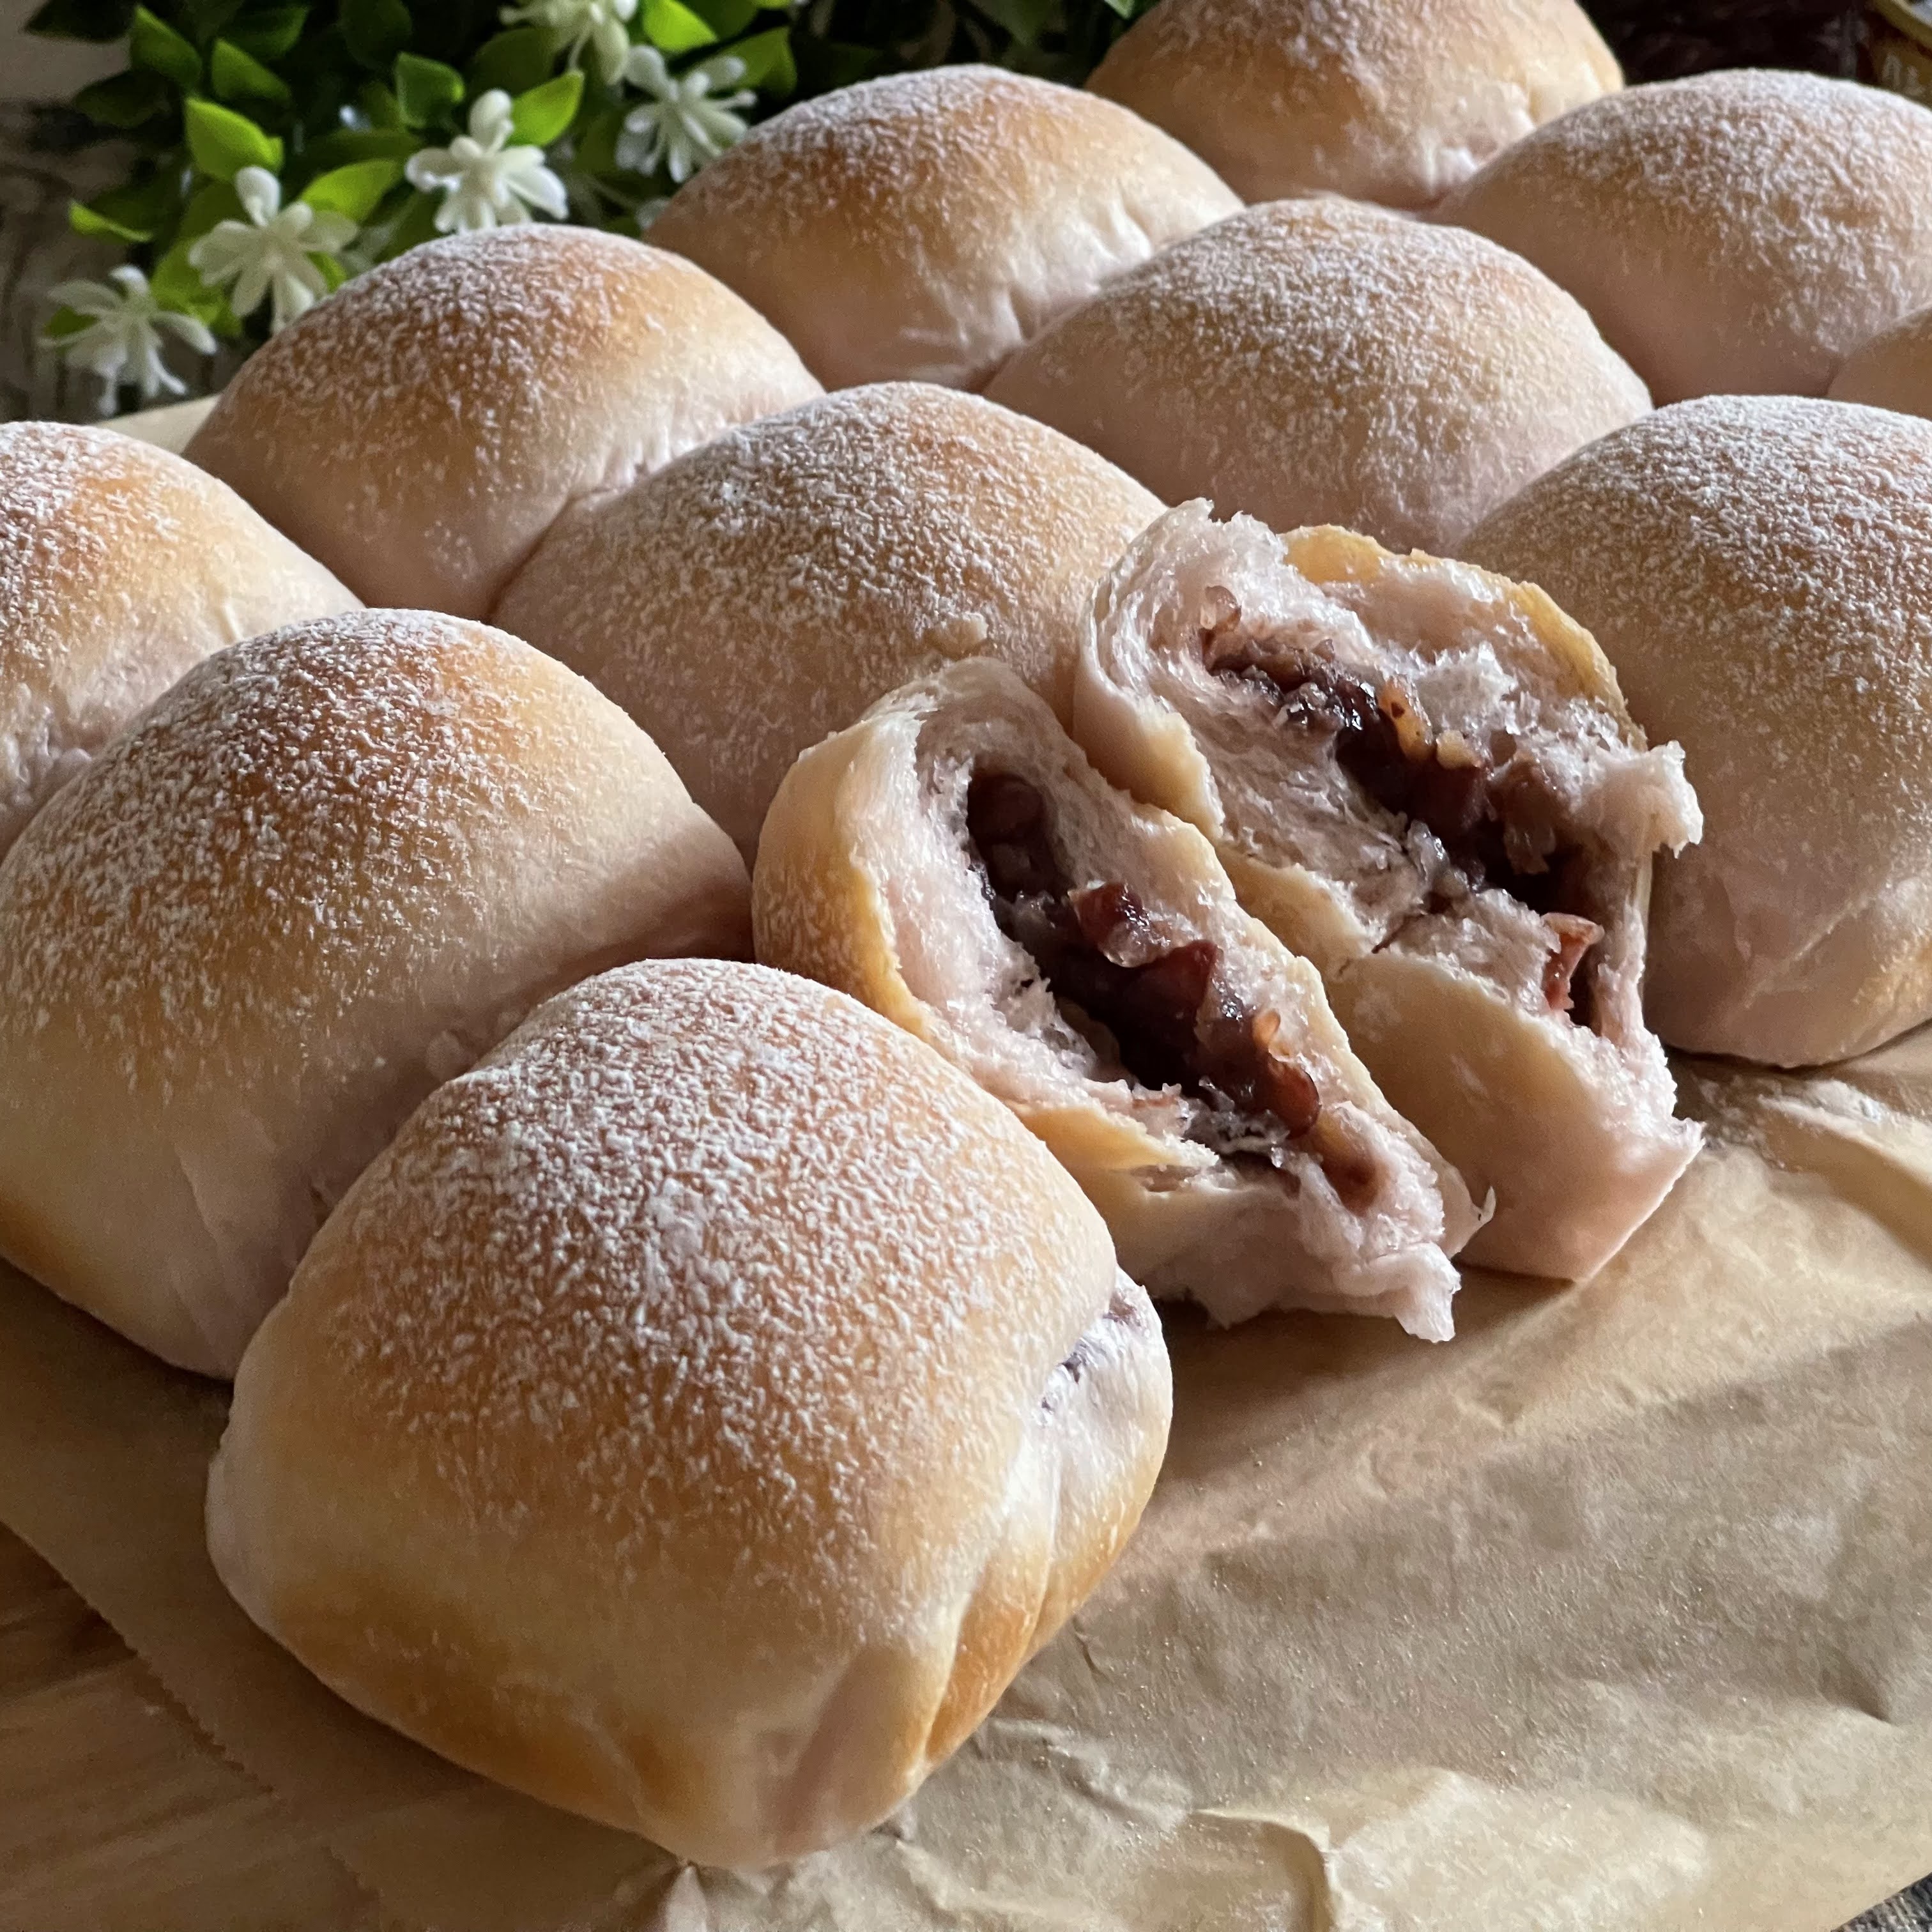
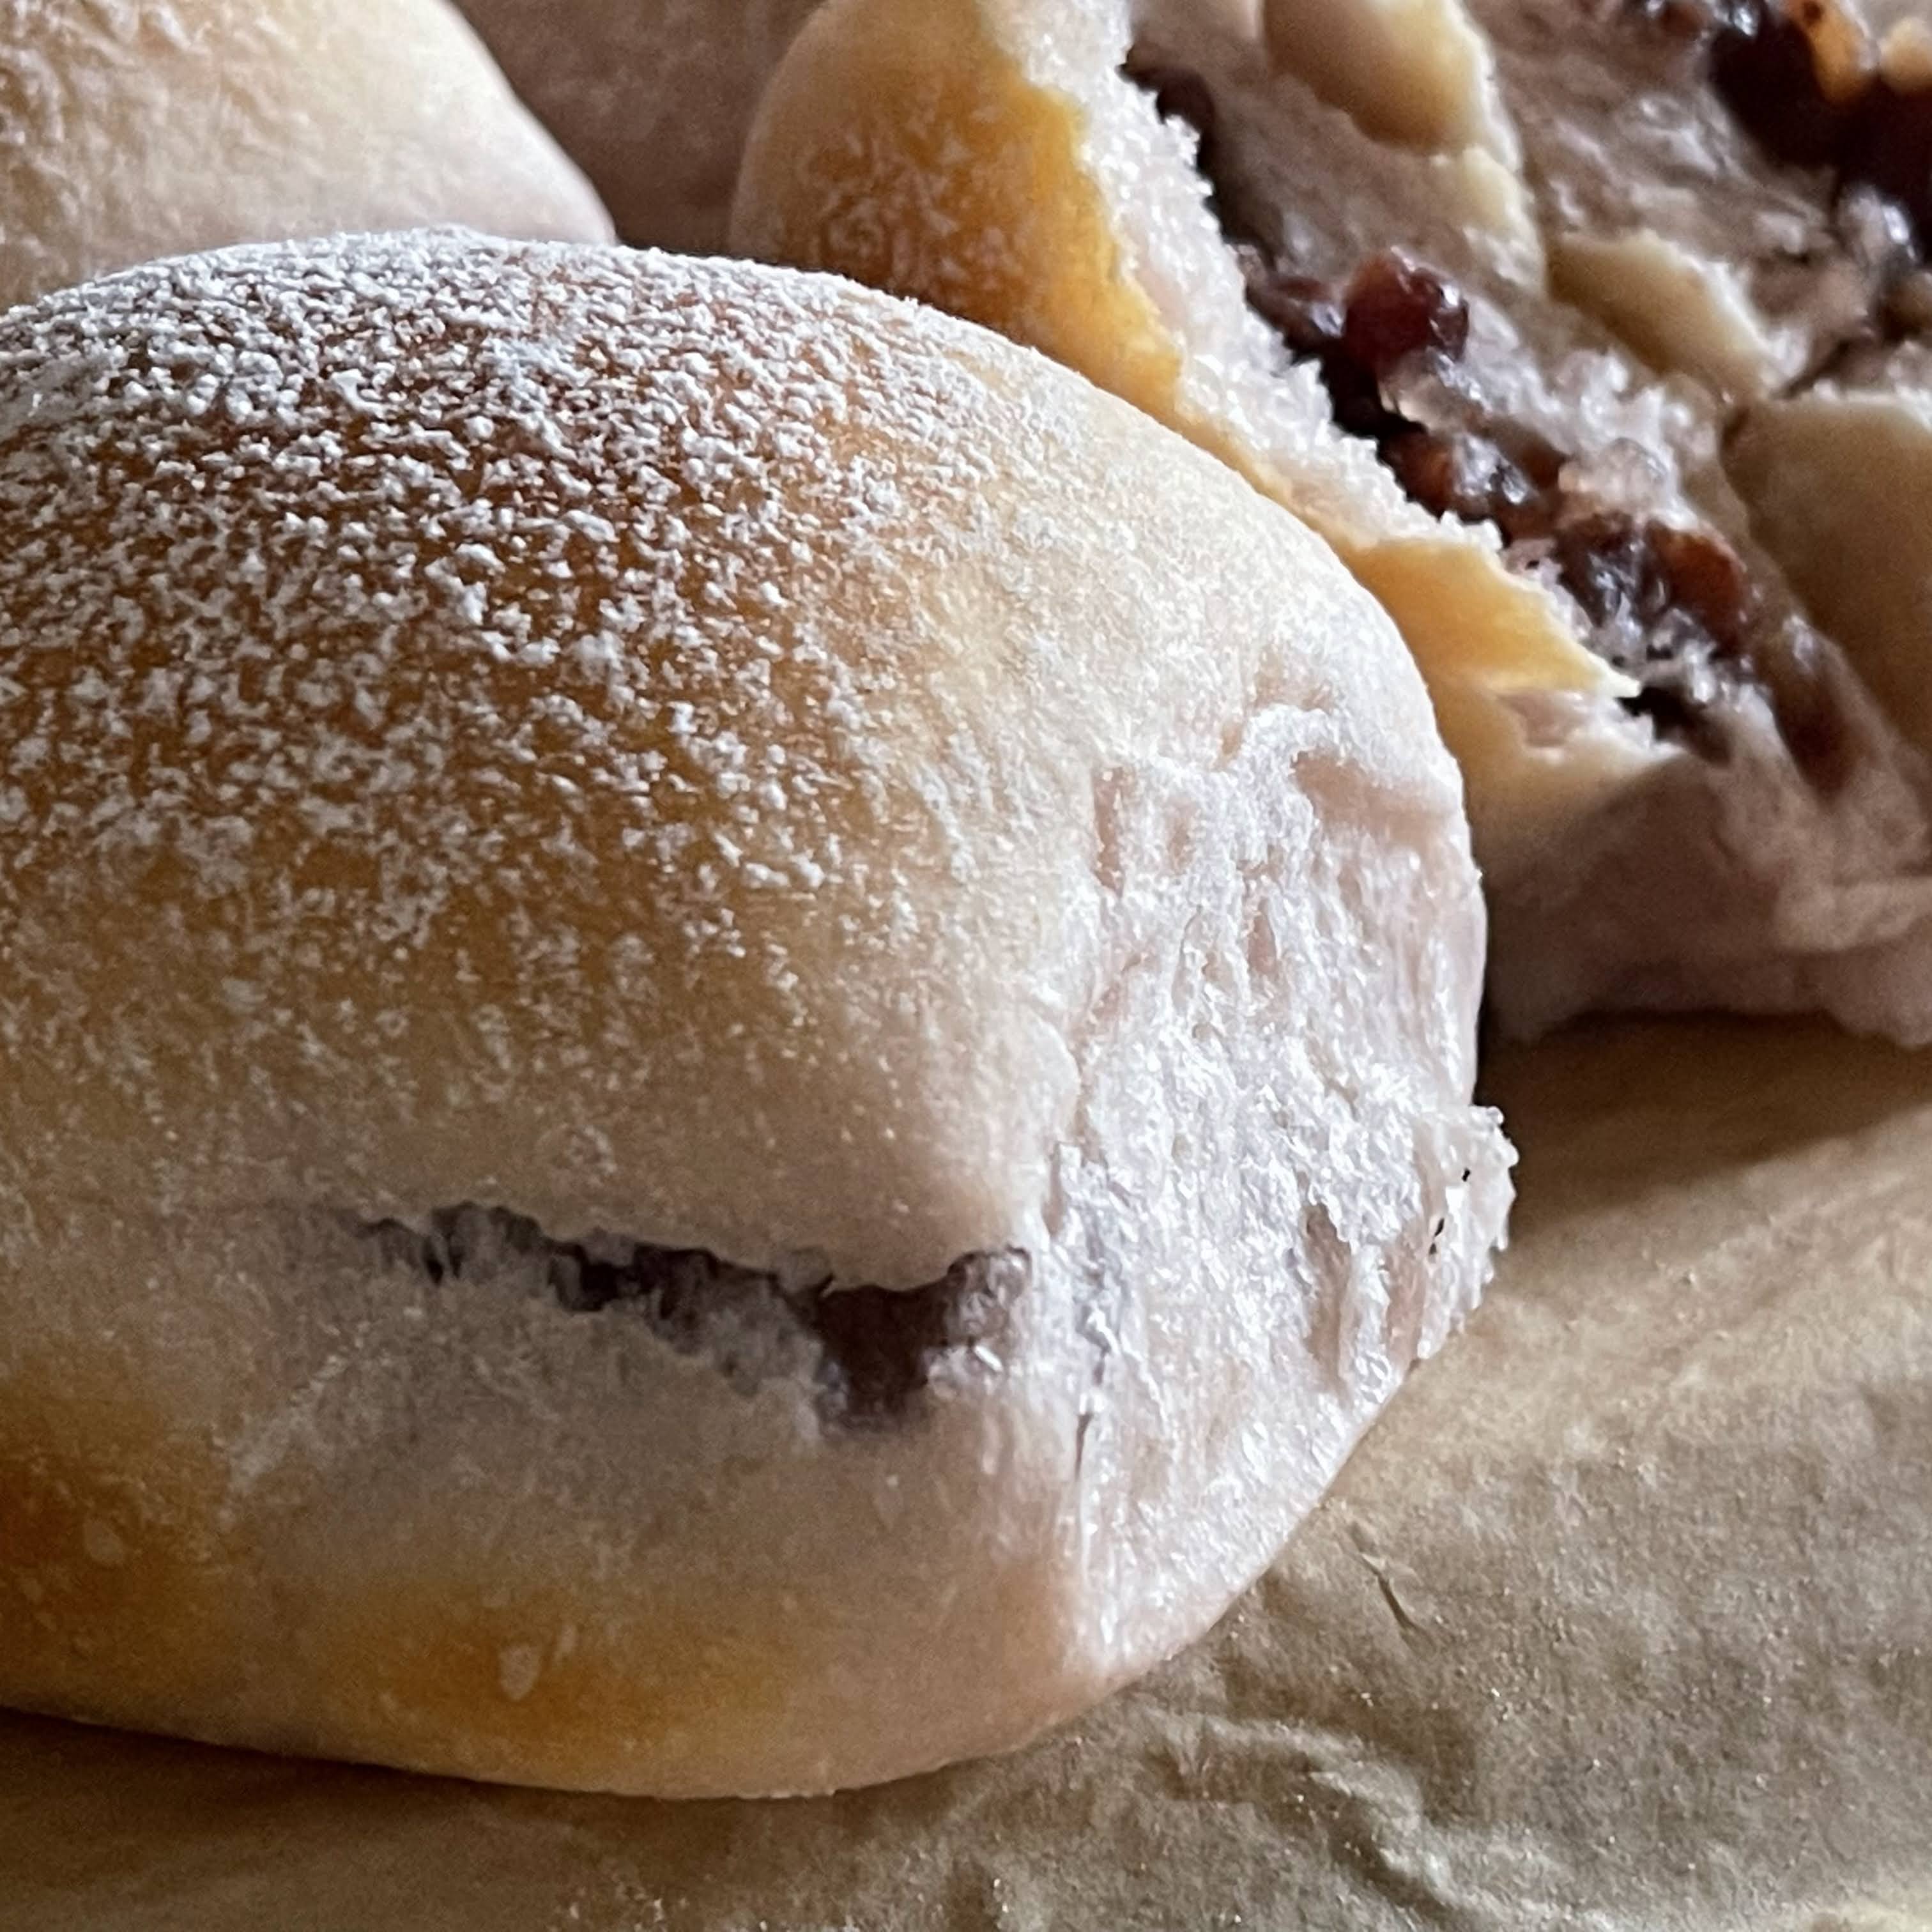
Super soft rose milk buns wrapped with pandan flavour sago pearls Japanese red bean baked to a light tan to keep the faint rose flavour.

The added unsweetened pandan flavoured sago pearls to the Japanese Red Beans not only helped to add a sweet scent to the filling, but also helped to lessen the sweetness of the red bean filling. I think the sago pearls also added some smoothness to the filling, as well as preventing the buns from oozing excess syrup during baking πŸ˜‰


Japanese Red Bean with Sago Pearl (185g)

Ingredients
10g sago pearls
1 can Japanese sweetened red beans, 190g
1 small blade pandan leaf

Directions
1.Rinse sago pearls a few times till water is less cloudy. Soak sago pearls in warm water for about 15 to 20 minutes.

2. Boil about 100~120 ml of water with pandan leaf. When the water is boiling, add soaked sago pearls to it. Stir and cover for about 10 to 15 minutes, or till the sago pearls turned translucent. 


3. Rinse the sago pearls in a sieve under running water till the water runs clear of starch.


4. Open a can of Japanese sweetened red beans and drain away excess syrup. Mix sago pearls to the red beans. I collected about 185g of red bean sago for use.


Rose Milk Dough

πŸ”…Yield: 12 small buns
πŸ”…Pan size: 27Lx18Wx3.5H cm
πŸ”…Raw dough weight: 479g
πŸ”…1st proofing: overnight in fridge.
Thaw for 90 minutes before shaping.
πŸ”…2nd proofing: 40 minutes
πŸ”…Baking temperature: Preheat oven to 180℃ for about 10 minutes.  After closing the oven door, reduce to 170℃ for 10 minutes, reduce to 160℃ for 5 minutes, further reduce to 150℃ for 3 minutes, turn off the oven and let the breads bake for another 3 minutes, or till the tops are lightly browned.

Ingredients
180g bread flour
15g superfine wholegrain flour
6g purple sweet potato powder 
20g raw sugar
1g instant dry yeast

50g natural yeast/sourdough, 100% hydration*
30g yudane dough^
105g low-fat milk, cold 
10g condensed milk 
5g whipping cream
10g beaten egg
1/4 tsp rosΓ© flavour 

25g cold water, to be added depending on dough condition

2g low sodium salt

20g unsalted butter, softened


* 50g natural yeast can be replaced by 25g each of bread flour and water + 1/8 tsp instant dry yeast. Let the mixture stand for about 1 hour or more till it doubles in volume, before use. You can also keep the mixture in the fridge overnight and thaw it for 1 hour before use.

^ 30g yudane dough is prepared by combining 16g of bread flour with 16g of very hot or boiling water into a sticky dough. Wrap the yudane dough in cling wrap, and cool down before use. Use a silicone spatula to scrape out the sticky yudane dough from the cling wrap.


Directions:
1. Knead the dough following your preferred method. 
For my method, you can refer to my recipe Yudane Milk Bread. After kneading the dough to window pane stage, 

2. After kneading the milk dough to window pane, shape the milk dough into a ball, and keep in a plastic bag coated with a little cooking oil. Keep the dough in the fridge overnight.

3. In the next day, remove the outer plastic bag, and let the dough thaw at room temperature for about 90 to 100 minutes. 

4. Divide the dough into 12 portions, about 39 to 40g each, shape into balls and let them rest for about 15 minutes.

5. Roll flat a dough, scoop about 15g of red bean sago filling to the center. Wrap up the dough and shape into a ball.

6. Line a 27Lx18Wx3.5H cm baking pan with parchment paper. Arrange the shaped dough over the baking pan. Spray some mist over, and let the shaped dough proof in a cold oven for about 40 minutes.


End of 40-minute proofing πŸ‘‡

7. Remove the proofed dough from the oven. And start to preheat the oven to 180℃ for about 10 minutes. While waiting, dust a thin coat of bread flour over the shaped dough surface.

8. After closing the oven door, reduce the temperature to 170℃ for 10 minutes, further reduce to 160℃ for 5 minutes, and finally reduce to 150℃ for 3 minutes, turn off the oven and let the breads bake for another 3 minutes, or till the tops are lightly browned. 
You can also bake the bread to a darker tone if you prefer a stronger aroma.

9. Lift out the hot buns from the baking pan and cool down over a wire rack.


Serve the yummy buns warm or cold πŸ˜‹