
Little white bun - soft, slightly chewy, and mildly sweetened. I would consider it as low fat, as it only involved 10g of butter and 5g of coconut oil against a 210g flour weight.
The little groove in the middle of the bun is the main characteristics of this bun. It was supposed to resemble the little butt of a baby. But mine didn't seem to fit the description ><
This is the first time that a high ratio of top flour has been used against bread flour in a bread recipe - almost 1:1. The ratio usually was 1:10.
The softness of the buns was able to last till the third day without the needs to heat up :)
Yield: 8 buns
Raw dough weight: 405g
Bread maker: Mayer MMBM12
Ingredients
90g fresh milk
50g water
10g condensed milk
25g sugar
1/4 tsp fine salt
10g cold butter
5g coconut/vegetable oil
110g bread flour
100g top/cake flour
3/4 tsp instant dry yeast
Directions
1. Mix cold fresh milk, cold water and condensed milk in a beaker. Pour the mixture into the bread pan.


2. Add in sugar, salt, cold butter and coconut oil.


3. Pour in bread flour and top/cake flour mixture.


4. Dig a hole and pour in the instant dry yeast.

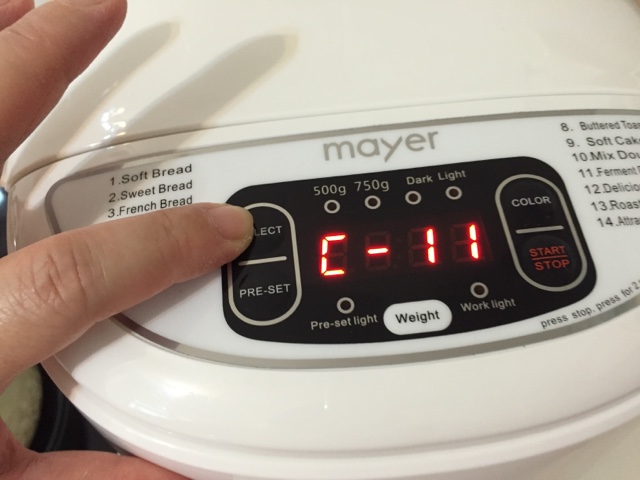
5. Place the bread pan into the bread maker, select C-11 "ferment dough" function, and start the machine.

6. When the program stops, let the dough continues to proof in the bread pan for another 15 minutes.

15 minutes later.

7. Turn out the dough onto a floured surface.

Flatten it with your palm to release the trapped air.

8. Divide the dough into 8 equal portions, about 50g each.

9. Roll up the individual doughs and shape into balls by pulling down the side of the dough, and seal at the bottom.


10. Cover and let the dough rest for 15 minutes.

11. After the rest, lightly press down the dough, and shape the dough into a ball again.


Coat the dough with some flour, use a chopstick to impressed a groove in the middle of the bun.
Be careful not to cut the dough into half!

Place the dough on a non-stick baking tray lightly sprinkled with flour.

12. Spray some water and let the dough proof in a closed oven for about 35 minutes, or when the doughs are about 1.5 times larger.


13. Remove the doughs from the oven. Start to preheat the oven to 180 degree Celsius.

14. Use a sieve to sprinkle some bread flour over the top of the dough.


15. When the dough is in the oven, lower the temperature to 160 degree and bake for 10 minutes; further reduce the temperature to 150 degree Celsius and bake for 10 to 12 minutes, or till the top slightly brown.


16. Transfer the buns out of the oven and allow them to cool down.

After the buns have cooled down, lightly press down the grooves with a chopstick to "re-construct" the grooves :|


You can eat it plain, or


Recipe adapted from
with great appreciation :)
No comments:
Post a Comment
I love seeing your comment and sharing it with other readers. Your comment would be published after moderation. Thank you :)