
I first came to know about genoise cake after seeing my Instagram friend, Keem Possible, posted a genoise swiss roll. It is basically a sponge cake leavened by beaten egg without the aid of baking powder. And with very small quantity of melted butter. The cake has a soft and moist texture with sweet butter aroma.
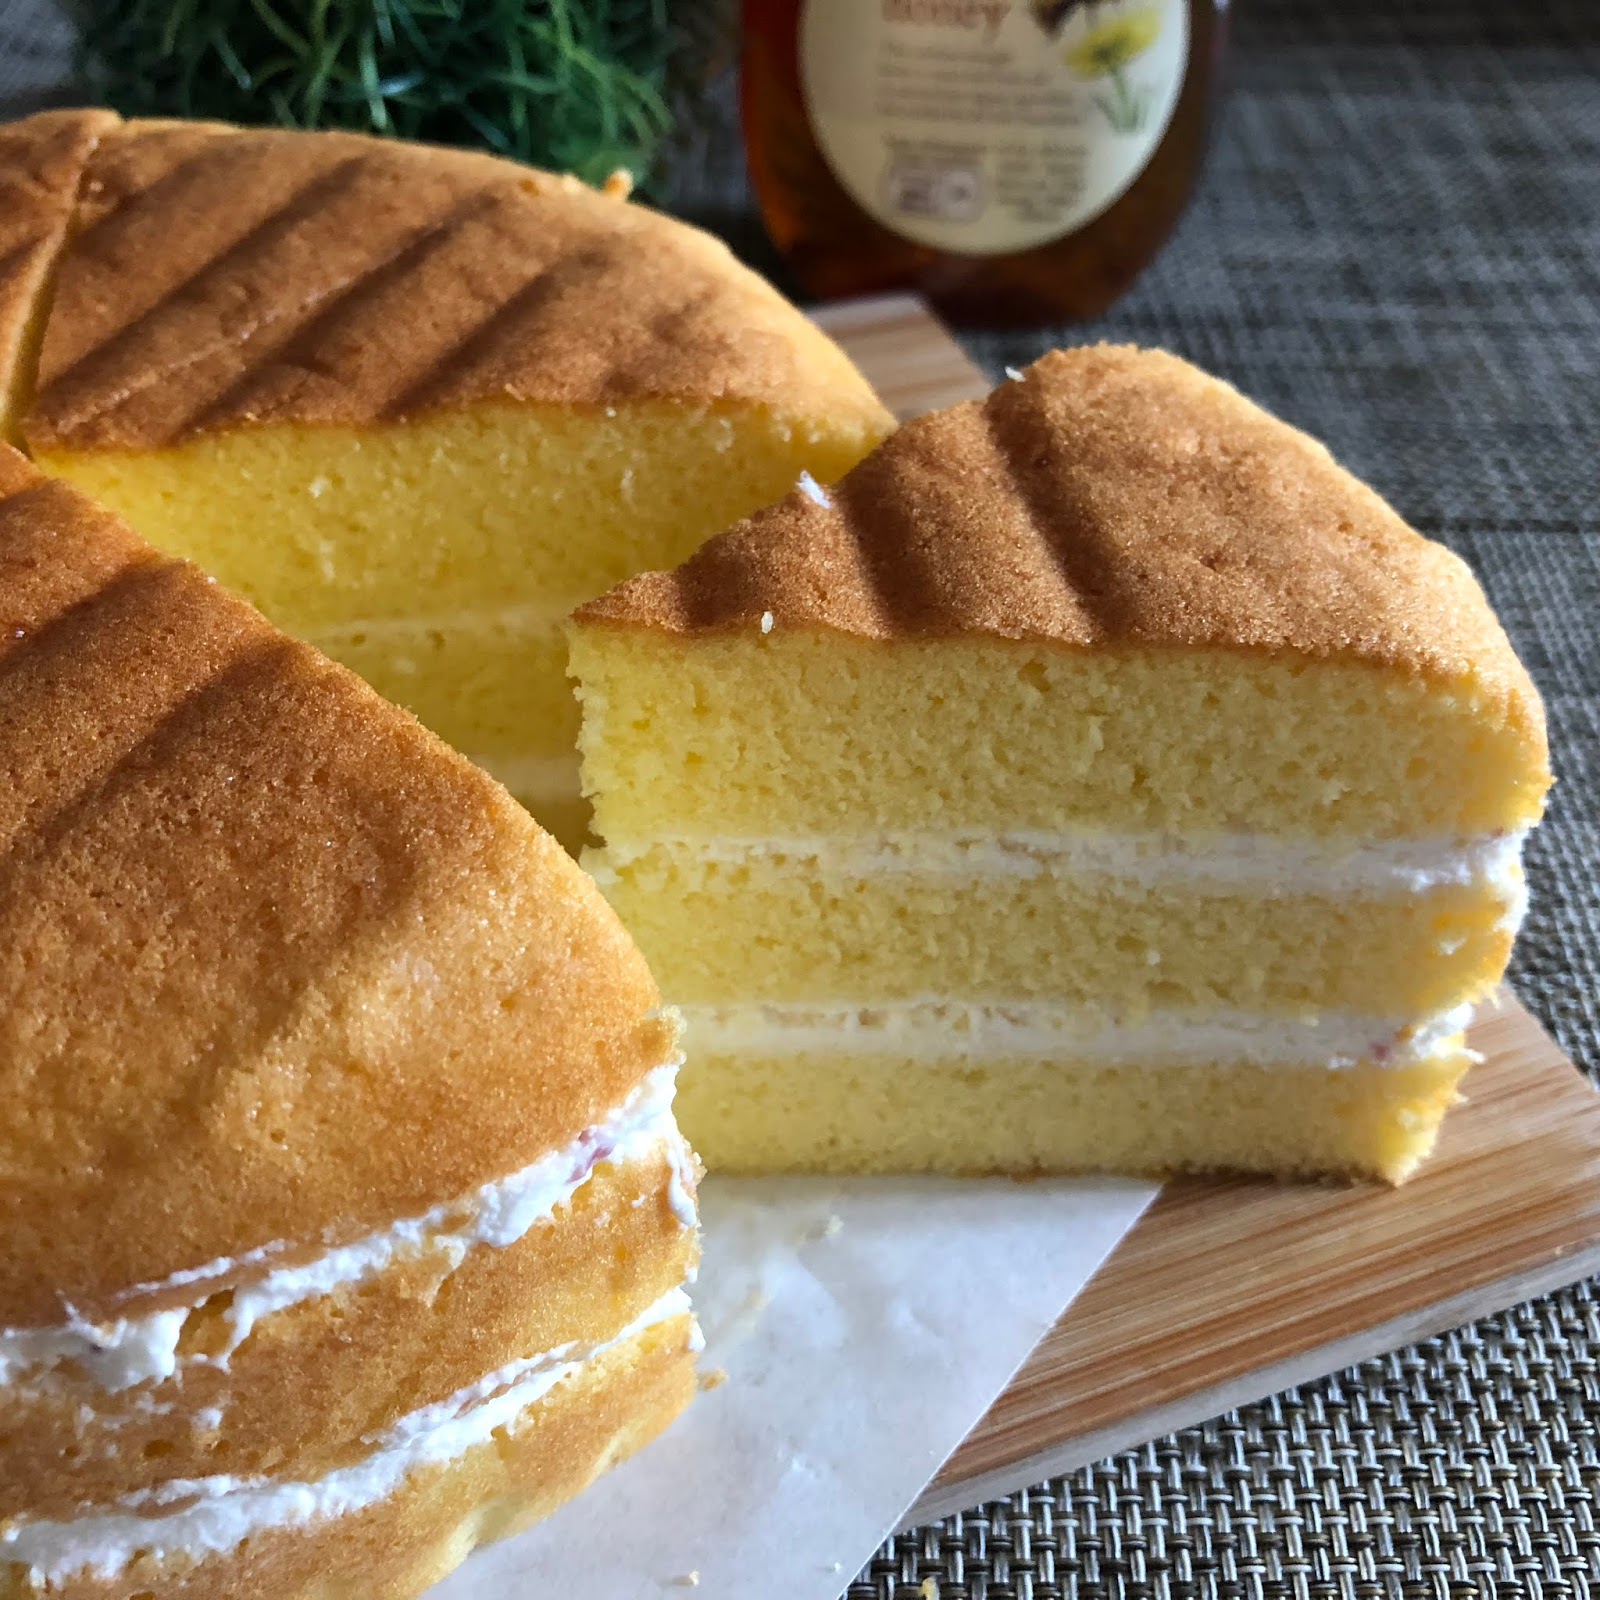
Layered with strawberry yoghurt whipped cream, it made a very delicious cake to be served cold 😋

Yield: one 16 cm round cake
Pan size: 6x3" round pan
Baking temperature: 160℃ for 30 minutes, 170℃ for 5 minutes
Ingredients
All ingredients in room temperature3 eggs, about 173~180g
70g caster sugar
100g top/cake flour
30g milk
10g honey
20g unsalted butter

Directions:
1. Coat the cake pan with a little vegetable oil, and line with parchment paper. Set aside.
2. Melt unsalted butter with milk and honey in a small heat resistant container. Keep warm the mixture and set aside.


3. In a clean and dry mixing bowl, add caster sugar to eggs, and keep warm over a water bath for about 3~5 minutes, or till most of the sugar has melted and the temperature has reached about 42℃.


Beat the eggs at high speed of an electric hand mixer for about 8 to 10 minutes.

When the egg batter has thickened and turned pale, reduce the mixer speed to low and continue for another 3 to 5 minutes.

Reduce mixer speed to low and continue to beat till reaching ribbon stage.

4. Remove the bowl of egg batter from the water bath.
Sieve top flour, in several small batches, and fold in using a silicone spatula. Do it lightly in order not to deflate the beaten egg.

5. Mix the warm honey-butter from Step 2, and pour it into the batter. Fold to mix well. Stop mixing once no melted butter or milk can be seen.

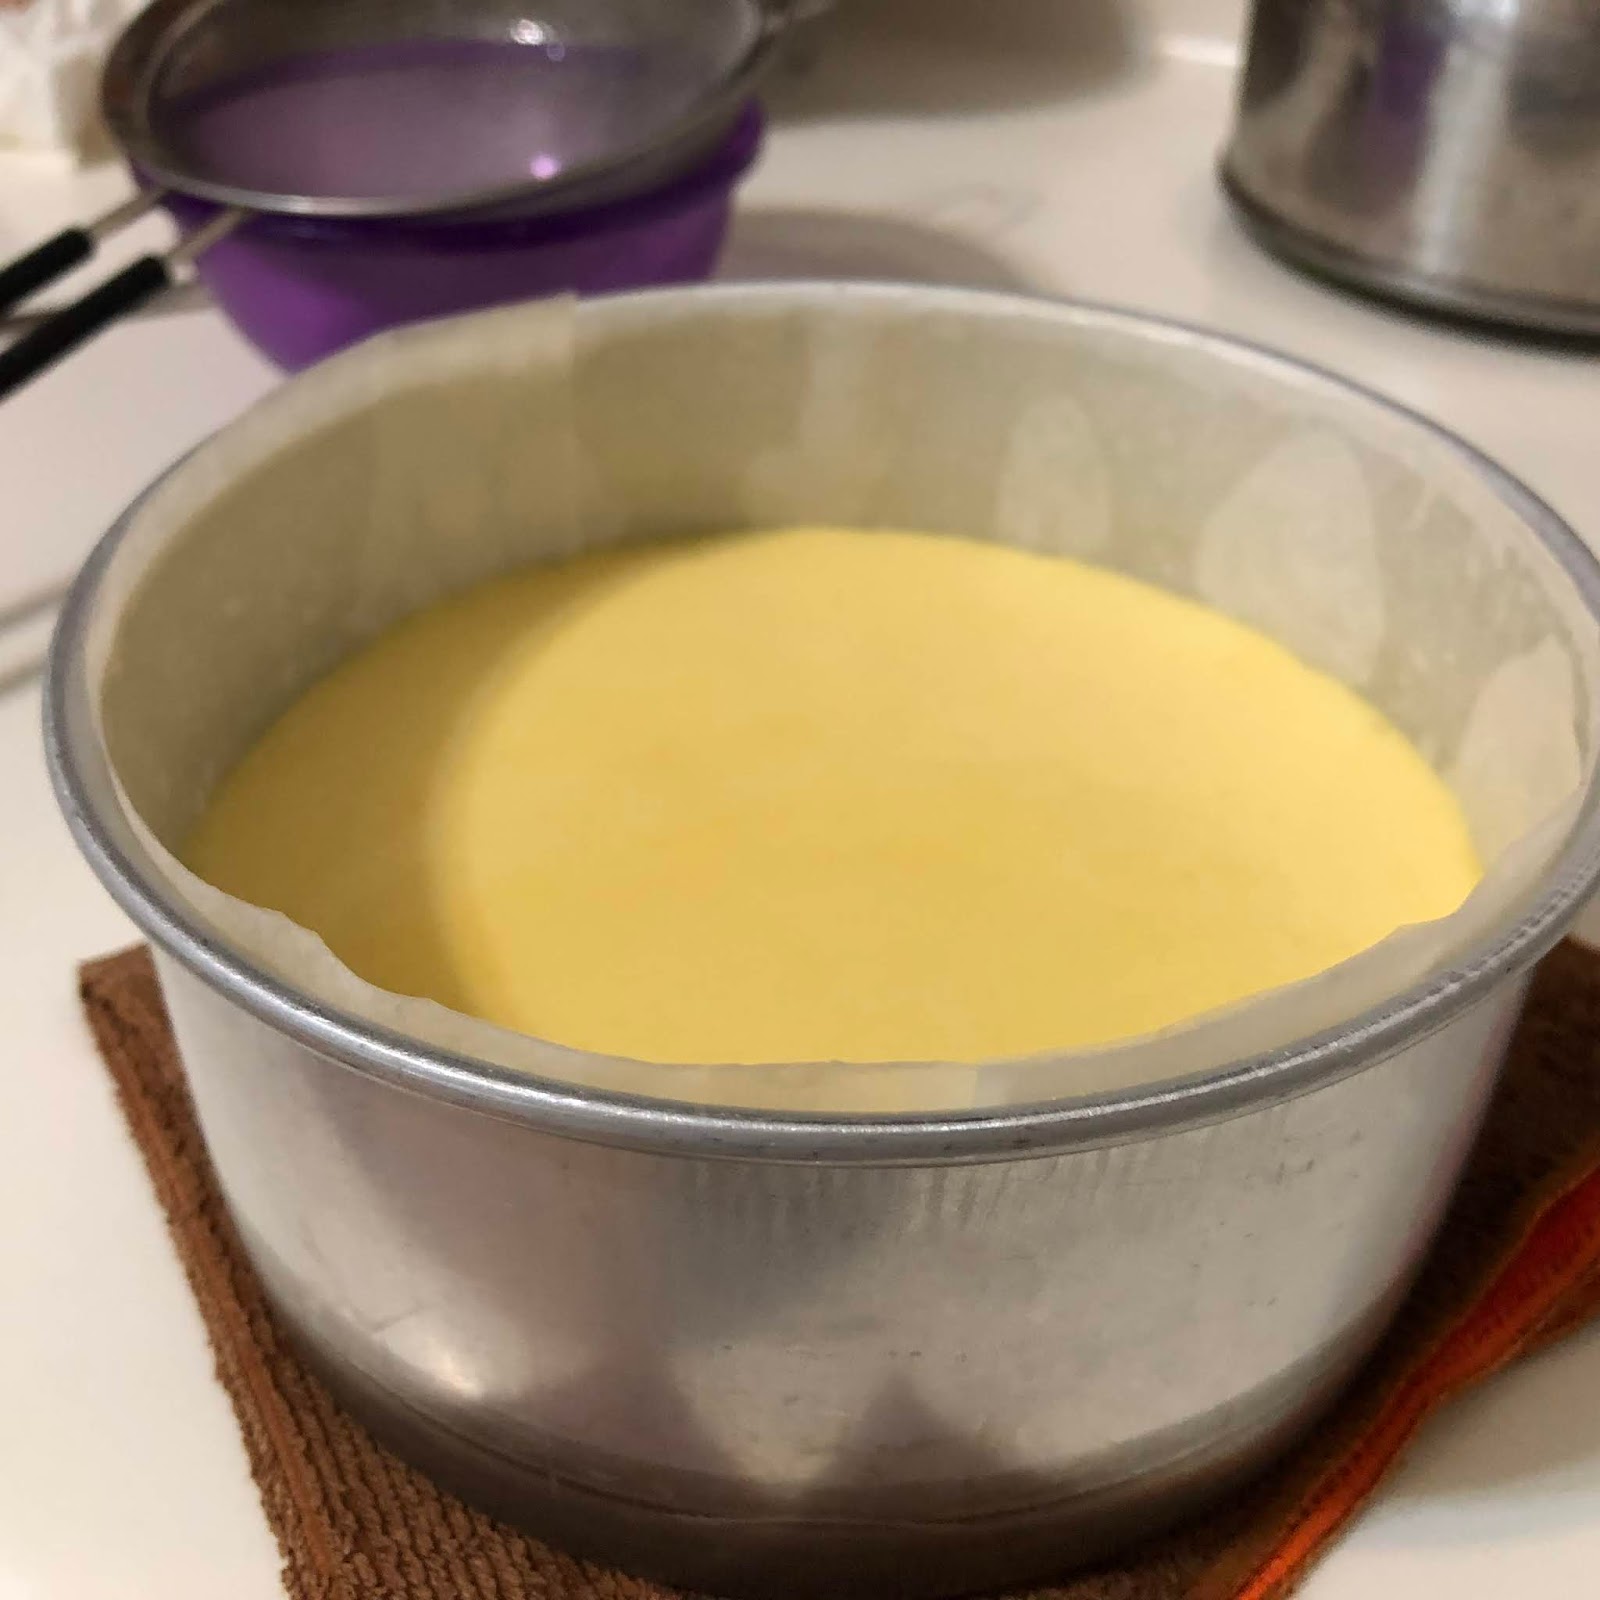
6. Pour the batter, from a tall height, into the prepared cake pan.

Drop the cake pan from a height of about 15cm to a kitchen towel to level the batter and to get rid of trapped air bubbles.
7. Bake at middle rack of a pre-heated oven at 160℃ for 30 minutes.

Increase the temperature to 170℃ for about 5 minutes. Test the cake using a cake tester.

8. Drop the cake with the cake pan, from a height of about 15 cm, thrice onto a kitchen towel. This is to prevent the cake from shrinking during cooling down.

Cover the cake pan opening with a small piece of parchment paper and a wire rack

Invert the cake over, and remove the side parchment paper, keep the base parchment paper.

Loosely cover the cake with a cling wrap and let it cool down for about 30 minutes. To help to keep the moisture locked in the cake. The original recipe used a towel to cover the cake.


This step is optional. I kept the cake in the oven using the remnant heat to dry the wet surface for about 15 minutes.

9. Let the cake cool down before cutting. Enjoy 😋


Optional Step
You can also slice the cake across into 3 layers, and spread whipped cream over for enhanced flavour. The steps of preparing the strawberry yogurt whipped cream is at the end of this recipe 😊


I kept the cake in the freezer for about 1 hour, and chiller for about 15 minutes before cutting.


Strawberry Yogurt Whipped Cream
80g whipping cream, cold
8g icing sugar
15g strawberry yogurt, cold
1. Keep the equipment for whipping the cream in the freezer for about 15 minutes.

2. Pour cold whipping cream into the cold tall mixing cup and stands on an ice pack (optional).
Using this tall mixing cup and the balloon whisk of an hand blender really need very short duration to get that small quantity of cream whipped up using the turbo speed. I think should be around 5 minutes.

3. Blend the whipping cream using the Turbo speed for about 30~50 seconds to reach soft peak.

Add in the icing sugar,

Continue to blend till reaching soft peak.

4. Cut the strawberry fruit in the yogurt into tiny pieces.


till reaching firm peak stage. Keep the cream in the fridge till needed.

Recipe adapted from https://cookpad.com/recipe/1404712
No comments:
Post a Comment
I love seeing your comment and sharing it with other readers. Your comment would be published after moderation. Thank you :)