


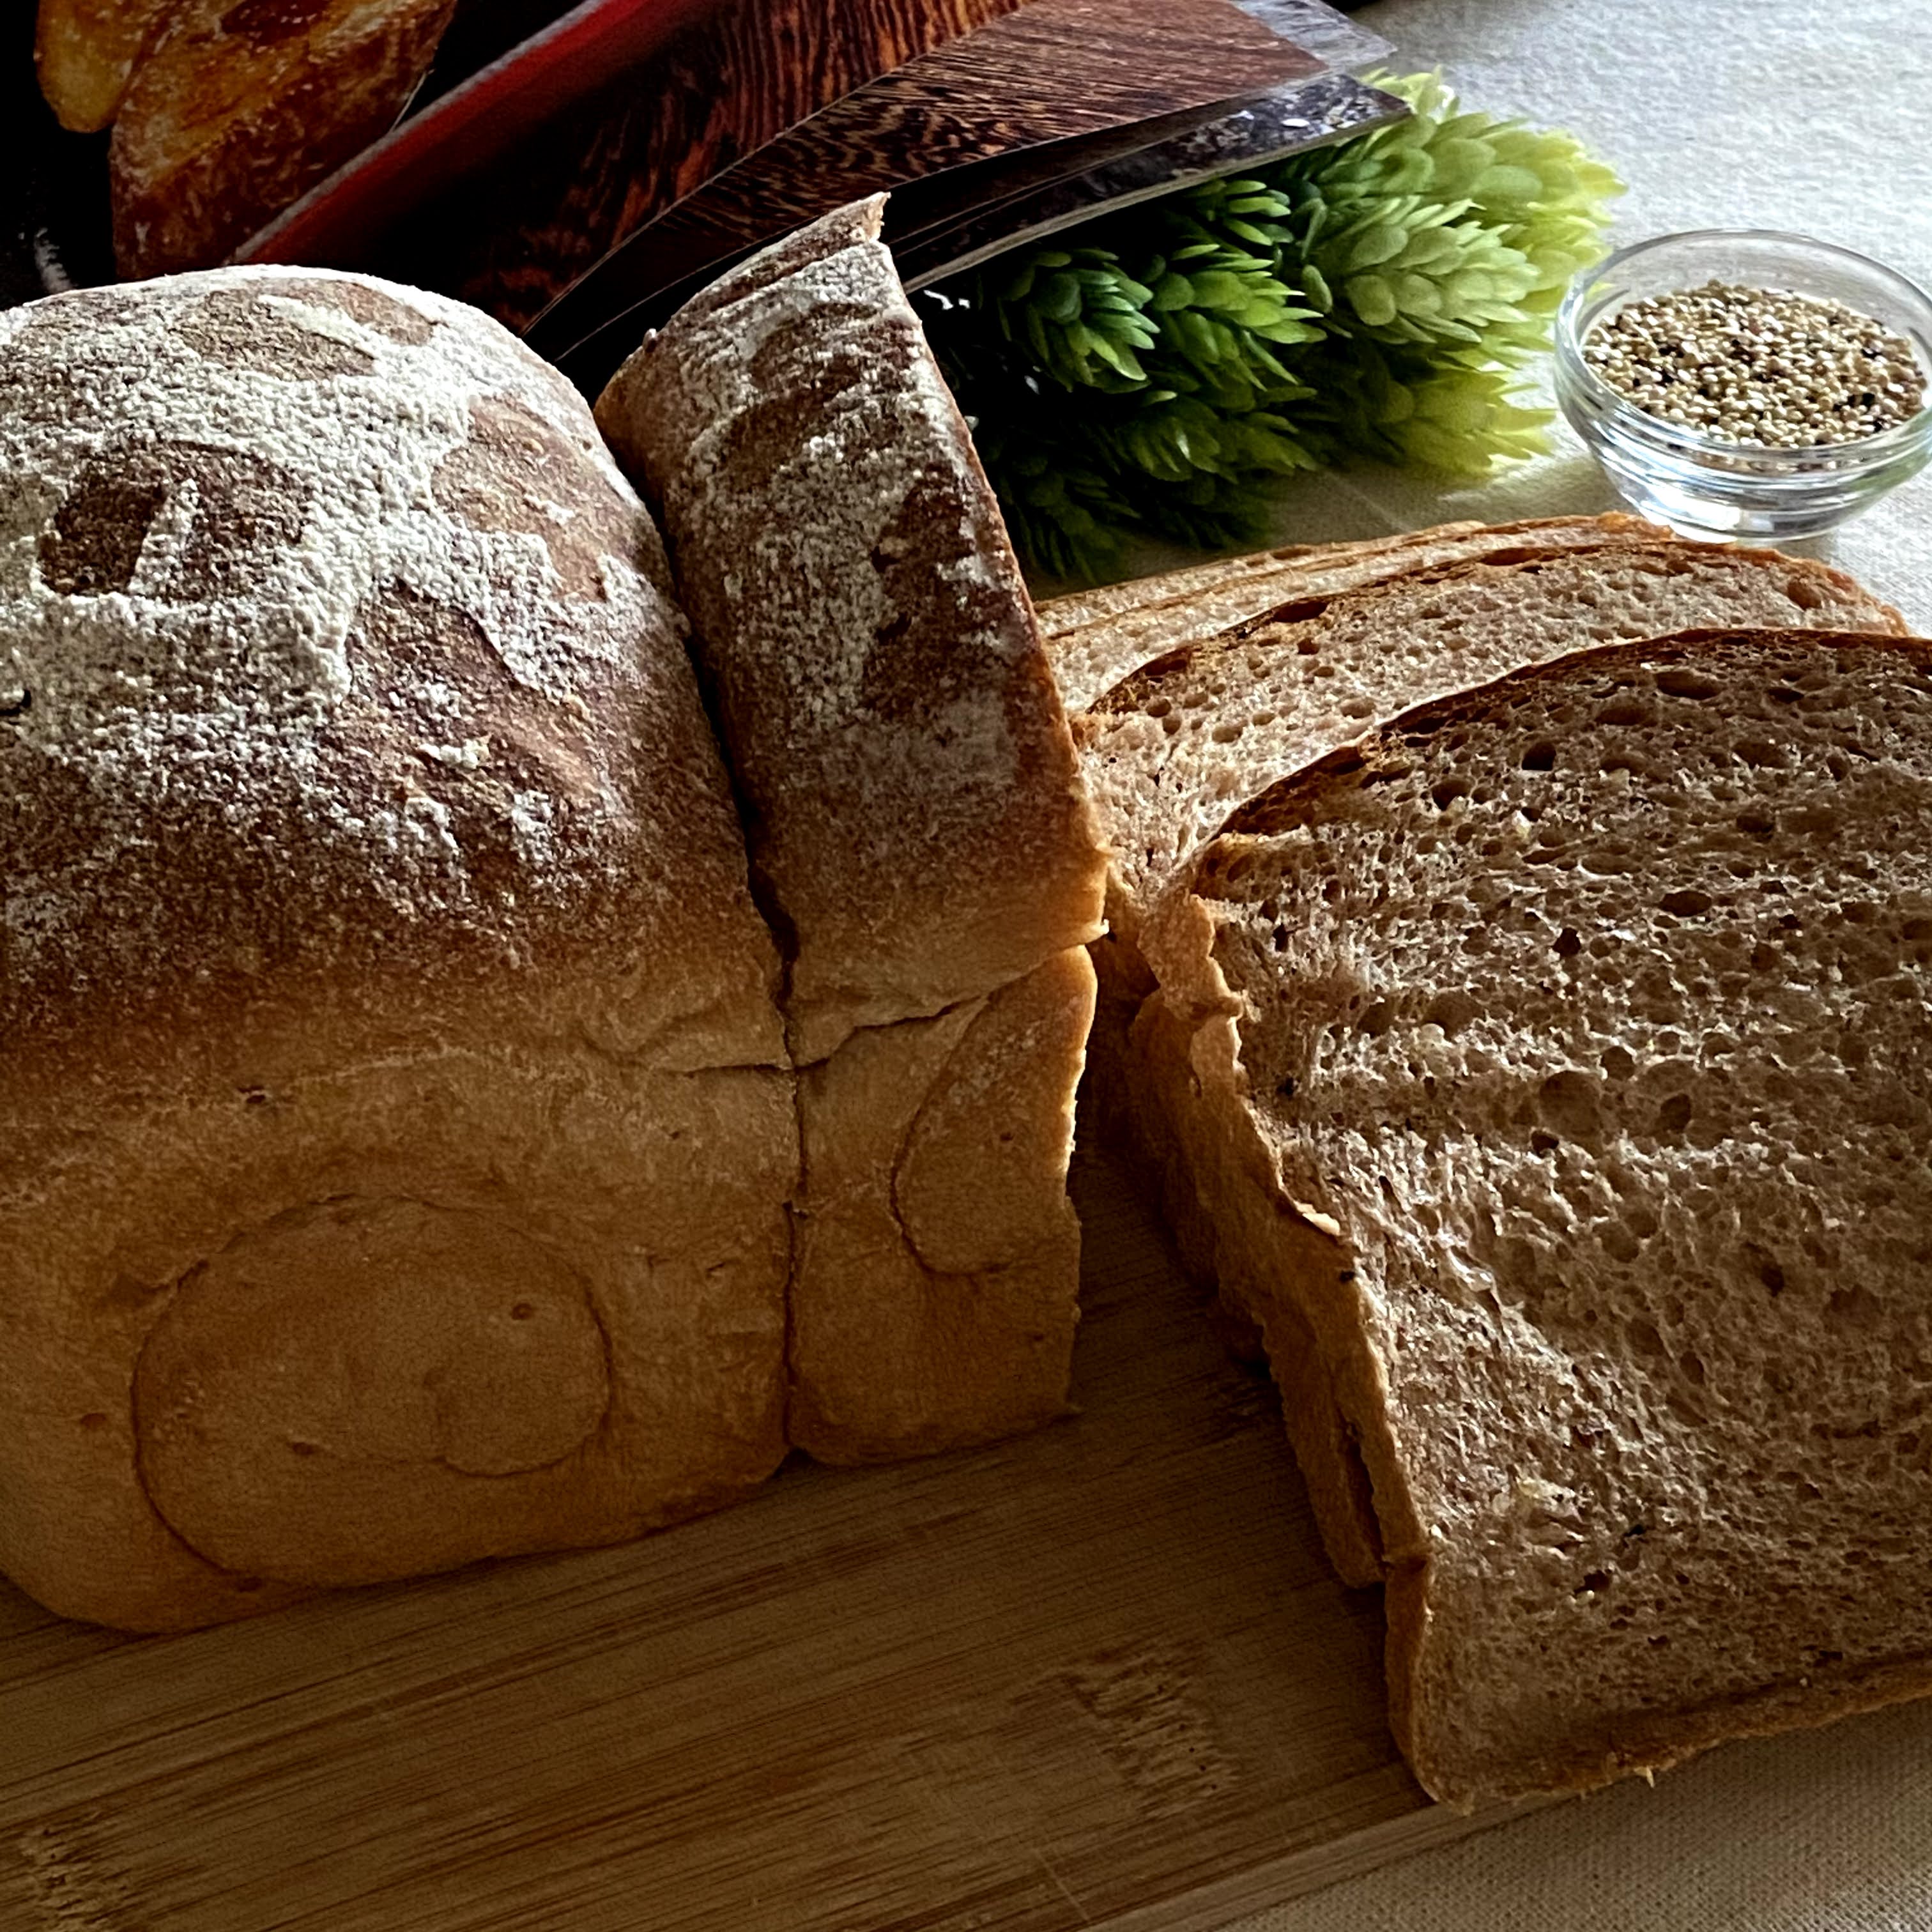
Yield: Twin loaves in one pan
Pan size: 21x13x10 cm 1.5L
Raw dough weight: 639g
Baking temperature: Preheat oven to 190℃, lower rack, bake at 180℃ for 15 minutes, reduce to 170℃ for 15 minutes, turn off oven and continue to bake for 5 minutes.
Ingredients
225g bread flour
45g superfine wholegrain flour
5~8g cocoa powder (add more for a darker and stronger aroma)
40g raw sugar
2g instant dry yeast (increase the yeast to 3g for a faster proofing time)
50g natural yeast, 100% hydration *
38g yudane dough ^
About 20g soaked quinoa seeds #
170g milk, cold
20g water, cold, to be added depending on dough condition
3g low-sodium salt
30g unsalted butter, softened
2g unsalted butter, melted as butter wash

* 50g natural yeast can be replaced by 25g each of bread flour and water + 1/8 tsp instant dry yeast. Let the mixture stands for about 1 hour or till double in volume, before use. You can also keep the mixture in the fridge overnight and thaw it for 1 hour before use.
^ 38g yudane dough is prepared by combining 20g of bread flour with 19g of very hot or boiling water into a sticky dough. Wrap the yudane dough in cling wrap, cool down before chilling in the fridge overnight. You may refer to Yudane Milk Bread for a pictorial illustration.

# Pour 15g boiling water to 10g of mixed quinoa seeds, and let them stand for about 1 hour or more. Drain away excess water before adding to the dough mixture.


Directions
Knead the dough using your preferred method till reaching window pane stage.
1. Mix dry ingredients except the salt, in a big mixing bowl followed by the natural yeast, yudane dough and the wet ingredients, except the unsalted butter.
 |
| The dry ingredients |
 |
| The wet ingredients |

Stir in one direction and combine into a dough, cover with a lid, and let it stands for about 20 minutes.

2. Use an electric hand mixer fitted with a pair of dough hooks to knead the dough at low speed for about 1 to 2 minutes before adding the salt.
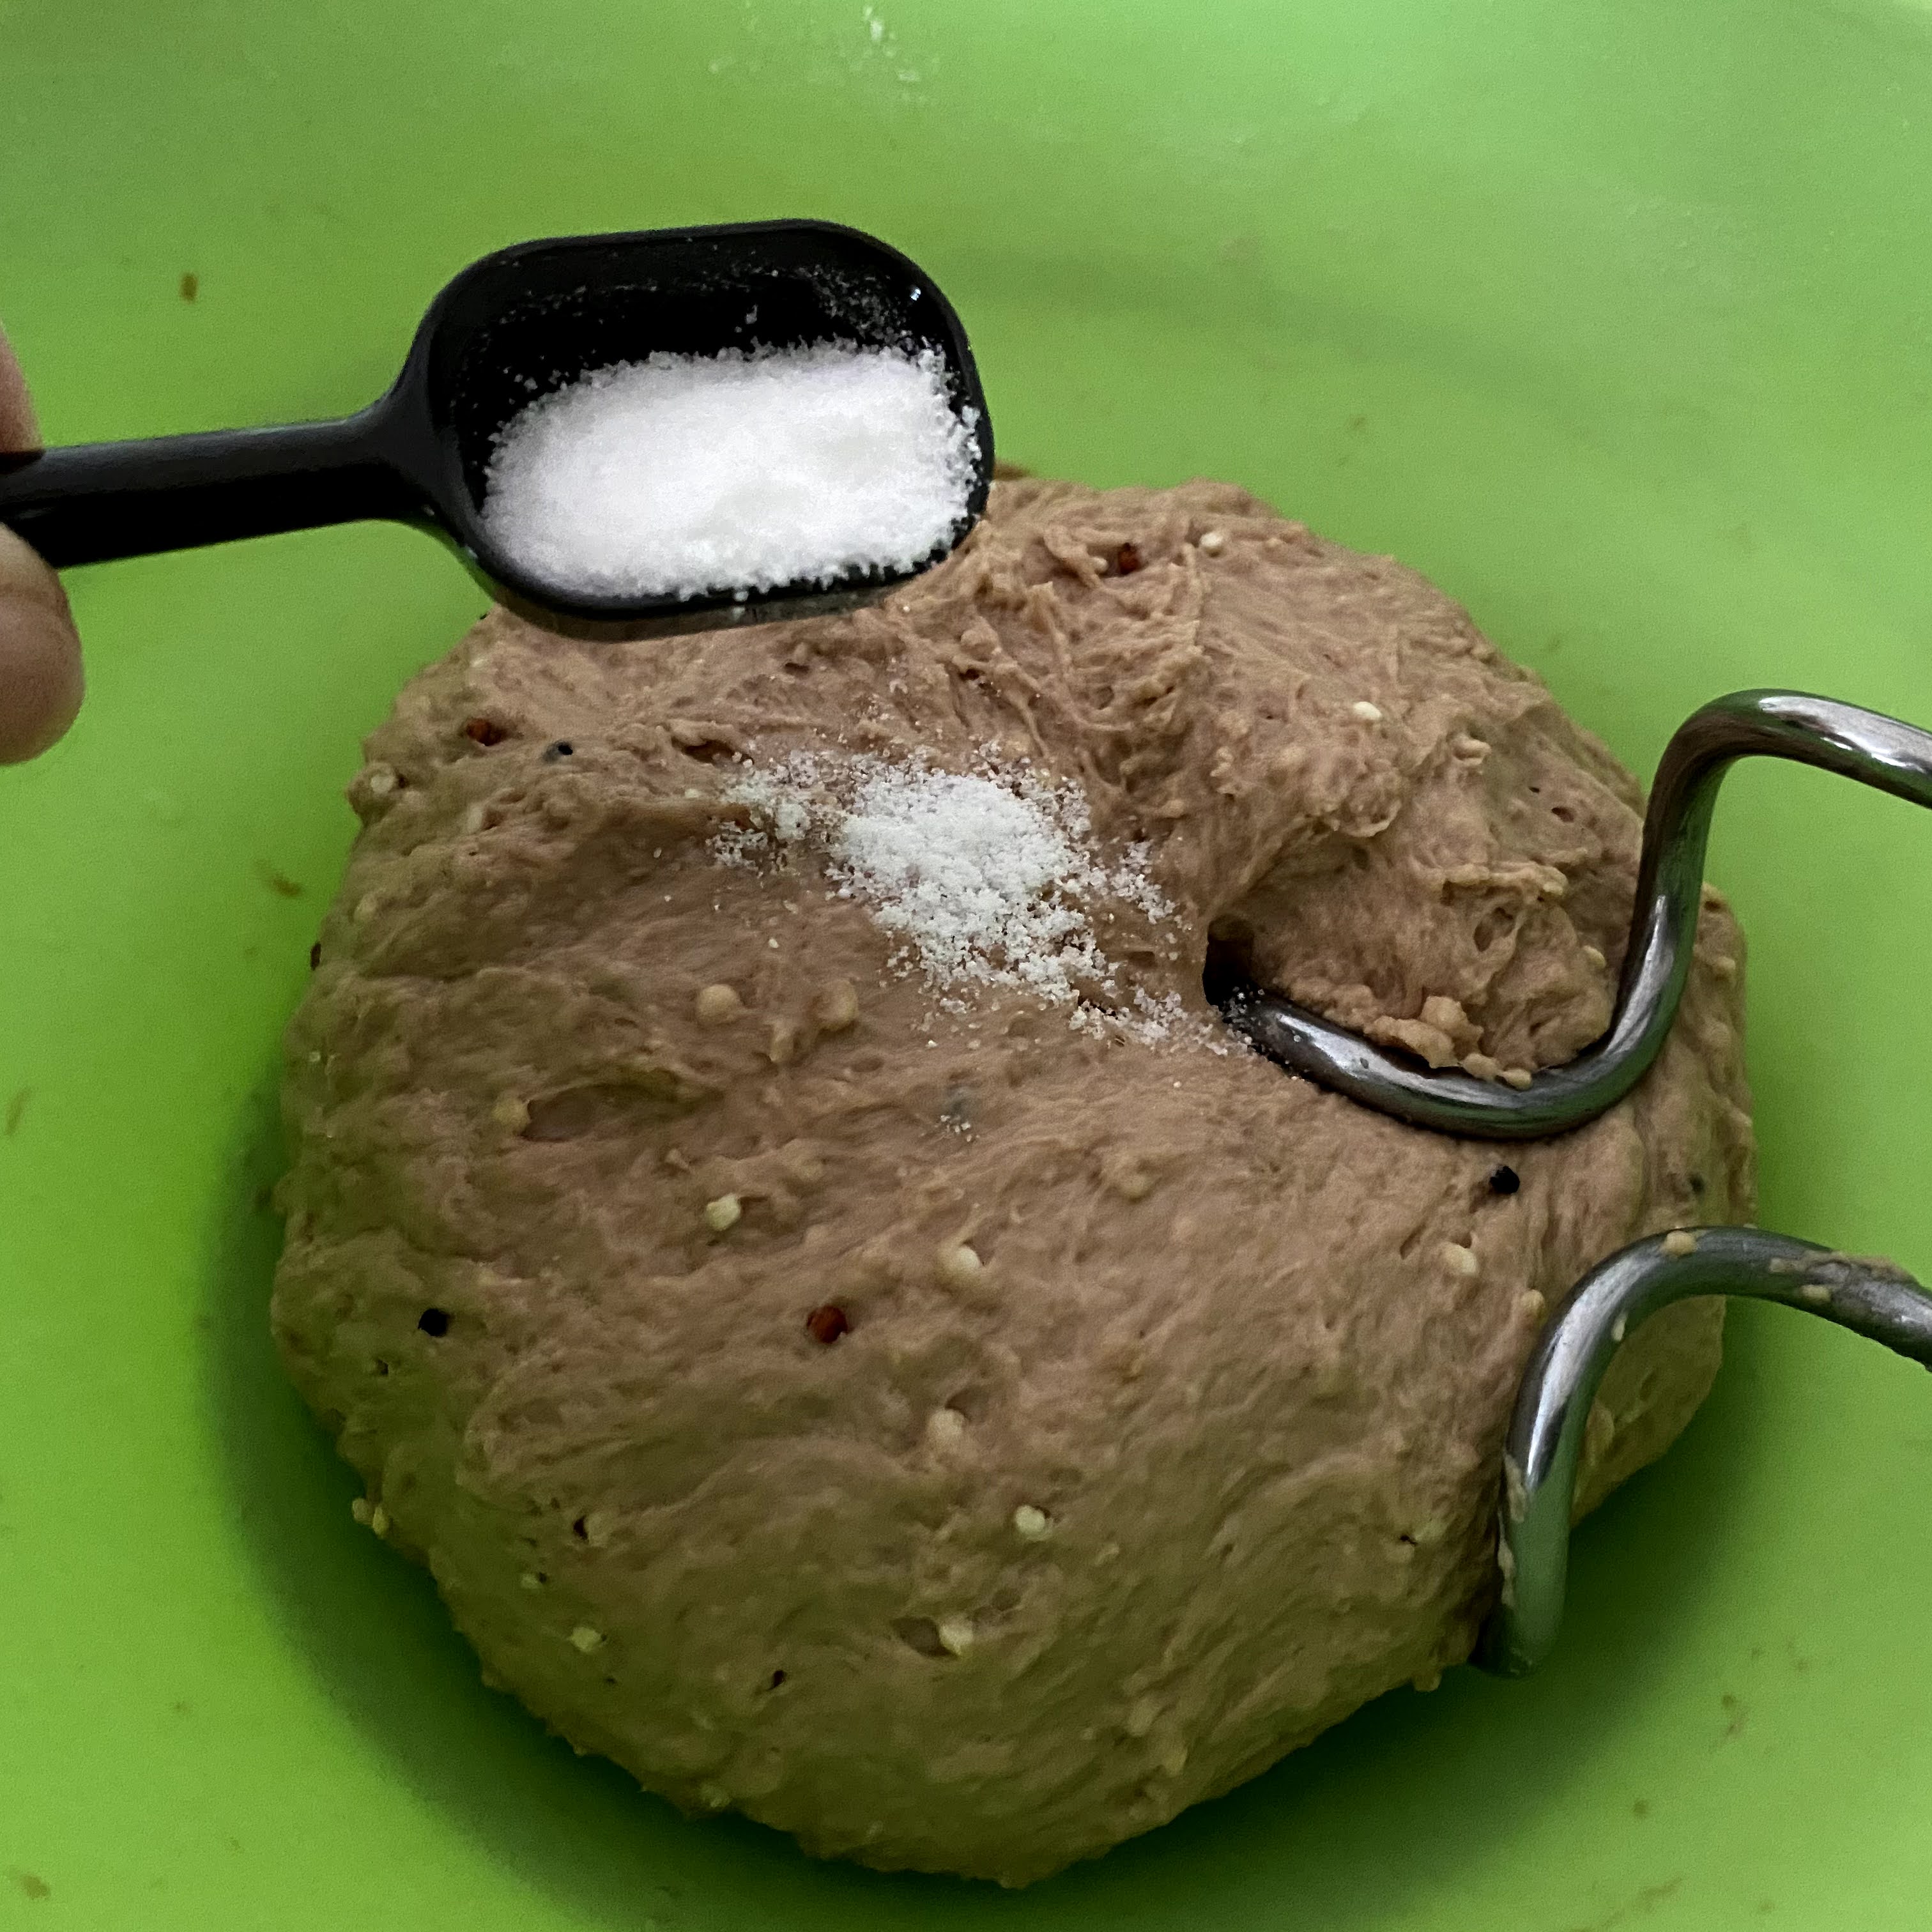
Knead in the softened unsalted butter till no traces of butter can be seen.


Perform about 500 sets of "Slapping and Folding" till reaching window pane stage.

 |
| Window pane |
3. Shape the dough into a ball, spray some water over, cover with a lid, and let the dough proof for about 70 minutes, or till double in size.

End of first proofing

4. Invert out the dough onto a floured worktop.

Deflate the dough and divide into halves.

Shape into 2 balls, cover the dough, and let them rest for about 15 to 20 minutes


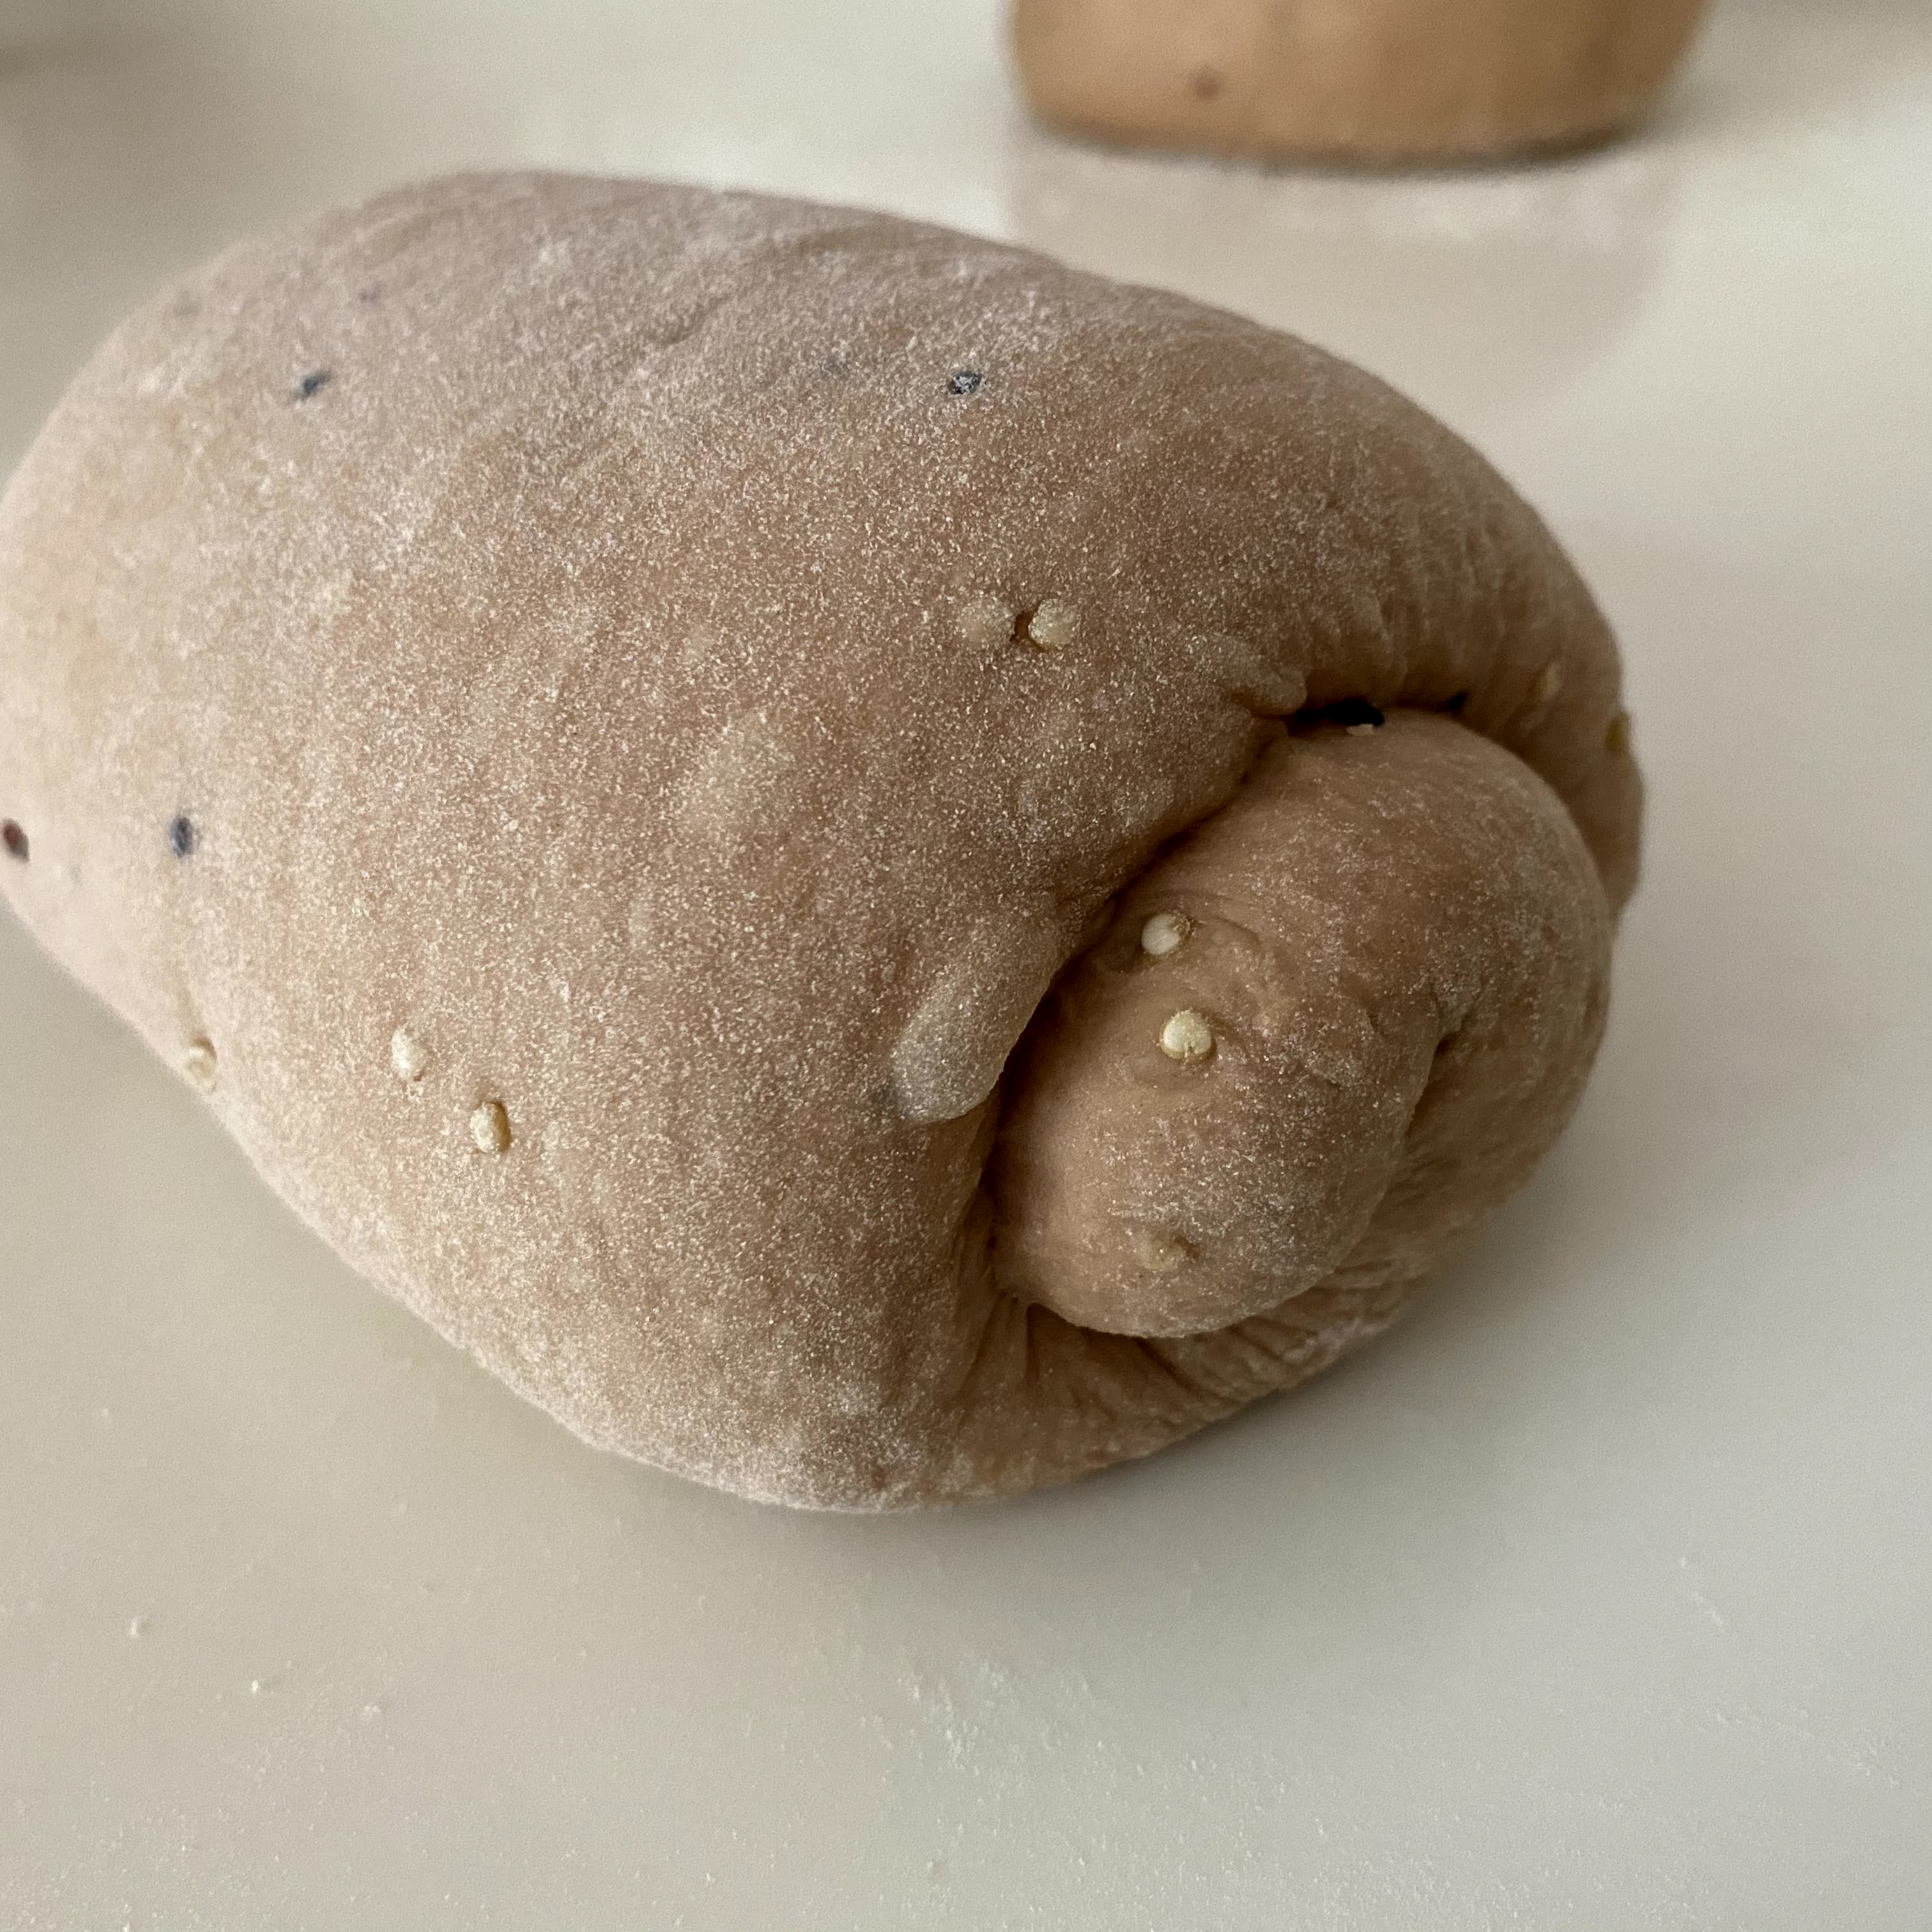
5. Roll out the dough to a thickness of about 1 cm.

Flip over, and fold in the two wings of the longer length, to overlap each other.


6. Place the shaped dough into the bread pan coated with butter.

Brush the dough surface with melted butter.


Seal the bread pan with cling wrap. Let the dough undergo second proofing for about 50 minutes, or till the dough raises close to the rim of the pan.
 |
| End of second proofing |
While waiting for the dough to proof, cut some stencils using parchment paper. This step is optional.

7. Start to preheat the oven to 190℃ for about 10 minutes.
Place the stencils over the surface of the dough.
If you are not using stencils, just dust a thin layer of bread flour over the dough.

Lightly dust some bread flour over. Remove the stencils, and dust another layer of bread flour over.


8. Place the pan at lower rack of a preheated oven, reduce the temperature to 180℃, and bake for 15 minutes. Further reduce the temperature to 170℃, and bake for 15 minutes. Turn off the oven heating, and continue to bake for 3 to 5 minutes, or till the crust turns golden brown.

9. Remove the bread from the pan immediately after leaving the oven.


No comments:
Post a Comment
I love seeing your comment and sharing it with other readers. Your comment would be published after moderation. Thank you :)