

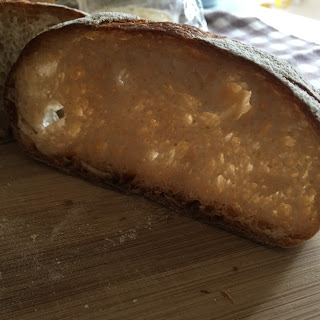
I added 5g of rice flour to the dough this round. Although the crust seemed to be very crispy when the bread was fresh from oven, it became relatively hard after short re-heating. However, the crispiness returned after a longer period, like 10 minutes of light toasting 😀
In every attempt, there's always something learned *\0/*
This is not a proper recipe. It is just my baking journal to share :)
Room temperature: 29~31°C
Starter Ingredients (77% hydration)
20g bread flour
14g water
12g natural yeast, 100% hydration
20g bread flour
14g water
12g natural yeast, 100% hydration
Dough Ingredients (76% overall hydration)
110g unbleached bread flour
20g spelt flour
110g unbleached bread flour
20g spelt flour
20g superfine wholegrain flour
5g rice flour
112g water
5g rice flour
112g water
To be added 1 hour after combining the starter and the dough
5g water
3g fine salt
3g fine salt
Directions
1. Prepare starter and dough, allow to ferment and autolyse for 4 hours at room temperature.
2. Combine starter and dough. Stand for 1 hour at room temperature.
3. Mix salt and water. Combine with the dough.
4. Start the 3 hour bulk fermentation at room temperaure of about 30°C. Perform 4 sets of stretch and fold at interval of about 30 minutes for the first 90 minutes, and 1 hour later.
5. Retard at 9°C (fridge vegetable compartment) for overnight (15 hours).
6. After the 15 hour cold retardation, the bottom of the dough appeared to have quite a number of big and small air sac.

Thaw in room temperature for about 1 hour.
7..Sprinkle some flour over the dough and work top. Turn out the dough and shape into a ball. Rest for 15 minutes.

Fold into half with the help of a bench knife.

And another fold into a quadrant.

Use the bench knife to shape the dough into a ball. Let it rest for 15 minutes.


8. After the 15 minute bench rest, Flip the dough over, fold in the the four sides, and shape the dough into a boule by using traction. Certainly needs more practice in that skill


Sprinkle some bread flour mixed with rice flour into the proofing basket, as well as on the dough surface.

Transfer the dough into the proofing basket with the seam-side facing up.

Cover with a towel and proof in room temperature for 2.5 hours.

End of 2.5-hour final proofing. The dough inflated about 30 to 40%.

9. Transfer to the fridge to retard at 9°C for about 30 minutes. This is to facilitate scoring later.

9. Remove from basket and transfer to a parchment paper. Sprinkle a layer of flour over, and do the scoring.


11. Transfer to a preheated oven immediately, and bake at middle rack for 10 minutes at 230°C, reduce to 210°C and bake for 15 minutes till slightly brown.

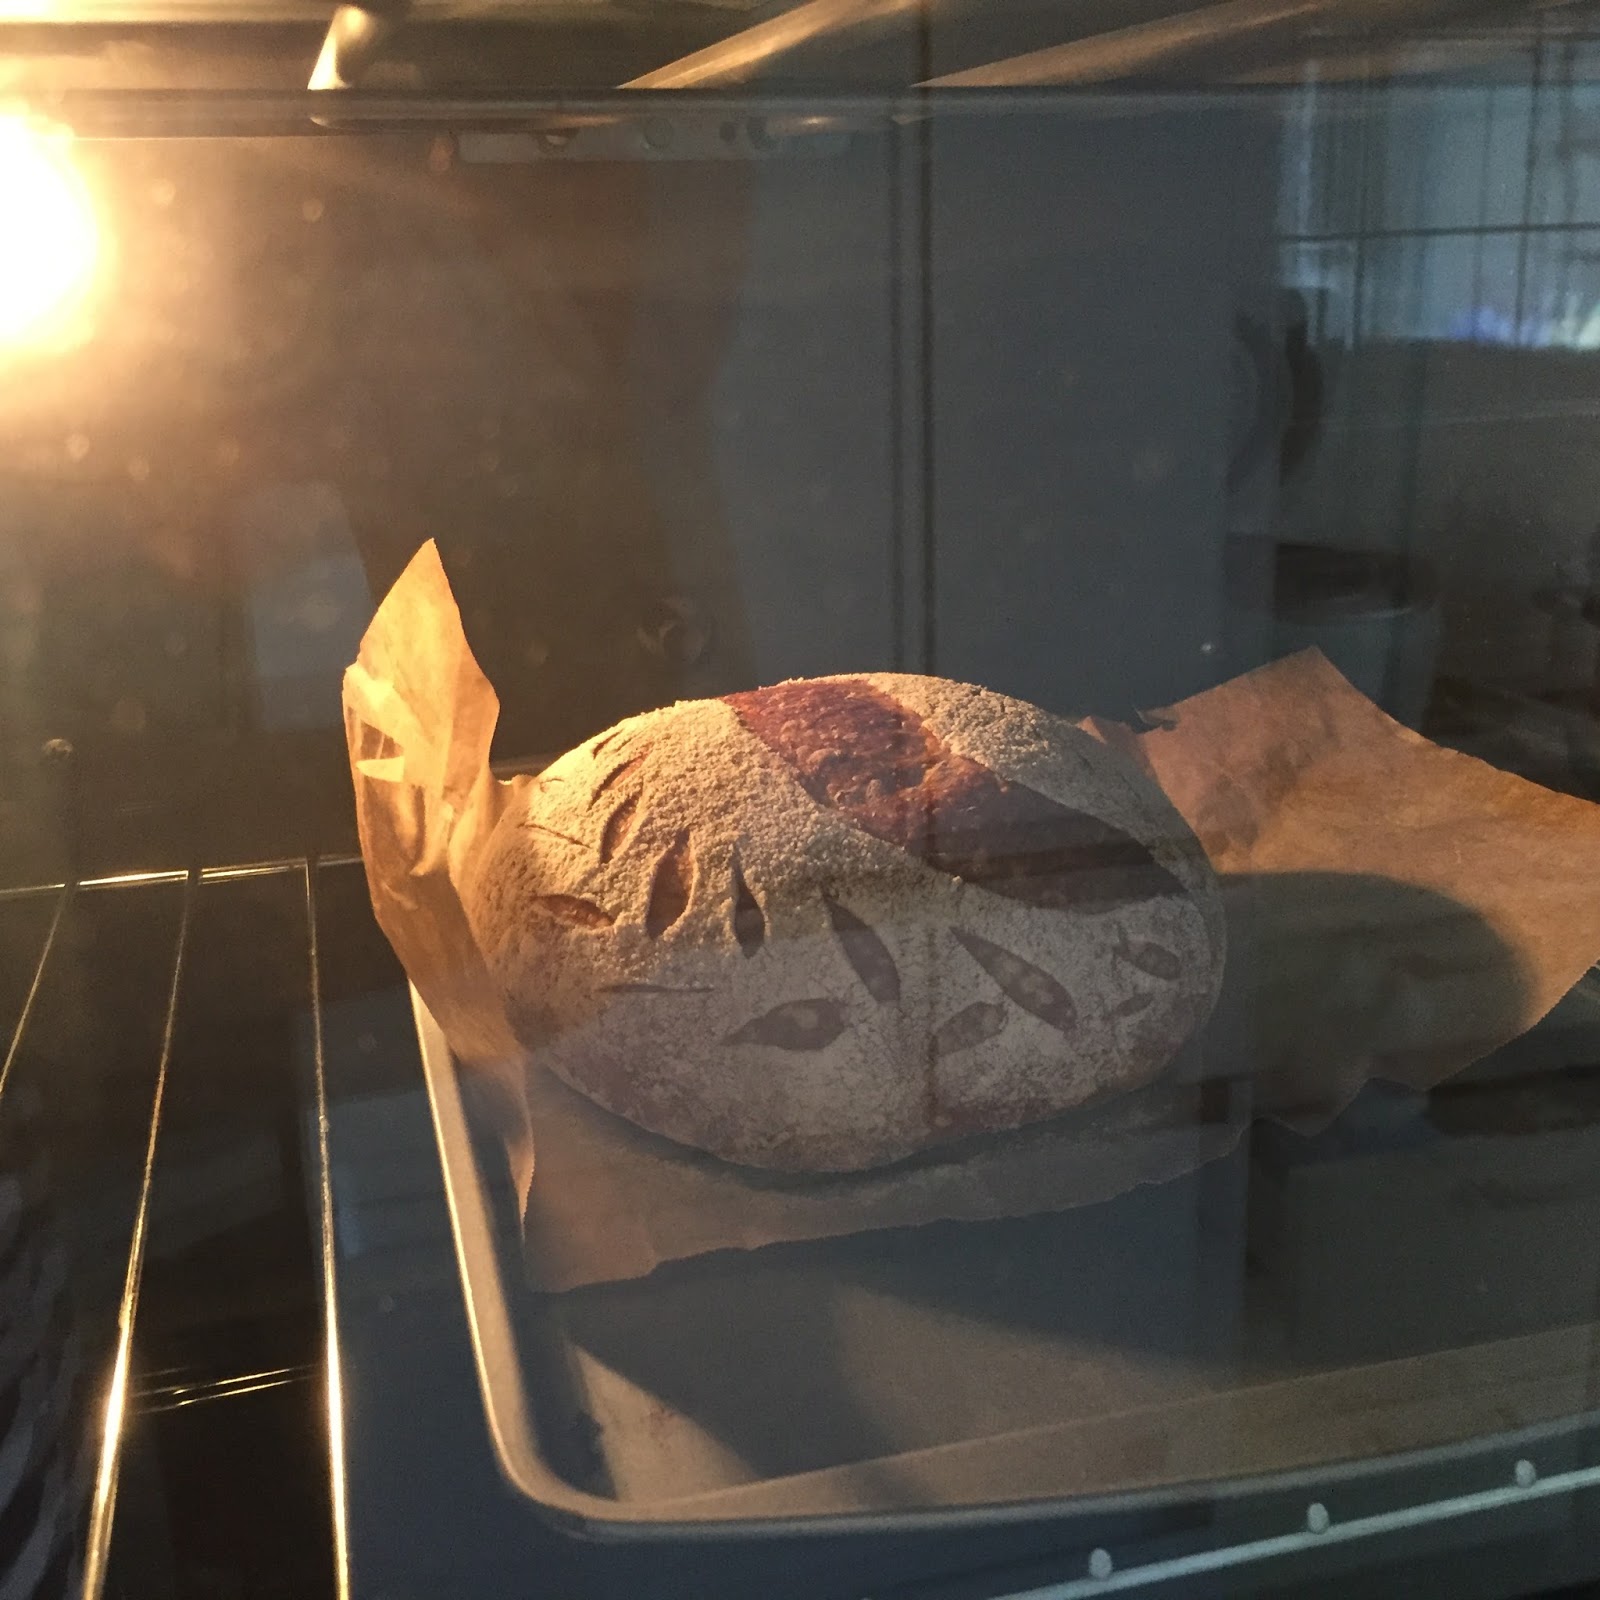
12. End of baking :)

Cut the bread after it has cool down 😁


May I know why you had to bake it in the rice cooker first?
ReplyDeletePat
Hi Pat, I use rice cooker to replace the Dutch oven or cast iron pot commonly used in artisan bread baking. It helps to trap the moisture/vapour which allows the bread to maximise its rise :)
DeleteHi, may I know how long do u preheat the rice cooker?
ReplyDeleteHi, I think 5 to 10 minutes of preheating should be sufficient :)
Delete